Demister Pads - Heater Shop
8
INSTALLATION MANUAL Demister Pads Before you begin fitting, read through these instructions carefully and check that you have all the components required. 01473 276686 www.heatershop.co.uk
-
Upload
khangminh22 -
Category
Documents
-
view
2 -
download
0
Transcript of Demister Pads - Heater Shop

1
INSTALLATION MANUAL
Demister Pads
Before you begin fitting, read through these instructions carefully and check that you have all the components required.
01473 276686www.heatershop.co.uk

2
IntroductionImportant notes, please read carefully before proceeding with fitting
The Demista™ brand Demister pads are manufactured in the UK to the highest standards and tested under very strict quality controls by Demista.
The Demister pad The Demister is an ultra-thin self-adhesive heating pad that fits inconspicuously behind virtually any mirror keeping the mirror completely mist free.
Using a proven technology, the demister pad represents the most up-to-date standards in technology giving a high degree of temperature stability, with complete resistance to moisture, vibration, shock, dust and ageing.
The pad simply wires into the bathroom lighting in accordance with instructions. Demisters can also be connected to the fan or a separate switch if preferred.
Contents of Demista system• Heating pad• Fitting instructions• Warranty
Tools required for fittingYou will need the following items to fit and test the demister:
• Tape measure drawing pad and pencil• Cable strippers and screw driver• Resistance tester (multimeter)
Important NoteThe heating pad must not be used if the mirror is damaged. To avoid damage to the mirror, the following points must be adhered to:
DoCarefully read this instruction manual before starting to fit your heating pad:• Ensure the wall is firm, flat, level and dry.• The mirror must be flat across its entire surface at all times
to prevent it cracking.• An expansion gap around the mirror must be allowed for
when installed in tiles or a recess.• Use a qualified electrician for all electrical work.
Don’t• Screws must not be over-tightened and must be adjusted
evenly to ensure the mirror is flat. • Never rest anything across the mirror surface that will
prevent the heat dissipating fully.• The demister pad must not be cut or pierced as this will
damage the insulation, rendering it unsafe.• Never bend, fold or crease the heating pad.• The protective cover on the heating pad must not be
removed until ready to apply to the mirror.
Back ViewTo be placed facing the wall
Self AdhesiveTo be placed directly on back of mirror
3
Electrical requirementsAll electrical work must be carried out by a qualified electrician in compliance with current electrical regulation
Electrical requirements Electrical connections must be made by a qualified electrician to comply with current wiring regulations.
• The pad should be connected to the lighting circuit so that it is activated when the light is switched on, or to a separate switch if preferred.
• The circuit must be protected by a 6A MCB and protected by an RCD.• The wiring to the pad must incorporate an all pole disconnection.
The wires are coloured in accordance with the following code:
• Brown Live or positive • Blue Neutral or negative
Wiring must be covered and inaccessible in compliance with relevant safety standards.
Power rating: 200w/m2
Please follow these instructions carefully. If you require assistance prior to or during your installation please call our helpline on 01473 276686
Important NoteAll metal parts surrounding the mirror, e.g. the frame, must be earthed to comply with the IEE Wiring regulations – Eighteenth edition (BS7671:2018) or equivalent national wiring regulations.
Mirrors that have a conductive foil backing or metallic covering must be earthed due to a possibility of a small capacitance effect. See page 6 for more information.
The manufacturer/supplier cannot be held responsible for damage caused by improper installation or use.
Multiple padsSeveral pads fitted to a single mirror should be wired in parallel. Care must be taken to ensure that the power supply is sufficient to take the load.
Pads must not overlap as this can cause hotspots and possible damage to the mirror (see step 2 on page 4).
Cable lengthThe heating pad is supplied with 1m length, 0.75mm2 double insulated cable. In general, this cannot be lengthened, as there are variable factors that could increase the rating of the cable and render the installation unsafe. If a longer lead is required, in accordance with best practice, a heavier duty cable (i.e. lighting cable) can be connected via an approved junction box, which should be inaccessible.
Important Note
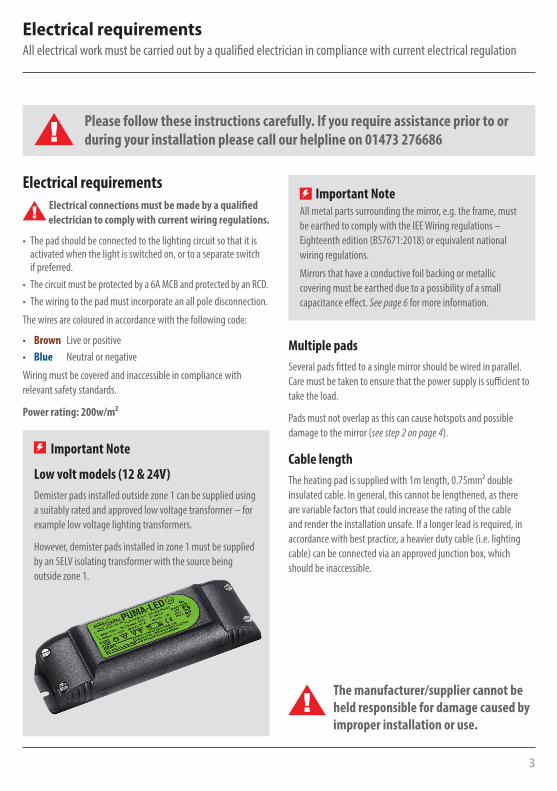
Low volt models (12 & 24V)Demister pads installed outside zone 1 can be supplied using a suitably rated and approved low voltage transformer – for example low voltage lighting transformers.
However, demister pads installed in zone 1 must be supplied by an SELV isolating transformer with the source being outside zone 1.

4
Important NotesThe heating pad must be attached directly to the back of the mirror.
If installing in tiles or a recess, there must be a gap around the mirror to allow for heat expansion.
NEVER cut the demister pad to make it fit.
Step 1Cut out a recess in the wall to house the terminal moulding so that the demister pad is flush when fitted. Search online for information on the best way to cut a recess into tiles.
Make sure the wall surface is flat, clean, dust free and dry.
Step 2The mirror back must be clean and dry.
Carefully mark the back of the mirror to indicate where the pad is to be fitted. The pad should cover at least 70% of the mirror, but there must be at least 25mm border to the edge of the mirror.
Multiple padsIf multiple pads are used they should be butted together, but never overlapped as this could cause hotspots, potentially damaging the mirror.
PadRecess
Ensure the demister pad is the correct size for the mirror before starting the installation. Call 01473 276686 if you have any questions.
1
2
Installation instructionsRead through these instructions carefully before fitting the demister pad
Back of Demista Pad
Reverse of Mirror
Pencil Marks
Minimum 25mm border
Minimum 25mm border
When using two heating pads, they should be butted together –
NEVER overlapped
Extra care must be takenwhen positioning the pad with mirrors that have drilled holes

5
NoteIf white patches appear beneath the film, these are the result of delamination, which is caused by the ingress of air between the insulation and element due to handling. It doesn’t affect the operation of the pad and isn’t damaging in any way.
Peel o� the self-adhesive backing
Smooth down, starting from one end
Apply pressure evenly over the full pad until it is completely �at on the mirror back
Installation instructionsRead through these instructions carefully before fitting the demister pad
Step 3Peel off the protective release paper from the front of the pad.
Position one edge of the pad onto the back of the mirror, up against your pencil marks, holding the opposite edge away from the mirror.
Apply pressure evenly over the full pad as it is gradually lowered onto the mirror back.
Continue until the pad is completely flat on the mirror back, making sure there are no air bubbles.
Important NotesIf any part of the mirror is metallic see note on page 6 about fixing a capacitance grounding pad to the mirror.
Once the heating pad has been installed it must not be accessible.
3
4
Step 4Fix the mirror to the wall using either adhesive or screws. If unsure, contact the supplier or manufacturer for advice.
Fixing the mirror with adhesiveThe adhesive used to fix the mirror must be solvent and acrylic free, and should be used according to the manufacturer’s recommendations.
Adhesive should be applied evenly over the complete area to ensure that the mirror is held securely in place.
Fixing the mirror with screwsIf using screws to fix the mirror to the wall, care should be taken that the screws have rubber spacers so that only the mirror is in contact with the spacers and is free to move slightly. Do not overtighten the screws.
No other holes should be drilled into the mirror as this could create weak spots which may damage the mirror during heating.

6
Light
Connection to lighting ring
Mirr
orPad 2Pad 1
Electrical installation instructionsAll electrical work must be carried out by a qualified electrician (Part P certified)
Several pads fitted to a single mirror should be wired in parallel. Care must be taken to ensure that the power supply is sufficient to take the load.
Important NoteMirrors that have a conductive foil backing, metallic covering or metal frame must be earthed – to comply with the IEE Wiring regulations, Eighteenth edition (BS7671:2018) or equivalent national wiring regulations – due to the possibility of a small capacitance effect, where the metal builds up an electric charge that dissipates only when it is grounded.
The solution is to fit a mirror capacitance grounding pad, which must be placed firmly on the exposed foil/metalwork of the mirror. This is available to buy from our website or call us on 01473 276686 for advice.
Step 5A qualified electrician must carry out the electrical connection to the power source.
• Low voltage (12V) pads installed outside of zone 1 must be supplied using a suitably rated and approved 12V transformer, e.g. a low voltage lighting transformer.
• Pads installed in zone 1 must be supplied by a SELV isolating transformer, with the source outside zone 1.
Feed or recess power cables to the point of connection as required.
The heater is normally connected directly to a switched light circuit, which will turn on the heater when the light is switched on, or by way of a separate switch connected to the main lighting circuit.
NoteThe heater pad should not be left on for a prolonged period of time if it is unable to dissipate its heat.
In circumstances where the heater pad is being used for a prolonged period of time, it is recommended that a thermostat or a timer switch is fitted, to prevent overheating.
5

7
NotesUse this space to make notes for reference
General NotesUse this page to make reference notes
10-year warrantyThe 10-year warranty covers any manufacturing fault, providing the demister pad has been fitted strictly in accordance with the manufacturer’s instructions.
General specs• Approved to: EN60335-1:2002+A1, A2, A11, A12, A13, A14, A15 & EN60335-2-30:2009+A11• Power Rating: 200W/m²• Insulation Class: 2-double insulated• Thickness: 1 mm• IP Rating: 44• Cable connector: 30 × 40 × 5mm• Cable: 1m twin core• Adhesive: Acrylic• Material: Double insulated multi-layer polyester/polyethylene• Mirror temperature: Approximately 10–15°C above ambient room temperature• Heating time: 3–5 minutes to start heating the mirror (depending on ambient room
temperature)• Heat spread: Approximately 30% area around the pad

Contact detailsIf you have any questions please call our helpline on 01473 276686
Heater Shop Edison House Edison Close Ransomes Europark Ipswich Suffolk IP3 9GU
Tel: 01473 276686 Fax: 01473 276678 Email: [email protected] Web: www.heatershop.co.uk
©Heater Shop, all rights reserved. Heater Shop & Trace Heating UK are trading divisions of Edison House Trading Ltd. Registered in England no. 09523259
Call us on: 01473 276672Buy online: www.traceheatinguk.co.ukEmail us: [email protected]
Complete trace heating solutions for industrial, commercial & domestic applications
Call 01473 276686 to receive the latest underfloor heating catalogue
Trace heating, frost protection and hot water maintenance