Cloud Native Router Deployment Guide - Juniper Networks
31
Cloud Nave Router Deployment Guide Published 2022-01-06 Not For Public Release
-
Upload
khangminh22 -
Category
Documents
-
view
0 -
download
0
Transcript of Cloud Native Router Deployment Guide - Juniper Networks

Cloud Native Router Deployment Guide
Published
2022-01-06
Not For Public Release

Juniper Networks, Inc.1133 Innovation WaySunnyvale, California 94089USA408-745-2000www.juniper.net
Juniper Networks, the Juniper Networks logo, Juniper, and Junos are registered trademarks of Juniper Networks, Inc.in the United States and other countries. All other trademarks, service marks, registered marks, or registered servicemarks are the property of their respective owners.
Juniper Networks assumes no responsibility for any inaccuracies in this document. Juniper Networks reserves the rightto change, modify, transfer, or otherwise revise this publication without notice.
Cloud Native Router Deployment GuideCopyright © 2022 Juniper Networks, Inc. All rights reserved.
The information in this document is current as of the date on the title page.
YEAR 2000 NOTICE
Juniper Networks hardware and software products are Year 2000 compliant. Junos OS has no known time-relatedlimitations through the year 2038. However, the NTP application is known to have some difficulty in the year 2036.
END USER LICENSE AGREEMENT
The Juniper Networks product that is the subject of this technical documentation consists of (or is intended for usewith) Juniper Networks software. Use of such software is subject to the terms and conditions of the End User LicenseAgreement ("EULA") posted at https://support.juniper.net/support/eula/. By downloading, installing or using suchsoftware, you agree to the terms and conditions of that EULA.
ii
Not For Public Release

Table of Contents
1 Overview
What Is the Juniper® Cloud-Native Router? | 2
System Resource Requirements | 5
Deployment Prerequisites | 6
2 Install and Configure
Install JCNR-vRouter | 12
Install JCNR-vRouter Using Helm Charts | 12
Install JCNR-CNI and JCNR-Controller | 16
Install JCNR-CNI Using Helm Charts | 16
Sample Configuration Files | 21
3 Manage
Manage JCNR-CNI and JCNR-vRouter | 25
Remove the JCNR-CNI | 25
Remove the JCNR-vRouter | 25
4 Troubleshoot
Troubleshoot JCNR-vRouter | 27
Verify the Interface File | 27
View Log Files | 27
iii
Not For Public Release

1CHAPTER
Overview
What Is the Juniper® Cloud-Native Router? | 2
System Resource Requirements | 5
Deployment Prerequisites | 6
Not For Public Release

What Is the Juniper® Cloud-Native Router?
IN THIS SECTION
Overview | 2
Benefits | 3
JCNR Components | 4
Overview
Juniper Cloud-Native Router (JCNR) is a container-based software solution that combines the JCNR-controller (cRPD-based control plane) and the JCNR-vRouter (DPDK-enabled forwarding/data plane).With JCNR, you can enable Junos OS routing control with enhanced forwarding capabilities.
JCNR-controller running on a Kubernetes (K8s) compute-host provides control plane routingfunctionality and uses the forwarding capabilities provided the JCNR-vRouter.
DPDK is an open source set of libraries and drivers. DPDK enables fast packet processing by allowingnetwork interface cards (NICs) to send direct memory access (DMA) packets directly into anapplication’s address space. The applications poll for packets, to avoid the overhead of interrupts fromthe NIC. Integrating with DPDK allows a vRouter DPDK to process more packets per second than ispossible when the vRouter runs as a kernel module.
In this integrated solution, JCNR-Controller uses gRPC-based services to exchange messages and toenable JCNR-Controller to communicate with JCNR-vRouter, thus creating the fully functional CloudNative Router. This close communication allows you to:
• Install routes into routing tables
• Run routing protocols
• Create next hops
• Learn about interfaces
2
Not For Public Release

Benefits
• Higher packet forwarding performance with DPDK-based JCNR-vRouter
• Easy deployment on general purpose compute devices
• Full routing and forwarding stacks in software
• Out-of-the-box software-based open radio access network (O-RAN) support
• IPv4 and IPv6 routing and forwarding
• Quick spin up with containerized deployment
• Highly scalable solution
Figure 1: Components of JCNR
KubernetesKubernetes (K8s) is an orchestration platform for running containerized applications in a clusteredcomputing environment. It provides automatic deployment, scaling, networking, and management ofcontainerized applications.
A K8s pod consists of one or more containers, with each pod representing an instance of theapplication. A pod is the smallest unit that K8s can handle. All containers in the pod share the samenetwork name space.
3
Not For Public Release
JCNR Components
JCNR-ControllerYou can configure JCNR-Controller with the requisite protocols (IGPs and BGPs) to provide reachabilityover tunnels. JCNR-Controller establishes adjacencies for the various protocols, learns routes andprograms the forwarding information base (FIB, also known as forwarding table) into the JCNR-vRouter.
Access control lists (ACLs) are supported on JCNR-Controller to configure network policies forapplication pods. Again, JCNR-controller sends the information to the JCNR-vRouter.
JCNR-Controller Functionality:
• Advertises DPDK application reachability to core network using routing protocols (primarily BGP andIS-IS).
• Supports packet tunnel encapsulations such as SR-MPLS.
• Supports JCNR-vRouter as the high-speed forwarding plane. This enables applications that are builtusing the DPDK framework to send and to receive packets directly between the application and theJCNR-vRouter without passing through the kernel.
• Distributes L3 network reachability information about the pods to devices and networks both insideand outside the K8s cluster.
Security Groups
When you create a pod in a virtual network, you can associate a security group with the virtualmanagement interface (VMI). VMI is the interface connecting the pod and the JCNR-vRouter. A securitygroup is a construct for holding security rules. You can apply each rule in the security group to either theingress or egress traffic. Ingress traffic is the traffic coming from the pod over the VMI and egress trafficis the traffic coming from the VMI to the pod.
You configure security policy locally, within the JCNR-controller. Once again, the policy details areshared with the JCNR-vRouter.
JNCR-vRouterJCNR-vRouter is an alternative to the Linux bridge or the Open vSwitch (OVS) module in the Linuxkernel. The pod which houses the JCNR-vRouter container also houses the JCNR-vRouter agentcontainer. JCNR-vRouter functions to:
• Perform networking services such as installing and enforcing security policies
• Perform routing with Layer 3 virtual private networks
JCNR-Container Network Interface (JCNR-CNI)JCNR-CNI is a new CNI developed by Juniper to handle Juniper developed Pods like JCNR-vRouteragent and JCNR-vRouter agent DPDK, along with DPDK application Pod. JCNR-CNI is an application on
4
Not For Public Release

all the nodes in the cluster. JCNR-CNI adds configuration that includes interfaces and routes to the pod.When you remove the Pod, CNI removes the configuration details. JCNR-CNI works with Calico CNIand Multus CNI.
JCNR-CNI provides the following functionality:
• Manages the networking tasks in K8s pods such as assigning IP addresses and setting up interfacesbetween the pod and host in a K8s cluster.
• Applies K8s network policies that are translated to firewall filter rules. The policies are sent to JCNR-vRouter for applying in the data plane.
System Resource Requirements
The following tables list the server and host related requirements for installing JCNR-CNI on K8s.
Table 1: JCNR-CNI System Requirements
Description Minimum Value
vCPU 2
Memory 2 GB
Disk space 1 GB
Table 2: JCNR-vRouter System Requirements
Description Minimum Value
vCPU 3
Memory 3 GB
Disk space 30 GB
5
Not For Public Release

Deployment Prerequisites
IN THIS SECTION
Lists of Required Software Packages and Configuration Settings | 6
Read this section to understand which software packages and configuration settings you must put inplace prior to Cloud Native Router deployment.
Lists of Required Software Packages and Configuration Settings
The Table 3 on page 6 table shows the required software packages, versions and a brief description ofwhat the software is used for in the Cloud Native Router environment.
The
Table 3: Software Packages
Software Package Software Version Description
VMWare ESXi 7.x ESXi provides the virtual machinemonitor (VMM) or hypervisorenvironment for you to run thevarious virtual machines (VMs) andcontainers that Cloud NativeRouter needs.
VMWare vCenter 7.x You use VMWare vCenter softwareto manage ESXi servers and theVMs that run on those servers.
Kubernetes 1.20.4 Kubernetes is a containermanagement system. It is requiredfor Juniper Cloud Native Router.You must have a Kubernetes clusteravailable for use with JCNR.
6
Not For Public Release

Table 3: Software Packages (Continued)
Software Package Software Version Description
Helm 3.7.1 Helm is a package manager forKubernetes. It allows for theinstallation of prepackagedcontainers such as cRPD, JCNR-vRouter, etc.
Tanzu 1.3.0 Tanzu provides specialized K8scluster management capabilities toVMWare that are used with theCloud Native Router.
Multus 0.3.1 You must install Multus on the K8scluster nodes. Multus is a softwarepackage that allows you to addmultiple network interfaces to K8spods using various containernetwork interface (CNI) plug-ins.
Photon-os 3.0 Photon-os is a minimalist linuxdistribution from VMWare. It isoptimized for cloud-nativecontainer environments such asthat on which Cloud Native Routerruns.
Containerd 1.4.3 Containerd helps to abstract awaysystem calls or OS specificfunctionality to run containers onlinux, Windows, Solaris, or otherOSes.
Calico 3.15.2-1.ph3 Calico is an open sourcenetworking and network securitysolution for containers, virtualmachines, and native host-basedworkloads.
SR-IOV You must enable Single Root I/OVirtualization (SR-IOV) in the BIOSof the cell site compute nodes.
7
Not For Public Release

Table 3: Software Packages (Continued)
Software Package Software Version Description
VT-d You must enable VirtualizationTechnology for Directed I/O (VT-d)in the BIOS of the cell site computenodes. VT-d provides assistancewith compatibility, performance,and reliability between hardwarecomponents within a virtualizedenvironment.
Table 4: BIOS and Configuration Settings per Workernode VM
BIOS/Configuraton Setting Version or Value Description
Hardware version for each workernode VM
18 This is a VMWare setting thatenables the hypervisor to providedifferent capabilities to the VM
vvtd.enable vvtd.enable=TRUE Use this setting to enable Intel VT-d. Enter this setting within the VM'svmx file while the VM is poweredoff.
intel_iommu intel_iommu=on intel_iommuEnter this settingwithin the /boot/photon.cfg file. Youmust reboot the VM when youchange this setting.
iommu iommu=pt iommu setting–Use this setting to setthe iommu to pass through. Enterthis setting within the /boot/photon.cfg file. This setting is onlyvalid when you set intel_iommu toon. You must reboot the VM whenyou change this setting.
8
Not For Public Release

Table 4: BIOS and Configuration Settings per Workernode VM (Continued)
BIOS/Configuraton Setting Version or Value Description
default_hugepagesz default_hugepagesz=1G default hugepagesz setting–Thissetting is used to set the defaultsize of huge pages. Enter thissetting in the /boot/photon.cfg file.You must reboot the VM when youchange this setting.
hugepagesz hugepagesz=1G hugepagesz setting–Use this settingto set the specific size of hugepages to 1 gigabyte (1G) for thisthis VM. Enter this setting in the /boot/photon.cfg file. You mustreboot the VM when you changethis setting.
hugepages hugepages=8 hugepages setting–
Use this setting to specify the totalnumber of huge pages. Typicallyyou can assign up to 70% ofavailable system memory to hugepages, For example: On a VM with100GB of RAM, you can specifyhuge pages as 70.
Enter this setting in the /boot/photon.cfg file. You must rebootthe VM when you change thissetting.
IP address for interface allocated toJCNR-vRouter
Static IP address–Do not setdynamic IP address
Enter an IPv4 or IPv6 address suchas 10.10.10.1 or2001:db8::10:10:10:1
IP address for loopback interface Static IP address–Do not setdynamic IP address
Enter an IPv4 or IPv6 address suchas 10.1.1.1 or 2001:db8::10.1.1.1
9
Not For Public Release

Here is an example of the part of the /boot/photon.cfg file that deals with huge pages and iommu:
# GRUB Environment Blockphoton_cmdline=init=/lib/systemd/systemd ro loglevel=3 quiet no-vmw-sta default_hugepagesz=1G hugepagesz=1G hugepages=8 intel_iommu=on iommu=pt
10
Not For Public Release

2CHAPTER
Install and Configure
Install JCNR-vRouter | 12
Install JCNR-CNI and JCNR-Controller | 16
Sample Configuration Files | 21
Not For Public Release
Install JCNR-vRouter
SUMMARY
The Juniper CloudNative Router uses the DPDK-enabled vRouter to provide high-performance dataplane capabilities. This section explains how you caninstall the JCNR-vRouter component of the Cloud-Native Router.
IN THIS SECTION
Install JCNR-vRouter Using HelmCharts | 12
The JCNR Virtual Router (vRouter) is a software entity that provides forwarding plane functionality. Itextends the network from the physical routers and switches into a virtual overlay network hosted in thevirtualized servers. The DPDK enables the JCNR-vRouter to process more packets per second than ispossible when the vRouter runs as a kernel module.
Install JCNR-vRouter Using Helm Charts
1. Untar the file jcnr-21.4-181.tgz
user@host:/var/tmp/bms/helm/$ tar xzvf jcnr-21.4-181.tgz
2. Copy the jcnr-vrouter-images.tar file onto all worker nodes.
3. On the worker node, run the command: sudo ctr -n k8s.io i import jcnr-vrouter-images.tar
4. Untar the helm chart jcnr-vrouter-21.4-181.tgz
user@host:/var/tmp/bms$ tar xzvf jcnr-vrouter-21.4-181.tgz
5. Run the command: user@host:/var/tmp/bms/helm/$ cd jcnr-vrouter
6. Run the command: user@host:/var/tmp/bms/helm/jcnr-vrouter/$ ls
Chart.yaml README.md templates values.yaml
7. Set the configuration for the image, huge page size, and dpdk bound interface inthe /var/tmp/bms/helm/jcnr-vrouter/values.yaml file. For example:
12
Not For Public Release

user@host:/var/tmp/bms/helm/jcnr-vrouter/$ cat values.yaml
# # This is a YAML-formatted file.# # Declare variables to be passed into your templates.
common: registry: svl-artifactory.juniper.net/
contrail_init: repository: atom-docker/cn2/bazel-build/dev/contrail-init tag: "JCNR-R21.4-181" pullPolicy: Always
contrail_vrouter_kernel_init_dpdk: repository: atom-docker/cn2/bazel-build/dev/contrail-vrouter-kernel-init-dpdk tag: "JCNR-R21.4-181" pullPolicy: Always
contrail_vrouter_agent: repository: atom-docker/cn2/bazel-build/dev/contrail-vrouter-agent tag: "JCNR-R21.4-181" pullPolicy: Always
contrail_vrouter_agent_dpdk: repository: atom-docker/cn2/bazel-build/dev/contrail-vrouter-dpdk tag: "JCNR-R21.4-181" pullPolicy: Always
contrail_k8s_deployer: repository: atom-docker/cn2/bazel-build/dev/contrail-k8s-deployer tag: "JCNR-R21.4-181" pullPolicy: Always
contrail_k8s_crdloader: repository: atom-docker/cn2/bazel-build/dev/contrail-k8s-crdloader tag: "JCNR-R21.4-181" pullPolicy: Always
contrail_k8s_applier: repository: atom-docker/cn2/bazel-build/dev/contrail-k8s-applier tag: "JCNR-R21.4-181" pullPolicy: Always
13
Not For Public Release
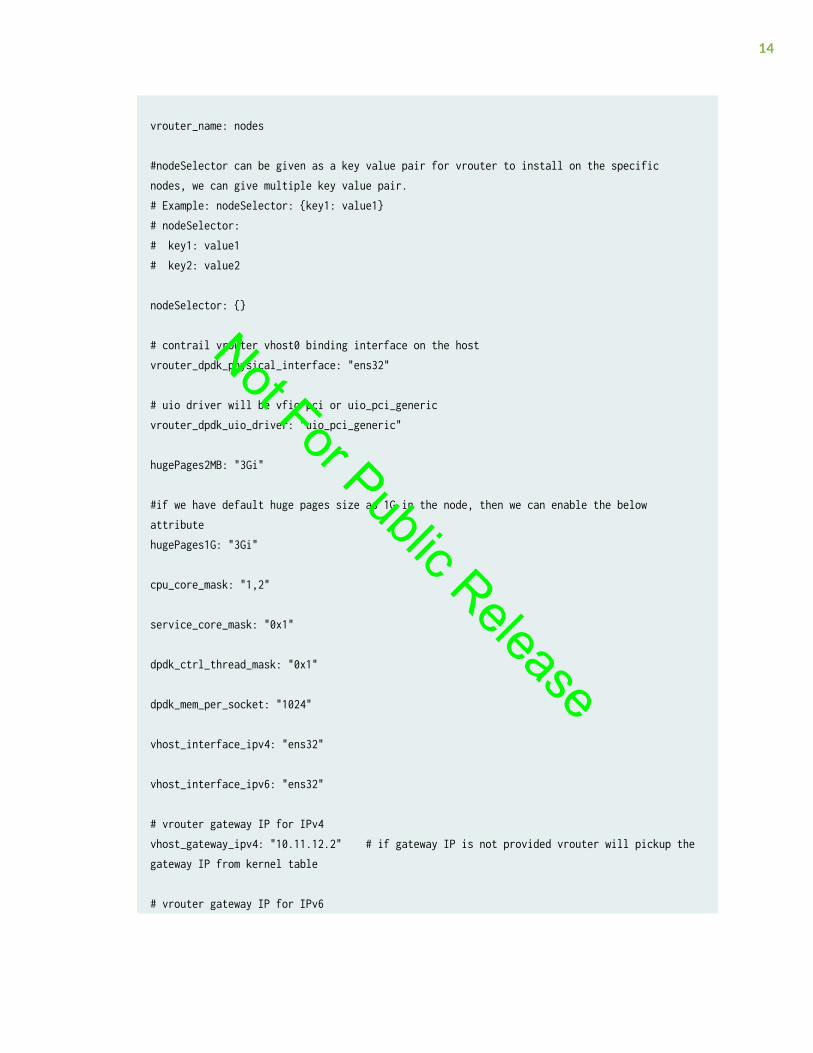
vrouter_name: nodes
#nodeSelector can be given as a key value pair for vrouter to install on the specific nodes, we can give multiple key value pair.# Example: nodeSelector: {key1: value1}# nodeSelector:# key1: value1# key2: value2
nodeSelector: {}
# contrail vrouter vhost0 binding interface on the hostvrouter_dpdk_physical_interface: "ens32"
# uio driver will be vfio-pci or uio_pci_genericvrouter_dpdk_uio_driver: "uio_pci_generic"
hugePages2MB: "3Gi"
#if we have default huge pages size as 1G in the node, then we can enable the below attributehugePages1G: "3Gi"
cpu_core_mask: "1,2"
service_core_mask: "0x1"
dpdk_ctrl_thread_mask: "0x1"
dpdk_mem_per_socket: "1024"
vhost_interface_ipv4: "ens32"
vhost_interface_ipv6: "ens32"
# vrouter gateway IP for IPv4vhost_gateway_ipv4: "10.11.12.2" # if gateway IP is not provided vrouter will pickup the gateway IP from kernel table
# vrouter gateway IP for IPv6
14
Not For Public Release
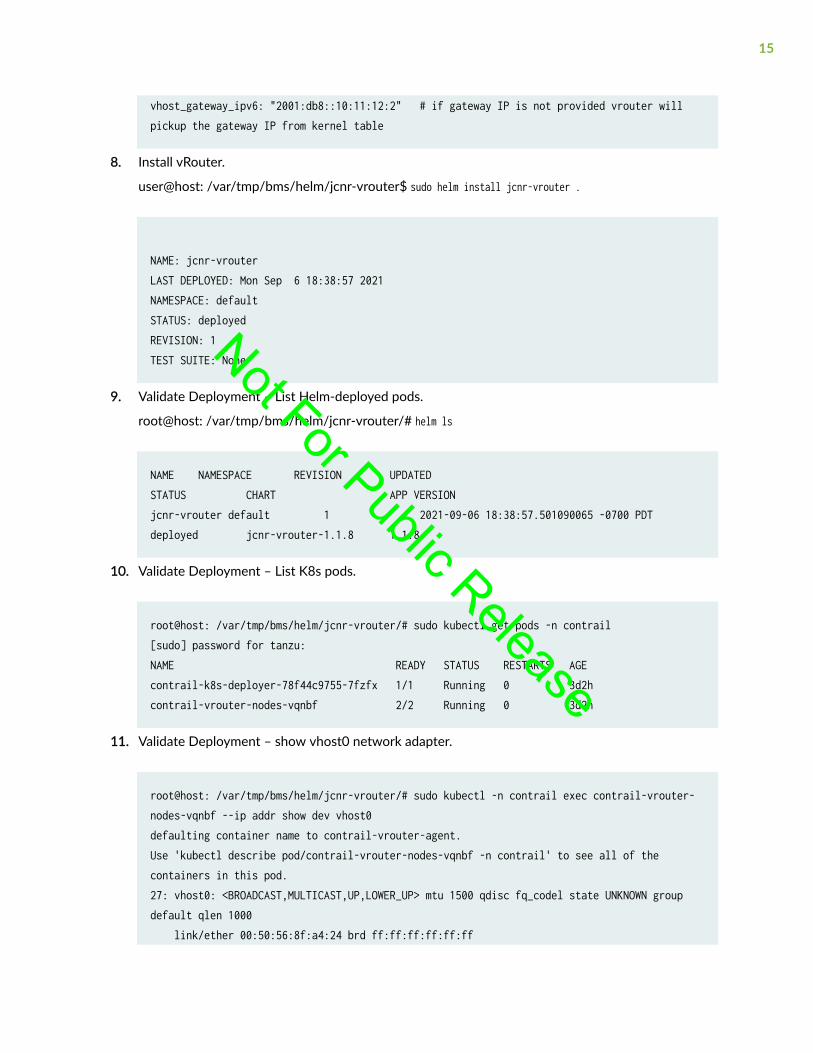
vhost_gateway_ipv6: "2001:db8::10:11:12:2" # if gateway IP is not provided vrouter will pickup the gateway IP from kernel table
8. Install vRouter.
user@host: /var/tmp/bms/helm/jcnr-vrouter$ sudo helm install jcnr-vrouter .
NAME: jcnr-vrouterLAST DEPLOYED: Mon Sep 6 18:38:57 2021NAMESPACE: defaultSTATUS: deployedREVISION: 1TEST SUITE: None
9. Validate Deployment – List Helm-deployed pods.
root@host: /var/tmp/bms/helm/jcnr-vrouter/# helm ls
NAME NAMESPACE REVISION UPDATED STATUS CHART APP VERSIONjcnr-vrouter default 1 2021-09-06 18:38:57.501090065 -0700 PDT deployed jcnr-vrouter-1.1.8 1.1.8
10. Validate Deployment – List K8s pods.
root@host: /var/tmp/bms/helm/jcnr-vrouter/# sudo kubectl get pods -n contrail [sudo] password for tanzu:NAME READY STATUS RESTARTS AGEcontrail-k8s-deployer-78f44c9755-7fzfx 1/1 Running 0 3d2hcontrail-vrouter-nodes-vqnbf 2/2 Running 0 3d2h
11. Validate Deployment – show vhost0 network adapter.
root@host: /var/tmp/bms/helm/jcnr-vrouter/# sudo kubectl -n contrail exec contrail-vrouter-nodes-vqnbf --ip addr show dev vhost0defaulting container name to contrail-vrouter-agent.Use 'kubectl describe pod/contrail-vrouter-nodes-vqnbf -n contrail' to see all of the containers in this pod.27: vhost0: <BROADCAST,MULTICAST,UP,LOWER_UP> mtu 1500 qdisc fq_codel state UNKNOWN group default qlen 1000 link/ether 00:50:56:8f:a4:24 brd ff:ff:ff:ff:ff:ff
15
Not For Public Release

inet 192.168.20.200/24 brd 192.168.20.255 scope global vhost0 valid_lft forever preferred_lft forever inet6 192:168:20::200/64 scope global valid_lft forever preferred_lft forever inet6 fe80::250:56ff:fe8f:a424/64 scope link valid_lft forever preferred_lft forever inet6 fe80::f840:2aff:fec6:85f2/64 scope link valid_lft forever preferred_lft forever
Install JCNR-CNI and JCNR-Controller
SUMMARY
In the Kubernetes (K8s) environment, you candeploy, configure, and manage JCNR-CNI and JCNR-Controller using YAML files and standard K8scommands.
IN THIS SECTION
Install JCNR-CNI Using Helm Charts | 16
Read this section for a high-level work flow of how to integrate JCNR-Controller with DPDK-basedvRouter using JCNR-CNI.
Install JCNR-CNI Using Helm Charts
1. Untar the file jcnr-21.4-181.tgz
user@host:/var/tmp/bms/helm/$ tar xzvf jcnr-21.4-181.tgz
2. Copy the jcnr-cni-images.tar file onto all worker nodes.
3. On the worker node, run the command: sudo ctr -n k8s.io i import jcnr-cni-images.tar
4. Untar the helm chart jcnr-cni-21.4-181.tgz
user@host:/var/tmp/bms/helm/$ tar xzvf jcnr-cni-21.4-181.tgz
5. Run the command: user@host:/var/tmp/bms/helm/$ cd jcnr-cni
16
Not For Public Release

6. Run the command: user@host:/var/tmp/bms/helm/jcnr-cni/$ ls
Chart.yaml files README.md templates values.yaml
7. Adjust the configuration in the jcnr-cni/values.yaml file. For example, the following snippet is fromthe jcnr-cni/values.yaml file in the jcnr-cni repository.
root@host:/var/tmp/bms/helm/jcnr-cni/# cat values.yaml
# Default values for jcnr.# This is a YAML-formatted file.# Declare variables to be passed into your templates.
common: registry: svl-artifactory.juniper.net/
crpdImage: repository: junos-docker-local/warthog/crpd tag: "21.3R1.9" pullPolicy: IfNotPresent
jcnrCNIImage: repository: junos-docker-local/warthog/jcnr-cni tag: 20210910-3a73554 pullPolicy: IfNotPresent
#data plane default is dpdk for vrouter case, linux for kernel moduledataplane: dpdk
# only for development environment where master and worker on a single node, then we need to give truestandalone: false
# if crpd needs to be running on the master node as RR (Route Reflector) then we need to enable this filed.cRPD_RR: enabled: false
networkAttachmentDefinitionName: jcnr # default NAD name and VRF name will be Platter, if we change the name, NAD and VRF will be created on the new Name# Pod yaml we need to give the NAD name and VRF name as above
17
Not For Public Release

vrfTarget: 10:10 # vrfTarget used for the default NAD
#JCNR case, Calico running with default BGP port 179, then for cRPD BGP port have to be different, change the port to 178BGPListenPort: 178
# if cRPD connects to MX or some other router, then we have to leave this port to 179 by default, MX wants to connect to jcnr then MX to cRPD BGP port has to be configured as 178BGPConnectPort: 179
# If master node is used as a RR, then this address should be matched with master node ipv4 loopback address.BGPIPv4Neighbor: 10.102.70.242
# If master node is used as a RR, then this address should be matched with master node ipv6 loopback address.BGPIPv6Neighbor: 2001:db8::10:102:70:242
SRGBStartLabel: "400000"
SRGBIndexRange: "4000"
# we can add multiple master nodes configuration by copying the below node configuration as many times as nodes, have the unique name based on the node host name,# Name format node-<actual-node-name>.json with unique IP AddressmasterNodeConfig: node-masternode1.json: | { "ipv4LoopbackAddr":"10.255.255.1", "ipv6LoopbackAddr":"2001:db8::10:255:255:1", "isoLoopbackAddr":"49.0004.1000.0000.0000.00", "srIPv4NodeIndex":"2002", "srIPv6NodeIndex":"3002" }
# we can add multiple worker nodes configuration by copying the below node configuration as many times as nodes, have the unique name based on the node host name,# Name format node-<actual-node-name>.json with unique IP AddressworkerNodeConfig: node-workernode1.json: | { "ipv4LoopbackAddr":"10.255.255.2", "ipv6LoopbackAddr":"2001:db8::10:255:255:2",
18
Not For Public Release

"isoLoopbackAddr":"49.0004.1000.0000.0001.00", "srIPv4NodeIndex":"2003", "srIPv6NodeIndex":"3003" }
8. Change the default password for JCNR-controller pods.
The default password for the JCNR-Controller pods is encoded in base-64 and is contained in thetemplates/jcnr-secrets.yaml file. The password is my-root-password. To create a password pipe theplain-text password through the base64 application. For example:
root@host:/var/tmp/bms/helm/jcnr/templates/# echo 'my-password' | base64
bXktcGFzc3dvcmQK
Copy the hash value that returns into the jcnr-secrets.yaml file as the root password.
9. Install jcnr-cni
root@host:/var/tmp/bms/helm/jcnr-cni/# helm install jcnr-cni .
NAME: jcnr-cniLAST DEPLOYED: Mon Sep 6 18:41:36 2021NAMESPACE: defaultSTATUS: deployedREVISION: 1TEST SUITE: None
10. Verify the JCNR-CNI installation.
root@host:/var/tmp/bms/helm/jcnr/# kubectl -n kube-system get pods
NAME READY STATUS RESTARTS AGEcalico-kube-controllers-596bd759d5-dm2fl 1/1 Running 7 42dcalico-node-zws9b 1/1 Running 5 42dcontrail-agent-nb525 2/2 Running 4 18hcoredns-657959df74-vh2tb 0/1 Pending 0 42dcoredns-657959df74-x9ds2 1/1 Running 5 42ddns-autoscaler-b5c786945-pgz6f 1/1 Running 5 42dkube-apiserver-jcnrserver-b 1/1 Running 5 42dkube-controller-manager-jcnrserver-b 1/1 Running 5 42dkube-jcnr-controller-worker-ds-5q4tk 1/1 Running 0 3h46mkube-multus-ds-amd64-g8sx6 1/1 Running 5 42dkube-proxy-m44rl 1/1 Running 5 42dkube-scheduler-jcnrserver-b 1/1 Running 5 42d
19
Not For Public Release

11. Verify the JCNR-Controller installation.
root@host:/var/tmp/bms/helm/jcnr-cni# kubectl get pods -n kube-system -o wide | grep crpd
kube-crpd-worker-ds-5q4tk 1/1 Running 0 3h54m 10.216.164.43 server-b <none> <none>
12. List the Helm files.
root@host:/var/tmp/bms/helm/jcnr-cni/# helm ls
NAME NAMESPACE REVISION UPDATED STATUS CHART APP VERSIONjcnr-cni default 1 2021-09-06 18:41:36.208117452 -0700 PDT deployed jcnr-cni-1.0.12 1.0.12 jcnr-vrouter default 1 2021-09-06 18:38:57.501090065 -0700 PDT deployed jcnr-vrouter-1.1.8 1.1.8
13. Log in to JCNR-Controller.
root@host:/var/tmp/bms/helm/# kubectl exec -it kube-crpd-worker-ds-5q4tk -n kube-system bash
===> Containerized Routing Protocols Daemon (CRPD) Copyright (C) 2020, Juniper Networks, Inc. All rights reserved. <===
root@host:/# cli
14. Verify that the gRPC connection is established and the JCNR-Controller is ready to provision theDPDK forwarding plane.
root@host: ~/ > show krt state channel vrouter
General state: FIB Channel status: gRPC connection established and ready to program vRouter KRT RE mode: Master Install job is not running KRT io tx job is not running Number of operations queued: 0 Routing table adds: 0 Interface routes: 0 High pri multicast Adds/Changes: 0
20
Not For Public Release

Indirect Next Hop Adds/Changes: 0 Deletes: 0 MPLS Adds: 0 Changes: 0 High pri Adds: 0 Changes: 0 Deletes: 0 Normal pri Indirects: 0 Normal pri Adds: 0 Changes: 0 Deletes: 0 GMP GENCFG Objects: 0 Routing Table deletes: 0 Number of operations deferred: 0 Number of operations canceled: 0 Number of async queue entries: 0 Number of async non queue entries: 0 Time until next queue run: 0 Routes learned from kernel: 0
Routing socket lossage: Time until next scan: 0
DFWD Connection Status: Connected RetryTime: 0
Sample Configuration Files
Read this section to find sample YAML configuration files for use with JCNR. We've included two sampleconfiguration files: sample_nad.yaml and sample_pod.yaml. Use these files to understand the configuration ofboth the K8s network attachment and the K8s pods.
• sample_nad.yaml
apiVersion: "k8s.cni.cncf.io/v1"kind: NetworkAttachmentDefinitionmetadata: name: net1spec: config: '{ "cniVersion":"0.4.0", "name": "net1", "type": "jcnr", "args": { "vrfName": "net1", "vrfTarget": "1:11"
21
Not For Public Release

}, "kubeConfig":"/etc/kubernetes/kubelet.conf"
• sample_pod.yaml
apiVersion: v1kind: Podmetadata: name: pktgen-odu1 annotations: k8s.v1.cni.cncf.io/networks: | [ { "name": "net1", "interface":"net1", "cni-args": { "mac":"aa:bb:cc:dd:ee:51", "dataplane":"vrouter", "securityGroup":"[v6-sg v4-sg]", "ipConfig":{ "ipv4":{ "address":"1.1.51.2/30", "gateway":"1.1.51.1", "routes":[ "1.1.51.0/30" ] }, "ipv6":{ "address":"abcd::1:1:51:2/126", "gateway":"abcd::1:1:51:1", "routes":[ "abcd::1:1:51:0/126" ] } } } } ]spec: containers: - name: pktgen-odu1 image: svl-artifactory.juniper.net/junos-docker-local/jcnr/pktgen19116:20210303
22
Not For Public Release

imagePullPolicy: IfNotPresent securityContext: privileged: false env: - name: KUBERNETES_POD_UID valueFrom: fieldRef: fieldPath: metadata.uid resources: requests: memory: 4Gi limits: hugepages-1Gi: 4Gi name: hugepages command: ["sleep"] args: ["infinity"] volumeMounts: - name: dpdk mountPath: /dpdk subPathExpr: $(KUBERNETES_POD_UID) - name: hugepages mountPath: /hugepages volumes: - name: dpdk hostPath: path: /var/run/jcnr/containers - name: hugepages emptyDir: medium: HugePages
23
Not For Public Release

3CHAPTER
Manage
Manage JCNR-CNI and JCNR-vRouter | 25
Not For Public Release
Manage JCNR-CNI and JCNR-vRouter
SUMMARY
This topic contains instructions for managing JCNR-CNI and JCNR-vRouter Pods in the JCNR solution.
IN THIS SECTION
Remove the JCNR-CNI | 25
Remove the JCNR-vRouter | 25
Remove the JCNR-CNI
Uninstall the JCNR-CNI.
root@ubuntu-vm18:~# sudo helm uninstall jcnr-cni
Remove the JCNR-vRouter
Uninstall the JCNR-vRouter.
root@host:~# helm uninstall jcnr-vrouter
25
Not For Public Release

4CHAPTER
Troubleshoot
Troubleshoot JCNR-vRouter | 27
Not For Public Release
Troubleshoot JCNR-vRouter
SUMMARY
This topic includes commands for viewing andverifying file information.
IN THIS SECTION
Verify the Interface File | 27
View Log Files | 27
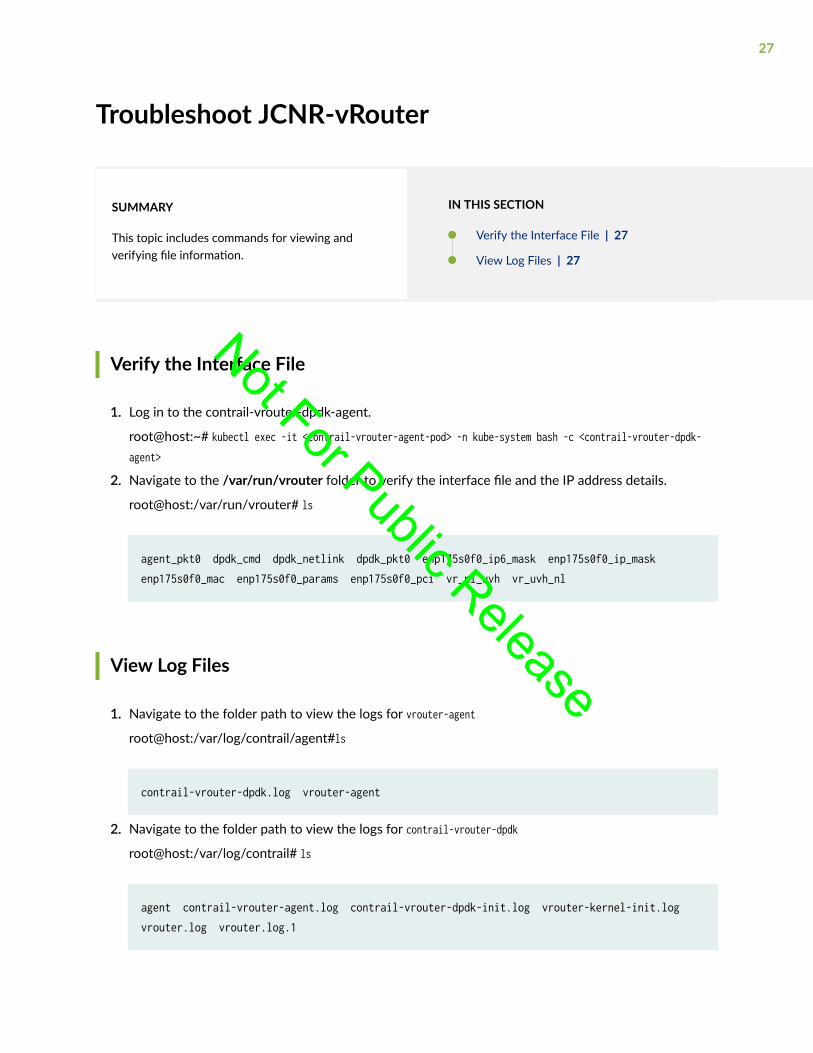
Verify the Interface File
1. Log in to the contrail-vrouter-dpdk-agent.
root@host:~# kubectl exec -it <contrail-vrouter-agent-pod> -n kube-system bash -c <contrail-vrouter-dpdk-agent>
2. Navigate to the /var/run/vrouter folder to verify the interface file and the IP address details.
root@host:/var/run/vrouter# ls
agent_pkt0 dpdk_cmd dpdk_netlink dpdk_pkt0 enp175s0f0_ip6_mask enp175s0f0_ip_mask enp175s0f0_mac enp175s0f0_params enp175s0f0_pci vr_nl_uvh vr_uvh_nl
View Log Files
1. Navigate to the folder path to view the logs for vrouter-agent
root@host:/var/log/contrail/agent#ls
contrail-vrouter-dpdk.log vrouter-agent
2. Navigate to the folder path to view the logs for contrail-vrouter-dpdk
root@host:/var/log/contrail# ls
agent contrail-vrouter-agent.log contrail-vrouter-dpdk-init.log vrouter-kernel-init.log vrouter.log vrouter.log.1
27
Not For Public Release

3. Navigate to the folder path to view the logs for jcnr-cni
root@host:/var/log/# ls
28
Not For Public Release