SHOP MANUAL - Scorpion Coatings
14
SCORPION PROTECTIVE COATINGS, INC. SHOP MANUAL 6184 South US Highway 231 Cloverdale, IN 46120 Phone 800.483.9087 • Fax 765.653.7175
-
Upload
khangminh22 -
Category
Documents
-
view
0 -
download
0
Transcript of SHOP MANUAL - Scorpion Coatings

S C O R P I O N P R O T E C T I V E C O A T I N G S , I N C .
SHOP MANUAL
6184 South US Highway 231 Cloverdale, IN 46120
Phone 800.483.9087 • Fax 765.653.7175
2
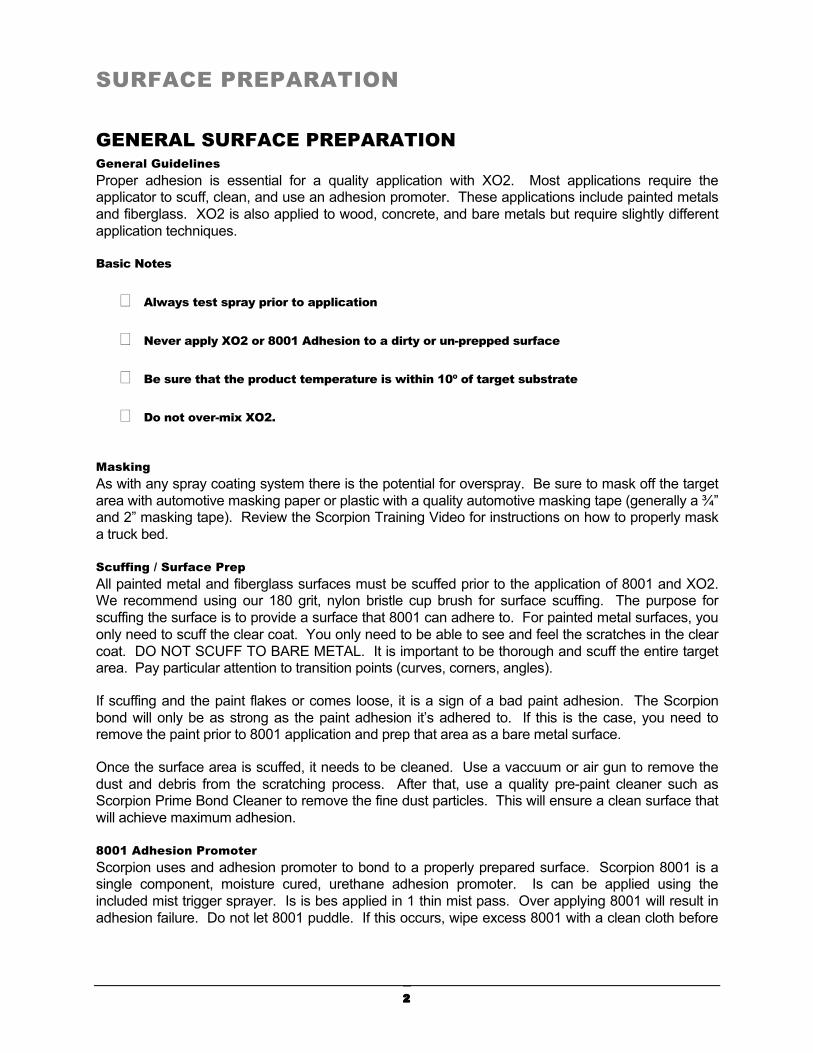
SURFACE PREPARATION
GENERAL SURFACE PREPARATION General Guidelines Proper adhesion is essential for a quality application with XO2. Most applications require the applicator to scuff, clean, and use an adhesion promoter. These applications include painted metals and fiberglass. XO2 is also applied to wood, concrete, and bare metals but require slightly different application techniques.
Basic Notes
� Always test spray prior to application
� Never apply XO2 or 8001 Adhesion to a dirty or un-prepped surface
� Be sure that the product temperature is within 10º of target substrate
� Do not over-mix XO2.
Masking As with any spray coating system there is the potential for overspray. Be sure to mask off the target area with automotive masking paper or plastic with a quality automotive masking tape (generally a ¾” and 2” masking tape). Review the Scorpion Training Video for instructions on how to properly mask a truck bed.
Scuffing / Surface Prep All painted metal and fiberglass surfaces must be scuffed prior to the application of 8001 and XO2. We recommend using our 180 grit, nylon bristle cup brush for surface scuffing. The purpose for scuffing the surface is to provide a surface that 8001 can adhere to. For painted metal surfaces, you only need to scuff the clear coat. You only need to be able to see and feel the scratches in the clear coat. DO NOT SCUFF TO BARE METAL. It is important to be thorough and scuff the entire target area. Pay particular attention to transition points (curves, corners, angles).
If scuffing and the paint flakes or comes loose, it is a sign of a bad paint adhesion. The Scorpion bond will only be as strong as the paint adhesion it’s adhered to. If this is the case, you need to remove the paint prior to 8001 application and prep that area as a bare metal surface.
Once the surface area is scuffed, it needs to be cleaned. Use a vaccuum or air gun to remove the dust and debris from the scratching process. After that, use a quality pre-paint cleaner such as Scorpion Prime Bond Cleaner to remove the fine dust particles. This will ensure a clean surface that will achieve maximum adhesion.
8001 Adhesion Promoter Scorpion uses and adhesion promoter to bond to a properly prepared surface. Scorpion 8001 is a single component, moisture cured, urethane adhesion promoter. Is can be applied using the included mist trigger sprayer. Is is bes applied in 1 thin mist pass. Over applying 8001 will result in adhesion failure. Do not let 8001 puddle. If this occurs, wipe excess 8001 with a clean cloth before

3
application. Scorpion can be applied as soon as the 8001 is tacky – generally within 15 to 30 minutes.
8001 is moisture sensitive and is very important to keep the bottle sealed when not in use. Storing 8001 in a moisture free environment will help extend the shelf life. Always clean sprayer with alcohol after use.
BARE HARDENED STEEL APPLICATIONS DTM Etching Primer DTM is a 2 component etching epoxy primer. It is applied to bare hardened steel surfaces only prior to 8001 and XO2 application. 8001 is not a sufficient adhesion promoter to bare metal surfaces by itself.
DTM is sold in 2 quart or 2 gallon sets containing an “A” and a “B” component. DTM is mixed at a 1:1 ratio. Once mixed DTM has a pot life of roughly 1 hour. Surface must be free of all wax, grease, dirt and oil, etc. Resuted metal must be blasted or cleaned to white metal. Mix 1 part “A” to 1 part “B”. After mixing allow to set for 15 minutes before using. Set air pressure at gun to 35-40 psi. Apply one even mist coat to dry film thickness of 0.5 to 1.0 mil. You should be able to see the substrate hrough the mist coat of primer. Allow to dry 30 minutes before top coating. Do not use mixed material after 8 hours. Clean with lacquer thinner. DO NOT APPLY XO2 DIRECTLY TO DTM. DTM primed surfaces must be topped with 8001 and XO2 within 24 hours of the initial DTM application.
OTHER BARE METAL APPLICATIONS SPECIALTY ETCHING PRIMERS For bare metal applications that are not steel such as aluminum require an etching primer rated for that particular metal. You must follow the manufacturers recommended application instructions prior to using 8001 and XO2. Please consult with your Scorpion Rep for further information. Never prime over rust. WOOD APPLICATIONS Unpainted Wood Wood surfaces must be free of dirt, dust, or any other contaminant which might come between XO2 and the wood surface. Wood normally has many imperfections that will show up after an application of XO2. To hide seams, screw-holes, and imperfections, apply a thin bead of polyurethane caulk and smooth with a squeegee before application. For large areas of imperfections, mix a small amount of XO2 and pour over area. Smooth out the XO2 with a squeegee and allow to tack off for a few minutes before spray applying XO2. WOOD SURFACES DO NOT REQUIRE 8001 ADHESION PROMOTER.
Treated Wood Follow the same procedure for unpainted wood.
Painted Wood You must remove as much of the paint as possible by pressure washing, sanding, or stripping. If a stripper is used, follow the manufacturers guidelines for cleaning and neutralizing the stipper before applying XO2. Since XO2 bonds directly to the wood, failure to remove the paint may result in poor adhesion resulting in adhesion failure.

4
CONCRETE APPLICATIONS Overview A common concern with applying high-build high-strength polyurethane coatings to concrete is blow-holes and blisters caused by entrapped air existing in the porous surface. Specific methods must be followed to ensure that this condition does not affect the finished application. Factors affecting this condition include but may not be limeted to:
� Applying XO2 when the temperature of the concrete is less than the temperature of XO2 while curing
� Inadequate adhesion promoter application
� Applying XO2 when the ambient temperature is at or below the dew point
� Applying XO2 when the concrete is warming up, thus holding or releasing trapped air
Do not apply XO2 to concrete if the concrete temperature is less than 5ºF above the dew point.
The concrete must be structurally sound, clean, dry, and free of all contaminants such as sealers, curing compounds, coatings, oil, dirt, dust, and standing water. Previously applied coatings or paints must be removed. Moisture emission level of the concrete must be at or below 3 lbs, and the pH level of the concrete must be below 9. Adhesion and bondin are compromised at higher levels.
New Concrete New concrete must be allowed to cure for 10 days prior to coating. Surface should be clean and dry follwing all of the recommendations above. Apply 8001 Adhesion Promoter at the rate of 150 sq ft per quart. Allow to tack before applying XO2.
Old Concrete Remove all loose or damaged concrete by aggressivly brooming and pressure wahsing. Some conditions such as heavy oil/grease buildup or other chemical contaminants may require specialized cleaning or etching acids to open pores. Always inquire about what contaminants you may be dealing with before cleaning. Cracks and expansion joints should be filled with polyurethane caulk to create a seamless application. Surface must be clean and dry before application.
Painted or Treated Concrete All coaitngs or paint must be removed prior to the application of 8001 and XO2. After paint removal be sure to clean surface as you would with old concrete. Surface must be clean and dry before application.
REPAIR/DAMAGED APPLICATIONS How to Prepare a Damaged Surface. No matter how durable a product is made, damage is going to occur. If the area is small, simply cut the coating back to where it is undamaged. Thoroughly scuff and clean the damaged area just as you would prep a new bed including any surrounding areas that you plan to texture coat to blend in the patch. Wipe down with laquer thinner and allow to dry. Mist apply 8001 and apply XO2. Depending on the repair, it may be preferable to go over the entire area with a mist/texture coat to give the area a uniform look.
Texture Coats/Top Coat Repairs New Scorpion Liner less than 24 hours old, you may repair/recoat the surface by simply wiping down with laquer thinner, letting it dry, then apply 8001 and XO2. To re-coat other types of bed liners use the recommendations for a damaged liner provided the liner has good adhesion. If in doubt about the liners adhesion, remove the liner completely.

5
X02 Mix Chart Use the chart below to successfully mix Scorpion XO2.
MICRO BATCH
B* CATALYZER COLOR A TOTAL MIX
4 OZ 4 OZ 1 TBSP 10 OZ 2.25 CUPS
SMALL BATCH
B* CATALYZER COLOR A TOTAL MIX
1 CUP 1 CUP 1/8 CUP 2.5 CUPS 4.5 CUPS
MEDIUM BATCH
B* CATALYZER COLOR A TOTAL MIX
1 PT 1 PT ¼ CUP 2.5 PTS 4.5 PTS
LARGE BATCH
B* CATALYZER COLOR A TOTAL MIX
1 QT 1 QT ½ CUP 2.5 QTS 4.5 QTS
*Must be agitated thoroughly before each use. To agitate 5 gallon pails use mix paddle and high speed drill.
Mixing Instructions Mix with high speed drill. Add components to the plastic mix container in the order that they are listed. That way you can peel the dried material out of the plastic mix container the next day and reuse the mix container.
Start the drill out slow otherwise the watery components may be thrown out of the mix container until the heavy-bodied “A” component is mixed in. Once the “C” or white component comes to the top, speed up the drill and mix thoroughly for about one minute. Ensure consistency throughout and that all of the “C” or white component is thoroughly mixed in.
50% Rubber Crumb additive (Large Batch - requires 10 quart bucket): When using the Rubber Crumb additive, stop mixing the XO2 as soon as the white “C” component goes away (about 30 seconds). Add 40 ounces by volume of the rubber granules and finish mixing for a total of one minute.
Do not over mix. You have a 20 minute pot life once the “A” component touches the “B”. If you mix for longer than one minute you can reduce this pot life considerably.
All pot life times are based on 70°F. Higher air or material temperatures will reduce pot life time.
When spraying the 50% Rubber Crumb mix, set your air pressure at 40-45 PSI with the air trigger at rear of gun. Use 1/4 to 1/3 trigger to get a uniform finish. Do not over-trigger the gun.

6
Mix and Spray Sequence
8 FOOT STANDARD PICKUP TRUCK UNDER RAILS Standard Use Application This Scorpion application will exhibit excellent non-skid characteristics, UV stability, and puncture resistance. Objects such as tools and firewood can be placed in the bed and carried without marring the bed. Heavy objects (especially those with sharp edges) should not be pulled over the liner.
STANDARD APPLICATION: 2 LARGE BATCHES + 1 MEDIUM BATCH
� Large Batch (4.5 quarts) – Spray Truck Walls
� Large Batch (4.5 quarts) – Spray Bed Floor and Tailgate
� Medium Batch (4.5 pints) – Overspray texture on entire truck and tailgate
Refer to XO2 Mix Chart Commercial Use Application This Scorpion application will exhibit excellent non-skid characteristics, UV stability, and puncture resistance. Standard tools, lumber, etc. may be thrown into the bed without structural damage to the bed. Heavy objects without sharp edges may be placed and hauled without more than slight surface marring. This is an excellent contractor grade application.
COMMERCIAL APPLICATION: 3 LARGE BATCHES
� Large Batch (4.5 quarts) – Spray Truck Walls
� Large Batch (4.5 quarts) – Spray Bed Floor
� Large Batch (4.5 quarts) – Tailgate and Overspray on Bed Floor
Refer to XO2 Mix Chart
NOTE: ADD MEDIUM BATCH TO SPRAY OVER THE RAILS
NOTE: FOR HEAVY ABUSE APPLICATIONS, ADD MORE MATERIAL AS NEEDED

7
Mix and Spray Sequence
6 FOOT STANDARD PICKUP TRUCK UNDER RAILS Standard Use Application This Scorpion application will exhibit excellent non-skid characteristics, UV stability, and puncture resistance. Objects such as tools and firewood can be placed in the bed and carried without marring the bed. Heavy objects (especially those with sharp edges) should not be pulled over the liner.
STANDARD APPLICATION: 2 LARGE BATCHES
� Large Batch (4.5 quarts) – Spray Truck Walls and Floor From Inside Bed
� Large Batch (4.5 quarts) – Spray rest of Floor, Tailgate and Over Spray Bed From Outside Box to Build Texture and Depth
Refer to XO2 Mix Chart Commercial Use Application This Scorpion application will exhibit excellent non-skid characteristics, UV stability, and puncture resistance. Standard tools, lumber, etc. may be thrown into the bed without structural damage to the bed. Heavy objects without sharp edges may be placed and hauled without more than slight surface marring. This is an excellent contractor grade application.
COMMERCIAL APPLICATION: 2 LARGE BATCHES + 1 MEDIUM BATCH
� Large Batch (4.5 quarts) – Spray Truck Walls
� Large Batch (4.5 quarts) – Spray Bed Floor
� Medium Batch (4.5 pints) – Tailgate and Overspray on Bed Floor for Texture
Refer to XO2 Mix Chart
NOTE: ADD MEDIUM BATCH TO SPRAY OVER THE RAILS
NOTE: FOR HEAVY ABUSE APPLICATIONS, ADD MORE MATERIAL AS NEEDED

8
Mix and Spray Sequence
COMPACT PICKUP TRUCK UNDER RAILS Standard Use Application This Scorpion application will exhibit excellent non-skid characteristics, UV stability, and puncture resistance. Objects such as tools and firewood can be placed in the bed and carried without marring the bed. Heavy objects (especially those with sharp edges) should not be pulled over the liner.
STANDARD APPLICATION: 1 LARGE BATCH + 1 MEDIUM BATCH
� Large Batch (4.5 quarts) – Spray Walls, Floor, and Tailgate
� Medium Batch (4.5 pints) – Overspray Entire Area for Texture
Refer to XO2 Mix Chart Commercial Use Application This Scorpion application will exhibit excellent non-skid characteristics, UV stability, and puncture resistance. Standard tools, lumber, etc. may be thrown into the bed without structural damage to the bed. Heavy objects without sharp edges may be placed and hauled without more than slight surface marring. This is an excellent contractor grade application.
COMMERCIAL APPLICATION: 2 LARGE BATCHES
� Large Batch (4.5 quarts) – Spray Truck Walls and Floor
� Large Batch (4.5 quarts) – Spray Floor and Tailgate
Refer to XO2 Mix Chart
NOTE: ADD MEDIUM BATCH TO SPRAY OVER THE RAILS

9
X02 + Rubber/Gripper Mix Chart Use the chart below to successfully mix Scorpion XO2 with Rubber Crumb Additive or Gripper Granule Additive.
50% Rubber/Gripper Load
SMALL BATCH
B* CATALYZER COLOR A Rubber/Gripper TOTAL MIX
1 CUP 1 CUP 1/8 CUP 2.5 CUPS 1 ¼ CUP 5.75 CUPS
MEDIUM BATCH
B* CATALYZER COLOR A Rubber/Gripper TOTAL MIX
1 PT 1 PT ¼ CUP 2.5 PTS 1.25 PTS 5.75 PTS
LARGE BATCH
B* CATALYZER COLOR A Rubber/Gripper TOTAL MIX
1 QT 1 QT ½ CUP 2.5 QTS 1.25 QTS (40 OZ) 5.75 QTS
100% Rubber/Gripper Load
LARGE BATCH
B* CATALYZER COLOR A Rubber/Gripper TOTAL MIX
1 QT 1 QT ½ CUP 2.5 QTS 2.5 QTS 7 QTS
25% Rubber/Gripper Load
LARGE BATCH
B* CATALYZER COLOR A Rubber/Gripper TOTAL MIX
1 QT 1 QT ½ CUP 2.5 QTS .625 QT (20 OZ) 5.25 QTS
*Must be agitated thoroughly before each use. To agitate 5 gallon pails use mix paddle and high speed drill.
Gripper Instructions Gripper Granules cannot be applied as a stand-alone product. It requires a base of straight XO2 or a XO2-Rubber mix to achieve any depth.
Mixing a Base Coat: To help with cleaning and reusing mix containers, put the “A” component in last for the standard mix. Pour in the “B”, Catalyzer, Color and the “A” component and then mix. Mix for one minute making sure that the Catalyzer (white material) blends in.
(Continued on next page)
10
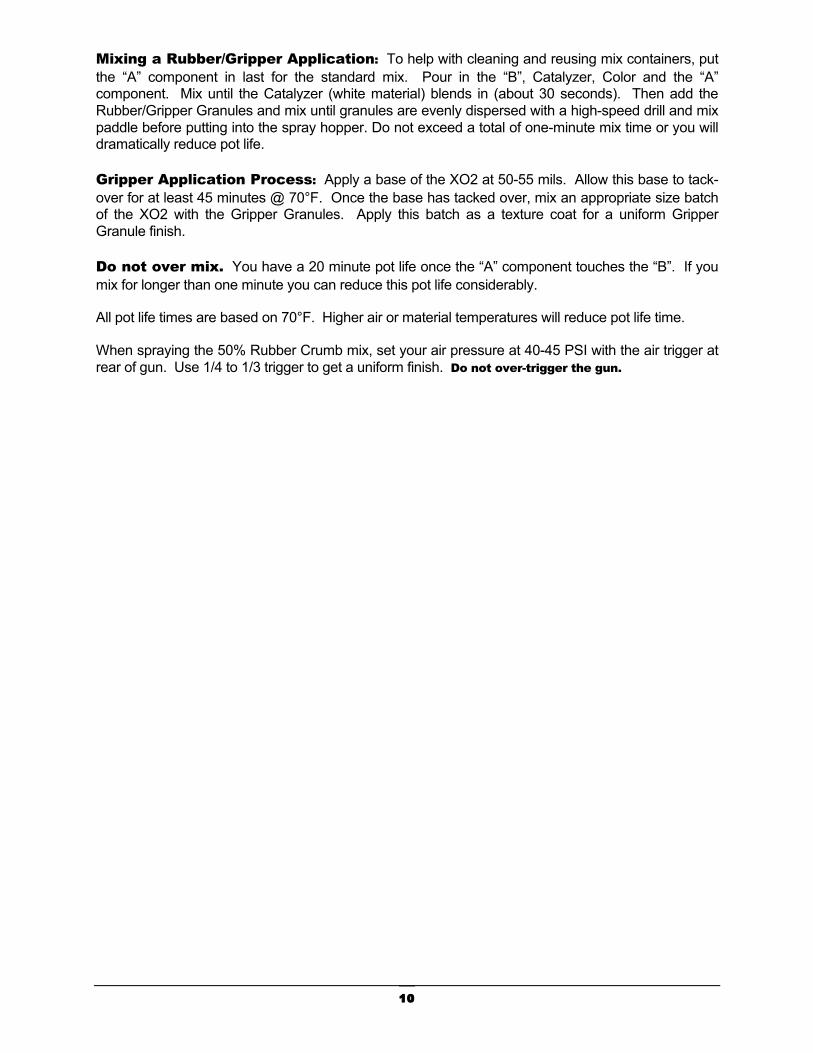
Mixing a Rubber/Gripper Application: To help with cleaning and reusing mix containers, put the “A” component in last for the standard mix. Pour in the “B”, Catalyzer, Color and the “A” component. Mix until the Catalyzer (white material) blends in (about 30 seconds). Then add the Rubber/Gripper Granules and mix until granules are evenly dispersed with a high-speed drill and mix paddle before putting into the spray hopper. Do not exceed a total of one-minute mix time or you will dramatically reduce pot life.
Gripper Application Process: Apply a base of the XO2 at 50-55 mils. Allow this base to tack-over for at least 45 minutes @ 70°F. Once the base has tacked over, mix an appropriate size batch of the XO2 with the Gripper Granules. Apply this batch as a texture coat for a uniform Gripper Granule finish.
Do not over mix. You have a 20 minute pot life once the “A” component touches the “B”. If you mix for longer than one minute you can reduce this pot life considerably.
All pot life times are based on 70°F. Higher air or material temperatures will reduce pot life time.
When spraying the 50% Rubber Crumb mix, set your air pressure at 40-45 PSI with the air trigger at rear of gun. Use 1/4 to 1/3 trigger to get a uniform finish. Do not over-trigger the gun.

11
FR Mix Chart Use the chart below to successfully mix Scorpion FR.
SMALL BATCH
B* CATALYZER COLOR A TOTAL MIX
1 CUP 1 CUP 1/8 CUP 3 CUPS 4.5 CUPS
MEDIUM BATCH
B* CATALYZER COLOR A TOTAL MIX
1 PT 1 PT ¼ CUP 3 PTS 4.5 PTS
LARGE BATCH
B* CATALYZER COLOR A TOTAL MIX
1 QT 1 QT ½ CUP 3 QTS 4.5 QTS
*Must be agitated thoroughly before each use. To agitate 5 gallon pails use mix paddle and high speed drill.
Mixing Instructions To help with cleaning and reusing mix containers, put the “A” component is last for the standard XO2 mix. Pout the “B”, Catalyzer and Color then add the “A” component and mix until the Catalyzer blends in. Mix for a total of one minute with a high-speed drill before putting it in the spray hopper.
Recommendations - It is not recommended to add aggregates such as Rubber Crumb or Gripper Granules to FR. FR is incredibly thick on its own and adding aggregates would make spraying near impossible.
The thicker consistency of the FR product requires that the “A” component be maintained at 70° F or higher. Lower temperatures will result in the “A” component being too thick too spray and could result in runs and/or sags in the finished product.
Do not over mix. You have a 20 minute pot life once the “A” component touches the “B”. If you mix for longer than one minute you may reduce this pot life considerably.
All pot life times are based on 70°F. Higher air or material temperatures will reduce pot life time.
Do not over-trigger the gun.

12
X02 Mix Chart when using Custom Automotive Tints Use the chart below to successfully mix Scorpion XO2 when using Scorpion Yellow or colors other than Scorpion Tints.
SMALL BATCH
B* CATALYZER COLOR A TOTAL MIX
1 CUP 1 CUP 1/4 CUP 2.5 CUPS 4.75 CUPS
MEDIUM BATCH
B* CATALYZER COLOR A TOTAL MIX
1 PT 1 PT 1/2 CUP 2.5 PTS 4.75 PTS
LARGE BATCH
B* CATALYZER COLOR A TOTAL MIX
1 QT 1 QT 1 CUPS 2.5 QTS 4.75 QTS
*Must be agitated thoroughly before each use. To agitate 5 gallon pails use mix paddle and high speed drill.
Every color has a unique name or number that identifies it. When you are ordering this tint, refer to that number. On a truck this number is normally on the I.D. tag, typically found in the glovebox or on the door jamb placard. If you have your own paint system, you know the drill.
Polyurethane tints work best, particularly P.P.G. or Valspar since they are polyurethane, but acrylic or enamel tints will also suffice. Just make sure when you order it, you are getting tint only - no balancers - stabilizers - hardeners - dryers - no additives of any kind.
Since automotive tints are not nearly as strong as Scorpion Tints, you will need to order twice as much tint as you would normally use. If you are going to put 3 large batches in a 6 foot truck bed, you will use a total of 1 ½ cups of Scorpion Tint. To use automotive tints, you need to double the amount of tint used in each batch. The 6 foot example above would use 3 cups of automotive tint.
It is very important to spray the polyurethane evenly. You may be able to see the substrate thru the coating if you are light in some areas.
As a final word, it sometimes takes up to 2 weeks for an automotive tinted application to turn color. Don't panic - if you mixed it right, it will turn out just fine.

13
X02 Mix Chart when using White or Semi -Translucent Colors Use the chart below to successfully mix Scorpion XO2 with semi-translucent colors.
SMALL BATCH
B* CATALYZER COLOR A TOTAL MIX
1 CUP 1 CUP 1/2 CUP 2.5 CUPS 5 CUPS
MEDIUM BATCH
B* CATALYZER COLOR A TOTAL MIX
1 PT 1 PT 1 CUP 2.5 PTS 5 PTS
LARGE BATCH
B* CATALYZER COLOR A TOTAL MIX
1 QT 1 QT 2 CUPS 2.5 QTS 5 QTS
*Must be agitated thoroughly before each use. To agitate 5 gallon pails use mix paddle and high speed drill.
NOTE: White and other semi-translucent colors are specially formulated to be used with Scorpion X-O2. Use the following chart when mixing these colors. These colors will take slightly longer to cure. For the best results, cure these colors in the dark for the first 24 hours, before exposing to direct sunlight. Put B, C, color and A into the mix containers in this order and then mix thoroughly with a high-speed drill for 1 full minute.
Every color has a unique name or number that identifies it. When you are ordering this tint, refer to that number. On a truck this number is normally on the I.D. tag. If you have your own paint system, you know the drill.
Polyurethane tints work best, particularly P.P.G. or Valspar since they are polyurethane, but acrylic or enamel tints will also suffice. Just make sure when you order it, you are getting tint only - no balancers - stabilizers - hardeners - dryers - no additives of any kind.
It is very important to spray the polyurethane evenly. You may be able to see the substrate thru the coating if you are light in some areas.
As a final word, it sometimes takes up to 2 weeks for an automotive tinted application to turn color. Don't panic - if you mixed it right, it will turn out just fine.
14
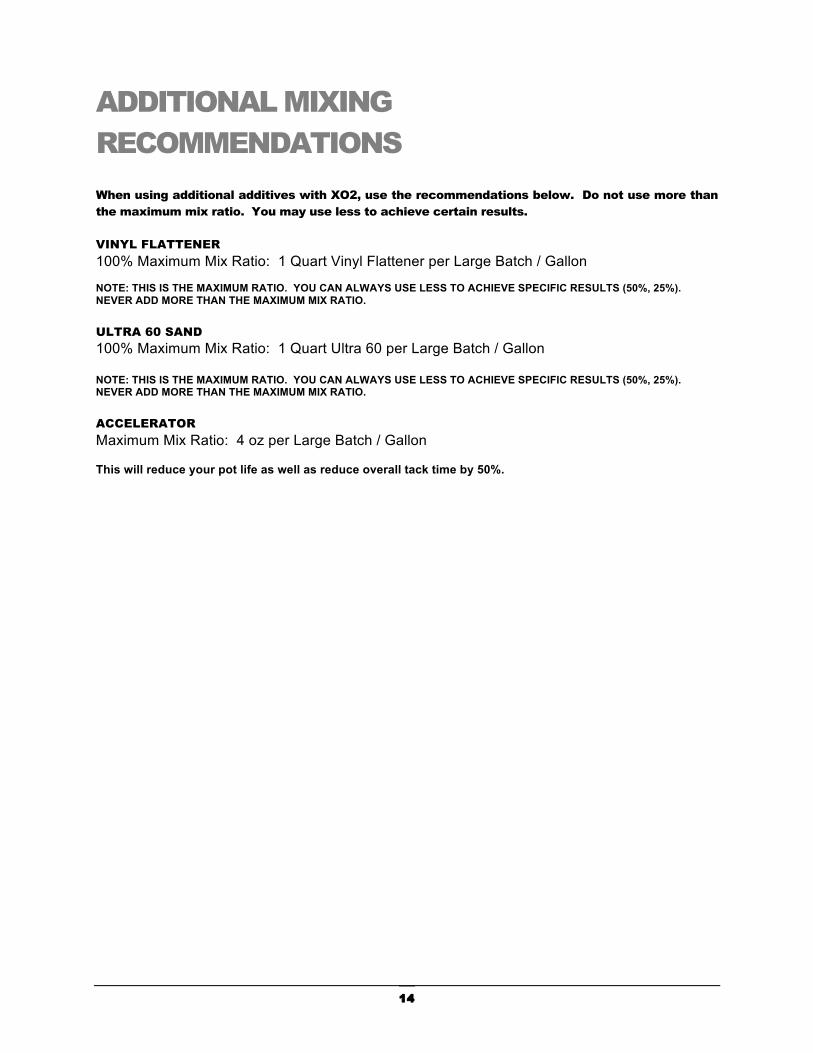
ADDITIONAL MIXING RECOMMENDATIONS When using additional additives with XO2, use the recommendations below. Do not use more than the maximum mix ratio. You may use less to achieve certain results.
VINYL FLATTENER 100% Maximum Mix Ratio: 1 Quart Vinyl Flattener per Large Batch / Gallon NOTE: THIS IS THE MAXIMUM RATIO. YOU CAN ALWAYS USE LESS TO ACHIEVE SPECIFIC RESULTS (50%, 25%). NEVER ADD MORE THAN THE MAXIMUM MIX RATIO. ULTRA 60 SAND 100% Maximum Mix Ratio: 1 Quart Ultra 60 per Large Batch / Gallon NOTE: THIS IS THE MAXIMUM RATIO. YOU CAN ALWAYS USE LESS TO ACHIEVE SPECIFIC RESULTS (50%, 25%). NEVER ADD MORE THAN THE MAXIMUM MIX RATIO. ACCELERATOR Maximum Mix Ratio: 4 oz per Large Batch / Gallon This will reduce your pot life as well as reduce overall tack time by 50%.