Cocoa Production
31
Training Manual Good Manufacturing Practices Cocoa Production
-
Upload
khangminh22 -
Category
Documents
-
view
2 -
download
0
Transcript of Cocoa Production

Training Manual Good Manufacturing Practices
Cocoa Production

Module 1 Standards
Learning outcomes 1.1. Gain familiarity with NIS 468 of 2016 1.2 Understand the key quality parameters of Cocoa 1.3 Understand where and how quality of Cocoa beans is assessed Teaching strategy: Learning activities for the trainee must include the instructor to: a) Discuss the content of the standards b) Discuss cocoa production Assessment condition: Trainee must be given access to: i) NIS Standards for Cocoa ii) Cocoa Beans iii) Overview of Cocoa Production Assessment criteria: Trainees shall be able to demonstrate an understanding of the quality parameters contained in the standard and how these can be
affected during production. Assessment method: To demonstrate achievement of the above criteria the trainee will be given: • oral questions • or written questions • Practical demonstration
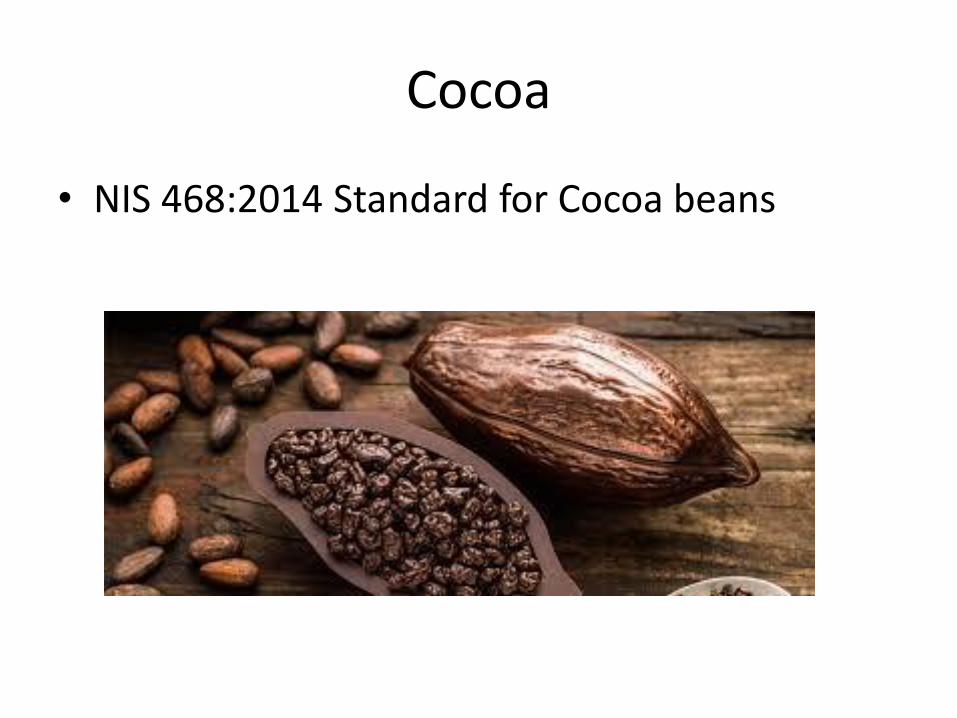
Cocoa
• NIS 468:2014 Standard for Cocoa beans

Key Issues
• Fungal growth on damaged fruit
• Damage to beans during opening of fruit
• Proper fermentation and washing of Mucilagenous material
• Proper drying of beans (Moisture content)
• Insect and animal infestation of stored beans
• Pesticide residues

Cocoa - Quality Bean count (300g) Mouldy
beans(%max)
Slaty
beans(%max)
Flat Beans(%max) Defects such as
insect damaged,
infested beans
and germinated
beans(%max)
Foreign
mater(%max)
Grade I 100-120 3 3 1 3 0.5
Grade II 100-120 4 8 1 5 0.5
Grade III >120 >4 >8 1 >5 0.5
Parameter
Limit
Colour Chocolate brown
Moisture Content %(max) 7.5
Fat (cocoa butter, shell fat) 35-57
Total Ash (on dry weight basis) % (max) 9.0
Total Nitrogen % (max) 3.7
Water Soluble ash %(max) 6.0
Crude Fibre % (max) 5.2
Theobromine% (max) 1.6
Starch (on dry weight basis)% (max) 13.5
Crude fibre 5.2
Free Fatty Acid (FFA) (Max) 1
Acid Value(Max) 2

Cocoa - Contaminants Maximum Residue Levels ( mg/kg) Limit
Arsenic 1,0
Copper 1,0
Lead 0,1
Maximum Residue Levels ( mg/kg) Limit
Fenitrothion 0,10
Hydrogen Phosphide 0,01
Lindane 1,00
Deltamethrin 0,05
Metlaxyl 0,20
Mycotoxins Maximum permitted level μg/kg (ppb)
Total Aflatoxin 4
Ochratoxin A 5

Pre – Harvesting
Healthy crops
lead to
good products.
• Good material
• Good preparation
• Maintenance
• Preparation for harvesting

Pre- Harvest Key points
• Growing stock – Seed / trees
• Prepare the growing environment
• Control pests
• Control weeds
• Tools and equipment
• Harvest time – When its ripe
– Crop protection protocols
– Safe pesticide “window”
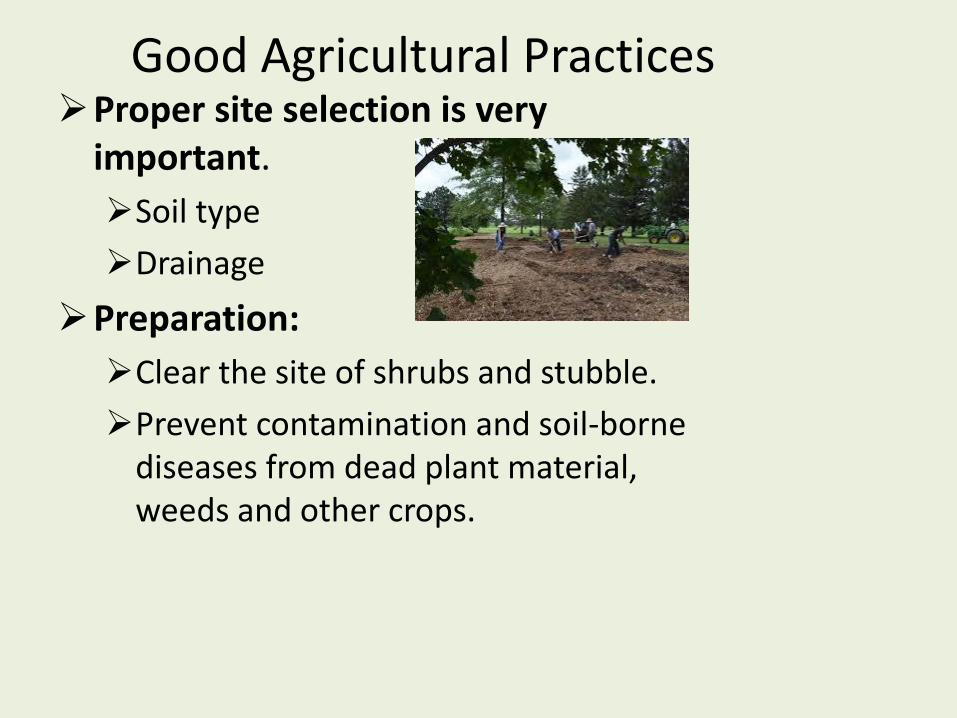
Good Agricultural Practices Proper site selection is very
important.
Soil type
Drainage
Preparation:
Clear the site of shrubs and stubble.
Prevent contamination and soil-borne diseases from dead plant material, weeds and other crops.

Environmental hygiene in Harvesting Areas
Primary production should not be carried out when there are potentially harmful substances that may contaminate the crops during harvest.

Pre-harvest operations 1. Minimize insect damage and fungal
infection in the vicinity of the crop by proper use of acceptable insecticides, fungicides and other appropriate practices within an integrated pest management program prior to harvesting.
2. Weeds can be controlled by manual removal or by use of appropriate herbicides or other safe and suitable weed eradication practices.

3. Mechanical damage to plants during cultivation should be minimized to avoid contamination of plant by fungi.

Pre-harvesting techniques
Harvesting tools must be ready and it include: Sharp cutlass, A sharp knife with
short handle A sharp knife
attached to a long pole (go-to-hell) A clean basket

Module 1 : Cocoa Beans Harvesting and handling Exercise 1: Harvest Cocoa Suggested minimum instructional time: 40 minutes Learning outcomes 1.1 Identify the signs of maturity in Cocoa Pods 1.2 Know how to split Cocoa Pods Teaching strategy: Learning activities for the trainee must include the instructor to: • Identify and explain the signs and maturity of Cocoa. • Explain and demonstrate the methods of harvesting pods, splitting pods and preparing pods for fermentation Assessment condition: Trainee must be given access to: i) information and handouts ii) Harvesting Sticks and baskets iii) mature Cocoa Pods iv) Splitting sticks Assessment criteria: 1.1.1 Signs of maturity in Cocoa Pods are identified correctly 1.1.2 Risks associated with harvesting practice are understood 1.1.3 Pods are split and fermented correctly Assessment method: To demonstrate achievement of the above criteria the trainee will be given: • oral questions • or written questions • Practical demonstration

Harvest only ripe pods The tools and baskets used to transport the fruits must be clean and the tools sharpened regularly.

Allow the pods to rest for two days before processing.

Breaking / opening of cocoa pods
Use a blunt object such as a stone or a thick piece of wood

Removing beans from the pod
• After Splitting, remove wet beans from the pods
• Any defective or damaged beans are removed
• Wet beans are fermented for 5 to 6 days (until strong odour develops)
• Beans should be turned every 48 hours

Protect cocoa beans during drying from rain and dew. The cocoa beans should be heaped and covered at night or during rainy weather to avoid re-wetting.

Remove flat beans, slaty beans, shriveled beans, black beans, moldy beans, small and/or fused beans, germinated beans, beans with insect damage before bagging.
Packaging and storage

Cocoa beans shall be packaged in clean hydrocarbon-free jute bags
The bagged cocoa beans shall be placed in storage sheds that are weatherproof, well aerated, cleaned, free from dampness and insect pests and away from smoke

Labelling
• Each bag of cocoa beans shall be securely sealed, marked clearly and indelibly with the following information
• Only non-toxic ink or paint shall be used for marking and shall not be allowed to come in contact with the beans
I. Name of the product, variety or commercial type
II. Grade
III. Net weight(kg)
IV. Name and address of producer, trader or exporter and relevant license number
V. Location/place produced(town/province)
vi. Consignment or lot or contract number as applicable
vii. Product of Nigeria
viii. Year of harvest
ix. Destination

Warehouses
The design and structure of the warehouses or storage sheds should be adequate to maintain dryness and uniformity of the stored dried cocoa beans.

The cocoa bags should be arranged on pallets and away from walls, to allow good air circulation.

Storage facilities should be periodically inspected, cleaned and repaired.
The moisture content of the stored cocoa beans should be periodically checked and kept below 7.5% by re-drying

Before receiving a new cargo, the vehicles must be cleaned from residues of previous cargo
Check vehicle floor, side walls and ceilings (in closed vehicles) for the presence of points where exhaust fumes or water from rain can be channeled into the cocoa cargo.

• Tarpaulins and plastic canvas used to cover the cargo should also be regularly checked to ensure that they are clean and without holes.
• The vehicles should also receive regular maintenance and should be kept in good condition.

• When shipped in containers it is preferable to use fully ventilated/ super ventilated containers.
• preferably line with rattan matting, and/or kraft paper
• Stow bags correctly in order to allow ventilation.

The recommended practices during transportation in the port are:
a)Cover cocoa loading and unloading areas to protect against rain.
b) Check cocoa lots to ensure that they are uniformly dried and below 7.5% moisture content, free of foreign matter and conforming to the established defect levels.
c) Check containers before loading to ensure they are clean, dry and without structural damage that could allow water to enter into the container.

d) Bags should be well stacked and crossed over for mutual support.

e) Choose an appropriate place, not directly exposed to outside elements, aboard the ship to store the cocoa to reduce the possibility of uptake of moisture or water spillage.
f) Keep the ventilation holes in the containers free from blockage.
g) Avoid unprotected stowage on the deck (top layer) and stow away from boilers and heated tanks or bulkheads.