Best Practices for Reprocessing Endoscopes | MDRAO
34
Best Practices for Reprocessing Endoscopes
-
Upload
khangminh22 -
Category
Documents
-
view
3 -
download
0
Transcript of Best Practices for Reprocessing Endoscopes | MDRAO

Best Practices for Reprocessing Endoscopes
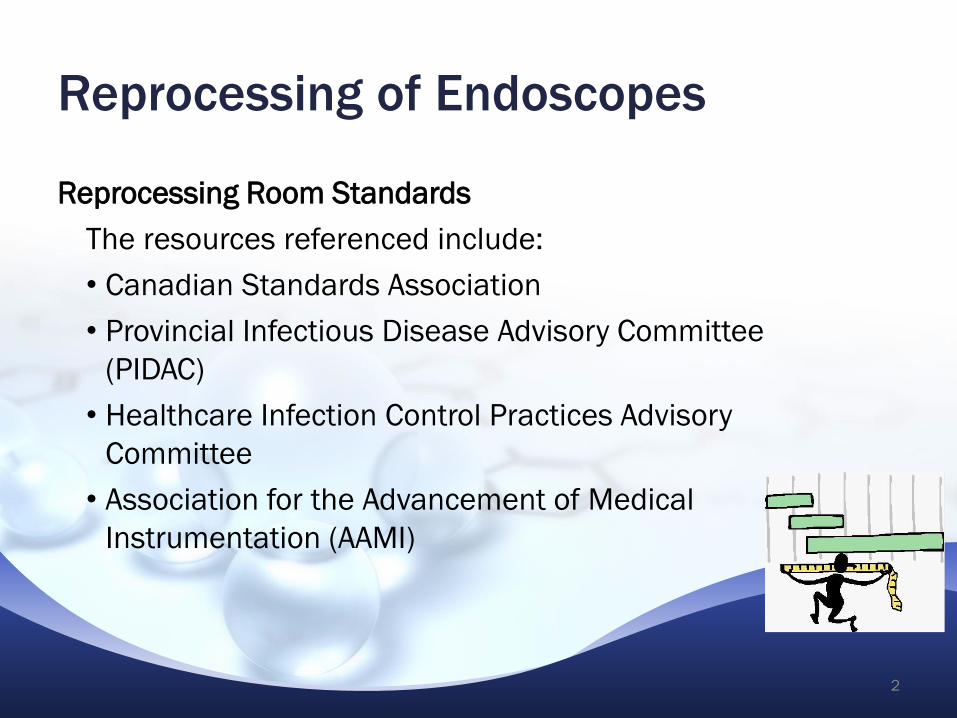
Reprocessing of Endoscopes
Reprocessing Room Standards
The resources referenced include:
• Canadian Standards Association
• Provincial Infectious Disease Advisory Committee
(PIDAC)
• Healthcare Infection Control Practices Advisory
Committee
• Association for the Advancement of Medical
Instrumentation (AAMI)
2
Reprocessing of Endoscopes
3
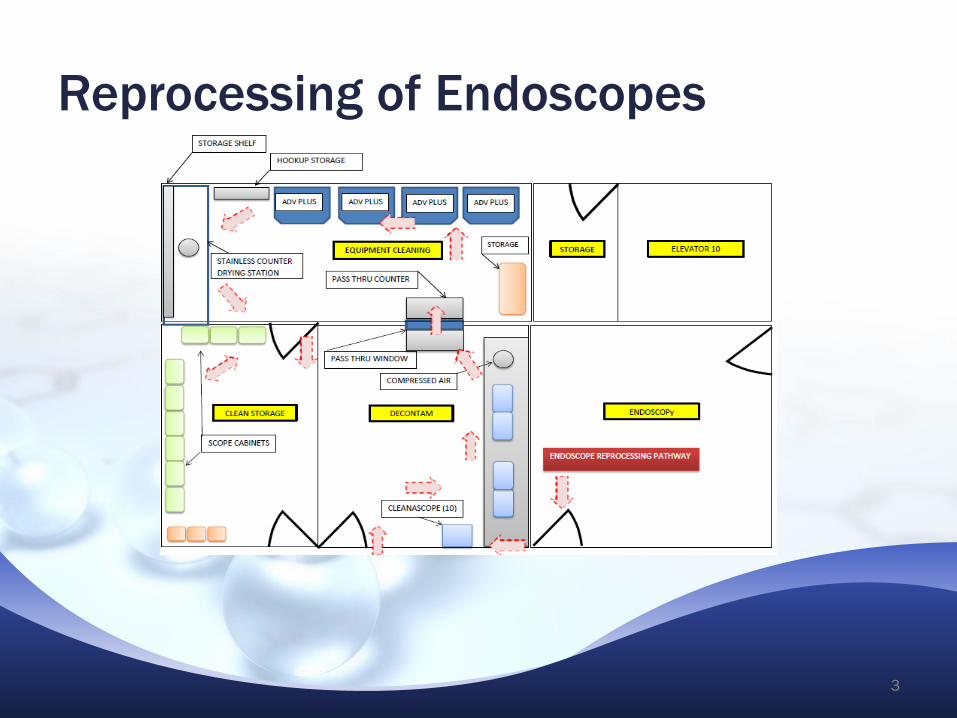
Reprocessing of Endoscopes
Work Areas and Equipment – goal to minimize bio burden and particulate contamination
•Restricted access between clean & dirty areas
•One-way workflow
•Negative air exchange in dirty area vs. clean area
•Storage of Personal Protective Equipment
•Transportation system for endoscopes
•Storage of clean supplies
•Task lighting (review of distal end of endoscopes where required)
•Work surfaces designed to be storage free & tolerate regular cleaning with disinfectant agents
•10-12 air exchanges per hour
Room Standards Highlights
4
Reprocessing of Endoscopes
Reprocessing of contaminated patient equipment should be done in an area
designated and dedicated for this function
Reprocessing room separate from where endoscopic procedures are performed
Water that has been filtered through a 0.2micron filter or equivalent quality
(Distilled, Reverse Osmosis)
Drying of endoscopes via forced medical grade air
Storage of endoscopes in a ventilated cabinet in an area outside of the
reprocessing room
Accessories which are classified as critical devices require sterilization
Critical items labeled for single-use are not reprocessed and / or reused
Room Standards Highlights
5
MERiT Module 4 |
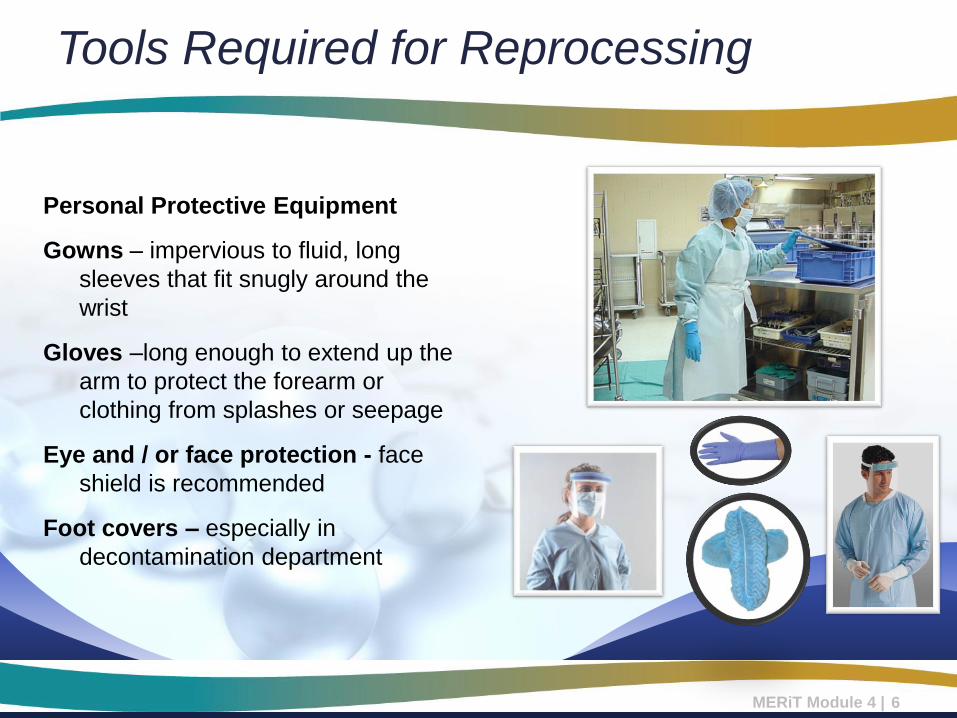
Personal Protective Equipment
Gowns – impervious to fluid, long
sleeves that fit snugly around the
wrist
Gloves –long enough to extend up the
arm to protect the forearm or
clothing from splashes or seepage
Eye and / or face protection - face
shield is recommended
Foot covers – especially in
decontamination department
Tools Required for Reprocessing
6
Infection Prevention and Control
Routine infection prevention and control practices within GI endoscopy:
The approach to infection control in which all human blood and body fluids are
treated as if known to be infectious
All medical devices received for reprocessing are considered potentially infectious
Key Points
Follow the Manufacturers Instructions for Cleaning
Following the Canadian Standards for Reprocessing Medical
Devices
Ensure that you are using your chemistry and equipment
properly
Keep documentation of endoscope reprocessing
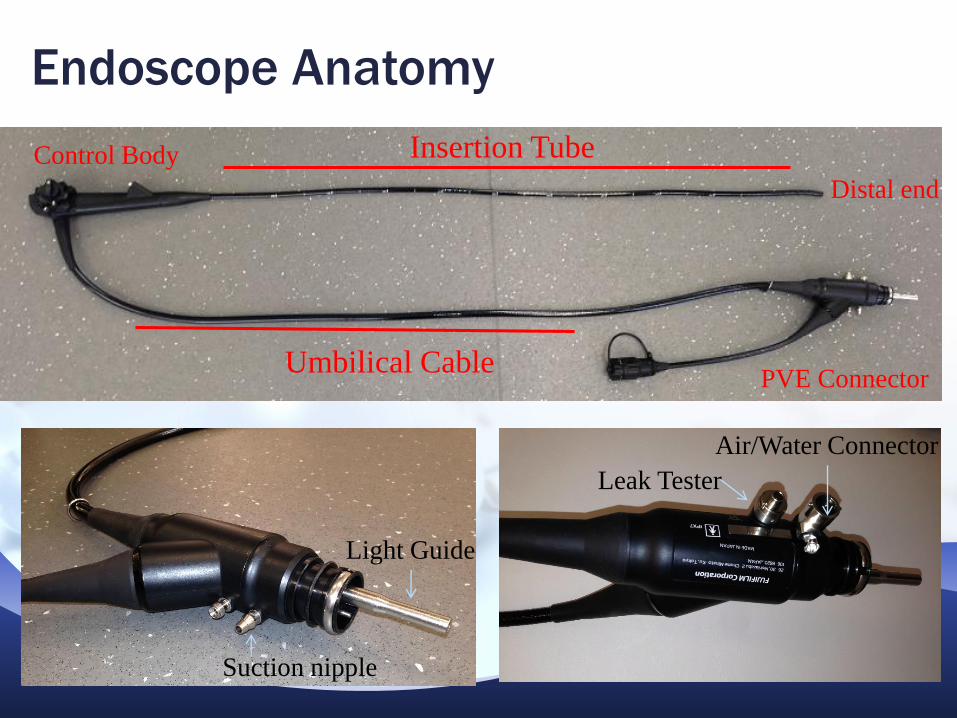
Endoscope Anatomy
Insertion Tube
Umbilical Cable
Distal end
Control Body
PVE Connector
Suction nipple
Light Guide
Air/Water Connector
Leak Tester
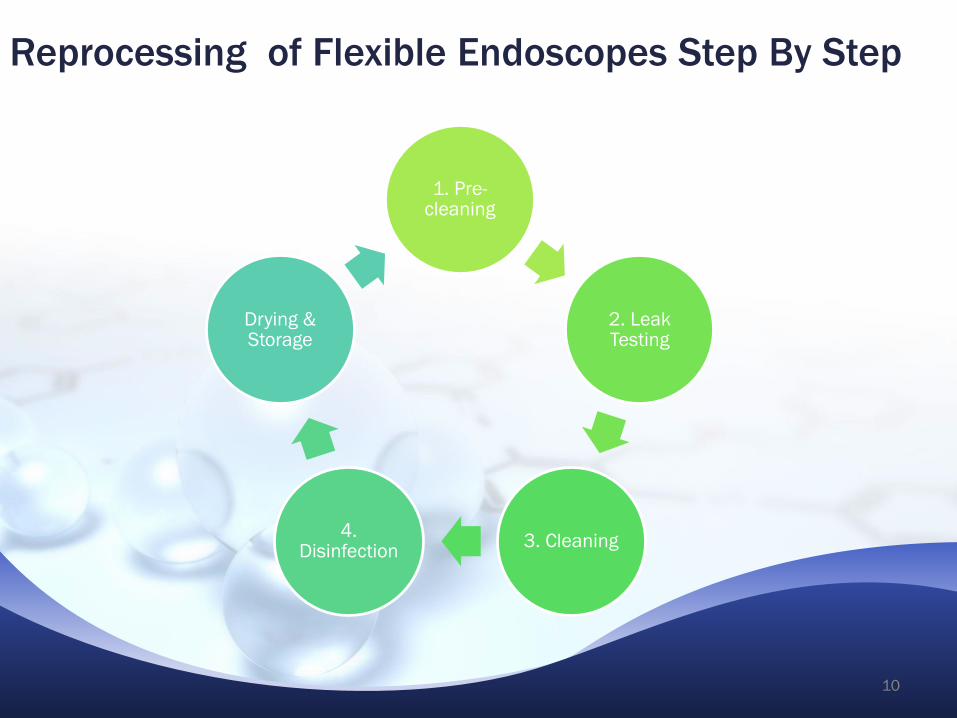
Reprocessing of Flexible Endoscopes Step By Step
1. Pre-cleaning
2. Leak Testing
3. Cleaning4.
Disinfection
Drying & Storage
10

Step 1: Bedside Cleaning
Immediately after the procedure, the endoscope will undergo
a pre-clean.
1. All debris is wiped from the insertion tube with a cloth or
sponge that is moistened with enzymatic detergent
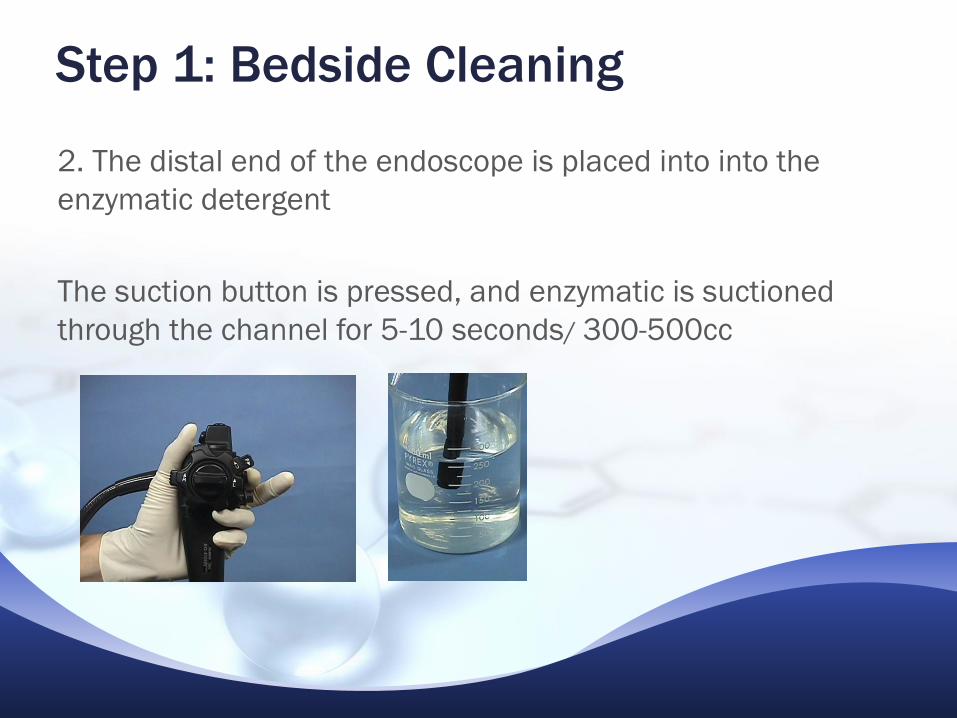
Step 1: Bedside Cleaning
2. The distal end of the endoscope is placed into into the
enzymatic detergent
The suction button is pressed, and enzymatic is suctioned
through the channel for 5-10 seconds/ 300-500cc
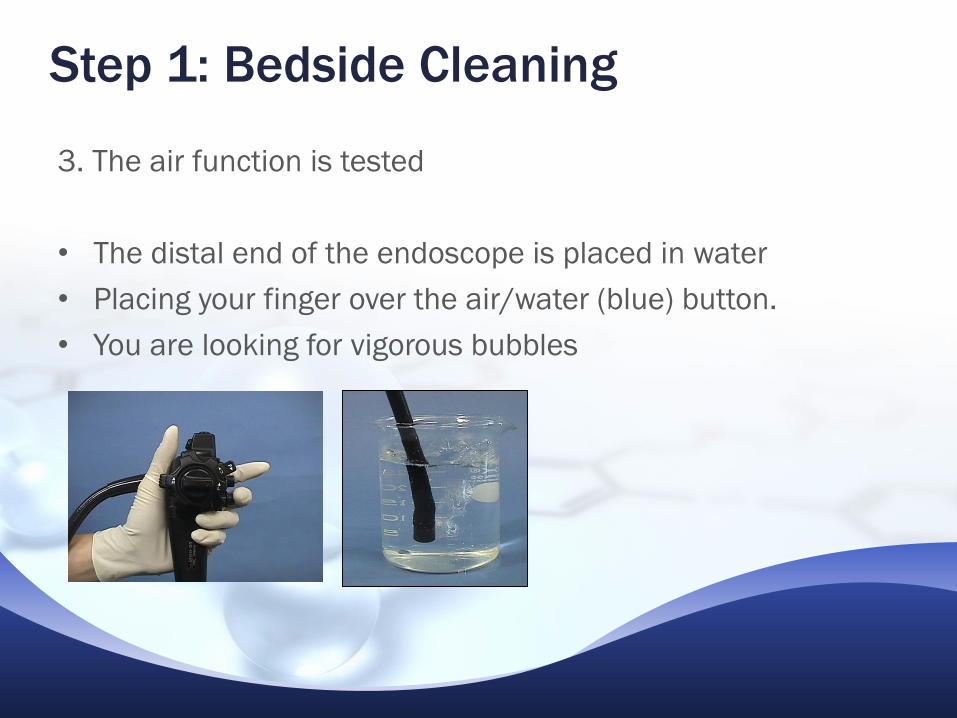
Step 1: Bedside Cleaning
3. The air function is tested
• The distal end of the endoscope is placed in water
• Placing your finger over the air/water (blue) button.
• You are looking for vigorous bubbles
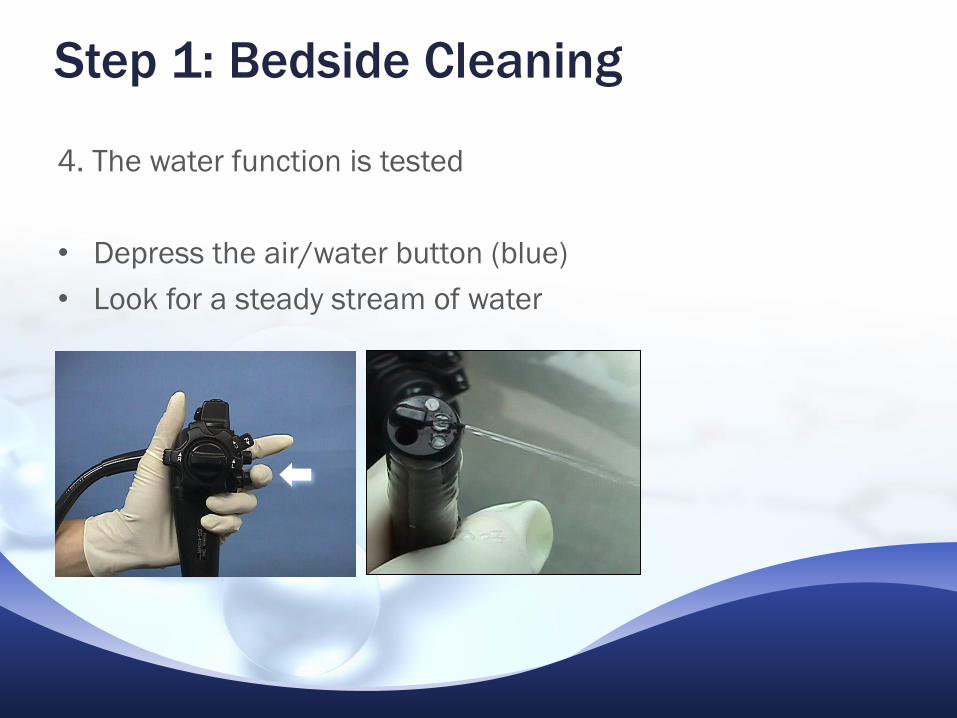
Step 1: Bedside Cleaning
4. The water function is tested
• Depress the air/water button (blue)
• Look for a steady stream of water
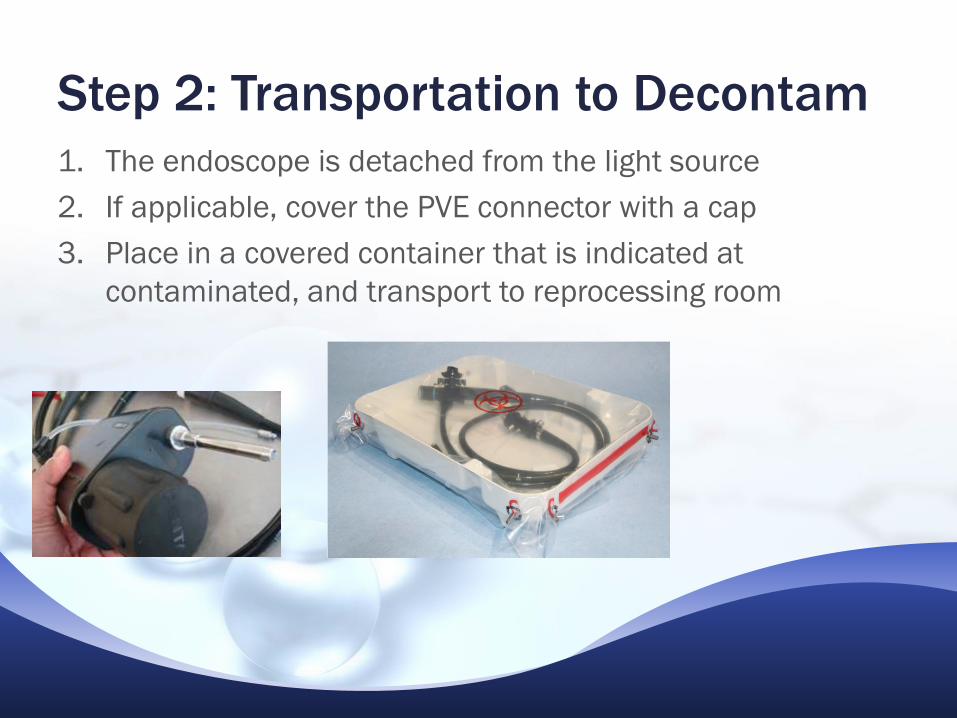
Step 2: Transportation to Decontam
1. The endoscope is detached from the light source
2. If applicable, cover the PVE connector with a cap
3. Place in a covered container that is indicated at
contaminated, and transport to reprocessing room
Biofilm
CSA standards outline that scopes shall be placed in an
automated endoscope reprocessor within 1 hour post
procedure. This is to prevent the formation of biofilm
• A biofilm is a structured community of microorganisms
encapsulated within a self-developed polymeric matrix
and adherent to a living or inert surface.
• Formation of a biofilm begins with the attachment of free-
floating microorganisms to a surface
• If the colonists are not immediately separated from the
surface, they can anchor themselves more permanently
using cell adhesion
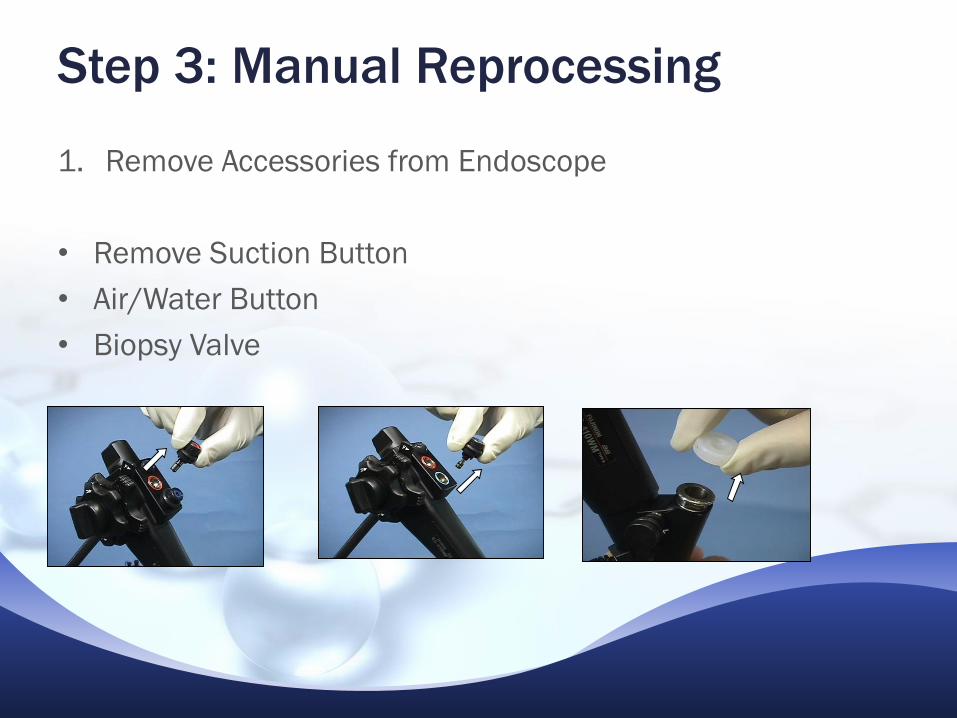
Step 3: Manual Reprocessing
1. Remove Accessories from Endoscope
• Remove Suction Button
• Air/Water Button
• Biopsy Valve
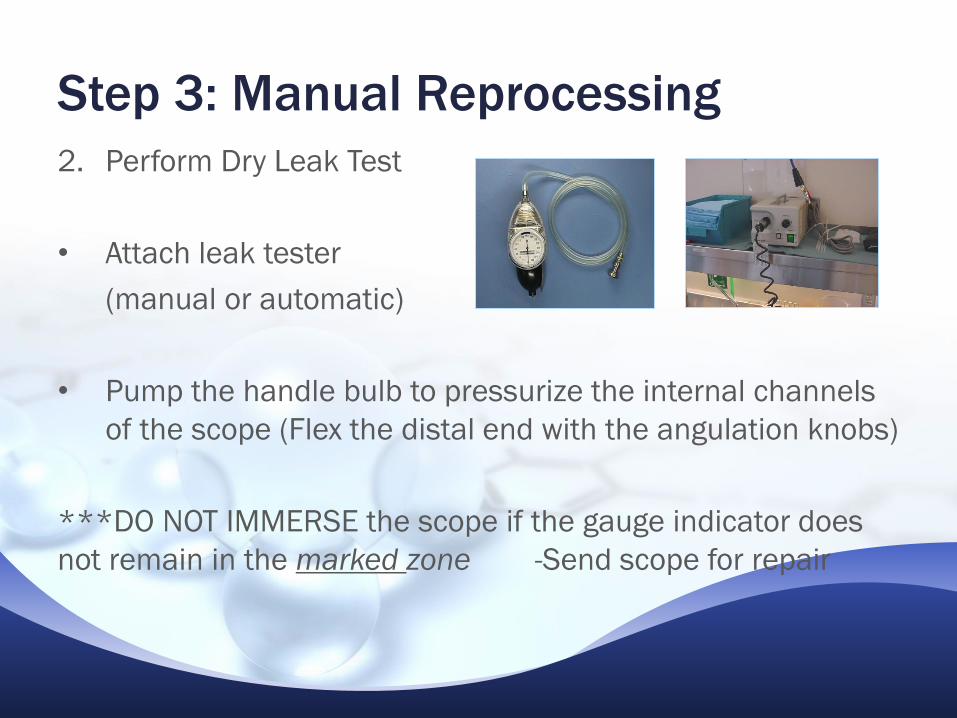
Step 3: Manual Reprocessing
2. Perform Dry Leak Test
• Attach leak tester
(manual or automatic)
• Pump the handle bulb to pressurize the internal channels
of the scope (Flex the distal end with the angulation knobs)
***DO NOT IMMERSE the scope if the gauge indicator does
not remain in the marked zone -Send scope for repair

Step 3: Manual Reprocessing
3. Perform Wet Leak Test
•After determining the absence of
any major leak in Stage 1 testing,
immerse the entire scope in the
clean water.
•Only the leakage tester connector
and a small portion of its tubing
should be immersed. NEVER
immerse the entire leakage tester.
Step 3: Manual Reprocessing
3. Perform Wet Leak Test – Continued
•Be sure that no continuous bubbling is observed from a given area.
**If a continuous stream of bubbles is observed from the same spot, a leak is indicated. Remove scope from water- send for repair***
Lift light guide out of water Release pressure Disconnect leak tester
Step 3: Manual Reprocessing
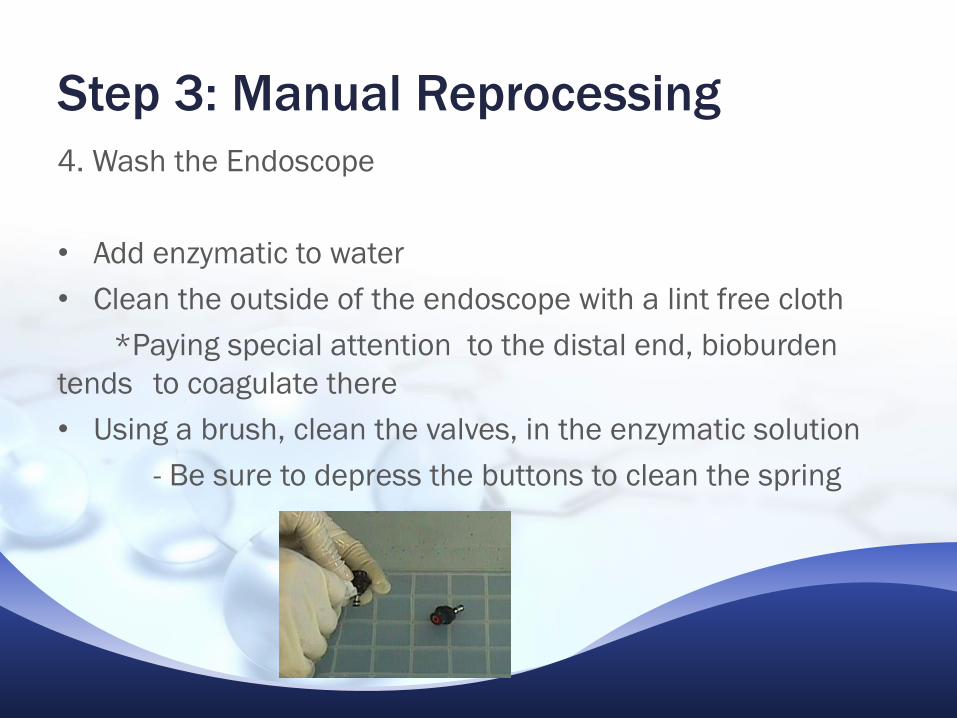
4. Wash the Endoscope
• Add enzymatic to water
• Clean the outside of the endoscope with a lint free cloth
*Paying special attention to the distal end, bioburden
tends to coagulate there
• Using a brush, clean the valves, in the enzymatic solution
- Be sure to depress the buttons to clean the spring
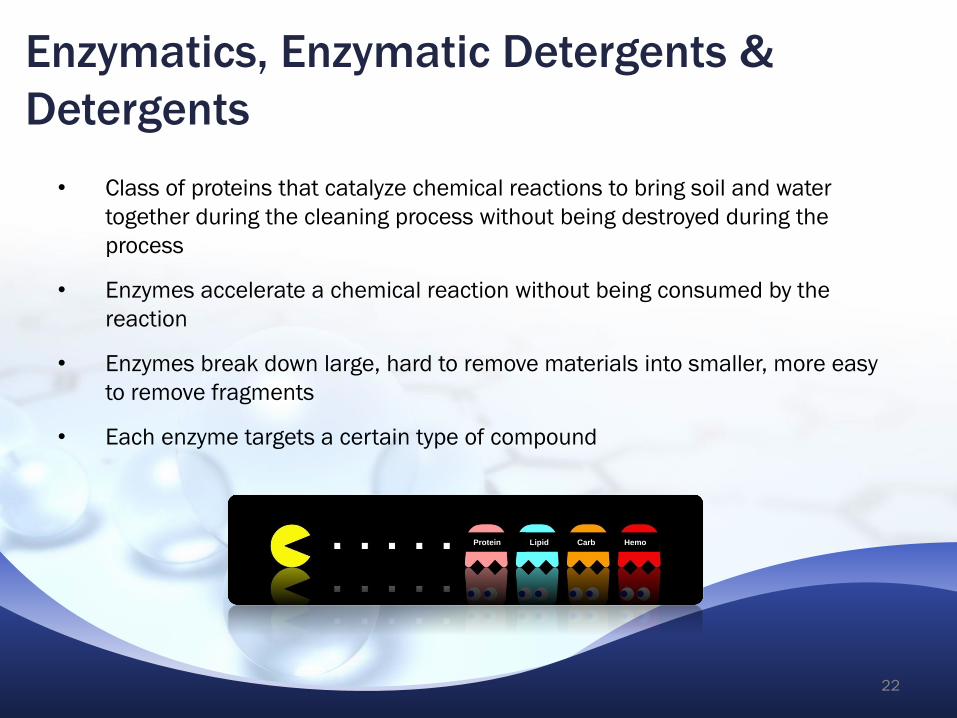
• Class of proteins that catalyze chemical reactions to bring soil and water
together during the cleaning process without being destroyed during the
process
• Enzymes accelerate a chemical reaction without being consumed by the
reaction
• Enzymes break down large, hard to remove materials into smaller, more easy
to remove fragments
• Each enzyme targets a certain type of compound
Protein Carb Hemo
Enzymatics, Enzymatic Detergents &
Detergents
Lipid
22
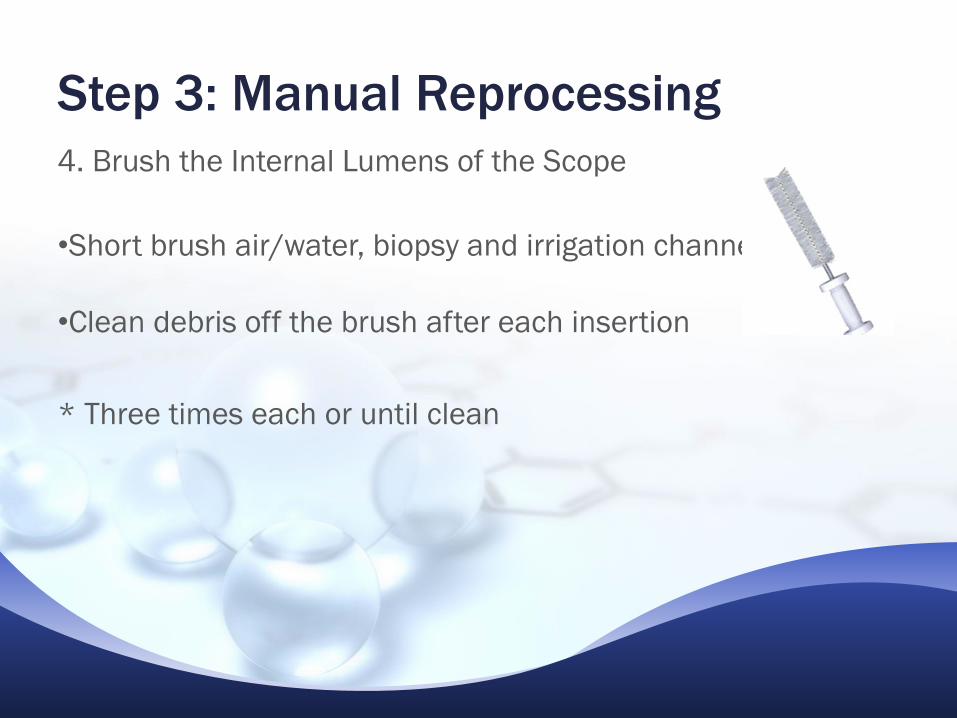
Step 3: Manual Reprocessing
4. Brush the Internal Lumens of the Scope
•Short brush air/water, biopsy and irrigation channel
•Clean debris off the brush after each insertion
* Three times each or until clean
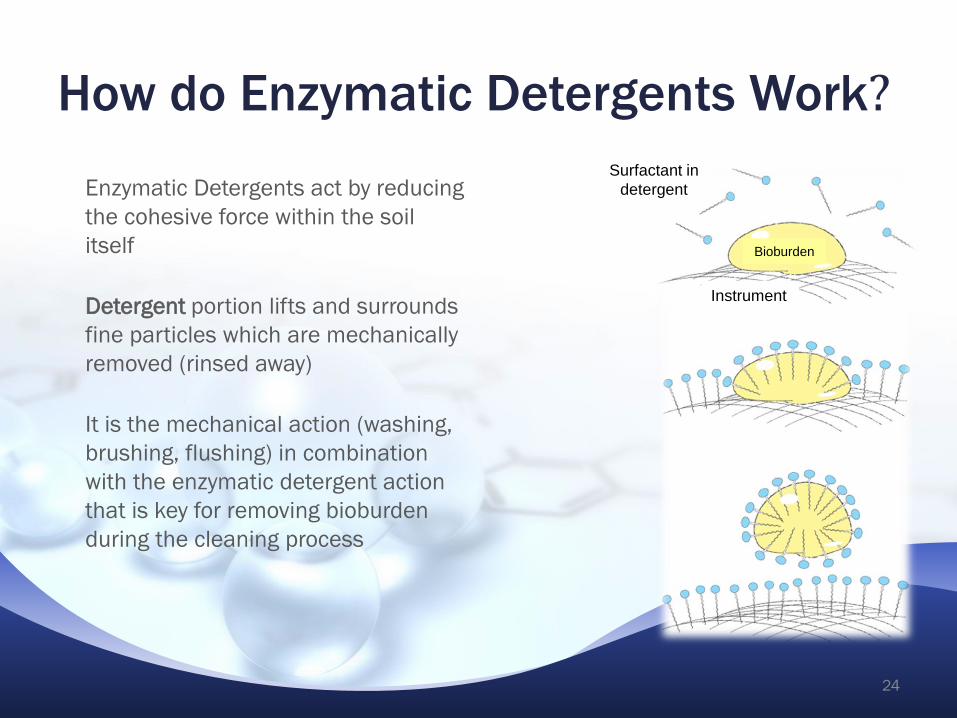
How do Enzymatic Detergents Work?
Enzymatic Detergents act by reducing
the cohesive force within the soil
itself
Detergent portion lifts and surrounds
fine particles which are mechanically
removed (rinsed away)
It is the mechanical action (washing,
brushing, flushing) in combination
with the enzymatic detergent action
that is key for removing bioburden
during the cleaning process
Instrument
Bioburden
Surfactant in
detergent
24
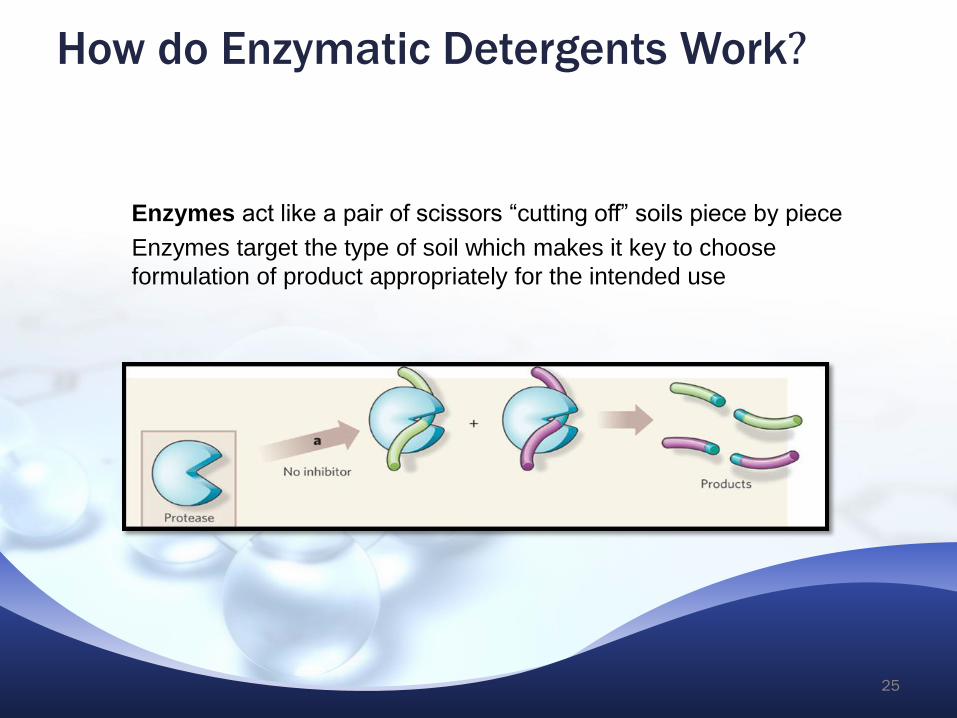
Enzymes act like a pair of scissors “cutting off” soils piece by piece
Enzymes target the type of soil which makes it key to choose
formulation of product appropriately for the intended use
How do Enzymatic Detergents Work?
25
Reprocessing of Endoscopes
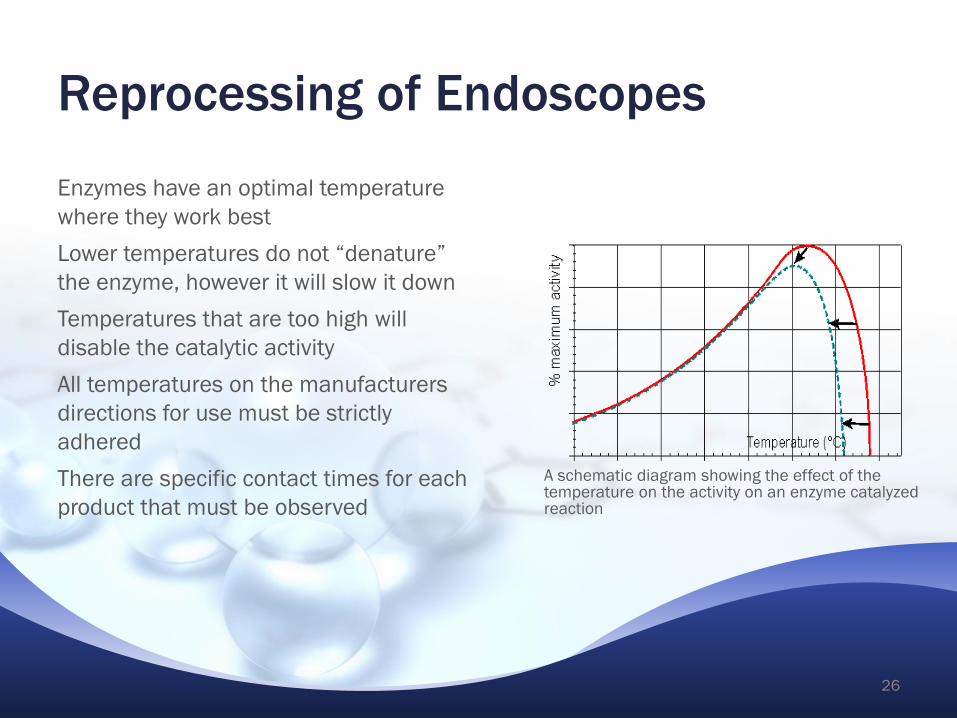
Enzymes have an optimal temperature
where they work best
Lower temperatures do not “denature”
the enzyme, however it will slow it down
Temperatures that are too high will
disable the catalytic activity
All temperatures on the manufacturers
directions for use must be strictly
adhered
There are specific contact times for each
product that must be observed
A schematic diagram showing the effect of the temperature on the activity on an enzyme catalyzed reaction
26

Step 3: Manual Reprocessing
4. Brush the Internal Lumens of the Scope
Brush Biopsy channels 3 times
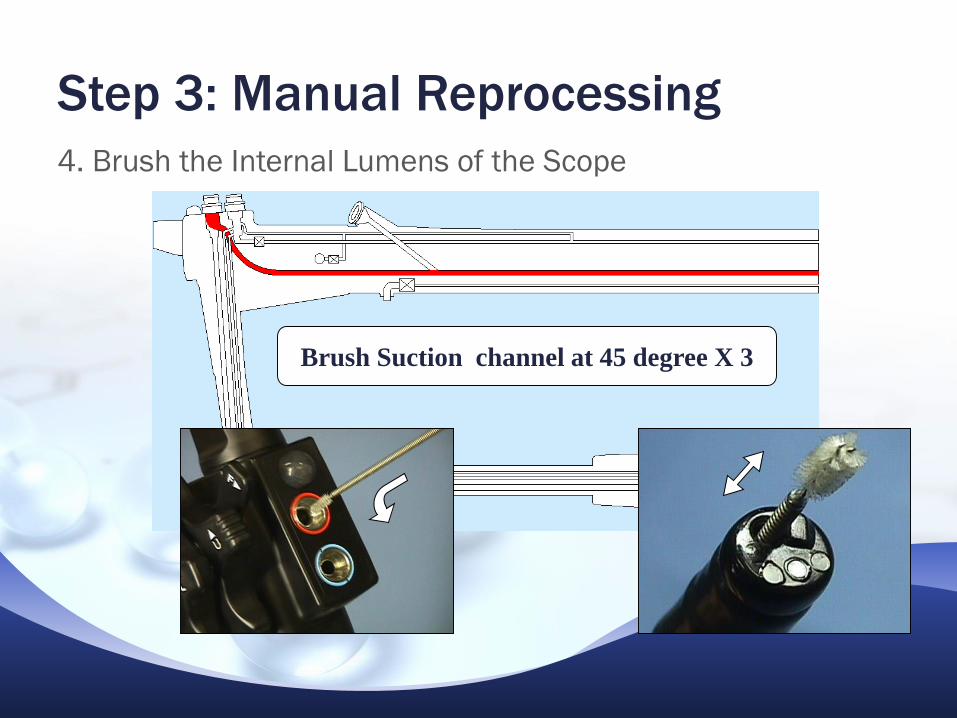
Step 3: Manual Reprocessing
4. Brush the Internal Lumens of the Scope
Brush Suction channel at 45 degree X 3
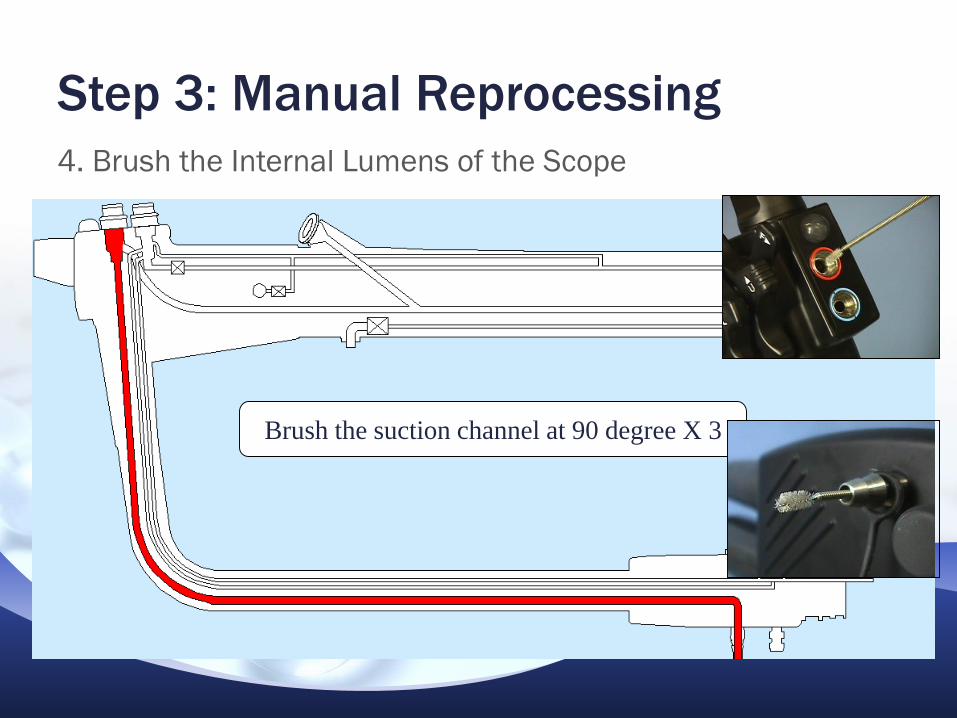
Step 3: Manual Reprocessing
4. Brush the Internal Lumens of the Scope
Brush the suction channel at 90 degree X 3

Step 3: Manual Reprocessing
5. Flushing
•Attach the proper adapters to all the channels
•Irrigate the channels with enzymatic solution and leave
solution inside for the time recommended by manufacturer
•Rinse all channels with clean water
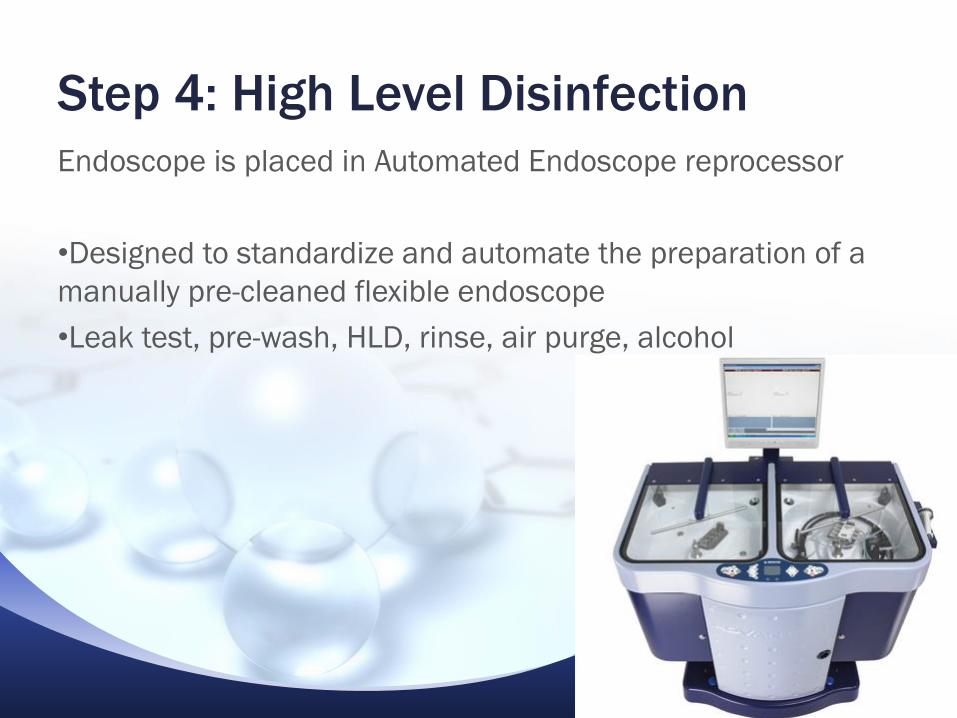
Step 4: High Level Disinfection
Endoscope is placed in Automated Endoscope reprocessor
•Designed to standardize and automate the preparation of a
manually pre-cleaned flexible endoscope
•Leak test, pre-wash, HLD, rinse, air purge, alcohol

Step 5: Post Disinfection•Flush dry all channels with 70% Alcohol follow by compressed air. (max 165 kpa or 24 PSI)
•Gently dry all external surfaces of the scope with a soft cloth
•Rinse and dry the valves

Step 6: Storage •Storage room/cabinet - located in low traffic area in the department
•Shall be designed with Hepa Filter
•The insertion tube and light guide should be kept as straight as possible
•Storage cabinets shall be cleaned weekly
•All valves and components have been removed from the endoscopes and stored separately
•NEVER store the endoscope in the carrying case.
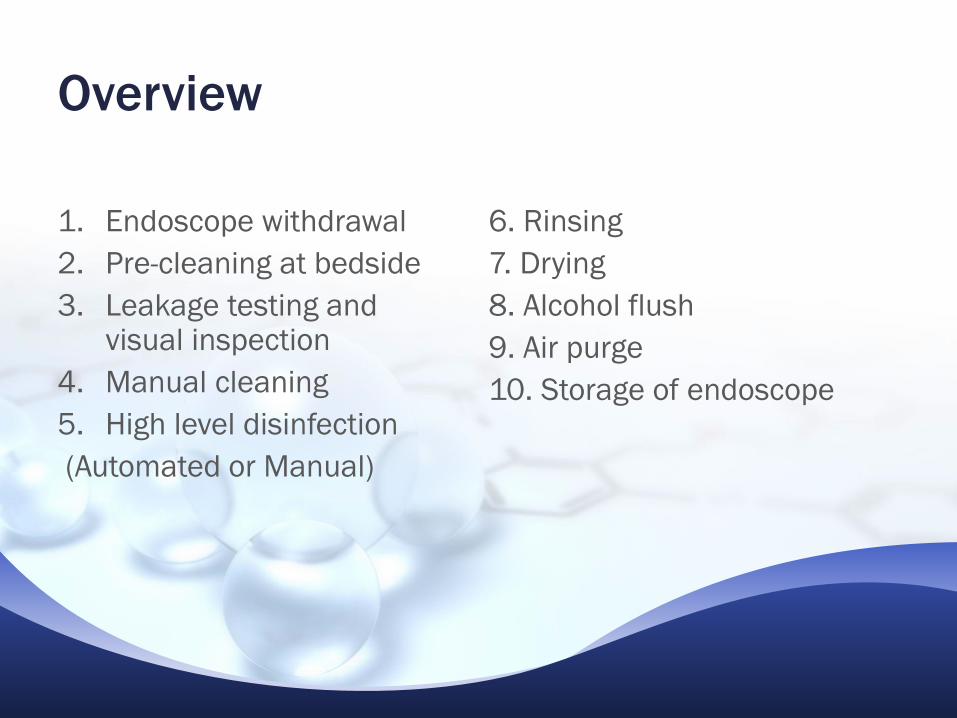
Overview
1. Endoscope withdrawal
2. Pre-cleaning at bedside
3. Leakage testing and visual inspection
4. Manual cleaning
5. High level disinfection
(Automated or Manual)
6. Rinsing
7. Drying
8. Alcohol flush
9. Air purge
10. Storage of endoscope