Power shell part 2
14
The Administrator Crash Course Windows PowerShell v2 Don Jones
Transcript of Power shell part 2
The Administrator Crash Course
Windows PowerShell v2
Don Jones

PowerShell Crash Course Don Jones
i
Introduction to Realtime Publishers by Don Jones, Series Editor For several years now, Realtime has produced dozens and dozens of high‐quality books that just happen to be delivered in electronic format—at no cost to you, the reader. We’ve made this unique publishing model work through the generous support and cooperation of our sponsors, who agree to bear each book’s production expenses for the benefit of our readers.
Although we’ve always offered our publications to you for free, don’t think for a moment that quality is anything less than our top priority. My job is to make sure that our books are as good as—and in most cases better than—any printed book that would cost you $40 or more. Our electronic publishing model offers several advantages over printed books: You receive chapters literally as fast as our authors produce them (hence the “realtime” aspect of our model), and we can update chapters to reflect the latest changes in technology.
I want to point out that our books are by no means paid advertisements or white papers. We’re an independent publishing company, and an important aspect of my job is to make sure that our authors are free to voice their expertise and opinions without reservation or restriction. We maintain complete editorial control of our publications, and I’m proud that we’ve produced so many quality books over the past years.
I want to extend an invitation to visit us at http://nexus.realtimepublishers.com, especially if you’ve received this publication from a friend or colleague. We have a wide variety of additional books on a range of topics, and you’re sure to find something that’s of interest to you—and it won’t cost you a thing. We hope you’ll continue to come to Realtime for your
far into the future. educational needs
enjoy. Until then,
Don Jones

PowerShell Crash Course Don Jones
ii
Introduction to Realtime Publishers ................................................................................................................. i
Po
werShell Crash Course Week 2 ..................................................................................................................... 1
Week 2, Day 1: Variables .................................................................................................................................. 1
Week 2, Day 2: Operators and Filtering ..................................................................................................... 4
Week 2, Day 3: Formatting .............................................................................................................................. 6
Week 2, Day 4: Getting “Out” .......................................................................................................................... 8
Week 2, Day 5: Extending the Shell ............................................................................................................. 9
Weekend Wrap‐Up ........................................................................................................................................... 10
Download Additional Books from Realtime Nexus! .......................................................................... 10

PowerShell Crash Course Don Jones
iii
Copyright Statement © 2010 Realtime Publishers. All rights reserved. This site contains materials that have been created, developed, or commissioned by, and published with the permission of, Realtime Publishers (the “Materials”) and this site and any such Materials are protected by international copyright and trademark laws.
THE MATERIALS ARE PROVIDED “AS IS” WITHOUT WARRANTY OF ANY KIND, EITHER EXPRESS OR IMPLIED, INCLUDING BUT NOT LIMITED TO, THE IMPLIED WARRANTIES OF MERCHANTABILITY, FITNESS FOR A PARTICULAR PURPOSE, TITLE AND NON-INFRINGEMENT. The Materials are subject to change without notice and do not represent a commitment on the part of Realtime Publishers its web site sponsors. In no event shall Realtime Publishers or its web site sponsors be held liable for technical or editorial errors or omissions contained in the Materials, including without limitation, for any direct, indirect, incidental, special, exemplary or consequential damages whatsoever resulting from the use of any information contained in the Materials.
The Materials (including but not limited to the text, images, audio, and/or video) may not be copied, reproduced, republished, uploaded, posted, transmitted, or distributed in any way, in whole or in part, except that one copy may be downloaded for your personal, non-commercial use on a single computer. In connection with such use, you may not modify or obscure any copyright or other proprietary notice.
The Materials may contain trademarks, services marks and logos that are the property of third parties. You are not permitted to use these trademarks, services marks or logos without prior written consent of such third parties.
Realtime Publishers and the Realtime Publishers logo are registered in the US Patent & Trademark Office. All other product or service names are the property of their respective owners.
If you have any questions about these terms, or if you would like information about licensing materials from Realtime Publishers, please contact us via e-mail at [email protected].

PowerShell Crash Course Don Jones
1
[Editor’s Note: This book was downloaded from Realtime Nexus—The Digital Library for IT rofessionals. All leading technology books from Realtime Publishers can be found at ttp://nexus.realtimepublishers.comPh .]
PowerShell Crash Course Week 2
Hopefully, you’re ready for the second week of your crash course. The previous five lessons should have you comfortably running medium‐complex commands from the command‐line. This week, we’re going to focus on fine‐tuning those skills and giving you some additional options and capabilities.
Remember, I encourage you to continue exploring beyond this crash course. For example, visit http://windowsitpro.com/go/DonJonesPowerShell to find tips and tricks, FAQs, and to ask questions, or drop by the PowerShell team’s own blog at http://blogs.msdn.com/powershell for “insider” information. You’ll also find a lot of in‐person PowerShell instruction at events like TechMentor (http://www.techmentorevents.com) and Windows Connections (http://www.winconnections.com). Finally, you’re welcome to subscribe to my Twitter feed, @concentrateddon. I focus almost exclusively on PowerShell, and I’ll pass along any tips or articles that I find especially useful.
How to Use this Crash Course I suggest that you tackle a single crash course item each day. Spend some time practicing whatever examples are provided and trying to complete tasks that make sense in your environment. Don’t be afraid to fail: Errors are how we learn. Just do it in a virtual environment (I recommend a virtualized domain controller running Windows Server 2008 R2) so that you don’t upset the boss! Each “Day” in this crash course is designed to be reviewed in under an hour, so it’s a perfect way to spend lunch for a few weeks. This book will be published in five‐day increments, so each chapter corresponds to a single week of learning.
Week 2, Day 1: Variables So far, we’ve just been running commands and allowing the output to show up on the screen. But sometimes you might want to preserve command output for a while and re‐use it, or even persist some other bit of information. That’s where variables come in. No, we’re not going to be doing programming—variables are just a named storage area in memory. Think of PowerShell’s memory space as a warehouse. The warehouse is full of boxes, and we can put stuff into the boxes. To make them easier to find, the boxes each have a name. Those boxes are variables.
PowerShell Crash Course Don Jones
2
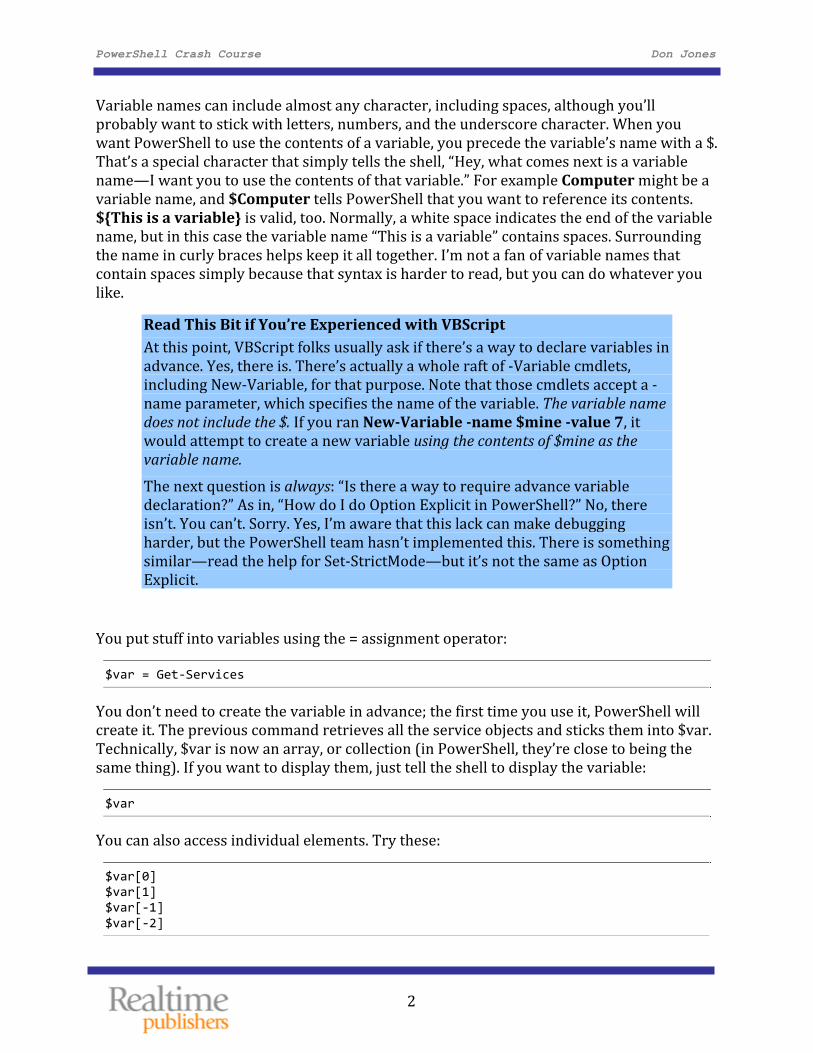
Variable names can include almost any character, including spaces, although you’ll probably want to stick with letters, numbers, and the underscore character. When you want PowerShell to use the contents of a variable, you precede the variable’s name with a $. That’s a special character that simply tells the shell, “Hey, what comes next is a variable name—I want you to use the contents of that variable.” For example Computer might be a variable name, and $Computer tells PowerShell that you want to reference its contents. ${This is a variable} is valid, too. Normally, a white space indicates the end of the variable name, but in this case the variable name “This is a variable” contains spaces. Surrounding the name in curly braces helps keep it all together. I’m not a fan of variable names that contain spaces simply because that syntax is harder to read, but you can do whatever you like.
Read This Bit if You’re Experienced with VBScript At this point, VBScript folks usually ask if there’s a way to declare variables in advance. Yes, there is. There’s actually a whole raft of ‐Variable cmdlets, including New‐Variable, for that purpose. Note that those cmdlets accept a ‐name parameter, which specifies the name of the variable. The variable name does not include the $. If you ran NewVariable name $mine value 7, it would attempt to create a new variable using the contents of $mine as the variable name. The next question is always: “Is there a way to require advance variable declaration?” As in, “How do I do Option Explicit in PowerShell?” No, there isn’t. You can’t. Sorry. Yes, I’m aware that this lack can make debugging harder, but the PowerShell team hasn’t implemented this. There is something similar—read the help for Set‐StrictMode—but it’s not the same as Option Explicit.
You put stuff into variables using the = assignment operator:
$var = Get‐Services
You don’t need to create the variable in advance; the first time you use it, PowerShell will create it. The previous command retrieves all the service objects and sticks them into $var. Technically, $var is now an array, or collection (in PowerShell, they’re close to being the same thing). If you want to display them, just tell the shell to display the variable:
$var
You can also access individual elements. Try these:
$var[0] $var[1] $var[‐1] $var[‐2]
PowerShell Crash Course Don Jones
3
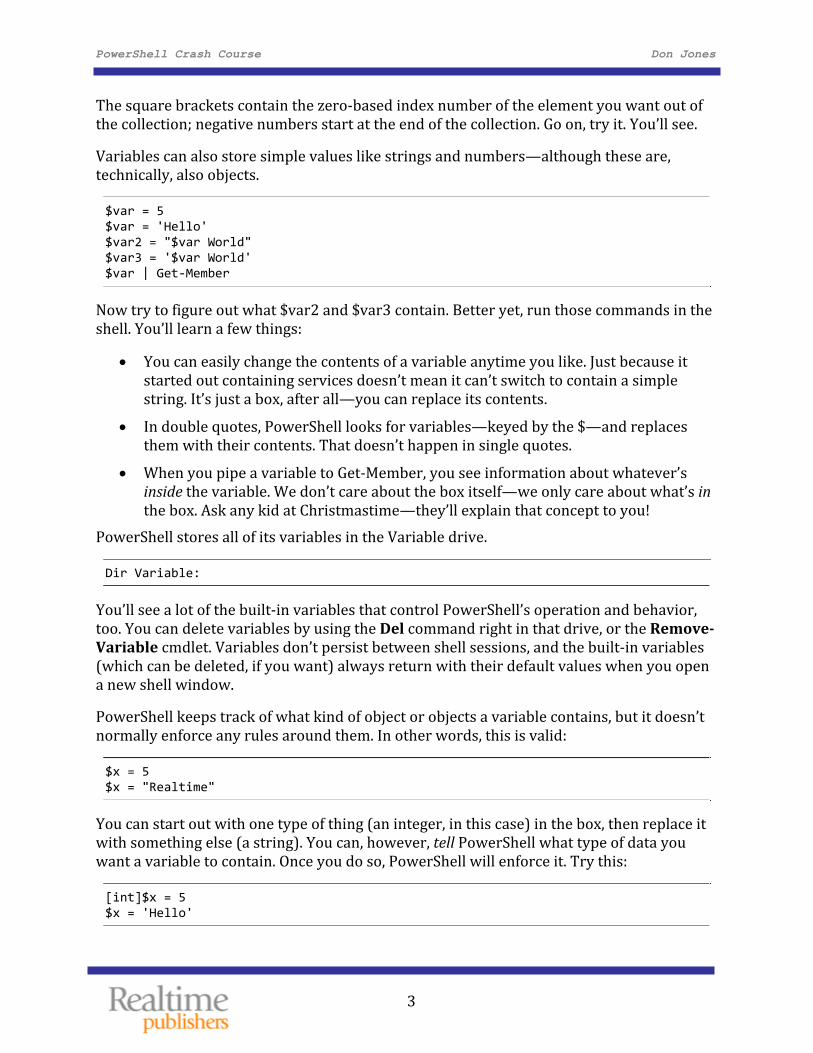
The square brackets contain the zero‐based index number of the element you want out of ee. the collection; negative numbers start at the end of the collection. Go on, try it. You’ll s
Variables can also store simple values like strings and numbers—although these are, technically, also objects.
$var = 5 $var = 'Hello' $var2 = "$var World" $var3 = '$var World' $var | Get‐Member
Now try to figure out what $var2 and $var3 contain. Better yet, run those commands in the shell. You’ll learn a few things:
• You can easily change the contents of a variable anytime you like. Just because it started out containing services doesn’t mean it can’t switch to contain a simple string. It’s just a box, after all—you can replace its contents.
• In double quotes, PowerShell looks for variables—keyed by the $—and replaces them with their contents. That doesn’t happen in single quotes.
• When you pipe a variable to Get‐Member, you see information about whatever’s inside the variable. We don’t care about the box itself—we only care about what’s in
ain that concept to you! the box. Ask any kid at Christmastime—they’ll explPowerShell stores all of its variables in the Variable drive.
Dir Variable:
You’ll see a lot of the built‐in variables that control PowerShell’s operation and behavior, too. You can delete variables by using the Del command right in that drive, or the RemoveVariable cmdlet. Variables don’t persist between shell sessions, and the built‐in variables (which can be deleted, if you want) always return with their default values when you open a new shell window.
PowerShell keeps track of what kind of object or objects a variable contains, but it doesn’t normally enforce any rules around them. In other words, this is valid:
$x = 5 $x = "Realtime"
You can start out with one type of thing (an integer, in this case) in the box, then replace it with something else (a string). You can, however, tell PowerShell what type of data you want a variable to contain. Once you do so, PowerShell will enforce it. Try this:
[int]$x = 5 $x = 'Hello'

PowerShell Crash Course Don Jones
4
You get an error on the second line because $x can now only contain an [int] and there’s no way to convert “Hello” into an integer. Other variable types include [string], [xml], [Boolean], [double], and so on.
Finally, variable names—like cmdlet names—aren’t case‐sensitive. $X and $x are the same thing.
Week 2, Day 2: Operators and Filtering PowerShell has the ability to compare bits of information to each other. It does so using a set of comparison operators:
• ‐eq = equality
• ‐ne = inequality
• l to ‐ge = greater than or equa
• or equal to ‐le = less than
• ‐lt = less than
• ‐gt = greater than
• card character) ‐like = wildcard (use * wild
• ‐notlike = opposite of ‐likeHere’s how you might use these:
$x = 5 $y = 10 $x ‐gt $y $y ‐eq $x $a = "Hello" $b = "Hello World" $a ‐eq $b $b ‐like '*Wo*'
Note that string comparisons are case‐insensitive; use ‐ceq, ‐clike, and ‐cnotlike for case‐sensitive comparisons.
One way to use these comparison operators is in filtering items out of the pipeline. Let’s quickly revisit how this all works. I’m going to use some different terminology than in the previous chapter, and this terminology glosses over some technical fine details, but I think it makes the basic concept a lot clearer.

PowerShell Crash Course Don Jones
5
When you run a command like Get‐Service, it produces a table of information. Thanks to some formatting defaults provided by Microsoft, however, you only see a portion of this table on the screen. To see all of its possible columns, pipe the table to Get‐Member:
Get‐Service | Get‐Member
Anything in that output that says “Property,” including things like “NoteProperty” and “AliasProperty,” are table columns. You can use those column names, along with comparison operators, to filter items out of the pipeline. Use the WhereObject cmdlet (or its alias, Where) to do so:
Get‐Service | Where { $_.Status ‐eq 'Running' }
Those {curly braces} represent something called a script block; in this instance, it’s actually something more specific: a filter block. You can put basically whatever code you like in there, so long as the final result is either True or False. Within that block and only within that block, PowerShell is designed to look for a special $_ placeholder. This is like a “fill in the blank” area on your tax form, and the shell “fills in the blank” with whatever was piped into Where‐Object. In this case, then, $_ represents that table of service information.
The period tells the shell that you don’t want to deal with the entire table but instead want to access the information in a single column. You then follow the period with the column name: Status. So I’m comparing the Status column to the string “Running;” table rows that match will be retained, and ones that don’t will be dropped. Try running the command to see the results.
You can do complex comparisons, too:
Get‐WmiObject ‐class Win32_Service | Where { $_.State ‐ne 'Running' ‐and $_.StartMode ‐eq 'Auto' }
This is grabbing (from WMI, this time) all the services that are set to auto‐start but which aren’t yet started. The ‐and operator combines the two comparisons. There are also an ‐or operator and a ‐not operator that reverse the logic. Keep in mind that $_ isn’t globally present throughout the shell: It’s only valid in places where PowerShell is explicitly looking
the shell does so. for it, and this is one of the few places where
This syntax can be a bit difficult at first, but this is one of the most important concepts in the shell. D , try some of these tasks: on’t proceed until you’re comfortable with it. To practice
• Get a list of processes that have an ID greater than 1000
• Get a list of event log entries (Get‐EventLog is the cmdlet to start with) that have an event ID greater than 1500
• me Get a list of processes that have “svchost” in their na
• Get a list of services that have “win*” in their name

PowerShell Crash Course Don Jones
6
Once you can accomplish those tasks, you’re good to go. If you get stuck, drop by http://connect.concentratedtech.com where you can post a question directly to me. When you register, you’ll be asked where you took a class with me—enter “Realtime Publishers” for that field.
Week 2, Day 3: Formatting So far, we’ve been happy to use the formatting that the shell gives us by default, although in the first chapter of this book, I did show you a few alternatives for formatting output as tables and lists. Now, we need to jump in and take full control. This can get a bit complex, so bear with me. First, know that you have three basic formatting cmdlets that you’ll use most of the time:
• FormatTabl table e, which produces a columnar
• FormatList, which produces a simpler list
FormatWide, which displays a• single piece of information in a multi‐column list You should read the help on all of these for a quick overview of what each can do. Format‐Wide is the simplest: You can specify the property (table column) you want displayed, and it defaults to the “name” property because most objects have a Name property. You can also change the number of columns displayed or specify ‐autosize to let it display as many as it thinks it can. Read the help and see if you can figure out how to display a four‐column list of process names. Go on, I’ll wait for you.
Did you get it? Well, I’m not giving away any answers. Again, if you’re stuck, hop on http://connect.concentratedtech.com and I’ll help you out.
Format‐List is probably the next‐most‐complicated. With it, you can specify a list of properties to display, and that list can include wildcards. For example, try these:
Get‐Process | Format‐List * Get‐Process | Format‐List *Memory* Get‐Process | Format‐List Name,ID,VM
Get the idea?
Format‐Table is the most fun. Some of the options I’m going to explore also exist for Format‐List, but I think they’re more impressive when used with Format‐Table.
First, be aware that Format‐Table normally tries to fill your entire screen with text, edge to edge, even if that means putting a lot of space in the middle. You can, however, tell it to try and automatically size each table column for whatever that column needs to contain. Notice the difference in these:
Get‐Service | Format‐Table Name,Status Get‐Service | Format‐Table Name,Status ‐autosize

PowerShell Crash Course Don Jones
7
If you’ve sorted your objects, you can have Format‐Table group them. Each group gets a new set of column headers. For example:
Get‐Service | Sort Status | Format‐Table Name,Status ‐autosize ‐groupby Status
Neat, right?
You can also create custom columns. These might simply translate one kind of value to another. For example, the Win32_LogicalDisk class includes a Size property that contains a disk’s size in bytes; we could make that megabytes in our output by adding a custom column. The syntax for doing so is a bit complicated, though. You need to create something called a hashtable. These are also known as dictionary objects. They can contain multiple entries, and each entry consists of a key and a value (or, as I like to think of them, a word and a definition). Making one looks like this:
@{'Key'='Value';'Word'='Definition'}
That hashtable has two items. The items are separated by a semicolon, the whole thing is contained in {curly braces}, and an @ sign tells the shell that we’re defining a hashtable. When making custom columns in Format‐Table, you’re not quite so freeform. You have to specify exactly two keys: Label (which can also be called Name), and Expression. These can be shortened to just “l” and “e,” which are a lot easier to type. The Label is what you want your custom column to be titled, and the expression is a script block that calculates the column’s content. Within that script block—just as with Where‐Object, which I showed you earlier in this chapter—you can use the $_ placeholder to refer to the remainder of the current table row.
Here’s an example. This is all meant to be typed on one line, by the way.
Get‐WmiObject ‐class Win32_LogicalDisk ‐filter 'DriveType=3' | Format‐Table DeviceID,@{l='Size(MB)';e={$_.Size / 1MB ‐as [int]}}
Yeah, I know—complicated. Told you so. Focus on that hashtable: I’ve set a label of “Size(MB),” which is straightforward enough. The expression (“e”) goes into a {script block} rather than in quotation marks. Within that script block—and only within that script block—you can use that $_ placeholder to refer to the row of information. Follow it with a period, then the piece of information you want—“Size.” I divided by 1MB (yup, PowerShell recognizes KB, MB, GB, TB, and PB). I used the ‐as operator to convert the result to an [int] (integer), forcing it to drop the fractional portion of the result so that I get a whole number. I’ll leave you with that. Play with it, practice with it. Hit me up on http://connect.concentratedtech.com if you get stuck.

PowerShell Crash Course Don Jones
8
One caution: The output of a Format‐ cmdlet is very specialized, and it can only be used by some very specific PowerShell cmdlets, which I’ll discuss next. In short, the Format cmdlet generally needs to be the last thing on the command line. You can’t do this:
Get‐Service | Format‐Table | ConvertTo‐HTML > services.html
Although I invite you to try. The results may surprise you.
Week 2, Day 4: Getting “Out” Once you’ve formatted data, you might be interested in looking at it. By default, anything left in the pipeline at its end will be sent to a built‐in, hardcoded cmdlet called OutDefault. In the PowerShell console host and ISE, Out‐Default simply forwards to OutHost. Out‐Host is the cmdlet responsible for putting information on the screen (“host” means “screen,” here).
There are other Out cmdlets you can play with: OutFile and OutPrinter are two common ones. Together, these four Out cmdlets have one thing in common: They only consume the output of a Format cmdlet. That is, if you run this:
Get‐Service
What’s really happening under the hood looks something like this:
Get‐Service | Out‐Default | Format‐Table | Out‐Host
That’s not exactly what’s happening, but it’s an illustration. Anyway, I told you earlier that a Format cmdlet, if used, needs to be the last thing on the command line. The only exception is that a Format cmdlet can be followed by Out‐Host, Out‐Printer, or Out‐File. In fact, these two commands are identical because > is just an alias (sort of) to Out‐File:
Dir > files.txt Dir | Out‐File files.txt
Read the help for Out‐File, by the way. You’ll find a number of really useful options.
There’s also OutGridView, which only works if you have the PowerShell ISE and .NET Framework 3.5 installed. Try this:
Get‐Process | Out‐GridView
I’ll leave you with that. Experiment with some of the Out‐ cmdlets and see what you can come up with.

PowerShell Crash Course Don Jones
9
Week 2, Day 5: Extending the Shell Stop thinking about PowerShell for a second and start thinking about the MMC. When you open a new, blank MMC, it isn’t very useful, is it? You have to add snap‐ins to it in order to add actual functionality. You can add as many snap‐ins as you like, from whatever administrative tools you’ve installed on your computer.
PowerShell is the same way. Now, there’s a bit of confusion going around about this. Install the Exchange Server admin tools and you’ll get an “Exchange Management Shell” icon. SharePoint does something similar. Windows Server 2008 R2 has an “Active Directory” shell icon. These aren’t different versions of PowerShell. Like the MMC, these are just icons that load the same old PowerShell, with a particular extension pre‐loaded. You can also load those same extensions into the normal shell yourself, and if you open one of these “pre‐loaded” shells, you can still load whatever other extensions you like. It’s your choice.
When you do load an extension, it only stays loaded for the duration of that shell session. When you open a new shell window, you’re starting from scratch. A bit later, I’ll introduce you to profiles, which give you a way to have the same extensions loaded in every new shell window. For now, you need to know that there are two ways of extending the shell:
• PSSnapins (or “snap‐ins”) is the old‐school, v1 way of doing it. Snap‐ins have to be installed (generally, install the administrative tools for a product and you’ll get the snap‐in). Run GetPSSnapin registered to see which ones are installed; with that list of names, you can run AddPSSnapin to load a particular snap‐in by name. You’ll still find new snap‐ins being produced—even Windows Server 2008 R2 shipped with a new snap‐in or two.
• Modules are the new, v2 way of extending the shell. Run GetModule list to see a list of what’s available on your computer, and ImportModule (along with the module name) to load a module into memory.
Once yo loaded an extension, you can asku’ve the shell to show you what was added:
• Run GetCommand pssnapin name to see the commands added by the PSSnapin pecified; replace name with theyou s snap‐in’s actual name.
• Run GetCommand module name to see the commands added by the module you specified.
The Windows 7 Remote Server Administration Toolkit (RSAT) adds a bunch of modules, and Windows 7 ships with a few pre‐installed. Windows Server 2008 R2 installs modules along with their associated roles, so a domain controller will have the ActiveDirectory module nap‐ins: . Third parties can also produce modules and s
• Quest.com/PowerShell—alternate AD cmdlets
• CodePlex.com/powershellcx—open‐source community extensions I maintain a directory of the higher‐quality stuff at http://ShellHub.com. Drop by and see what tickles your fancy.

PowerShell Crash Course Don Jones
10
Weekend Wrap‐Up If you’re sticking with the one‐lesson‐per‐day regimen, then you’re probably ready for the weekend. Take a couple of days off! The next installment will have another week of lessons for you. Until then, keep practicing what you’ve learned!
By the way, if you got this chapter as a pass‐along from a friend, thanks for reading it. Hop on http://nexus.realtimepublishers.com for more chapters from this book, and for a lot of other free books. Registration is required, but you’ll be able to download PDF versions of all their books at no charge. Speaking as an author, that’s very important: Your registration lets the publisher know that you’re interested in this book, and that keeps the publisher ngaging authors like myself to write more for you. I appreciate it. e
Download Additional Books from Realtime Nexus! Realtime Nexus—The Digital Library provides world‐class expert resources that IT professionals depend on to learn about the newest technologies. If you found this book to be informative, we encourage you to download more of our industry‐leading technology books and video guides at Realtime Nexus. Please visit http://nexus.realtimepublishers.com.