Hardware Introduction - NeuroGEARS
9
Hardware Introduction You have received a kit composed of 4 main pieces: DFRduino IO Expansion Shield 27 Pcs Sensor Set for Arduino Pan e Tilt Kit
-
Upload
khangminh22 -
Category
Documents
-
view
0 -
download
0
Transcript of Hardware Introduction - NeuroGEARS
Hardware Introduction You have received a kit composed of 4 main pieces: DFRduino
IO Expansion Shield
27 Pcs Sensor Set for Arduino
Pan e Tilt Kit
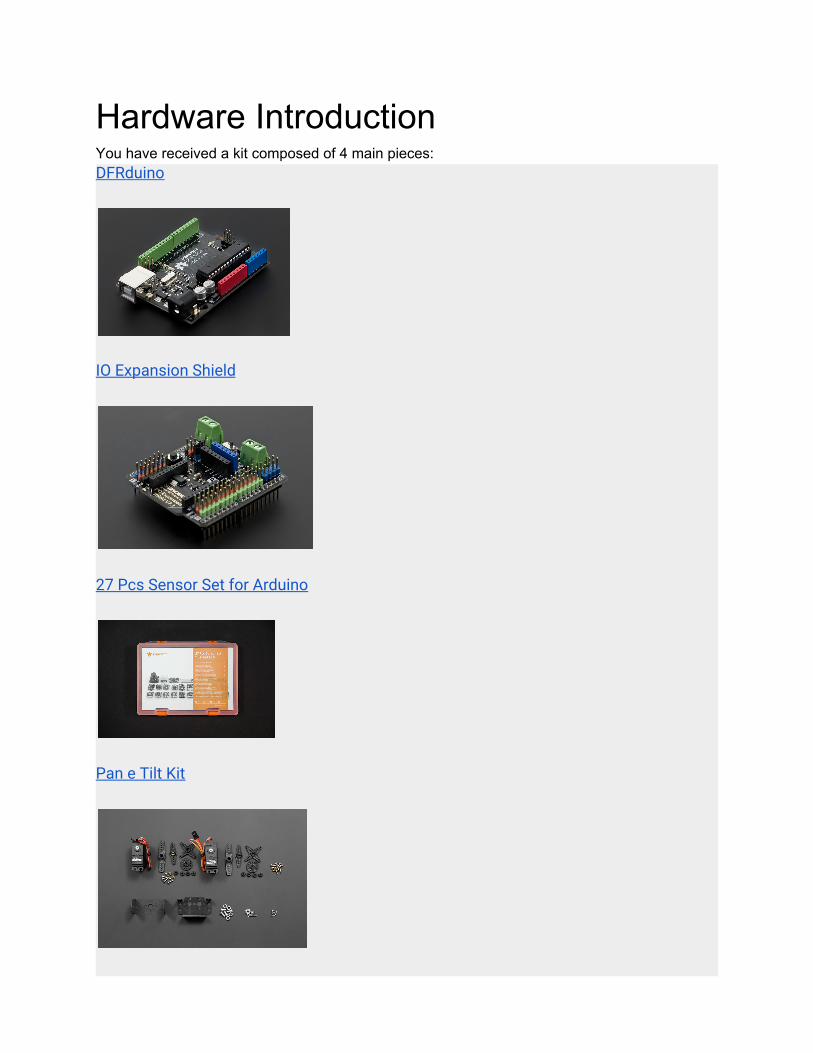
DFRduino DFRduino Uno V3.0 from DFRobot It is a simple microcontroller board fully compatible with Arduino UNO R3 and Arduino IDE open-source development environment. DFRduino can be used as a means for bonsai to interface hardware sensors and actuators. The open-source IDE can be downloaded for free.
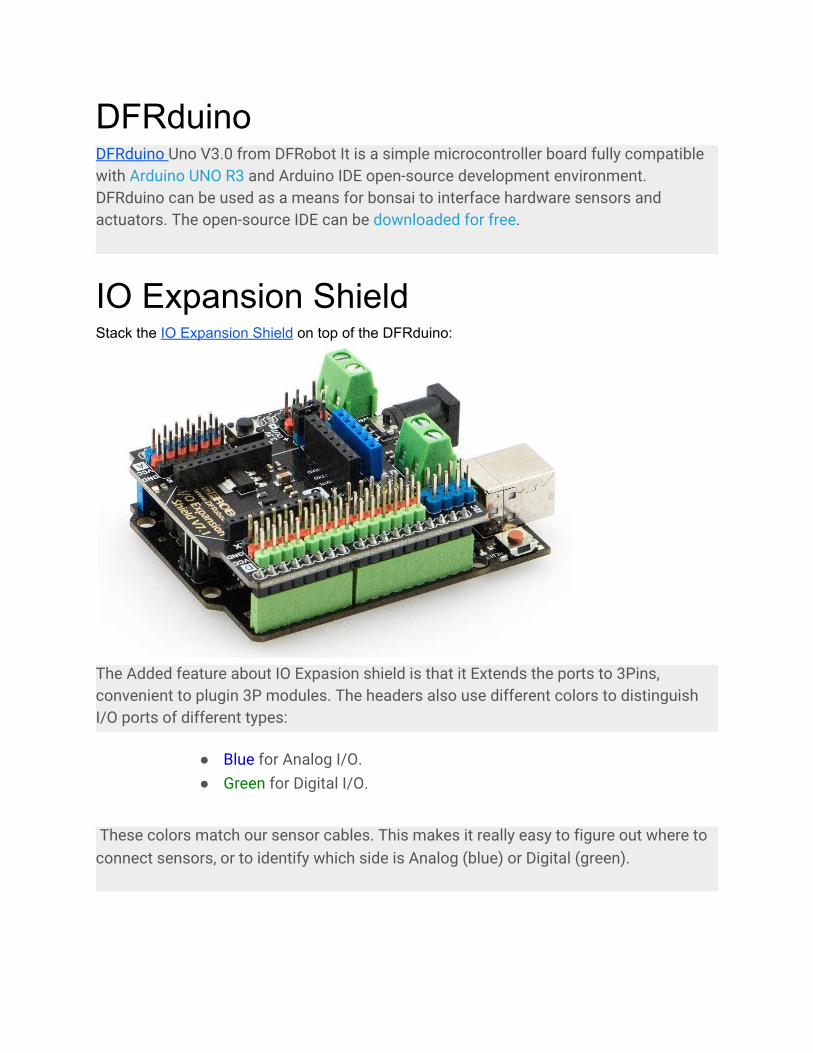
IO Expansion Shield Stack the IO Expansion Shield on top of the DFRduino:
The Added feature about IO Expasion shield is that it Extends the ports to 3Pins, convenient to plugin 3P modules. The headers also use different colors to distinguish I/O ports of different types:
● Blue for Analog I/O. ● Green for Digital I/O.
These colors match our sensor cables. This makes it really easy to figure out where to connect sensors, or to identify which side is Analog (blue) or Digital (green).

Applied to digital sensor (or digital/pwm/servo actuator)
Applied to analog sensor

27 Pcs Sensor Set The 27 Pcs Sensor Set for Arduino contains the sensors/Actuators used in worksheets.
Digital/PWM Actuators (Use bonsai nodes: DigitalOutput, AnalogOutput)
● Relay Module V2 (DFR0017)x1 ● Digital RED LED Light Module (DFR0021R)x1 ● Digital White LED Light Module (DFR0021)x1 ● Digital Green LED Light Module (DFR0021G)x1 ● Digital Blue LED Light Module (DFR0021B)x1
Digital Sensors (Bonsai nodes: DigitalInput, InputPullUp)
● Digital Vibration Sensor (DFR0027)x1 ● Digital Tilt Sensor (DFR0028)x1 ● Digital Push Button (DFR0029)x1 ● Capacitive Touch Sensor (DFR0030)x1 ● Digital magnetic sensor (DFR0033)x1 ● Digital Infrared motion sensor (SEN0018)x1 ● Digital Push Button (Red)(DFR0029-R) x1 ● Digital Push Button (White)(DFR0029-W) x1
Analog Sensors (Use Bonsai AnalogInput node)
● Sharp GP2Y0A21 Distance Sensor (10-80cm)(3.94-31.50") (SEN0014) x1 ● Soil Moisture Sensor (SEN0114) x1 ● Steam Sensor (SEN0121) x1 ● Flame sensor (DFR0076)x1 ● Triple Axis Accelerometer MMA7361 (DFR0143)x1 ● Analog Grayscale Sensor (DFR0022)x1 ● LM35 Analog Linear Temperature Sensor (DFR0023)x1 ● Analog Ambient Light Sensor (DFR0026)x1 ● Analog Sound Sensor (DFR0034)x1 ● Analog Carbon Monoxide Sensor (MQ7) (SEN0132)x1 ● Analog Voltage Divider (DFR0051)x1 ● Piezo Disk Vibration Sensor (DFR0052)x1 ● Analog Rotation Sensor V2 (DFR0058)x1 ● Joystick Module (DFR0061)x1

Assembly of the Pan Tilt In a Camera tracking system, the camera is fixed on a structure that moves according to the position of the tracked object the camera sees. Assembly of the Pan Tilt Follow the steps in the images below and assemble the parts. Remember: Use rubber spacers when using the M1x6.
! Use the example above to drive both servos (one at a time) to the 90 degree position before assembly ! In step 4 when assembling the U-Bracket do it instead in the upright upright position as shown in the photograph.

Test Drive The Mechatronics Prior to adding the camera lets test if everything works as it should: Stack the I/O Expansion Shield on the Arduino. Connect lower servo with D9 in shield. Connect upper servo with D11 in shield Use the example from the worksheet to test drive both servos from 0 to 180 degrees and check for blockage before assembling the camera.

Mounting the Camera Let's be creative with this one, we suggest using cable zip ties. Another option is double sided tape, but even regular tabe should do the trick.
Best option: If you have double sided tape you should aim to mount the camera in the following way, since this way the camera is higher and able to better look down:

Another option (If you are not able to mount it as above).In this sugestion just be sure to insulate the metal so that the exposed camera circuit doesn't end up short circuited:
Option 2A zip Ties
Option 2B double sided tape
Option 3B just Tape