TKC - Thermostat Replacement - Tecoponics
11
TK GUIDELINE THERMOSTAT REPLACEMENT MODELS : TK500 – TK1000 – TK 2000 www.tecoonline.com | www.tecous.com
-
Upload
khangminh22 -
Category
Documents
-
view
1 -
download
0
Transcript of TKC - Thermostat Replacement - Tecoponics

TK GUIDELINE
THERMOSTAT
REPLACEMENT
MODELS :
TK500 – TK1000 – TK 2000
www.tecoonline.com | www.tecous.com
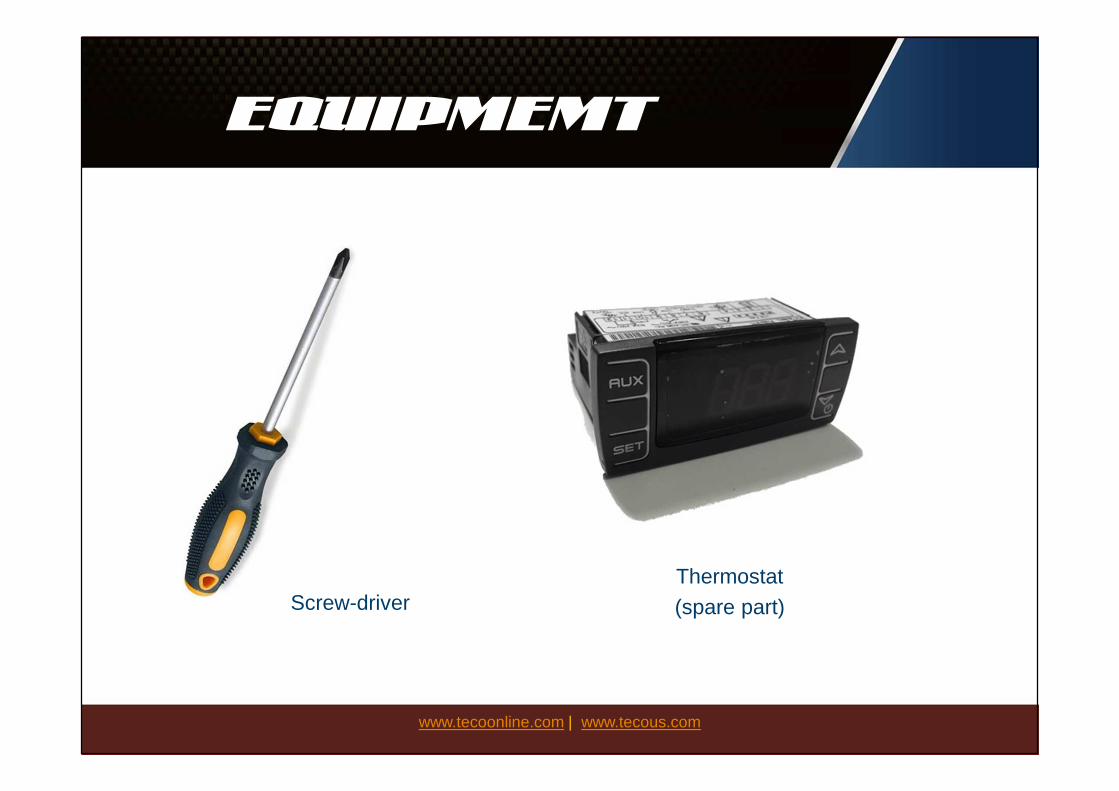
EQUIPMEMT
www.tecoonline.com | www.tecous.com
Screw-driverThermostat(spare part)

STEP n. 1
Remove the conveyor from the top part of the chiller.You can see the metal black grid and the red fan support.
www.tecoonline.com | www.tecous.com

STEP n. 2
Remove the air filter grid and air filter from their position.
www.tecoonline.com | www.tecous.com

STEP n. 3
Using the screw-driver, remove the 4 INOX screws indicated in the picture here below.
www.tecoonline.com | www.tecous.com

STEP n. 4
Remove the red fan support lifting it up from the bottom edge.Leave it on the metal cover, as you can see in the picture.
www.tecoonline.com | www.tecous.com

STEP n. 5
Disconnect the main green connector and probe connector.
www.tecoonline.com | www.tecous.com

STEP n. 6
Remove the two white thermostat’s supports. You can help you using a screw driver.
www.tecoonline.com | www.tecous.com

STEP n. 7
Remove the thermostat from its placement and replace it with a new one. Insert the white supports and connect the two green connectors.
www.tecoonline.com | www.tecous.com

STEP n. 8
Take the fan support and fix it at the bottom part of chiller.Attention: the front panel side must be insert in the aluminum profile!
www.tecoonline.com | www.tecous.com

STEP n. 9
Rebuild the top part of the chiller following the indicated sequence:1. 4 INOX screw (fix the fan support on the metal
cover)2. Conveyor3. Air filter4. Air filter grid
www.tecoonline.com | www.tecous.com