Shine a light on efficiency Standards addressed - Alliant ...
14
alliantenergykids.com Lesson overview This lesson centers on two experiments. The first is a fun lab that has students create an electrical circuit using an ice tray and everyday materials. That experiment lights an LED bulb to illustrate that current. It provides a natural introduction into exploring the differences in the efficiency of different types of bulbs, via the second experiment. Shine a light on efficiency Shine a light on efficiency Standards addressed This lesson plan helps you address multiple Iowa Core standards and Wisconsin Academic Standards. This section identifies the science standards for each state that apply to this lesson plan. Iowa Core S.3–5.PS.4 Essential Concept and/or Skill: Understand and apply knowledge of sound, light, electricity, magnetism and heat. S.3–5.SI.1 Essential Concept and/or Skill: Identify and generate questions that can be answered through scientific investigations. S.3–5.SI.3 Essential Concept and/or Skill: Plan and conduct scientific investigations. S.3–5.SI.4 Essential Concept and/or Skill: : Use appropriate tools and techniques to gather, process and analyze data. S.3–5.SI.6 Essential Concept and/or Skill: Use evidence to develop reasonable explanations. S.3–5.SI.7 Essential Concept and/or Skill: Communicate scientific procedures and explanations. S.3–5.SI.8 Essential Concept and/or Skill: Follow appropriate safety procedures when conducting investigations. 1 ©2017 Alliant Energy 2329493 10/17 MJ
-
Upload
khangminh22 -
Category
Documents
-
view
0 -
download
0
Transcript of Shine a light on efficiency Standards addressed - Alliant ...
alliantenergykids.com
Lesson overviewThis lesson centers on two experiments. The first is a fun lab that has students create an electrical circuit using an ice tray and everyday materials. That experiment lights an LED bulb to illustrate that current. It provides a natural introduction into exploring the differences in the efficiency of different types of bulbs, via the second experiment.
Shine a light
on efficiencyShine a light
on efficiencyStandards addressedThis lesson plan helps you address multiple Iowa
Core standards and Wisconsin Academic Standards.
This section identifies the science standards for each
state that apply to this lesson plan.
Iowa CoreS.3–5.PS.4 Essential Concept and/or Skill: Understand and apply knowledge of sound, light, electricity, magnetism and heat.
S.3–5.SI.1 Essential Concept and/or Skill: Identify and generate questions that can be answered through scientific investigations.
S.3–5.SI.3 Essential Concept and/or Skill: Plan and conduct scientific investigations.
S.3–5.SI.4 Essential Concept and/or Skill: : Use appropriate tools and techniques to gather, process and analyze data.
S.3–5.SI.6
Essential Concept and/or Skill: Use evidence to develop reasonable explanations.
S.3–5.SI.7 Essential Concept and/or Skill: Communicate scientific procedures and explanations.
S.3–5.SI.8 Essential Concept and/or Skill: Follow appropriate
safety procedures when conducting investigations.
1©2017 Alliant Energy 2329493 10/17 MJ
alliantenergykids.com 2
Wisconsin Academic StandardsC.8.1 Identify questions they can investigate using
resources and equipment they have available
C.8.2 Identify data and locate sources of information
including their own records to answer the questions being
investigated
C.8.3 Design and safely conduct investigations that
provide reliable quantitative or qualitative data, as
appropriate, to answer their questions
C.8.4 Use inferences to help decide possible results of their investigations, use observations to
check their inferences
C.8.5 Use accepted scientific knowledge, models, and theories to explain their results and to
raise further questions about their investigations
C.8.6 State what they have learned from investigations, relating their inferences to scientific
knowledge and to data they have collected
C.8.7 Explain their data and conclusions in ways that allow an audience to understand the
questions they selected for investigation and the answers they have developed
C.8.9 Evaluate, explain, and defend the validity of questions, hypotheses, and conclusions to
their investigations
C.8.11 Raise further questions which still need to be answered
D.8.4 While conducting investigations, use the science themes to develop explanations of
physical and chemical interactions and energy exchanges
D.8.7 While conducting investigations of common physical and chemical interactions occurring
in the laboratory and the outside world, use commonly accepted definitions of energy and the
idea of energy conservation
D.8.8 Describe and investigate the properties of light, heat, gravity, radio waves, magnetic
fields, electrical fields, and sound waves as they interact with material objects in common
situations
©2017 Alliant Energy 2329493 10/17 MJ

alliantenergykids.com
Desired outcomesDriven by active learning, students should be better able to:
• Set up and complete experiments
• Recognize how an electrical circuit works; and
• Draw conclusions about energy efficiency based on data
collected during an experiment
BackgroundElectricity is an integral part of our lives. To understand how electricity works, students must
understand how a circuit works. The first experiment in this lesson helps illustrate the concept
of a circuit. Students will use an ice tray, nails, copper wire and vinegar create a circuit to
power an LED light bulb. Plus, students will be able to manipulate the components to interrupt
the circuit.
With an understanding of the flow of electricity, students will then focus on why some light
bulbs are more efficient than others. That is, if the flow of electricity is the same on the
circuit, why will some light bulbs last longer and produce more light than others? The second
experiment helps illustrate how certain bulbs produce more heat than others. Because
producing heat requires energy, those light bulbs are less efficient. This lesson complements
any focus on energy and/or a focus on conducting investigations, collecting data and
developing explanations based on the data.
Time required50 – 75 minutes
3©2017 Alliant Energy 2329493 10/17 MJ
alliantenergykids.com
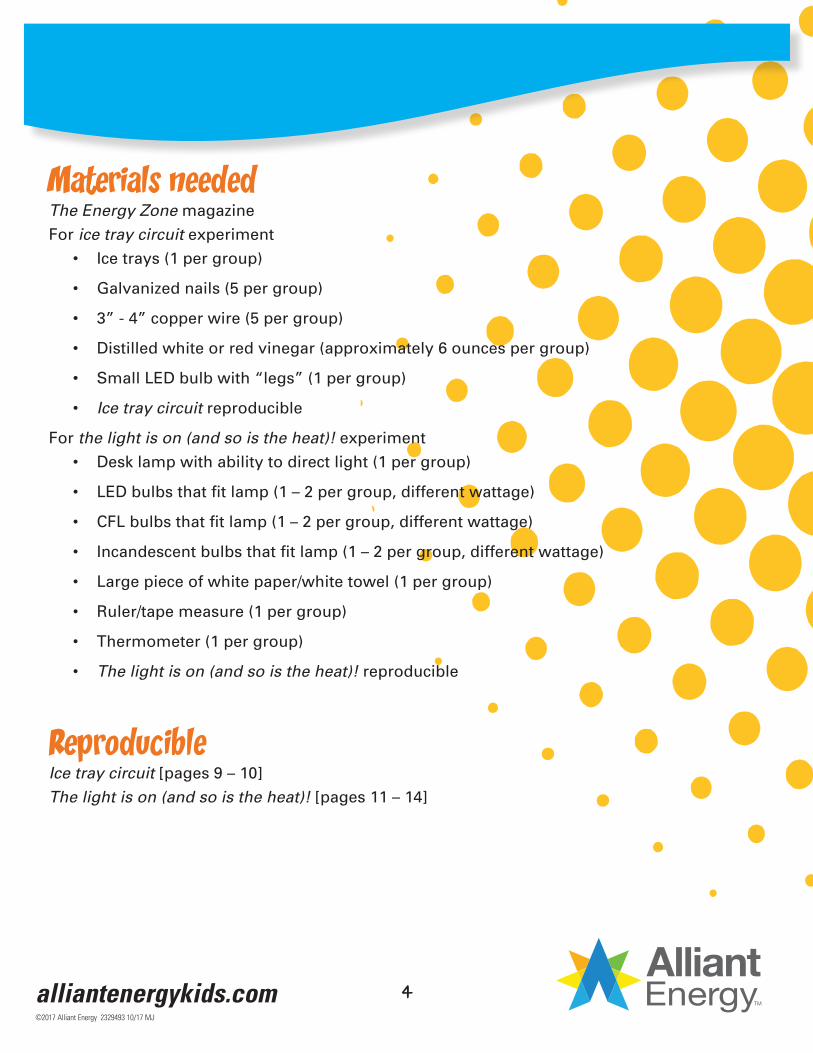
Materials neededThe Energy Zone magazine
For ice tray circuit experiment
• Ice trays (1 per group)
• Galvanized nails (5 per group)
• 3” - 4” copper wire (5 per group)
• Distilled white or red vinegar (approximately 6 ounces per group)
• Small LED bulb with “legs” (1 per group)
• Ice tray circuit reproducible
For the light is on (and so is the heat)! experiment
• Desk lamp with ability to direct light (1 per group)
• LED bulbs that fit lamp (1 – 2 per group, different wattage)
• CFL bulbs that fit lamp (1 – 2 per group, different wattage)
• Incandescent bulbs that fit lamp (1 – 2 per group, different wattage)
• Large piece of white paper/white towel (1 per group)
• Ruler/tape measure (1 per group)
• Thermometer (1 per group)
• The light is on (and so is the heat)! reproducible
ReproducibleIce tray circuit [pages 9 – 10]
The light is on (and so is the heat)! [pages 11 – 14]
4©2017 Alliant Energy 2329493 10/17 MJ
alliantenergykids.com
Lesson stepsPreparation
• With your phone/digital camera take pictures
of theses materials for the ice tray circuit
experiment laid out together:
o Ice tray
o 5 nails
o 5 pieces of copper wire
o Vinegar
• Take another photo with one nail wrapped with copper wire under its head with at
least an inch hanging off.
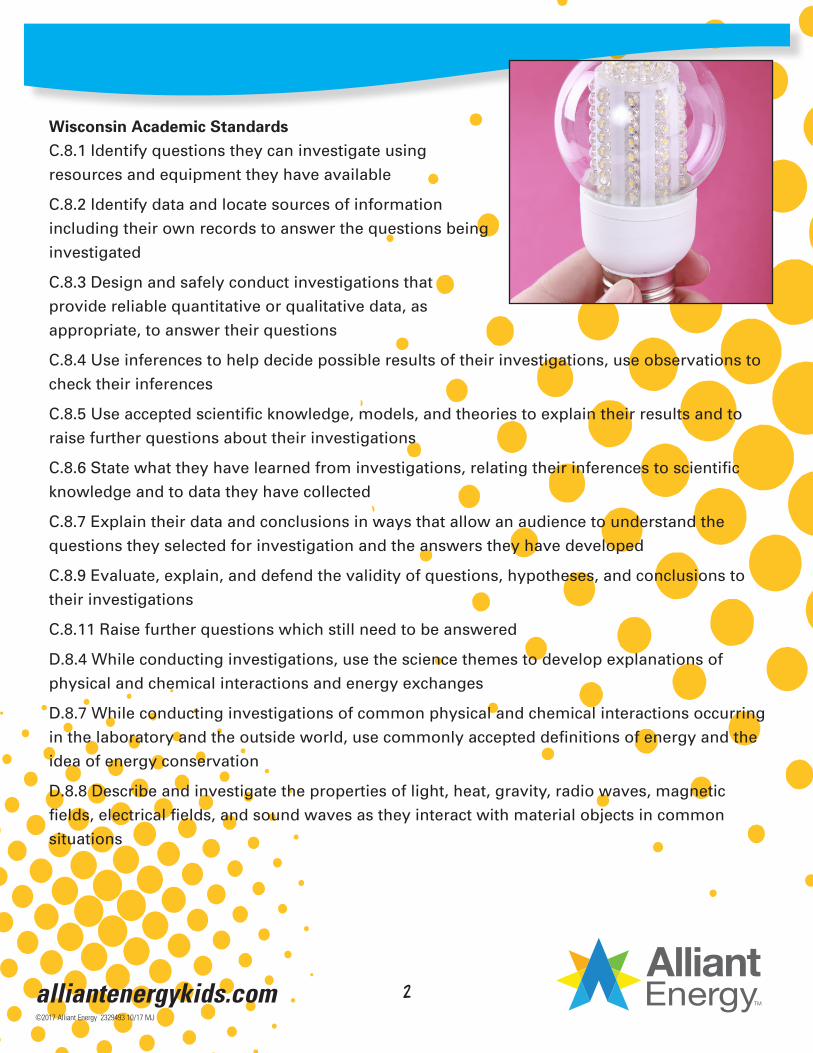
• Get images (or take pictures) of an incandescent light bulb, a CFL (compact
fluorescent) bulb, and an LED (light emitting diode) bulb
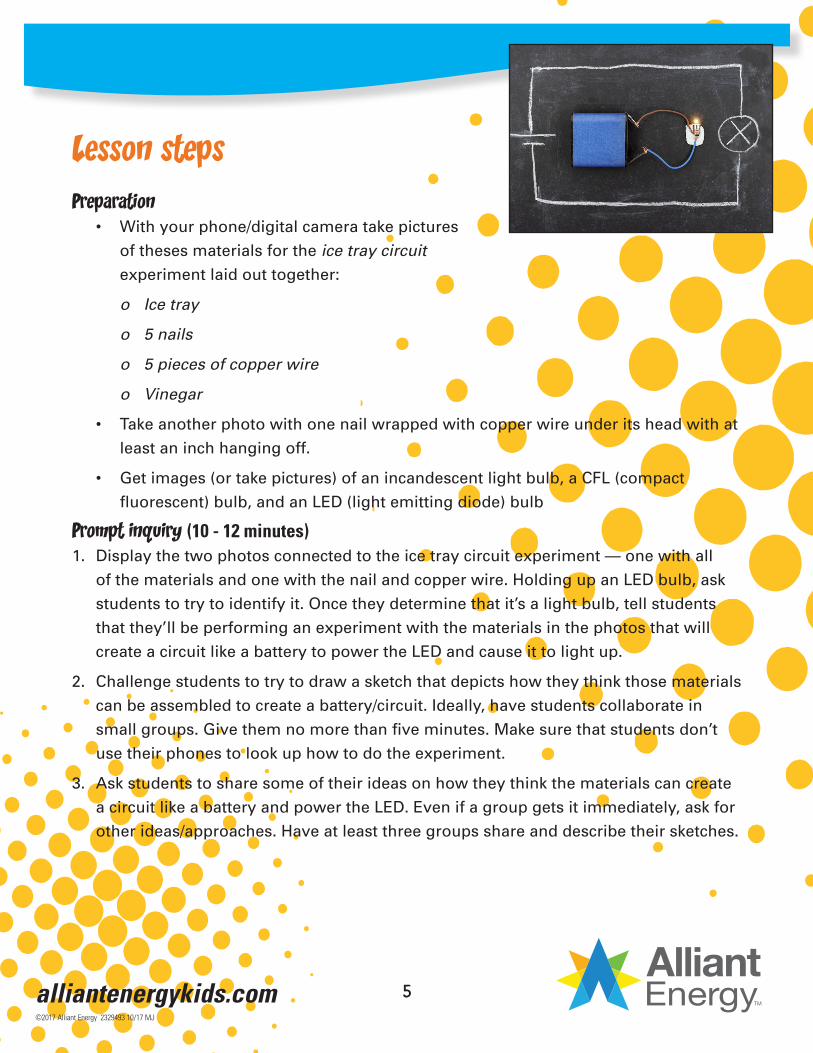
Prompt inquiry (10 - 12 minutes)1. Display the two photos connected to the ice tray circuit experiment — one with all
of the materials and one with the nail and copper wire. Holding up an LED bulb, ask
students to try to identify it. Once they determine that it’s a light bulb, tell students
that they’ll be performing an experiment with the materials in the photos that will
create a circuit like a battery to power the LED and cause it to light up.
2. Challenge students to try to draw a sketch that depicts how they think those materials
can be assembled to create a battery/circuit. Ideally, have students collaborate in
small groups. Give them no more than five minutes. Make sure that students don’t
use their phones to look up how to do the experiment.
3. Ask students to share some of their ideas on how they think the materials can create
a circuit like a battery and power the LED. Even if a group gets it immediately, ask for
other ideas/approaches. Have at least three groups share and describe their sketches.
5©2017 Alliant Energy 2329493 10/17 MJ
alliantenergykids.com
Ice tray circuit experiment (15 – 20 minutes)4. Announce that it’s time to perform the experiment called the ice tray circuit and to
find out how well they did speculating on how to create a circuit like a battery. And
then keeping students in the same groups, hand out copies of The Energy Zone
magazine and hand out/display the ice tray circuit reproducible that will help guide
students through the experiment.
5. As a class, turn to the glossary in the magazine (page 11) to go over the definition
of circuit. Students should at least understand that a circuit is a path through which
electricity travels. Share that a battery is a good example of a circuit and that they’ll
be creating one.
6. As a class, go over the instructions on the reproducible, establishing how you want
each group to get its materials and set up its experiment.
7. Have student groups perform the experiment. Circulate around the room, observing
and asking questions of students.
8. Ask students to share some observations from the experiment. They are likely to say
things like they still aren’t quite sure exactly how a battery works but it was a fun
experiment … they have a better sense of how a battery and/or a conductor works …
they are curious how powerful a light bulb they could power.
9. Have students clean up their experiment. Be as specific as you can in your directions.
[Please note that if you plan to break this lesson up over two days, this is a natural
stopping point at the end of day one.]
6©2017 Alliant Energy 2329493 10/17 MJ

alliantenergykids.com
Set up the light is on (and so is the heat)! experiment (20 – 35 minutes)10. Display the images of the three different types
of light bulbs. Ask students if they can name
the different types of bulbs. With the help of
the images, they might be able to name them
— perhaps calling incandescent bulbs “old
fashioned” bulbs. Point out that the ice tray
circuit experiment uses an LED bulb that works
like the one in the picture (even though they are
different sizes). Ask students if they know what
makes LED light bulbs special or preferred to
other types of bulbs and if they know what those
other types of bulbs are. They should be able to
point out that LEDs are more energy efficient.
11. As a class, come up with a working definition of
what being more energy efficient means. You
should quickly arrive at something along the
lines of using less energy to produce the same
results/output — in this case the creation of light.
12. Hand out/display the light is on (and so is the
heat)! reproducible. (If you need to reassemble
students into groups, now is a good time to do
that.) As a class, go over the instructions on
the reproducible, establishing how you want
each group to get its materials and set up its
experiment.
13. Have student groups perform the experiment.
Circulate around the room, observing and asking
questions of students.
• If materials are hard to
come by, you can perform
either/both experiments as
a class demonstration.
• If ice trays are hard to come
by, two groups can share
one ice tray.
• To extend the exploration
of energy efficiency for
light bulbs, have students
research the average
amount of kW hours
used per household
and determine how that
changes (positively and
negatively) based on the
type of light bulb they use.
Academic extensions and modifications
7©2017 Alliant Energy 2329493 10/17 MJ
alliantenergykids.com
14. Ask students to share some observations from
the experiment before turning in their results.
What does the experiment prove? (Some light
bulbs emit more heat than others.) What does
the experiment suggest? (Since they emit much
less heat than incandescent bulbs, LEDs and
CFLs are more energy efficient.)
15. Have students clean up their experiment. Be as
specific as you can in your directions.
Culmination (homework)16. To culminate the lesson, have students go home
and count the number of light bulbs in their
homes. They should categorize them by the
types of bulbs, and if possible, by their wattages.
• The light is on (and so is
the heat)! experiment is
an excellent jumping off
point to investigate how
different types of light bulbs
work and why LEDs and
CFLs are able to perform
more efficiently. It is also
an opportunity to examine
how CFLs pose a problem
with mercury, which should
motivate students to want
to encourage their parents
to dispose of CFLs properly.
• To abridge the lesson, you
can eliminate the ice tray
circuit experiment.
Academic extensions and modifications
8©2017 Alliant Energy 2329493 10/17 MJ
alliantenergykids.com
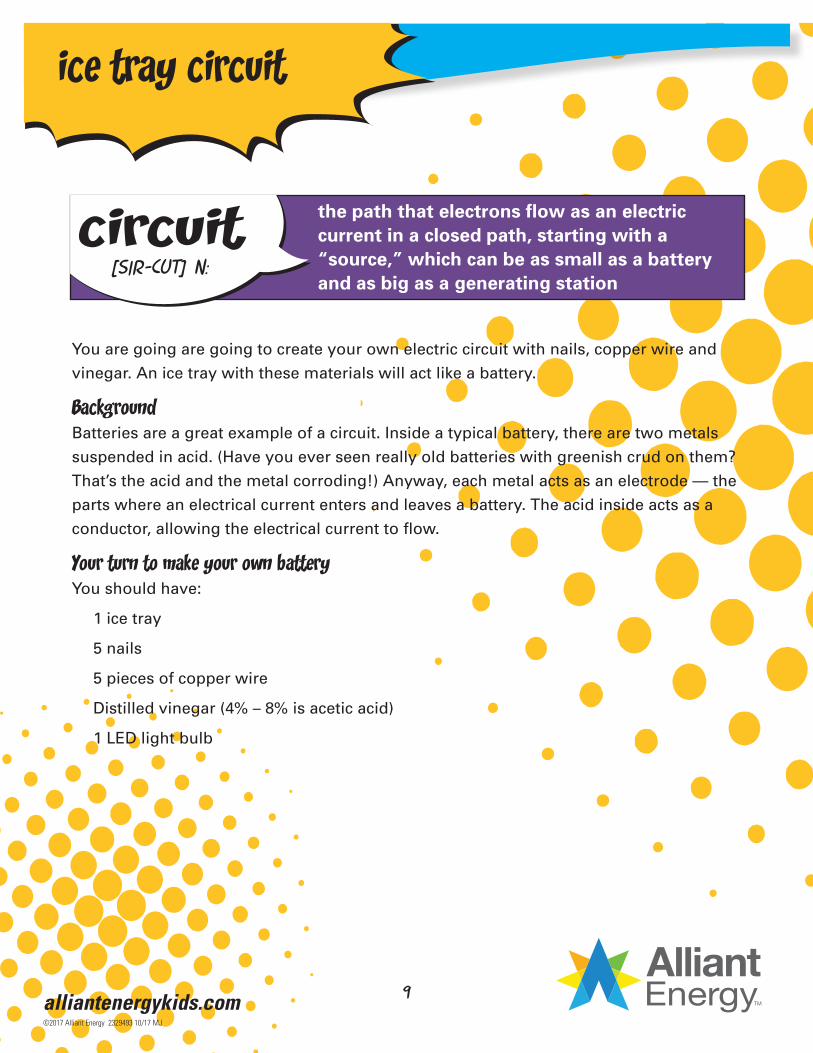
You are going are going to create your own electric circuit with nails, copper wire and
vinegar. An ice tray with these materials will act like a battery.
BackgroundBatteries are a great example of a circuit. Inside a typical battery, there are two metals
suspended in acid. (Have you ever seen really old batteries with greenish crud on them?
That’s the acid and the metal corroding!) Anyway, each metal acts as an electrode — the
parts where an electrical current enters and leaves a battery. The acid inside acts as a
conductor, allowing the electrical current to flow.
Your turn to make your own batteryYou should have:
1 ice tray
5 nails
5 pieces of copper wire
Distilled vinegar (4% – 8% is acetic acid)
1 LED light bulb
ice tray circuit
[SIR-cut] n:
the path that electrons flow as an electric current in a closed path, starting with a “source,” which can be as small as a battery and as big as a generating station
circuit
9©2017 Alliant Energy 2329493 10/17 MJ
alliantenergykids.com
You should follow these steps:1. Wrap a nail with a piece of copper wire (just below its head), leaving a section of
wire extending from below the head of the nail.
2. Repeat Step 1 with the 4 other nails and pieces of copper wire.
3. Carefully pour the vinegar in six different ice cube wells, doing your best to
distribute the vinegar evenly across all six.
4. Create a circuit by placing each nail in an ice cube well and the end of its copper
wire in the adjacent ice cube well. Make sure that the nails and wires in the same
ice cube well don’t touch. It should come full circle (or rectangle!) with the copper
wire from the last nail by itself in the ice cube well adjacent to the first nail.
5. Place the “leg” of the LED light bulb into the ice cube well with no nail in it and the
other leg with no copper wire in it. If the bulb lights up, you’ve got a circuit! If it
doesn’t work, flip the legs around. That should work. (If it still doesn’t work, make
sure that they are all submerged in the acid and are not touching anywhere they
shouldn’t be.)
6. Once you have it working, experiment a little. For example, you can remove one
copper wire and break the circuit. You can put a nail and wire in an ice cube well
without any vinegar. You can shorten the circuit, and see if there is any less delay
in powering the light.
ice tray circuit
10
©2017 Alliant Energy 2329493 10/17 MJ

alliantenergykids.com
BackgroundHave you noticed how a light bulb will often have a number of watts written on it? But
what’s a watt? In short, a watt is a measure of the amount of work electricity does per
second. So in the case of a light bulb, the higher the number of watts, the greater the
amount of electricity it takes to power that bulb.
Think about it this way. You just looked at pictures of different types of light bulbs,
including the old-fashioned incandescent bulbs, right? A 75-watt incandescent bulb uses
more electricity than a 25-watt bulb, which means that a 75-watt bulb is brighter than a
25-watt bulb.
However, if you look at an LED or CFL bulb, they will have a much lower number of
watts compared to incandescent bulbs. BUT … that doesn’t mean that they are not as
bright as incandescent bulbs. In reality, they are just as bright or even brighter. Instead,
LEDs and CFLs are much more energy efficient! So one watt of electricity does a lot
more work in an LED or CFL than it does in an incandescent bulb.
In this experiment, you’ll witness one big reason why old-fashioned incandescent bulbs
are not very energy efficient compared to LEDs and CFLs.
Experiment timeHere are the materials you need:
Lamp
Light bulbs of different types and wattages (LED, CFL, incandescent)
Thermometer
Ruler/tape measure
White piece of paper/white towel
Observation chart
the light is on (and so is the heat)!
11©2017 Alliant Energy 2329493 10/17 MJ

alliantenergykids.com
Here are the steps to follow:1. Place the white piece of paper/towel on a desk/table and the lamp opposite it.
(Make sure that you can safely plug in the lamp but leave it unplugged.)
2. Place the thermometer on the paper/towel and measure the distance from
where the bulb goes. It should be approximately a foot (12”) away. Record the
thermometer temperature on your observational chart.
3. Put the bulb with lowest wattage in the lamp. Plug in the lamp, and turn it on.
4. In the hypothesis space on your observation chart, try to predict how much
temperature change will occur (if any) in five minutes.
5. Leave the lamp on for five minutes, recording the temperature at one-minute
intervals on your observational chart. Make sure you record the information with
the correct bulb and the correct wattage.
6. Unplug the lamp. Carefully remove the bulb and place it in a safe place where it is
unlikely to move and/or break.
7. Wait 30 seconds for the thermometer to return to room temperature.
8. Repeat this process for each of your light bulbs.
Questions to consider• How does the temperature change over five minutes?
• Does the temperature change at roughly the same rate with each light bulb, or
does it vary depending on the type of light bulb or wattage?
• Which light bulb(s) produce the most heat?
• Which light bulb(s) produce the least heat?
• How do you think that the amount of heat produced relates to a light bulb’s
efficiency?
the light is on (and so is the heat)!
12©2017 Alliant Energy 2329493 10/17 MJ

alliantenergykids.com
the light is on (and so is the heat)!
13
light type hypothesis startingtemperature
light wattage
time[min] temperature
incandescent 1
2
3
4
5
compactfluorescent (CFL)
1
2
3
4
5
©2017 Alliant Energy 2329493 10/17 MJ
alliantenergykids.com
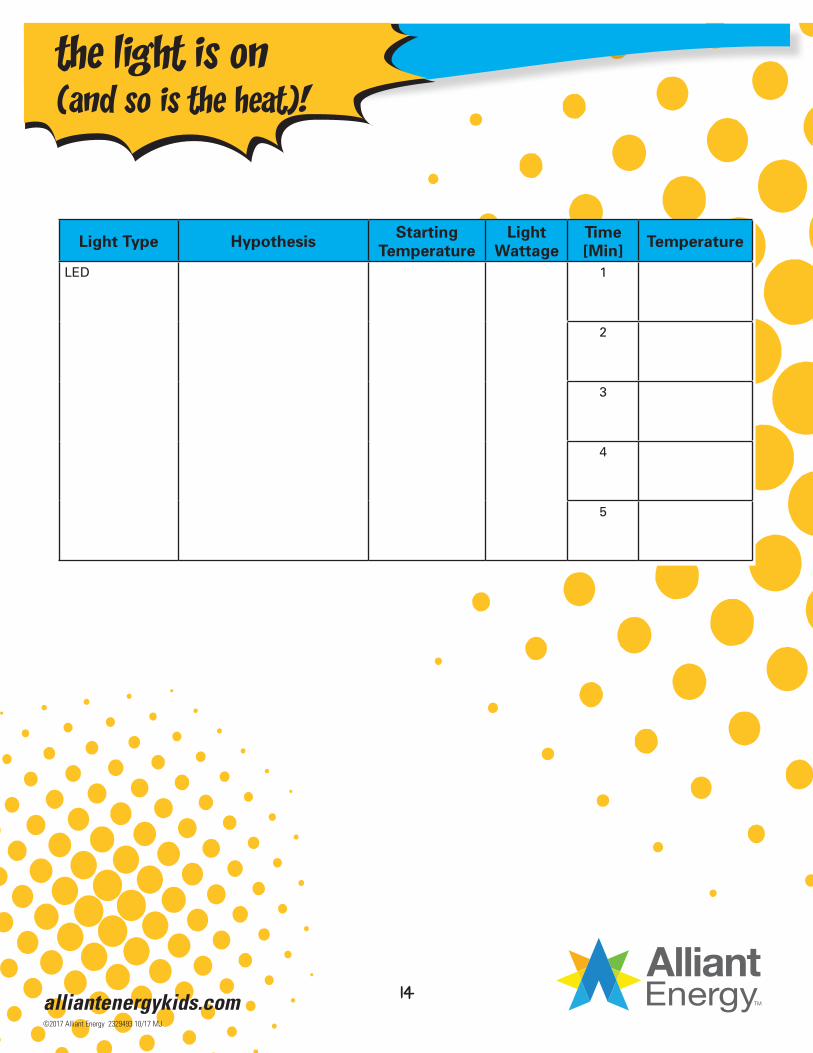
the light is on (and so is the heat)!
14
Light Type Hypothesis StartingTemperature
Light Wattage
Time[Min] Temperature
LED 1
2
3
4
5
©2017 Alliant Energy 2329493 10/17 MJ