Introduction - Audaces.cz
11
Introduction The Audaces Go is a system that enables the use of your Audaces systems and resources. It can be used with the local machine, it means, installing in the same computer where the systems are already installed. The Audaces Go can also be used with a server, in this case, the computers with the systems will be network connected with the server machine. At the end of the item “installation”, it will be better explained how to perform the operation. Requirements The important requirement is the need of internet on the computer where the Audaces Go is installed. It is therefore necessary, as the system periodically authenticates the software user license. This is done automatically, but, for this to happen properly, the computer needs to be connected to the internet. As for the Audaces Software, they don’t need to be connected to the internet, just to a company internal network which will connect to the Audaces Go server. The Audaces Go can be installed in computers that have the following operation systems: Windows 7 Pro, Windows 8 Pro y Windows 10 Pro. The software cannot be installed in virtual machines.
-
Upload
khangminh22 -
Category
Documents
-
view
1 -
download
0
Transcript of Introduction - Audaces.cz
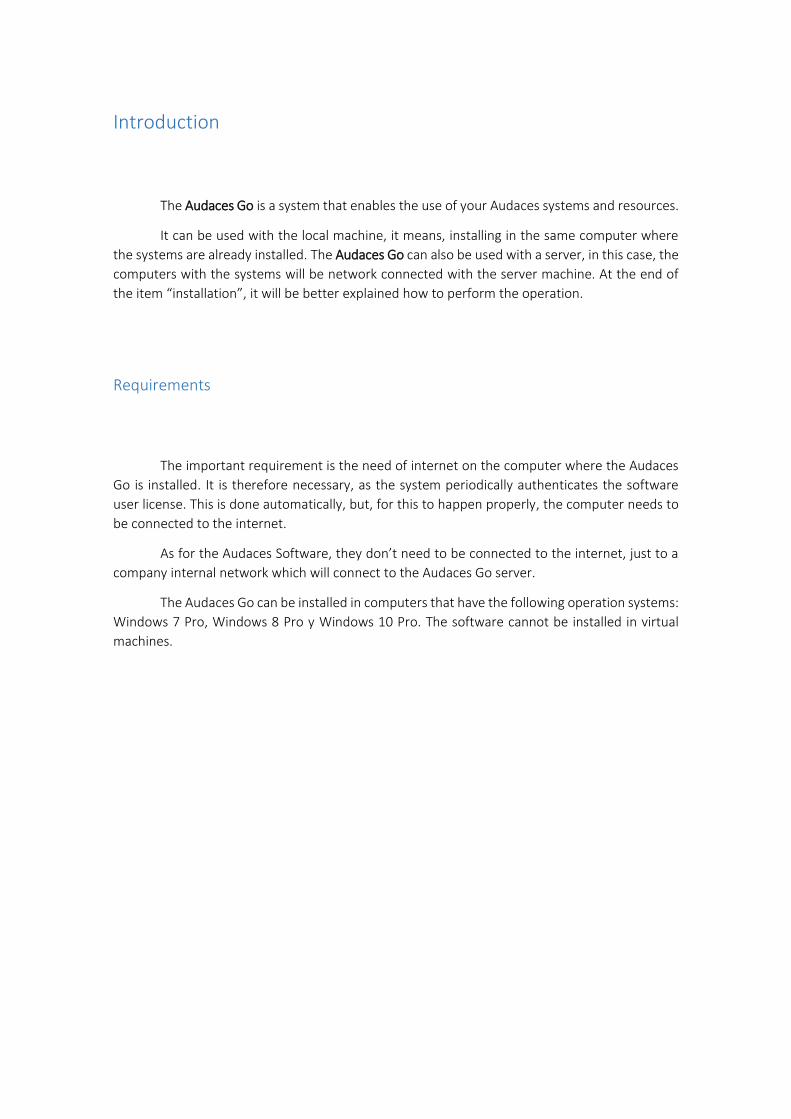
Introduction
The Audaces Go is a system that enables the use of your Audaces systems and resources.
It can be used with the local machine, it means, installing in the same computer where
the systems are already installed. The Audaces Go can also be used with a server, in this case, the
computers with the systems will be network connected with the server machine. At the end of
the item “installation”, it will be better explained how to perform the operation.
Requirements
The important requirement is the need of internet on the computer where the Audaces
Go is installed. It is therefore necessary, as the system periodically authenticates the software
user license. This is done automatically, but, for this to happen properly, the computer needs to
be connected to the internet.
As for the Audaces Software, they don’t need to be connected to the internet, just to a
company internal network which will connect to the Audaces Go server.
The Audaces Go can be installed in computers that have the following operation systems:
Windows 7 Pro, Windows 8 Pro y Windows 10 Pro. The software cannot be installed in virtual
machines.
Installation
The Audaces Go must be installed in a computer that have the above requirements for the ideal
software operation.
In order for you to use the software, follow the bellow installation step-to-step:
1. First, run the software installer you have received in a CD or available through Clube
Audaces portal and then follow the wizard instructions;
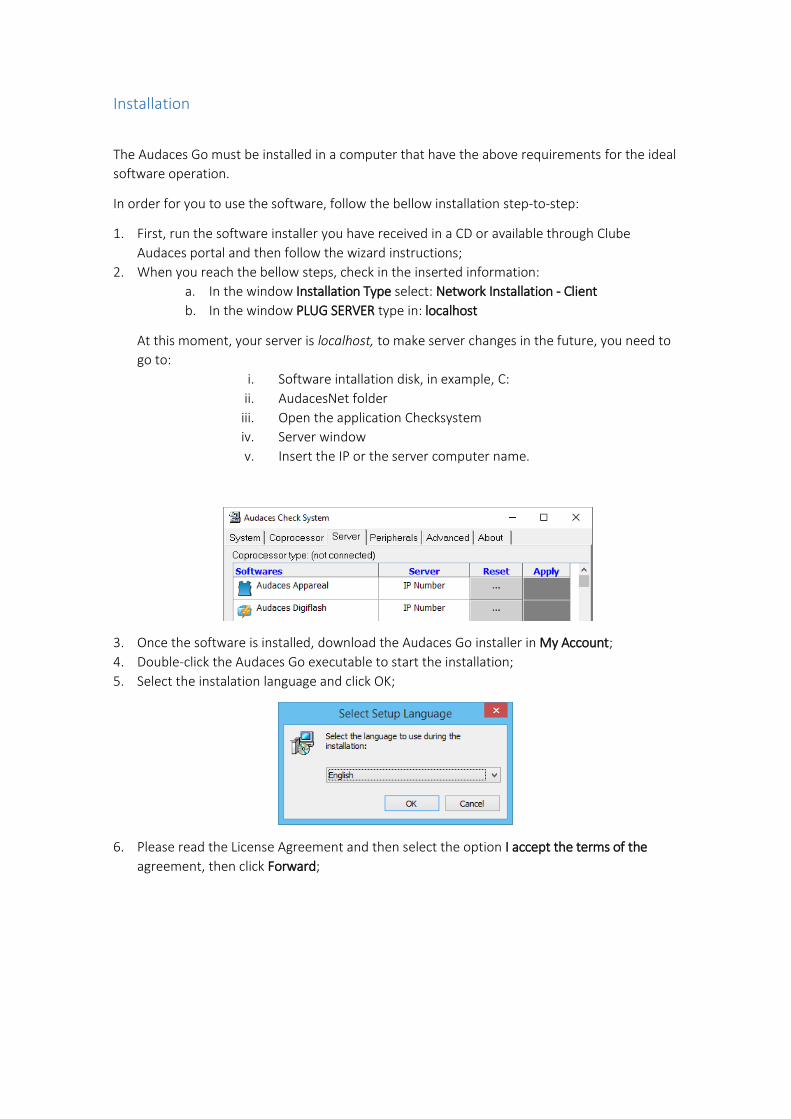
2. When you reach the bellow steps, check in the inserted information:
a. In the window Installation Type select: Network Installation - Client
b. In the window PLUG SERVER type in: localhost
At this moment, your server is localhost, to make server changes in the future, you need to
go to:
i. Software intallation disk, in example, C:
ii. AudacesNet folder
iii. Open the application Checksystem
iv. Server window
v. Insert the IP or the server computer name.
3. Once the software is installed, download the Audaces Go installer in My Account;
4. Double-click the Audaces Go executable to start the installation;
5. Select the instalation language and click OK;
6. Please read the License Agreement and then select the option I accept the terms of the
agreement, then click Forward;
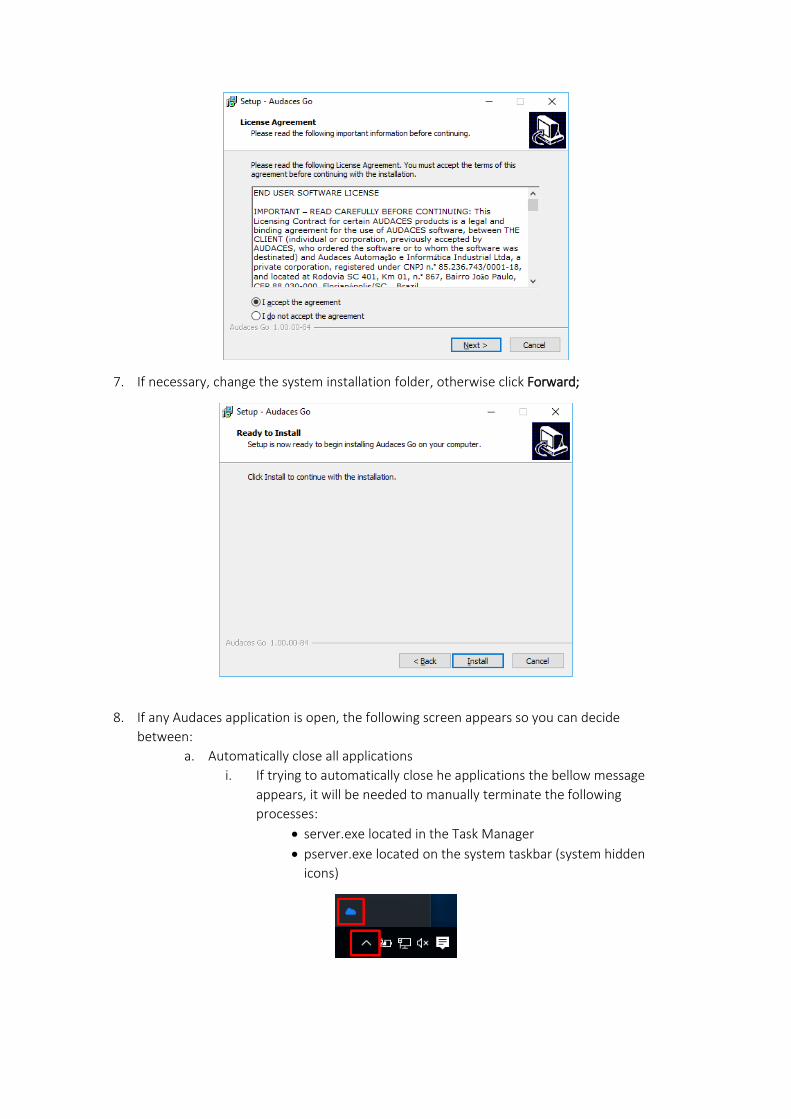
7. If necessary, change the system installation folder, otherwise click Forward;
8. If any Audaces application is open, the following screen appears so you can decide
between:
a. Automatically close all applications
i. If trying to automatically close he applications the bellow message
appears, it will be needed to manually terminate the following
processes:
server.exe located in the Task Manager
pserver.exe located on the system taskbar (system hidden
icons)
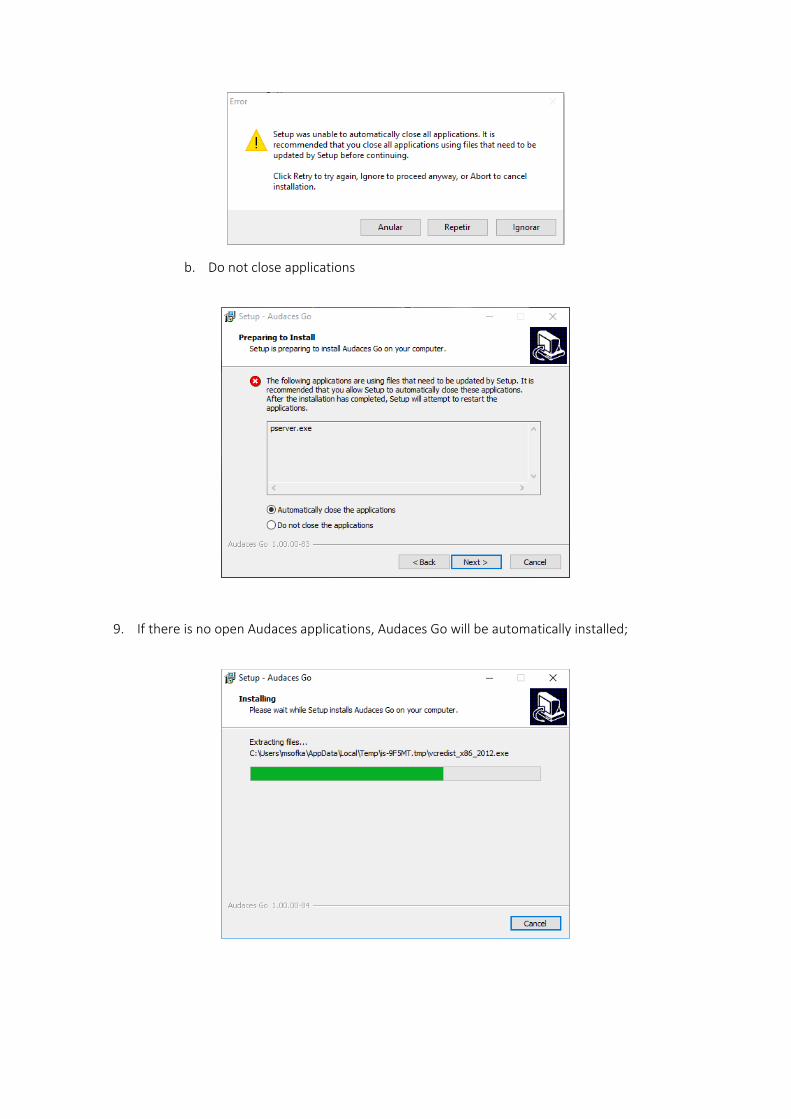
b. Do not close applications
9. If there is no open Audaces applications, Audaces Go will be automatically installed;

10. To complete the installation of Audaces Go click in Finish;
11. Done! Your Audaces Go was successfully installed.
How to configure
Right after installation the Audaces Go icon will appear in your desktop, double-click to
open the Audaces Go.
1. The following window will be opened, click Next:

2. Now, set-up your connection to the internet:
a. If you don’t have a proxy, maintain the Direct Connection to Internet selected and
click Next
b. If you have a proxy, you will need to configure it. For this, select the option Manual,
put the proxy server name and the door number, if you don’t have this information,
please see the companies IT responsible. Then put your network user name and
password. Click Next.
3. Enter your registered Audaces ID e-mail, the same from My account , access and
your password.
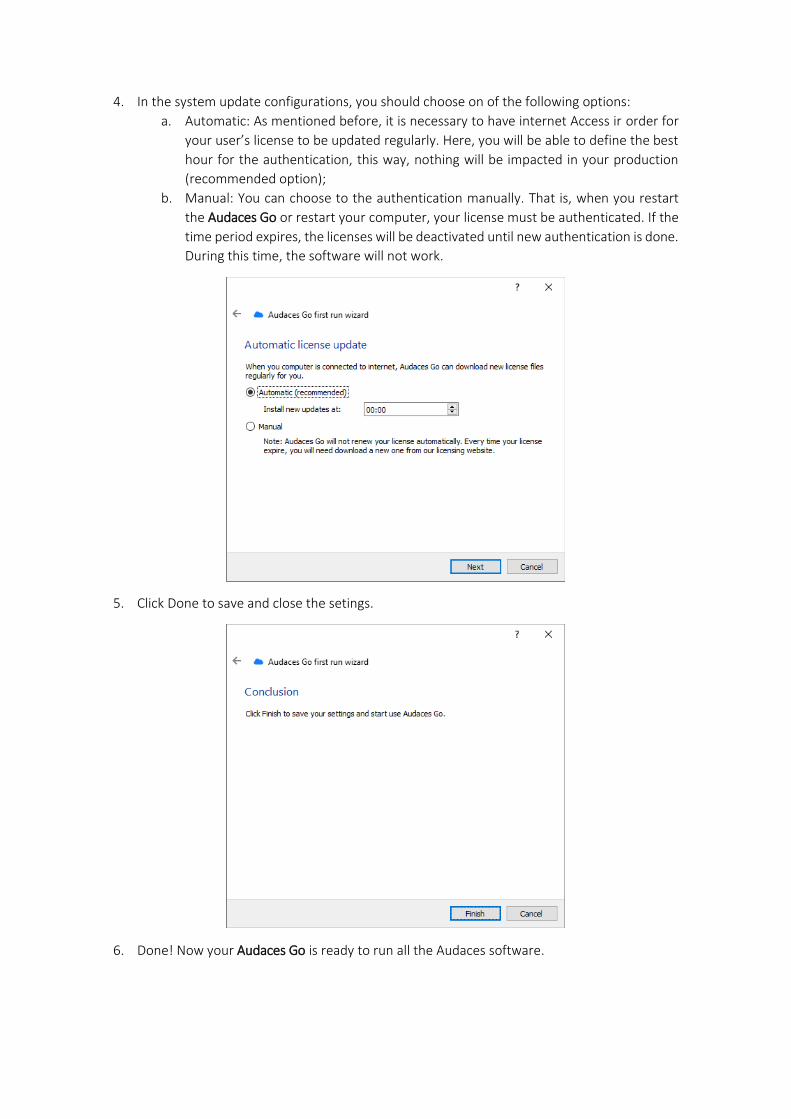
4. In the system update configurations, you should choose on of the following options:
a. Automatic: As mentioned before, it is necessary to have internet Access ir order for
your user’s license to be updated regularly. Here, you will be able to define the best
hour for the authentication, this way, nothing will be impacted in your production
(recommended option);
b. Manual: You can choose to the authentication manually. That is, when you restart
the Audaces Go or restart your computer, your license must be authenticated. If the
time period expires, the licenses will be deactivated until new authentication is done.
During this time, the software will not work.
5. Click Done to save and close the setings.
6. Done! Now your Audaces Go is ready to run all the Audaces software.
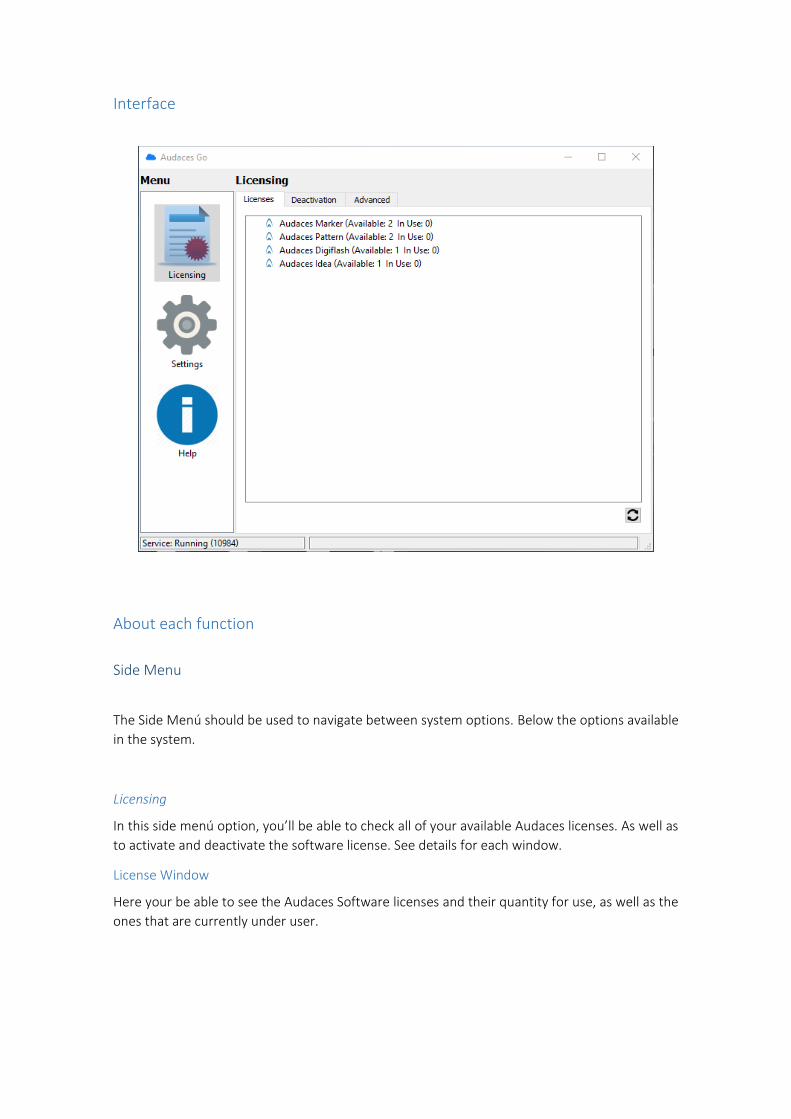
Interface
About each function
Side Menu
The Side Menú should be used to navigate between system options. Below the options available
in the system.
Licensing
In this side menú option, you’ll be able to check all of your available Audaces licenses. As well as
to activate and deactivate the software license. See details for each window.
License Window
Here your be able to see the Audaces Software licenses and their quantity for use, as well as the
ones that are currently under user.
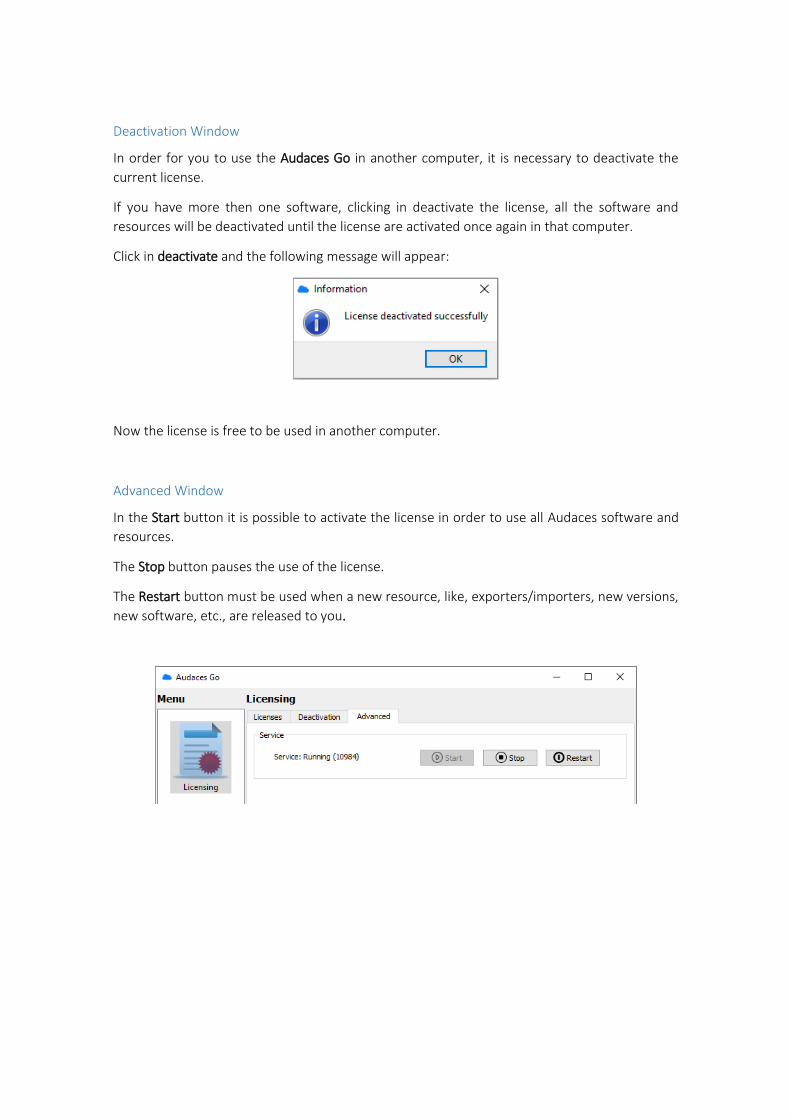
Deactivation Window
In order for you to use the Audaces Go in another computer, it is necessary to deactivate the
current license.
If you have more then one software, clicking in deactivate the license, all the software and
resources will be deactivated until the license are activated once again in that computer.
Click in deactivate and the following message will appear:
Now the license is free to be used in another computer.
Advanced Window
In the Start button it is possible to activate the license in order to use all Audaces software and
resources.
The Stop button pauses the use of the license.
The Restart button must be used when a new resource, like, exporters/importers, new versions,
new software, etc., are released to you.
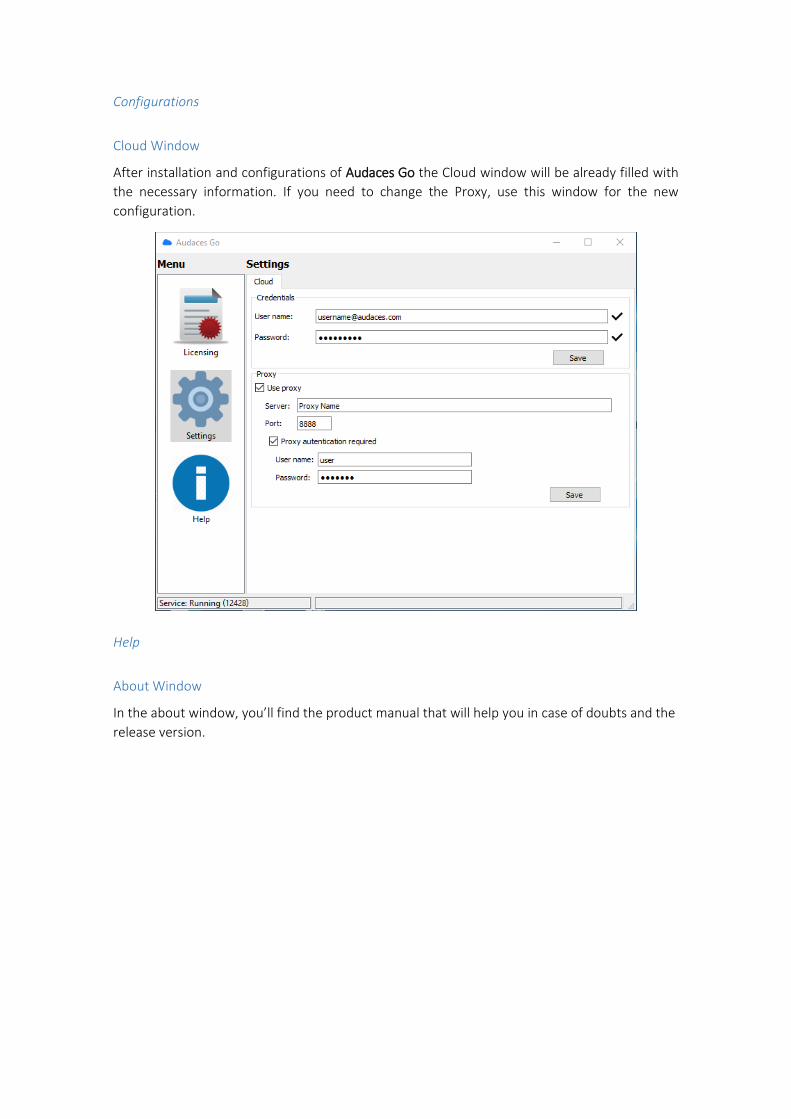
Configurations
Cloud Window
After installation and configurations of Audaces Go the Cloud window will be already filled with
the necessary information. If you need to change the Proxy, use this window for the new
configuration.
Help
About Window
In the about window, you’ll find the product manual that will help you in case of doubts and the
release version.

Sumario Introduction ................................................................................................................................... 1
Requirements ............................................................................................................................ 1
Installation ................................................................................................................................. 2
How to configure ....................................................................................................................... 5
Interface .................................................................................................................................... 8
About each function .................................................................................................................. 8
Side Menu .............................................................................................................................. 8