Couture-Daughters-Tote-Bag-eBook.pdf - To Gather And Stitch
18
1 The Couture Daughter’s Tote Bag A FREE DOWNLOADABLE PDF PATTERN AND STEP BY STEP SEWING TUTORIAL Free PDF Pattern
-
Upload
khangminh22 -
Category
Documents
-
view
2 -
download
0
Transcript of Couture-Daughters-Tote-Bag-eBook.pdf - To Gather And Stitch
1
The Couture Daughter’s Tote BagA FREE DOWNLOADABLE PDF PATTERN AND STEP BY STEP SEWING TUTORIAL
Free
Pattern

You Will Need 3 Before You Begin 4 Cutting Out 5 First Steps 6 What to do next 8 Next Steps 11 Finishing 14 Little Extras 17
2
INDEX

You Will Need •Couture Daughter’s Tote Bag Pattern - you can download this
here
•Canvas, denim or upholstery fabric - and add dimensions ≈ x cm
by x cm too
•Optional wax canvas for the bag base - you can buy this here
•Pins
•Sewing scissors
•Safety pin or rouleaux turner
•Hand sewing needle
•Thread
• Sewing machine
3

Before You Begin
• Gather all your materials together.
• Download the PDF pattern from our website here.
• Print out the PDF pattern, for instructions on how to do this see here.
• Assemble your sewing pattern together following these instructions.
4
Cutting Out
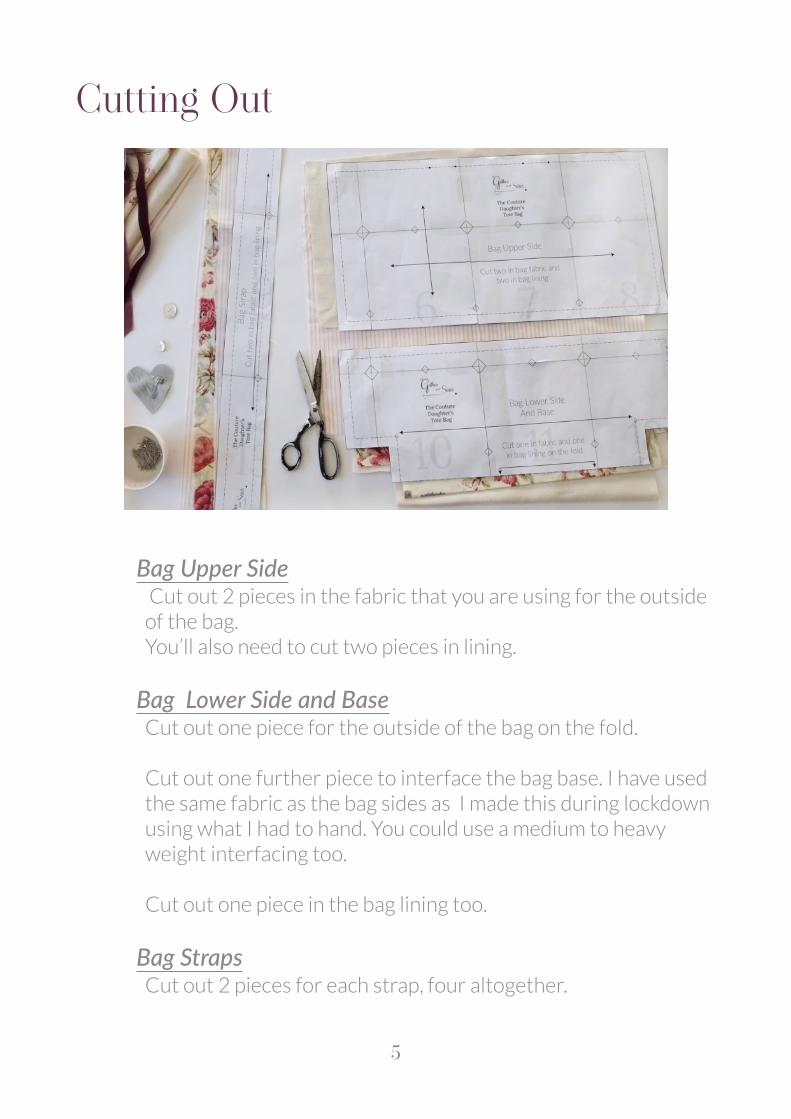
Bag Upper Side Cut out 2 pieces in the fabric that you are using for the outside of the bag. You’ll also need to cut two pieces in lining.
Bag Lower Side and Base Cut out one piece for the outside of the bag on the fold.
Cut out one further piece to interface the bag base. I have used the same fabric as the bag sides as I made this during lockdown using what I had to hand. You could use a medium to heavy weight interfacing too.
Cut out one piece in the bag lining too.
Bag Straps Cut out 2 pieces for each strap, four altogether.
5

First Steps Bag Base Take your pieces for the bag base, you have one in the outer fabrics and one in the fabric you are going to use for interlining.
Lay your interfacing/ interlining piece onto the wrong side of the bag base.
Press , and then machine stitch or tack around the edge, just inside the stitching line.
6

Bag Sides Take the bag upper side piece, pin to the bag base right sides together and stitch it to the bag base matching notches.
Repeat for the other side. Do the same for the bag lining.
Add some magic- I decided to add some velvet ribbon to the seam by topstitching it in place. I used the seam as a guide for one edge of the ribbon. If this is your first sewing project you might want to skip this step.
7
What to do next Now you’ll begin to turn your sewing into a bag by sewing the side seams and by adding box corners to the base.
Make sure that you have marked the notches in the bag base.
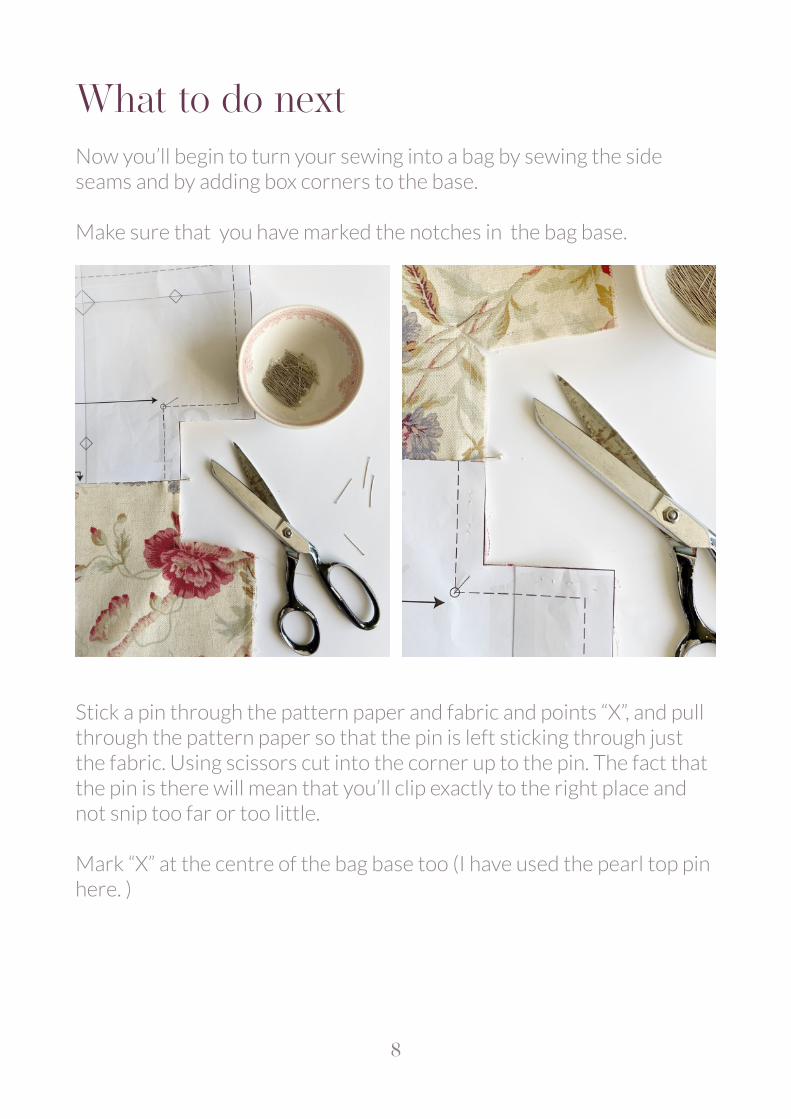
Stick a pin through the pattern paper and fabric and points “X”, and pull through the pattern paper so that the pin is left sticking through just the fabric. Using scissors cut into the corner up to the pin. The fact that the pin is there will mean that you’ll clip exactly to the right place and not snip too far or too little.
Mark “X” at the centre of the bag base too (I have used the pearl top pin here. )
8
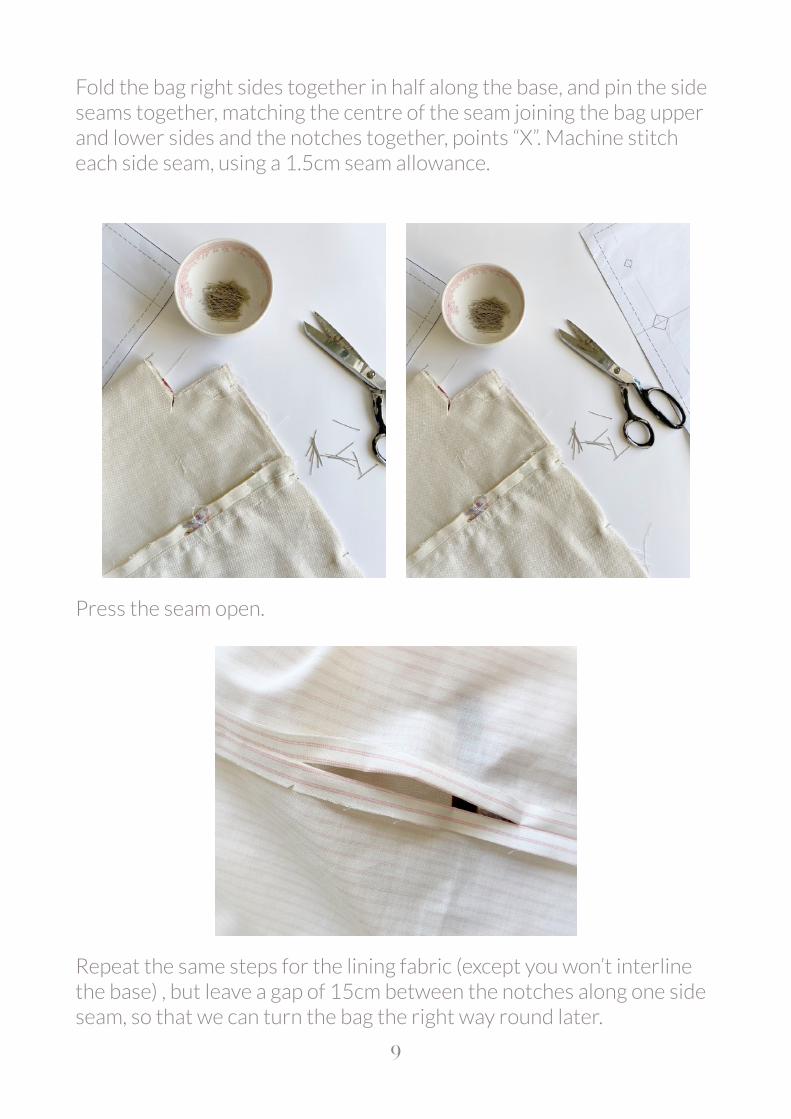
Fold the bag right sides together in half along the base, and pin the side seams together, matching the centre of the seam joining the bag upper and lower sides and the notches together, points “X”. Machine stitch each side seam, using a 1.5cm seam allowance.
Press the seam open.
Repeat the same steps for the lining fabric (except you won’t interline the base) , but leave a gap of 15cm between the notches along one side seam, so that we can turn the bag the right way round later.
9
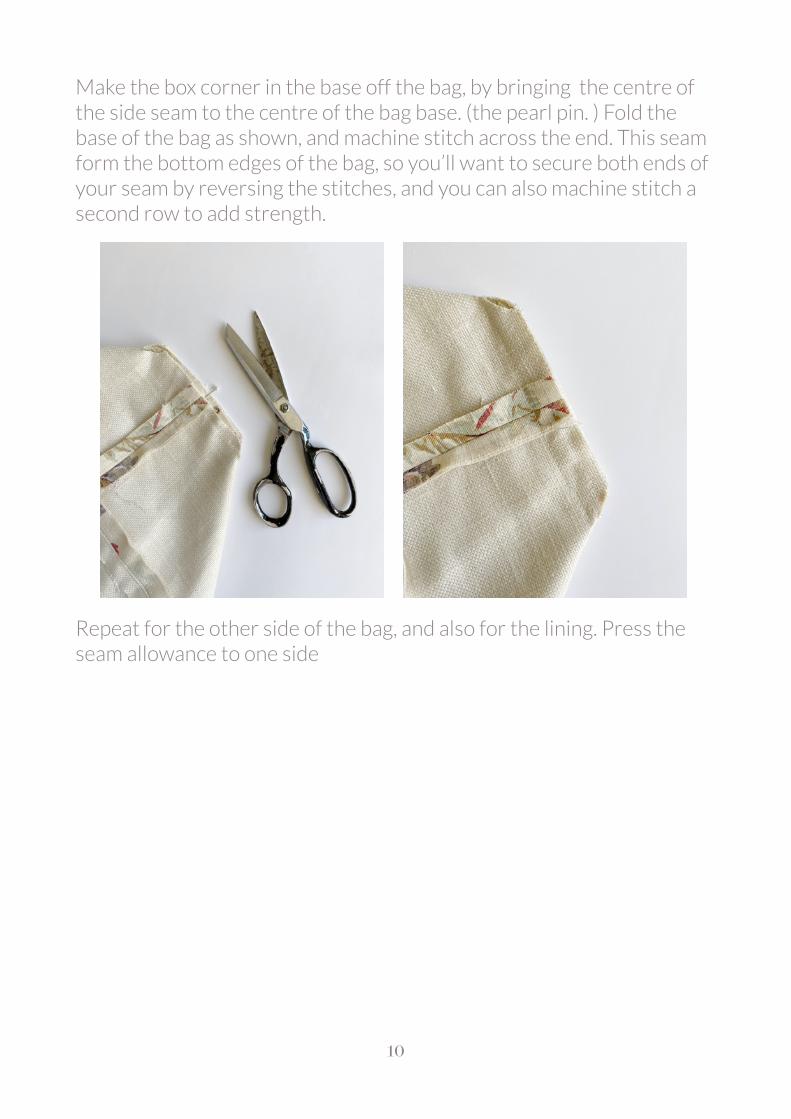
Make the box corner in the base off the bag, by bringing the centre of the side seam to the centre of the bag base. (the pearl pin. ) Fold the base of the bag as shown, and machine stitch across the end. This seam form the bottom edges of the bag, so you’ll want to secure both ends of your seam by reversing the stitches, and you can also machine stitch a second row to add strength.
Repeat for the other side of the bag, and also for the lining. Press the seam allowance to one side
10
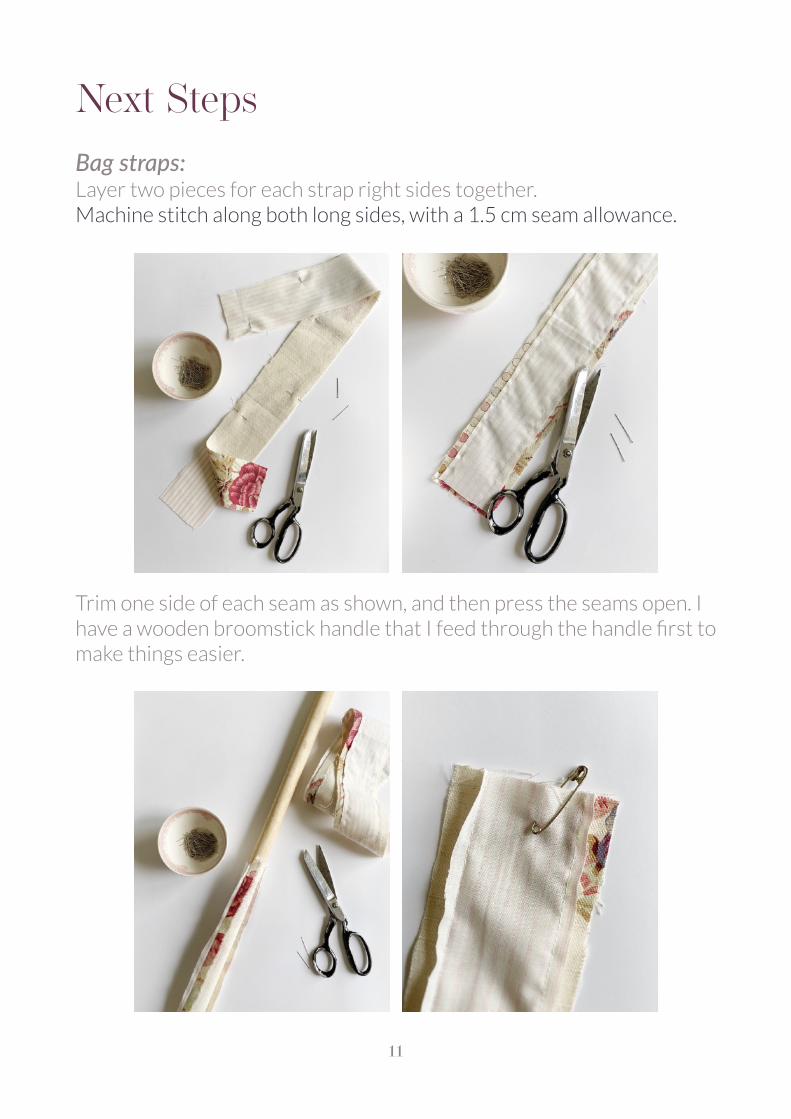
Next Steps Bag straps: Layer two pieces for each strap right sides together. Machine stitch along both long sides, with a 1.5 cm seam allowance.
Trim one side of each seam as shown, and then press the seams open. I have a wooden broomstick handle that I feed through the handle first to make things easier.
11

Attach a safety pin to one side at the end of the strap. Feed this up into the inside of the strap turning the strap through as you go. If you have a rouleau turner you could use this instead.
Press the straps flat, rolling the lining pf the trap just to the inside, and top stitch along each long side. Repeat for the other strap.
12

Add straps to each side of the bag by pinning them in place as shown, and a ribbon tie to fasten your bag. Machine stitch in place.
13
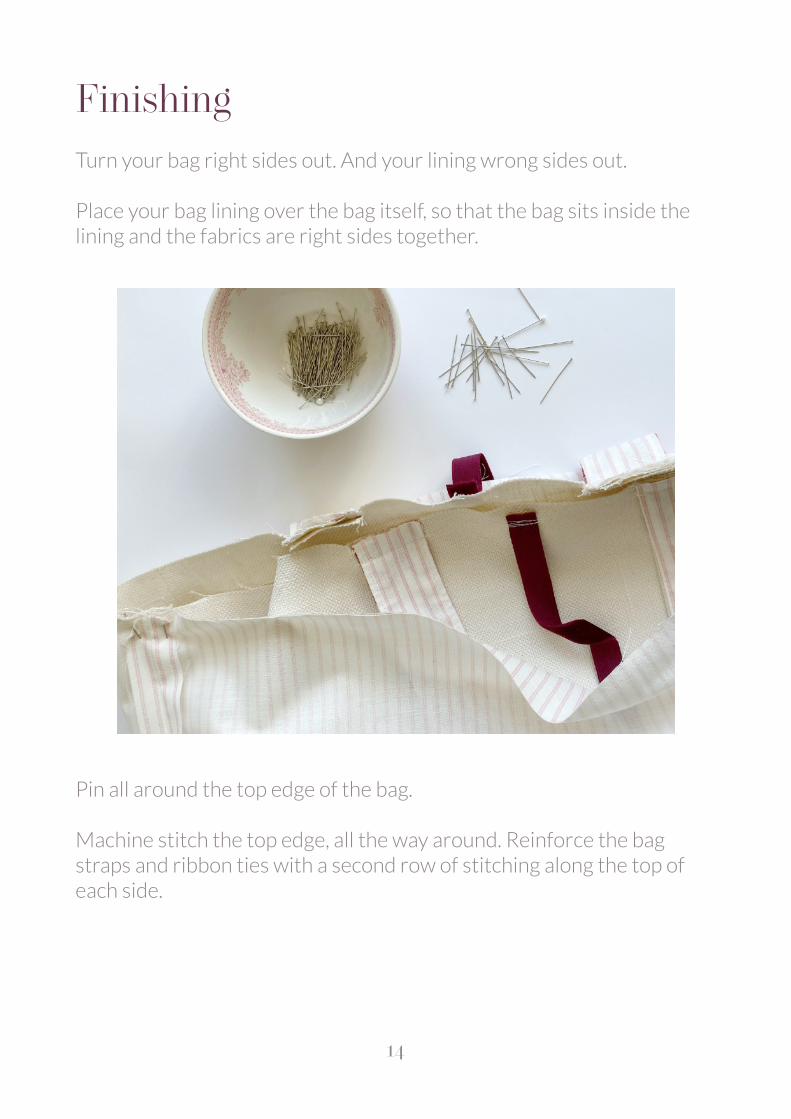
Finishing Turn your bag right sides out. And your lining wrong sides out.
Place your bag lining over the bag itself, so that the bag sits inside the lining and the fabrics are right sides together.
Pin all around the top edge of the bag.
Machine stitch the top edge, all the way around. Reinforce the bag straps and ribbon ties with a second row of stitching along the top of each side.
14
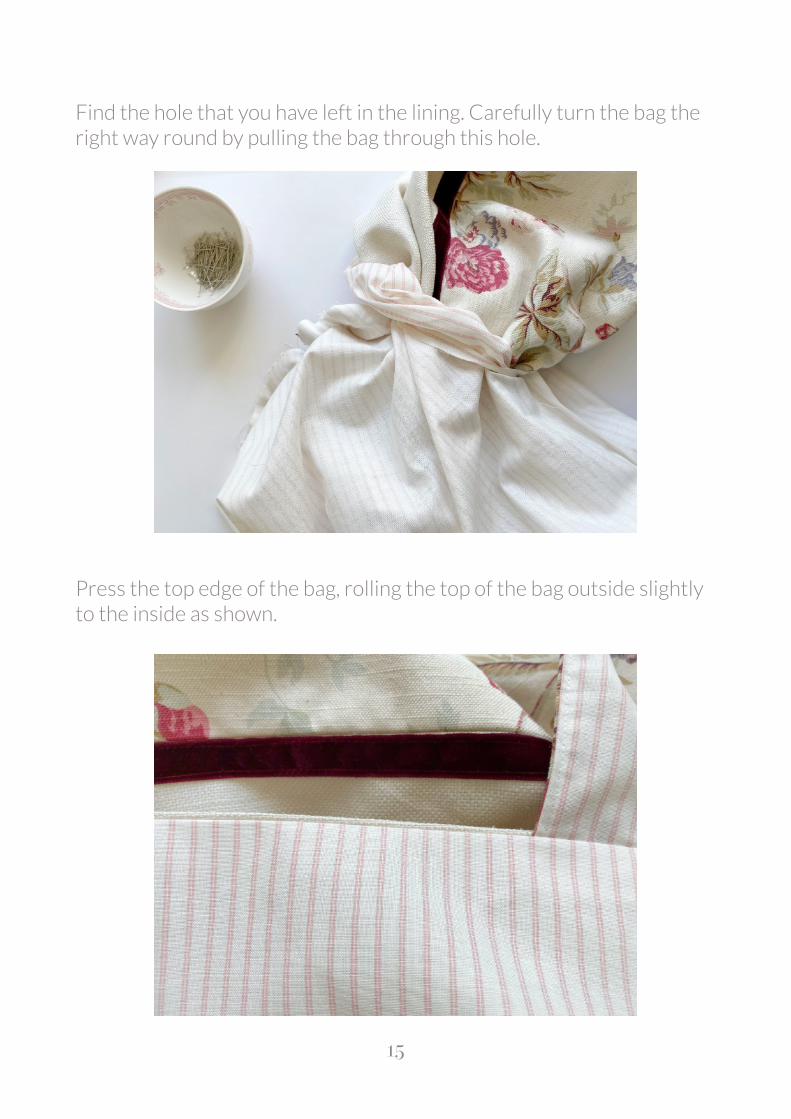
Find the hole that you have left in the lining. Carefully turn the bag the right way round by pulling the bag through this hole.
Press the top edge of the bag, rolling the top of the bag outside slightly to the inside as shown.
15

Pin the edges of the gap in the lining side seam together, and hand stitch closed using an overstitch.
16
Then stitch top stitch along the top edge.
Tip:
Top stitching evenly is much easier to do if you have something to use as a guide. Look for something two or three millimetres away from the centre, I use the base of the post that attaches to the sewing foot as mine. If your sewing machine allows you to move the needle position to the left or right you could do this instead.
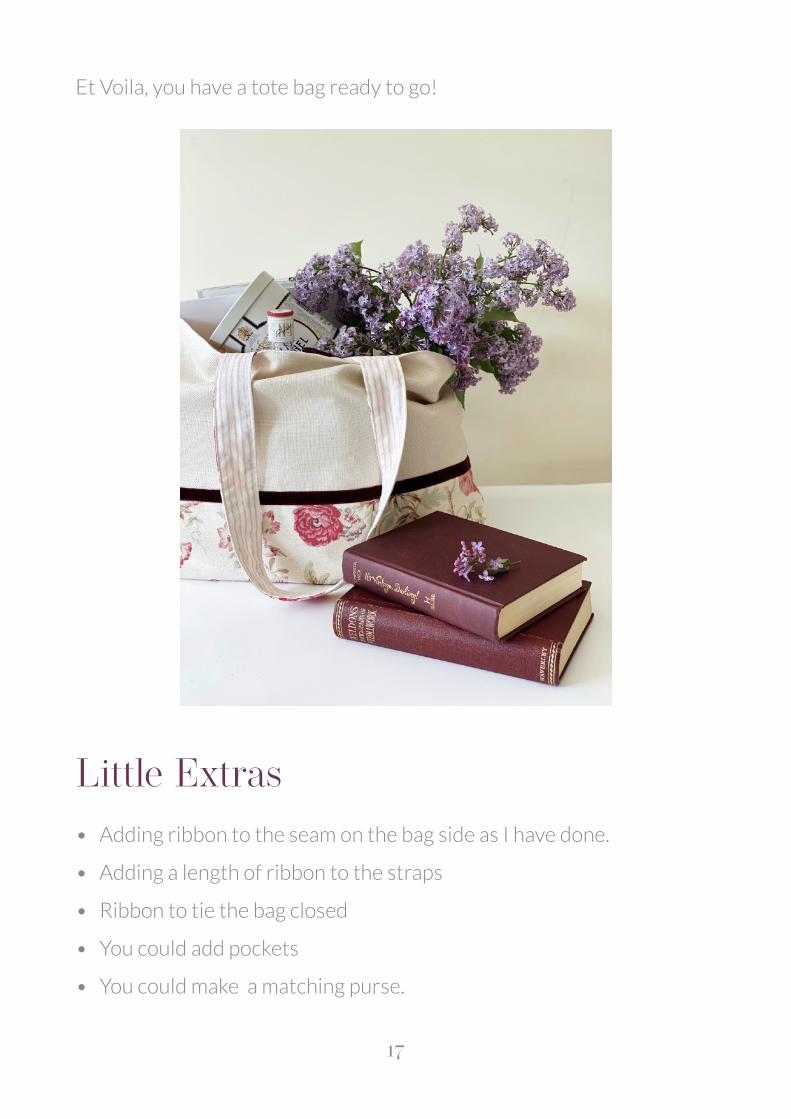
Et Voila, you have a tote bag ready to go!
Little Extras • Adding ribbon to the seam on the bag side as I have done.
• Adding a length of ribbon to the straps
• Ribbon to tie the bag closed
• You could add pockets
• You could make a matching purse.
17
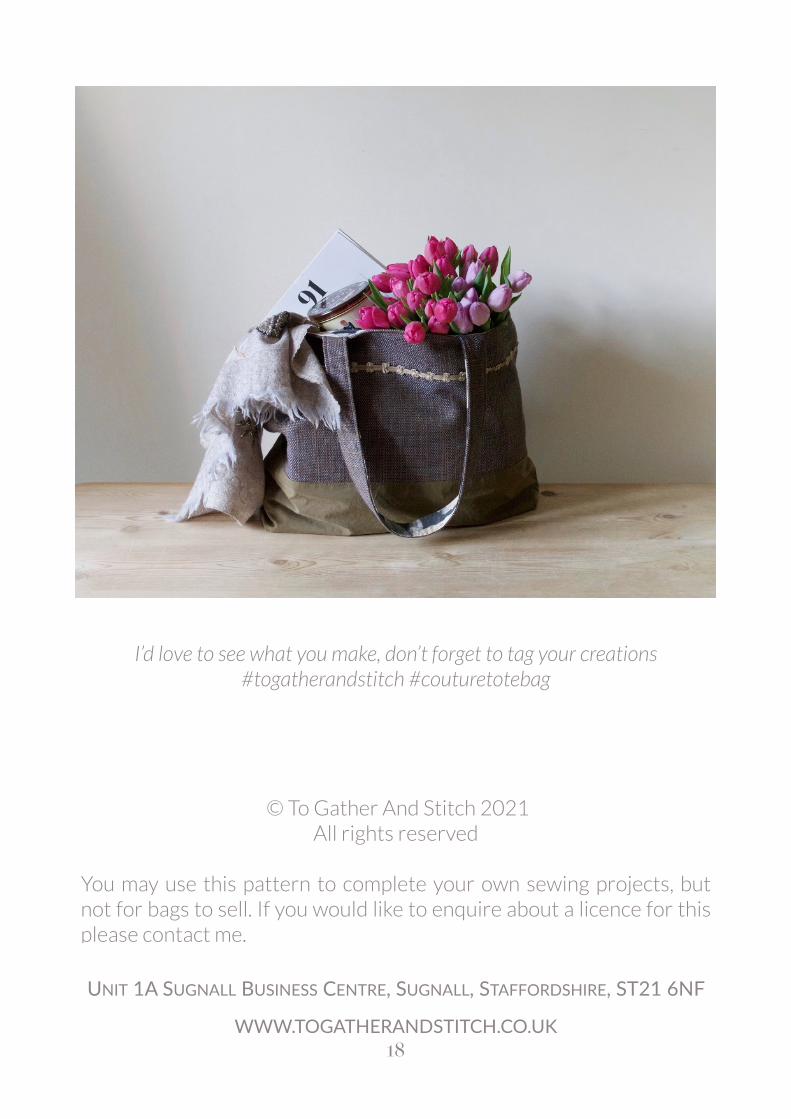
I’d love to see what you make, don’t forget to tag your creations
#togatherandstitch #couturetotebag
18
© To Gather And Stitch 2021 All rights reserved
You may use this pattern to complete your own sewing projects, but not for bags to sell. If you would like to enquire about a licence for this please contact me.
UNIT 1A SUGNALL BUSINESS CENTRE, SUGNALL, STAFFORDSHIRE, ST21 6NF
WWW.TOGATHERANDSTITCH.CO.UK