Cell Modem Guide.pages - Oregon RFID
15
-
Upload
khangminh22 -
Category
Documents
-
view
4 -
download
0
Transcript of Cell Modem Guide.pages - Oregon RFID


(c) 2015 Oregon RFID, Inc
The Oregon RFID Cellular Data Modem allows wireless remote access to our HDX PIT tag readers. Short Message Service (SMS) text messages are sent to the reader using a cell phone or computer to check the system status, change a setting or request a report.
The reader automatically sends an alert when the supply voltage is low, the reader restarts or a problem occurs. Log files of detection records are sent periodically by email or on request.
Access can be limited to 10 phone numbers to prevent unauthorized use.
The modem can be used worldwide on GSM/GPRS/HPSA+ networks and has FCC and CE certifications. A GPS receiver provides an accurate time reference for the datalogger clock.
The modem requires a SIM card (not included) that is obtained from a cellular network provider.
Cellular Data Modem with GPS

SIM Card Types
A provider will associate the SIM card with a service packages depending on the intended use.
voice minutes (none needed for the modem)number of SMS messagesdata usage (for email, file transfers)
SMS is used by the modem to send and receive text messages with the reader. The modem sends log files by email and the monthly internet data limit should be large enough to handle the volume of information the reader generates. No voice minutes are needed
Types of accounts
A smartphone account will usually work with the modem. SIM cards for tablets usually include lots of data data but may not allow SMS messages. Check with the cellular service provider to see what is included before selecting the account.
Fixed IP address
A SIM can have a fixed IP address for a monthly fee. A fixed IP address is a unique internet number that allows contacting the modem much like making a phone call. A direct internet connection can be made with interactive data access using a terminal program.
Dynamic IP address
Without a fixed IP address, each time the modem connects a number is selected from the provider’s pool (DHCP). This allows the modem to initiate sending email and transfer files but since the address changes it cannot be called to connect.
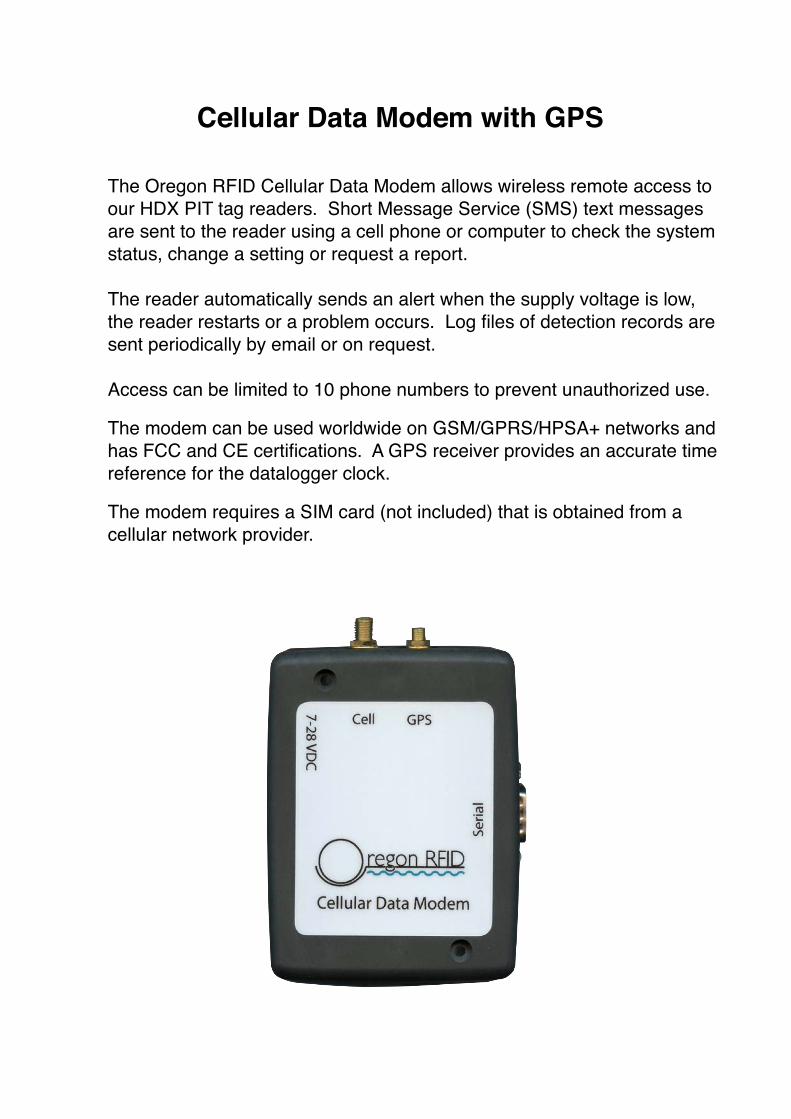
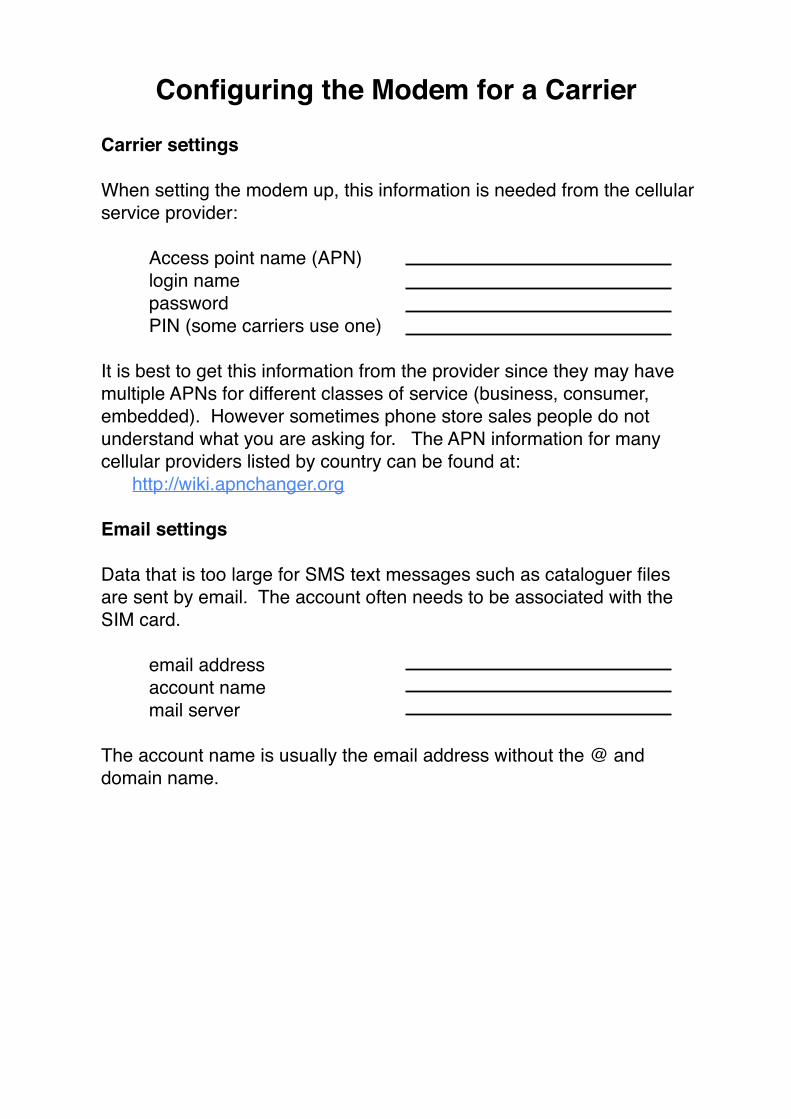
Twist on the the cellular antenna and push the GPS antenna connector on until it clicks.
Connect the power cable to a 7 to 28 volt power source. It can share the same power source with the reader. The + voltage is marked on the end of the wire with a piece of red shrink wrap. The + wire also has a pattern on it:
Make certain the + and - polarity are correct before applying power! If the wires are reversed it will destroy the modem. Use a voltmeter to verify.The + should be the pin in the center and - is the outside barrel of the 2.1 mm connector.
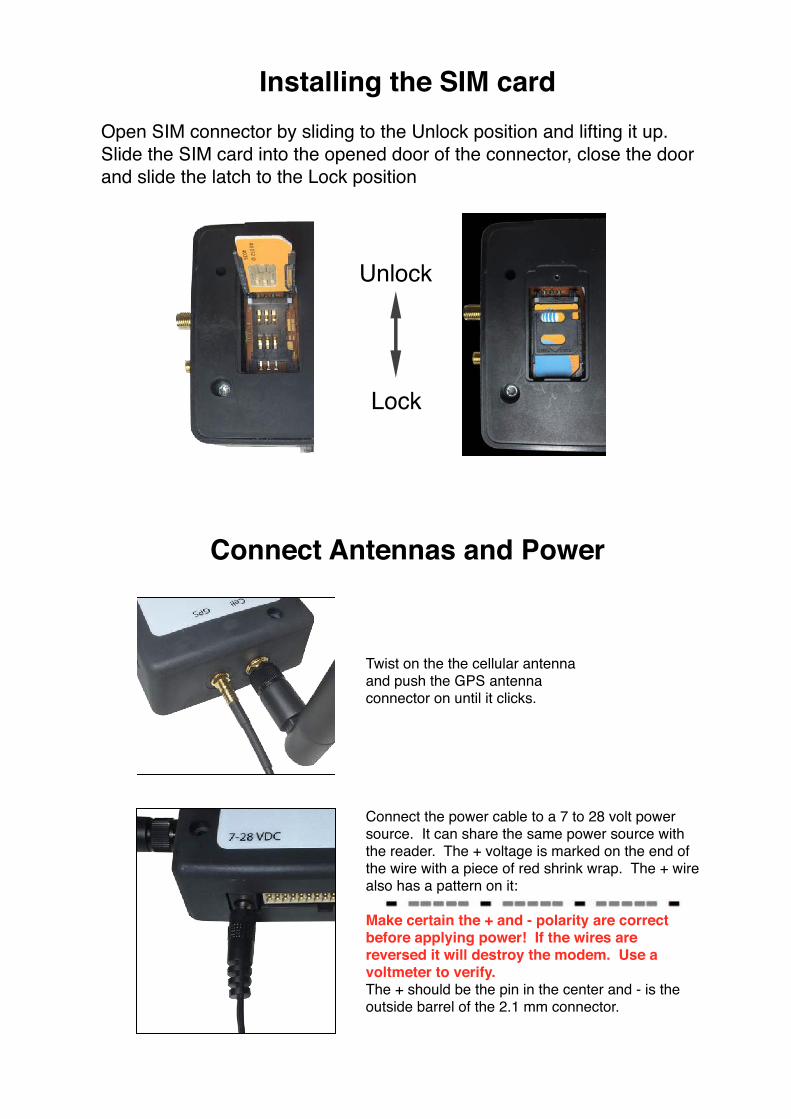
Lock
Unlock
Open SIM connector by sliding to the Unlock position and lifting it up. Slide the SIM card into the opened door of the connector, close the door and slide the latch to the Lock position
Installing the SIM card
Connect Antennas and Power
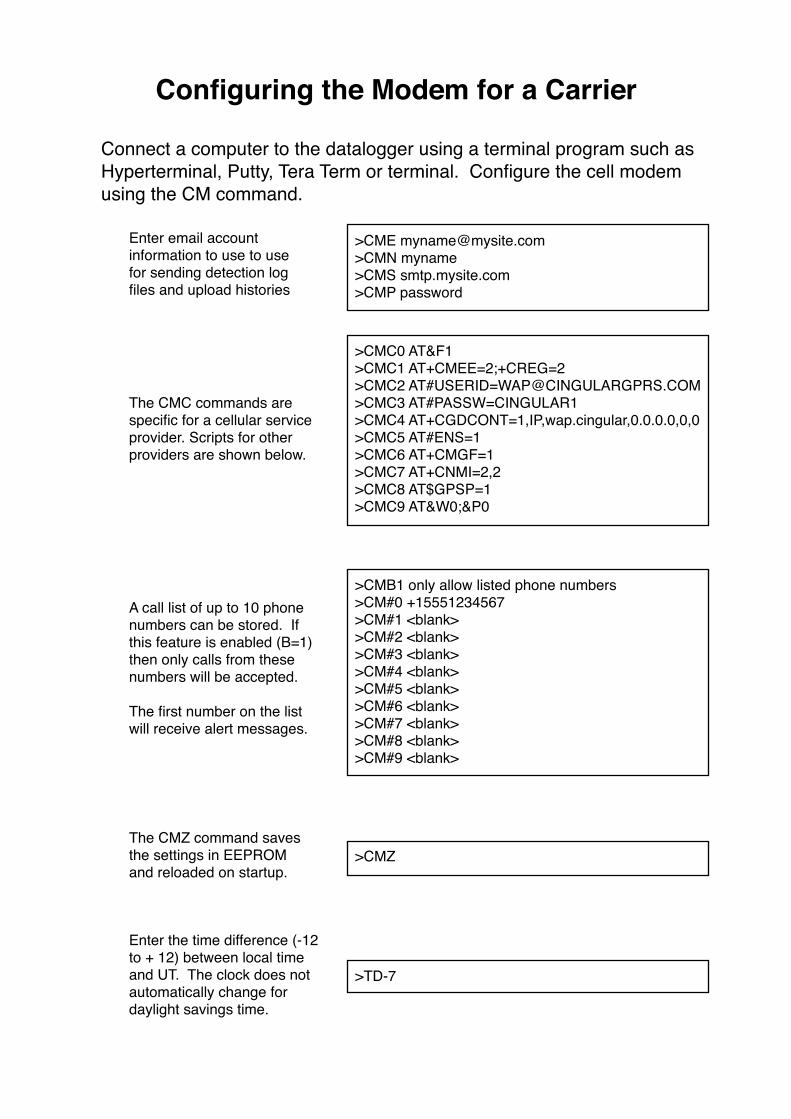
Configuring the Modem for a Carrier
Carrier settings
When setting the modem up, this information is needed from the cellular service provider:
Access point name (APN)login namepasswordPIN (some carriers use one)
It is best to get this information from the provider since they may have multiple APNs for different classes of service (business, consumer, embedded). However sometimes phone store sales people do not understand what you are asking for. The APN information for many cellular providers listed by country can be found at: http://wiki.apnchanger.org
Email settings
Data that is too large for SMS text messages such as cataloguer files are sent by email. The account often needs to be associated with the SIM card.
email addressaccount namemail server
The account name is usually the email address without the @ and domain name.
Connect a computer to the datalogger using a terminal program such as Hyperterminal, Putty, Tera Term or terminal. Configure the cell modem using the CM command.
Enter email account information to use to use for sending detection log files and upload histories
The CMC commands are specific for a cellular service provider. Scripts for other providers are shown below.
A call list of up to 10 phone numbers can be stored. If this feature is enabled (B=1) then only calls from these numbers will be accepted.
The first number on the list will receive alert messages.
>CMZ
Enter the time difference (-12 to + 12) between local time and UT. The clock does not automatically change for daylight savings time.
The CMZ command saves the settings in EEPROM and reloaded on startup.
Configuring the Modem for a Carrier
>CME [email protected]>CMN myname>CMS smtp.mysite.com>CMP password
>CMC0 AT&F1>CMC1 AT+CMEE=2;+CREG=2>CMC2 AT#[email protected]>CMC3 AT#PASSW=CINGULAR1>CMC4 AT+CGDCONT=1,IP,wap.cingular,0.0.0.0,0,0>CMC5 AT#ENS=1>CMC6 AT+CMGF=1>CMC7 AT+CNMI=2,2>CMC8 AT$GPSP=1>CMC9 AT&W0;&P0
>CMB1 only allow listed phone numbers>CM#0 +15551234567>CM#1 <blank>>CM#2 <blank>>CM#3 <blank>>CM#4 <blank>>CM#5 <blank>>CM#6 <blank>>CM#7 <blank>>CM#8 <blank>>CM#9 <blank>
>TD-7
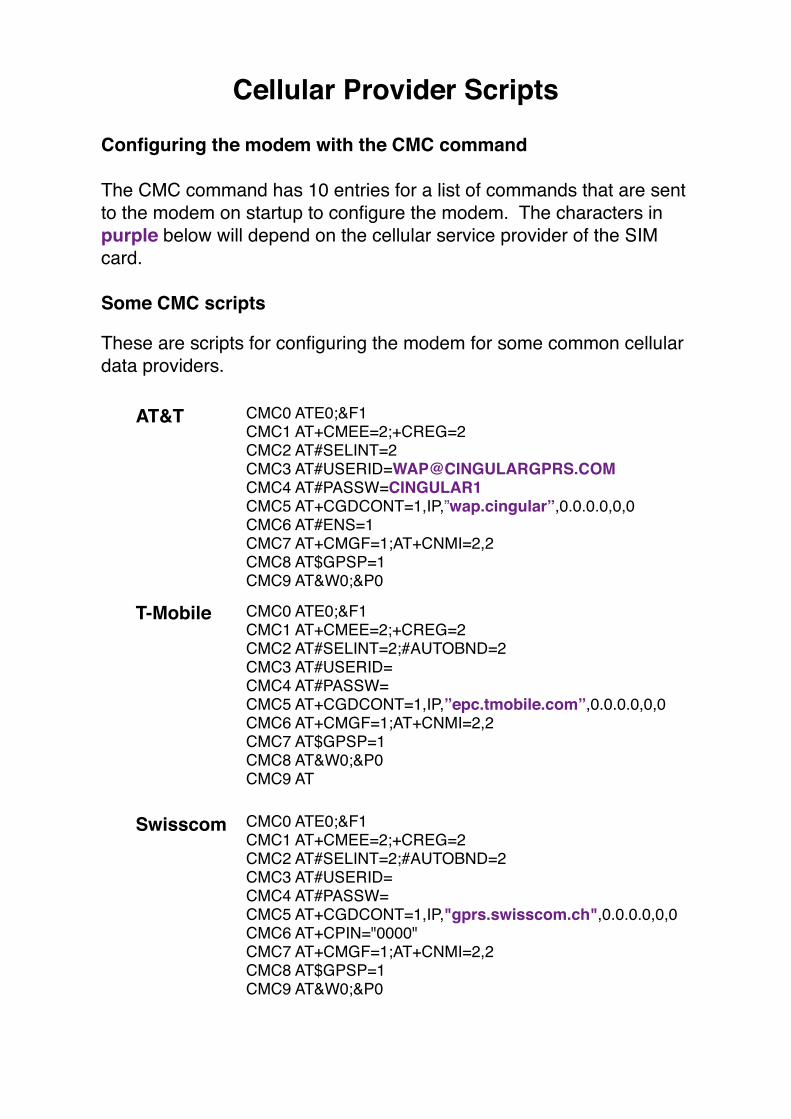
CMC0 ATE0;&F1CMC1 AT+CMEE=2;+CREG=2CMC2 AT#SELINT=2;#AUTOBND=2 CMC3 AT#USERID=CMC4 AT#PASSW=CMC5 AT+CGDCONT=1,IP,"gprs.swisscom.ch",0.0.0.0,0,0CMC6 AT+CPIN="0000"CMC7 AT+CMGF=1;AT+CNMI=2,2CMC8 AT$GPSP=1CMC9 AT&W0;&P0
Swisscom
CMC0 ATE0;&F1CMC1 AT+CMEE=2;+CREG=2CMC2 AT#SELINT=2;#AUTOBND=2 CMC3 AT#USERID=CMC4 AT#PASSW=CMC5 AT+CGDCONT=1,IP,”epc.tmobile.com”,0.0.0.0,0,0CMC6 AT+CMGF=1;AT+CNMI=2,2CMC7 AT$GPSP=1CMC8 AT&W0;&P0CMC9 AT
T-Mobile
Cellular Provider Scripts
Configuring the modem with the CMC command
The CMC command has 10 entries for a list of commands that are sent to the modem on startup to configure the modem. The characters in purple below will depend on the cellular service provider of the SIM card.
Some CMC scripts
These are scripts for configuring the modem for some common cellular data providers.
CMC0 ATE0;&F1CMC1 AT+CMEE=2;+CREG=2CMC2 AT#SELINT=2CMC3 AT#[email protected] AT#PASSW=CINGULAR1CMC5 AT+CGDCONT=1,IP,”wap.cingular”,0.0.0.0,0,0CMC6 AT#ENS=1CMC7 AT+CMGF=1;AT+CNMI=2,2CMC8 AT$GPSP=1CMC9 AT&W0;&P0
AT&T

ATE0 AT&F1 AT#SELINTAT#AUTOBNDAT+CGDCONTAT#ENSAT+CMGFAT+CNMI=AT$GPSP=AT&W0;&P0AT+CPIN=AT+CMEE=AT+CREG=
echo offfactory reset settingsselect AT command setautomatic band selectiondefine PDP context (packet data protocol)enhanced network selection (1=AT&T)SMS message formatsend new message indicationspower GPS on/offsave settingsenter SIM PINenable error reportingenable network registration reports
Writing Cellular Provider Scripts
CMC scripts
CMC scripts use AT commands to configure the modem. The format depends on the cellular service provider. Variations of them can be used to write scripts for other providers.
Connect the modem directly to the terminal program at 115200 baud and type them in one at a time. If no errors appear it will probably work.
These are the commands used in the scripts above. More than one can be put on the same line, separated by a semicolon.
In the above scripts, only Swisscom has a PIN. AT&T has a special ENS command that is not used by the others.
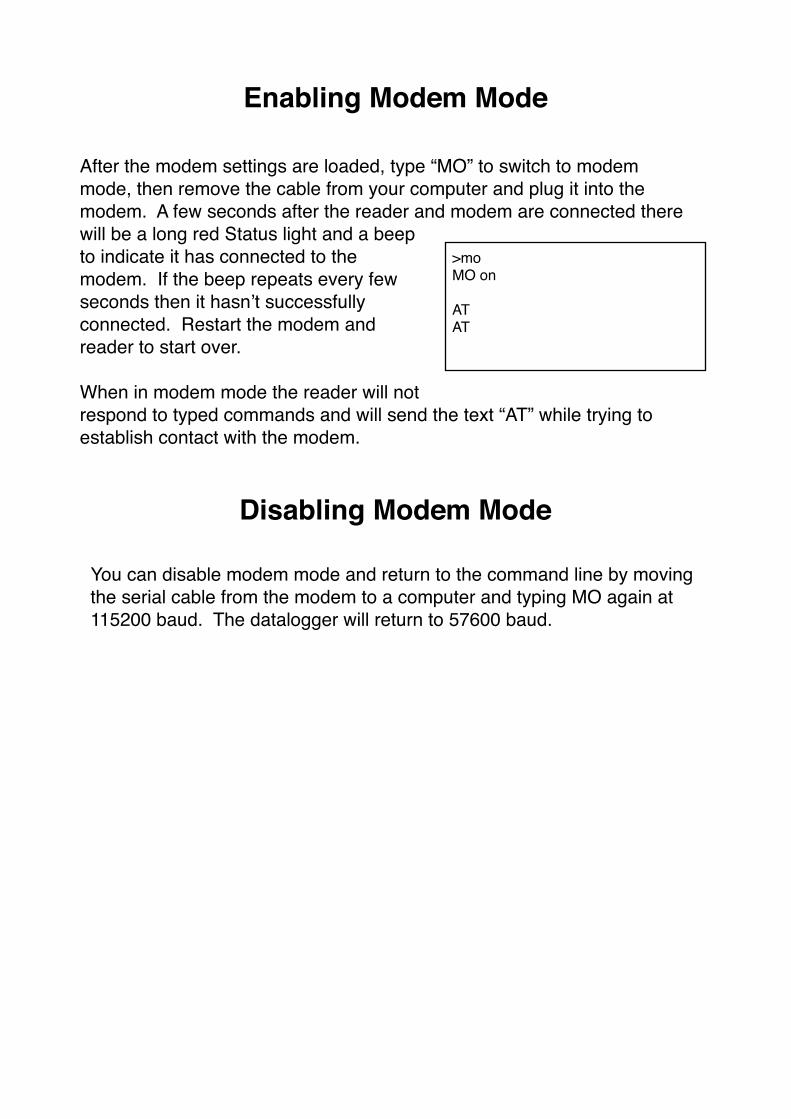
After the modem settings are loaded, type “MO” to switch to modem mode, then remove the cable from your computer and plug it into the modem. A few seconds after the reader and modem are connected there will be a long red Status light and a beep to indicate it has connected to the modem. If the beep repeats every few seconds then it hasn’t successfully connected. Restart the modem and reader to start over.
When in modem mode the reader will not respond to typed commands and will send the text “AT” while trying to establish contact with the modem.
>moMO on
ATAT
Enabling Modem Mode
Disabling Modem Mode
You can disable modem mode and return to the command line by moving the serial cable from the modem to a computer and typing MO again at 115200 baud. The datalogger will return to 57600 baud.
Sending Commands
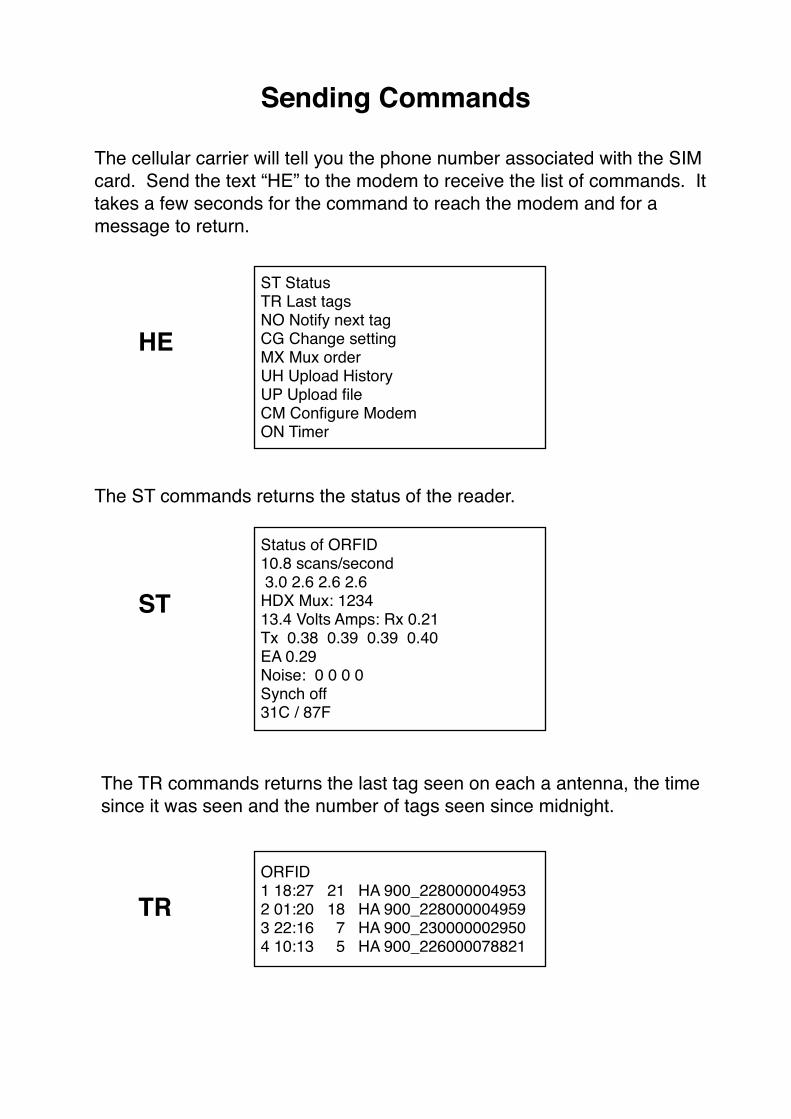
The cellular carrier will tell you the phone number associated with the SIM card. Send the text “HE” to the modem to receive the list of commands. It takes a few seconds for the command to reach the modem and for a message to return.
ST StatusTR Last tagsNO Notify next tagCG Change settingMX Mux orderUH Upload HistoryUP Upload fileCM Configure ModemON Timer
The ST commands returns the status of the reader.
Status of ORFID10.8 scans/second 3.0 2.6 2.6 2.6HDX Mux: 123413.4 Volts Amps: Rx 0.21 Tx 0.38 0.39 0.39 0.40 EA 0.29Noise: 0 0 0 0Synch off31C / 87F
The TR commands returns the last tag seen on each a antenna, the time since it was seen and the number of tags seen since midnight.
ORFID1 18:27 21 HA 900_2280000049532 01:20 18 HA 900_2280000049593 22:16 7 HA 900_2300000029504 10:13 5 HA 900_226000078821
HE
ST
TR

Reader settings CGA4 mux with 4 antennas CGC50 charge period 50ms CGP50 duty cycle pause 50ms CGS0 synch mode: none
The CG and MX commands are used to change the reader parameters and scan sequence.
Mux seq: 1234
CG
MX
ON On at 5:00, Off at 21:00
UH
UP
History sent to [email protected]
Log file sent to [email protected]
The ON command sets a timer to turn the reader on and off. The timer is disabled with the command “ON 0 0”. This is the response from the command “ON 5:00 21:00”
The UH command requests the upload history report to be sent by email to the specified account.
The UP command requests the detection log file to be sent by email to the specified account.
NO
Text messages can be sent after the next detection occurs.
NO12Notify enabled for antenna(s) 12
Tag detected on A1 2015-08-30 12:17:59.92 HA 900_230000002950
Tag detected on A2 2015-08-30 14:38:08.88 HA 900_226000074284
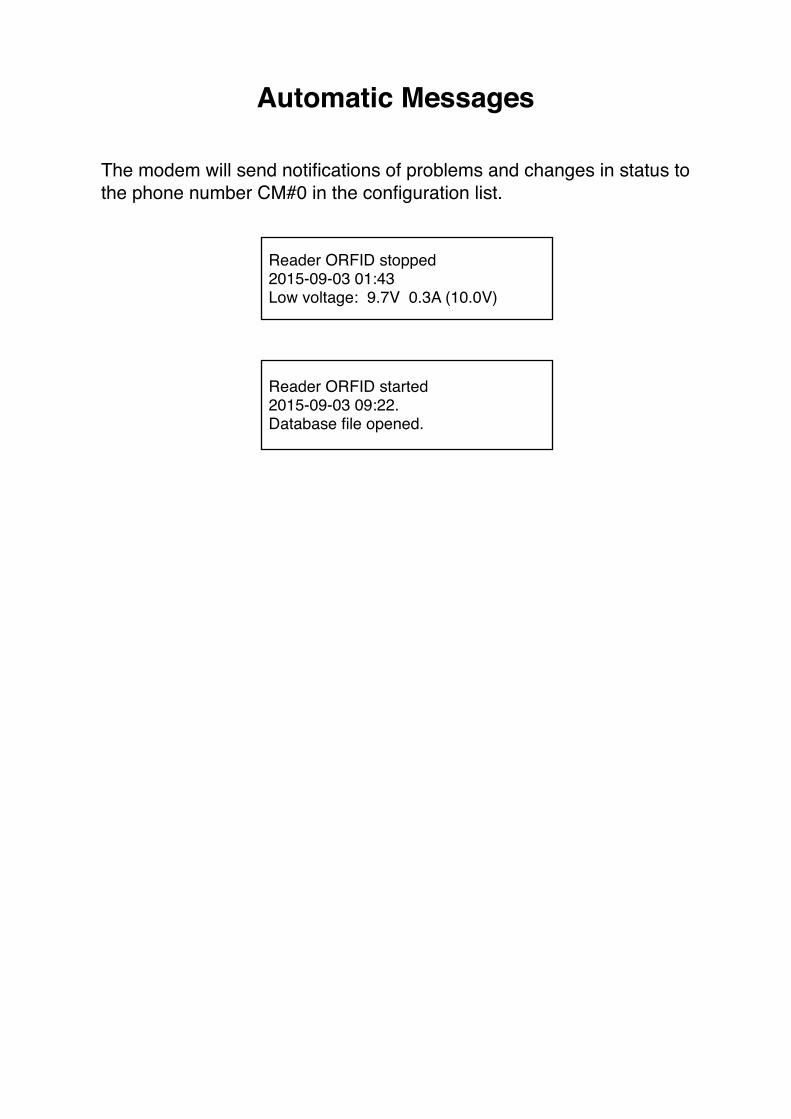
Reader ORFID stopped2015-09-03 01:43Low voltage: 9.7V 0.3A (10.0V)
Reader ORFID started2015-09-03 09:22.Database file opened.
Automatic Messages
The modem will send notifications of problems and changes in status to the phone number CM#0 in the configuration list.