Caring for Children that require Oral and/or Nasal Suctioning ...
21
Caring for Children that require Oral and/or Nasal Suctioning in a Community Program Unified Referral and Intake System (URIS) 2nd edition (revised) 2015 SUCTIONING
-
Upload
khangminh22 -
Category
Documents
-
view
1 -
download
0
Transcript of Caring for Children that require Oral and/or Nasal Suctioning ...

Caring for Children that require Oral and/or Nasal Suctioning in a Community Program
Unified Referral and Intake System (URIS) 2nd edition (revised) 2015
SUCT
ION
ING

This manual was developed in consultation with health care professionals in the areas of respirology and community health. The Unified Referral and Intake System (URIS) wishes to acknowledge the contribution of the following individuals.
Faisal AL-Somali, MD, FRCPC Section of Respirology Assistant professor Department of Pediatrics and Child Care University of Manitoba Winnipeg, Manitoba Anna Thibert RN Nurse Clinician Respiratory Clinic Children's Hospital Winnipeg, Manitoba Robin Orteza RRT Respiratory Therapist Respiratory Clinic Children's Hospital Winnipeg, Manitoba Jocelyn Arpin RN BN Nurse Clinician Respiratory Clinic Children's Hospital Winnipeg, Manitoba Sandra Dalke RN BN URIS Provincial Coordinator Winnipeg Regional Health Authority Sandra Goritz RN BN URIS Nurse Interlake Eastern Regional Health Authority Jacqueline Thompson RN URIS Direct Service Nurse Winnipeg Regional Health Authority

3
TABLE OF CONTENTS
Introduction……………………………………………………………………………....4
Clinical Information………………………….…….…………………………….…...…5
Health Care Plan…………………..……………….…………………………….….….14
Training .....................……...….…………………………………………………..……17
Monitoring..................……...….…………………………….…………………...….…19
References………………………………………………………………………....…....20 Resources.………………………………………………………………………....…....21 Supplements Suctioning Health Care Plan
Suctioning Training & Monitoring

4
INTRODUCTION
The Unified Referral and Intake System (URIS) is a collaboration among various government departments, health service organizations, school divisions and child caring organizations. URIS supports community programs in the care of children with specific health care needs. Community programs that are eligible for URIS support include schools, licensed childcare facilities and agencies providing respite service. URIS provides a standard means of classifying the complexity of health care needs and establishes the level of qualification required by personnel to support children with these health care needs. Health care needs that are classified as ‘Group B’ can be delegated to non-health care personnel who receive training and monitoring by a registered nurse. For children with ‘Group B’ health needs (e.g. oral/nasal suctioning), the nurse provides the following support:
• develops and maintains a written health care plan; • provides training to community program personnel that are responsible for the
child; and • monitors community program personnel that receive training.
This document provides standard clinical information that is relevant to the care of children that require suctioning during attendance in a community program setting. Supplemental documents are also provided to assist the nurse in the development of health care plans and training and monitoring of community program personnel.

5
CLINICAL INFORMATION
The following information is considered best practice in community program settings and is the basis for all suctioning information contained in this document and its supplements. Anatomy of the respiratory system The primary function of the respiratory system is the exchange of gases in the air with gases dissolved in the blood. Oxygen from the air is transferred to the blood and carbon dioxide from the blood is removed to the air. The airways in the respiratory system can be divided into the upper and lower airways. The upper airway consists of the nose, mouth, pharynx and larynx. As air enters the nose, hairs in the nostrils filter out larger dust particles. The large area of moist mucus membrane in the nose adds moisture and warms the air to body temperature. Air then passes through the larynx (i.e. voice box) and down into the trachea (i.e. windpipe). The pharynx (i.e. throat) conducts the air from the nose and mouth to the larynx and serves as a passageway for food entering the esophagus. The epiglottis is a flap that closes over the larynx when food is swallowed, to prevent food from entering the lungs. Mucus comes from the tissues that line both the upper and lower airways. If mucus is not warmed and humidified, it can dry and thicken or harden, causing a blockage in the airway. In the lower airway, the trachea divides into the two main bronchi. Each bronchus then subdivides into smaller bronchi, which in turn divide. This division continues many times until the bronchioles (i.e. small bronchi) end in the alveoli, where the main exchange of oxygen and carbon dioxide takes place. The bronchi are lined with mucus and are covered with cilia (i.e. tiny hairs) that help remove particles of dust. All airways are also surrounded by smooth muscle and can tighten and narrow if irritated. Gas exchange takes place in the alveoli. The alveoli are only one cell thick and are in contact with a blood capillary through which the diffusion of oxygen (into the blood) and carbon dioxide (from the blood) occurs. The diaphragm and intercostal muscles are the main muscles for . The diaphragm is located below the lungs and is attached to the lower ribs and spine. The diaphragm tightens during inhalation while the chest muscles expand. During exhalation, the diaphragm relaxes and the respiratory muscles contract, pulling the ribs downward. The intercostal muscles connect nearby ribs and help to expand the lungs so air can enter the lungs. The heart pumps blood to the lungs and to the body. If there is heart disease or disease of the blood vessels in the lungs, the exchanges of gases may not be adequate and the child may require extra oxygen.
6
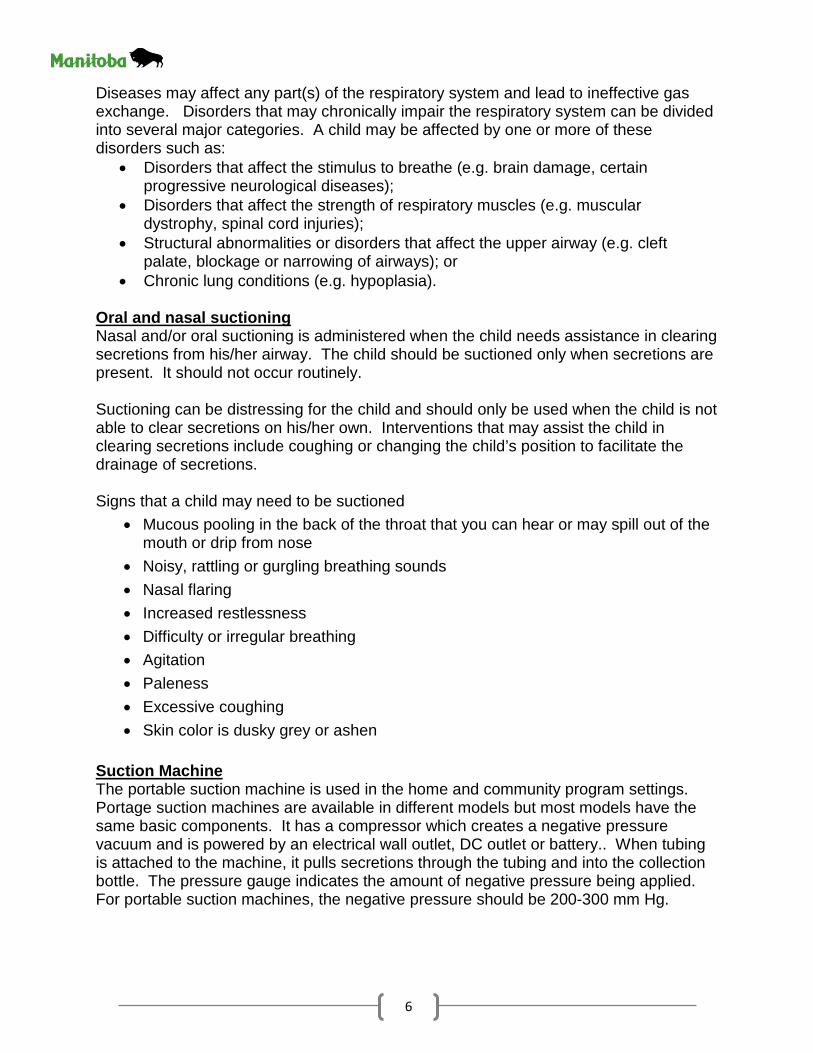
Diseases may affect any part(s) of the respiratory system and lead to ineffective gas exchange. Disorders that may chronically impair the respiratory system can be divided into several major categories. A child may be affected by one or more of these disorders such as:
• Disorders that affect the stimulus to breathe (e.g. brain damage, certain progressive neurological diseases);
• Disorders that affect the strength of respiratory muscles (e.g. muscular dystrophy, spinal cord injuries);
• Structural abnormalities or disorders that affect the upper airway (e.g. cleft palate, blockage or narrowing of airways); or
• Chronic lung conditions (e.g. hypoplasia).
Oral and nasal suctioning Nasal and/or oral suctioning is administered when the child needs assistance in clearing secretions from his/her airway. The child should be suctioned only when secretions are present. It should not occur routinely. Suctioning can be distressing for the child and should only be used when the child is not able to clear secretions on his/her own. Interventions that may assist the child in clearing secretions include coughing or changing the child’s position to facilitate the drainage of secretions. Signs that a child may need to be suctioned
• Mucous pooling in the back of the throat that you can hear or may spill out of the mouth or drip from nose
• Noisy, rattling or gurgling breathing sounds • Nasal flaring • Increased restlessness • Difficulty or irregular breathing • Agitation • Paleness • Excessive coughing • Skin color is dusky grey or ashen
Suction Machine The portable suction machine is used in the home and community program settings. Portage suction machines are available in different models but most models have the same basic components. It has a compressor which creates a negative pressure vacuum and is powered by an electrical wall outlet, DC outlet or battery.. When tubing is attached to the machine, it pulls secretions through the tubing and into the collection bottle. The pressure gauge indicates the amount of negative pressure being applied. For portable suction machines, the negative pressure should be 200-300 mm Hg.

7
• The suction machine should be plugged in whenever possible. • The battery will provide approximately 45 minutes of use when it is fully charged.
Operation time decreases with higher vacuum levels. • If the battery is low, the red light will flash. When this happens, the suction
machine should be plugged into an external power source. Discharging the battery completely shortens the life of the battery. Therefore, the suction machine should not be used more than a few minutes if the low battery indicator light (red) is flashing.
• The suction machine will need 10 to 17 hours to charge if the battery is totally depleted. The yellow light indicates that the battery is being charged. This light will go out when the battery is completely charged.
Care of the suction machine Daily cleaning Unplug the suction machine before cleaning. Do not immerse the machine in water.
1. Disconnect the connection tubing from the collection bottle and wash with warm tap water and mild soap.
2. Dry the collection bottle and the outside of the connection tubing with a clean cloth.
3. Reconnect the collection bottle and connection tubing to the suction machine. Weekly cleaning
1. Disconnect the connection tubing from the collection bottle and wash with warm tap water and mild soap.
2. Soak the collection bottle and connection tubing in a vinegar solution (1 part vinegar to 3 parts water) for 30 minutes.
3. Rinse the collection bottle and connection tubing with warm tap water and dry with a clean cloth.
4. Reconnect the collection bottle and connection tubing to the suction machine. 5. Wipe the suction machine, electrical adapters and carrying case with a damp
cloth warm tap water and mild soap.
Replacing equipment • The connection tubing should be replaced when visibly dirty, split or cracked. • The filter should be replaced if it is grey in color or dirty. • Contact the parent/guardian when supplies needs to be replaced.

8
Safety precautions • Do not plug in the suction machine if it is wet or damp. • Place the suction machine on a hard flat surface when in use. • Do not place the suction machine on the floor where someone can trip over it.
Potential problems with the suction machine The suction machine does not turn on.
1. Check the power source and connections. 2. Ensure the wall outlet is live. 3. If using the battery, check that is it charged. If it is not charged, plug the machine
into a wall outlet. 4. If the suction machine still does not turn on, notify the parent/guardian.
The suction machine runs but there is no suction.
1. Check that the connection tube is connected properly. 2. Check the connection tubing and collection bottle for leaks or cracks. 3. If there is still no suction, inform the parent/guardian.
The suction machine has low vacuum pressure (<200 Hg).
1. Use the regulator to increase the vacuum pressure. Clockwise increases the pressure
2. If the pressure is still low, check the connection tubing and collection bottle for leaks or cracks.
3. If the pressure is still low, inform the parent/guardian. The battery will not hold a charge.
1. Make sure the power cord is plugged in and the unit is charging by verifying that the yellow charge light turns on.
2. If the yellow charge light does not come on, check the electrical connections for fraying or shorts.
3. If the yellow charge light does not come on and the connections appear fine, ensure the wall outlet is live.
4. If the battery still will not charge, inform the parent/guardian. Supplies Little Sucker® The Little Sucker® suction device is used for oral and nasal suctioning. It has a thumb vent which controls the suctioning when you place your finger over it. The tip of the suction catheter which is placed in the child's mouth or nose has holes to allow secretions to be pulled into the connection tubing.

9
The use of suction catheters by community program personnel is not recommended as it increases the risk of mucosal damage and stimulating the gag reflex. Cleaning the Little Sucker®
• Rinse with tap water after every use. • Wash with warm tap water and mild soap on a daily basis. Rinse under running
tap water. Shake off excess water. Place on clean towel to air dry. Store in clean bag.
• The Little Sucker® should be replaced weekly or if secretions remain in the device after washing it.
Suctioning procedure Getting ready
1. Wash your hands. 2. Explain the procedure to the child. 3. Gather the supplies.
• Suction machine • Little Sucker® • Gloves • Clean cup with room temperature water
4. Connect the short tubing between reservoir bottle and the suction unit. 5. Connect the long connection tubing to the reservoir bottle. 6. Plug the suction machine into a standard electrical outlet. 7. Turn the suction machine on. 8. Put on the gloves. 9. Position the child sitting up or lying down with head slightly lowered if possible.
If lying down, the child should be on their side to assist with the drainage of secretions. A second person may be required to securely hold the child.
10. Test the pressure by kinking or blocking the end of the connection tubing. If the needle of the gauge is not at the correct reading, check all connections for tightness. If after retightening all connections the correct pressure is still not achieved, turn the adjustment knob until the needle of the gauge is at the correct reading. Clockwise increases the suction and counter clockwise decreases the
10
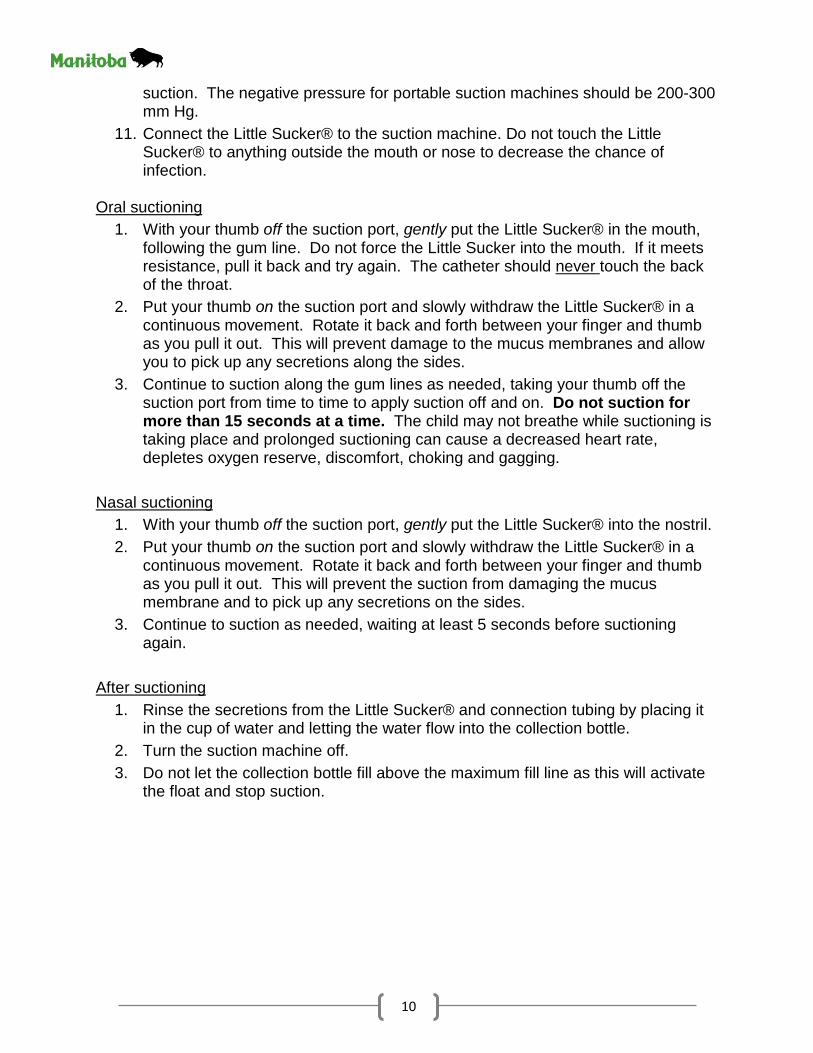
suction. The negative pressure for portable suction machines should be 200-300 mm Hg.
11. Connect the Little Sucker® to the suction machine. Do not touch the Little Sucker® to anything outside the mouth or nose to decrease the chance of infection.
Oral suctioning
1. With your thumb off the suction port, gently put the Little Sucker® in the mouth, following the gum line. Do not force the Little Sucker into the mouth. If it meets resistance, pull it back and try again. The catheter should never touch the back of the throat.
2. Put your thumb on the suction port and slowly withdraw the Little Sucker® in a continuous movement. Rotate it back and forth between your finger and thumb as you pull it out. This will prevent damage to the mucus membranes and allow you to pick up any secretions along the sides.
3. Continue to suction along the gum lines as needed, taking your thumb off the suction port from time to time to apply suction off and on. Do not suction for more than 15 seconds at a time. The child may not breathe while suctioning is taking place and prolonged suctioning can cause a decreased heart rate, depletes oxygen reserve, discomfort, choking and gagging.
Nasal suctioning
1. With your thumb off the suction port, gently put the Little Sucker® into the nostril. 2. Put your thumb on the suction port and slowly withdraw the Little Sucker® in a
continuous movement. Rotate it back and forth between your finger and thumb as you pull it out. This will prevent the suction from damaging the mucus membrane and to pick up any secretions on the sides.
3. Continue to suction as needed, waiting at least 5 seconds before suctioning again.
After suctioning
1. Rinse the secretions from the Little Sucker® and connection tubing by placing it in the cup of water and letting the water flow into the collection bottle.
2. Turn the suction machine off. 3. Do not let the collection bottle fill above the maximum fill line as this will activate
the float and stop suction.

11
Emergency situations and required actions Respiratory distress Signs of respiratory distress may include increased work of breathing, bluish/grey lips or nails, pulling in of chest or neck muscles, flaring nostrils, agitation, confusion, dizziness and headache.
1. Call 911/EMS. 2. Notify the parent/guardian. 3. Position the child to keep the airway open.
Potential problems and required actions Child gags during suctioning The child may gag if the Little Sucker® is inserted too far into the mouth. If the child gags, pull the Little Sucker® back and complete suctioning. Child vomits during suctioning
1. Stop suctioning the child. 2. If the child is lying down, turn the child's head to the side. If the child is sitting,
lean their body forward to keep their airway open. 3. If the vomiting stops and the child still has visible secretions, suction again
ensuring the Little Sucker® does not touch the back of the mouth.
Child develops nosebleed during suctioning 1. Stop suctioning. 2. Gently squeeze the nostrils and hold for 5 minutes. 3. Once bleeding has stopped, do not use that side of the nose to suction for the
remainder of the day.
Dry lips A child that receives suctioning may be prone to dry lips. A water soluble product (e.g. Secaris) may be applied to the lips, as needed. Mouth care A child that receives suctioning should have routine mouth care on a daily basis. A wet cloth, toothette or soft toothbrush may be used. Infection control guidelines Infection control is important for the health of the child being cared for as well as for the health of the community program personnel who are providing care to the child. The following practices are intended to prevent transmission of infection when caring for children. These practices are to be used when caring for all children, not just those who pose a risk.
12
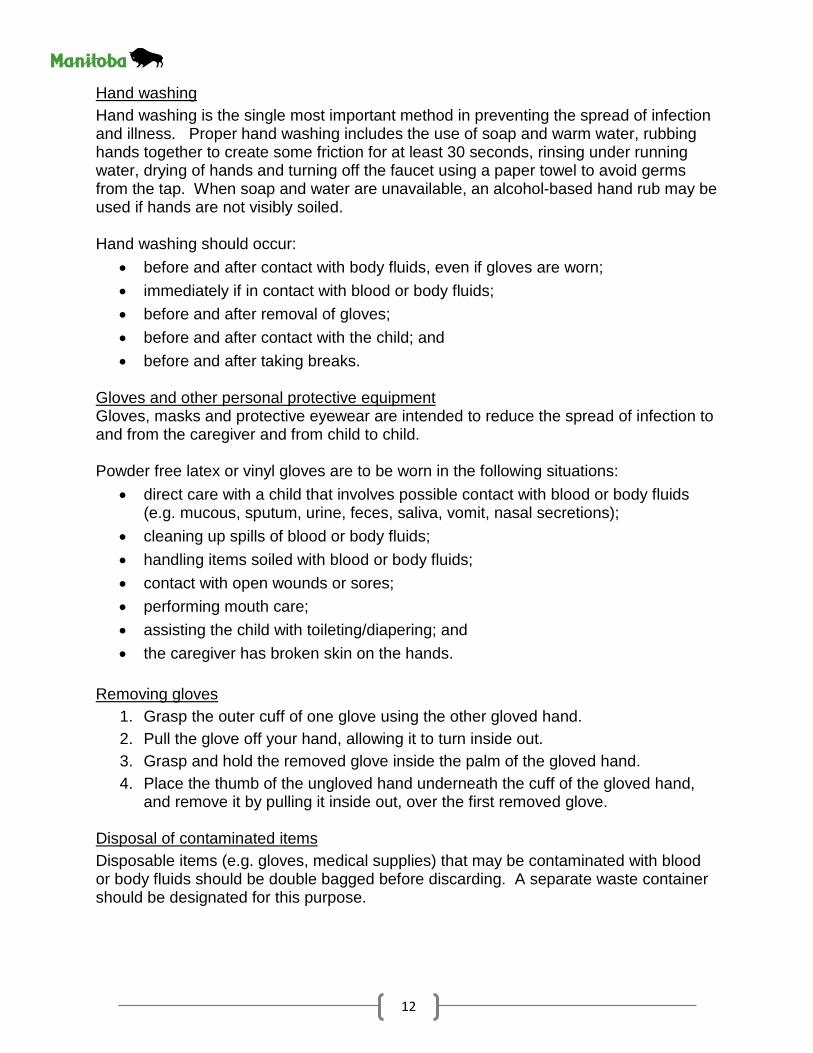
Hand washing Hand washing is the single most important method in preventing the spread of infection and illness. Proper hand washing includes the use of soap and warm water, rubbing hands together to create some friction for at least 30 seconds, rinsing under running water, drying of hands and turning off the faucet using a paper towel to avoid germs from the tap. When soap and water are unavailable, an alcohol-based hand rub may be used if hands are not visibly soiled. Hand washing should occur:
• before and after contact with body fluids, even if gloves are worn; • immediately if in contact with blood or body fluids; • before and after removal of gloves; • before and after contact with the child; and • before and after taking breaks.
Gloves and other personal protective equipment Gloves, masks and protective eyewear are intended to reduce the spread of infection to and from the caregiver and from child to child. Powder free latex or vinyl gloves are to be worn in the following situations:
• direct care with a child that involves possible contact with blood or body fluids (e.g. mucous, sputum, urine, feces, saliva, vomit, nasal secretions);
• cleaning up spills of blood or body fluids; • handling items soiled with blood or body fluids; • contact with open wounds or sores; • performing mouth care; • assisting the child with toileting/diapering; and • the caregiver has broken skin on the hands.
Removing gloves
1. Grasp the outer cuff of one glove using the other gloved hand. 2. Pull the glove off your hand, allowing it to turn inside out. 3. Grasp and hold the removed glove inside the palm of the gloved hand. 4. Place the thumb of the ungloved hand underneath the cuff of the gloved hand,
and remove it by pulling it inside out, over the first removed glove. Disposal of contaminated items Disposable items (e.g. gloves, medical supplies) that may be contaminated with blood or body fluids should be double bagged before discarding. A separate waste container should be designated for this purpose.

13
Needles, lancets, syringes and other sharp objects should be placed into a puncture-proof container immediately after use. Cleaning of contaminated surfaces Areas that have been contaminated with blood or bodily fluids should be promptly cleaned with absorbent disposable paper towelling which is then disposed of into plastic garbage disposal. The area should then be cleaned with water and detergent followed by disinfection the surface with household bleach (one part bleach to nine parts water) and allowed to air dry. Self care It is important to encourage the child’s participation in their own health care and to foster their independence, as appropriate. The ability of the child to provide their own health care can give them greater freedom during their participation in the community program. The amount of assistance a child requires with their health care procedures will vary depending on the complexity of the procedure and the developmental and functional level of the child. Each child must be individually assessed as to their physical and psychosocial abilities to determine their ability to assist in or perform health care procedures. Many children with physical disabilities can learn to direct the care provider and/or assist during aspects of the health care procedure. Some children may be capable of learning to self perform health care procedures. In addition to the child’s developmental/functional stage, other factors that may be relevant in their ability to assist in or self perform health care procedures:
• ability to tolerate required position and/or procedure; • fine motor and self help skills; • ability to imitate others; • ability for independence; • acquisition of self-recognition and self-identity; • emotional development to feel comfortable with the procedure; and • ability to problem solve in familiar and unfamiliar settings.
Methods used to teach self care might include simulation or demonstration. Using an anatomically correct doll to teach children how to self perform health care procedures can be useful, as dolls are associated with play, which may enhance the child’s participation. Because simulation on a doll is non-invasive, there is more opportunity for teaching and any possible embarrassment to the child is minimized. The process also lessens the child's anxiety and desensitizes the child so that he or she may successfully perform the procedure on themselves. Finally, the use of a doll allows potential errors to be detected before performing the actual procedure. The use of anatomical illustrations, videotapes or other visual aids also provide opportunities to demonstrate health care procedures to the child.
14
HEALTH CARE PLAN When a community program receives URIS Group B support for children with URIS 'Group B' health care needs, a written health care plan is developed and maintained by a registered nurse minimally on an annual basis. The development and implementation of the health care plan should reflect the principles of inclusion, normalization and independence.
• A child that requires suctioning is foremost a child within a family, child-care facility, classroom or other community program.
• The environment should be changed to support the child, not the child changed to suit the environment.
• Interventions should be as non-intrusive as possible and be delivered in a manner that respects the child’s dignity and privacy as well as the normal routines and patterns of the community program.
• The parent/guardian and child have rights and obligations and should be encouraged to actively participate in decisions affecting them.
Consultation with the parent/guardian and community program is required to develop a health care plan that is relevant to the child’s needs and appropriate within the community program setting. For some children, the management of their health care need(s) within the community program may be complex and require consultation with health care professionals who are involved with the child. When a child has multiple health care needs, all relevant information should be integrated into one comprehensive health care plan. The format should be user friendly and include information that is required to administer suctioning in a safe and appropriately manner during attendance at the community program The health care plan should be kept in a location that is secure and accessible. Community program personnel that are responsible for the child should be aware of its location. The health care plan must accompany the child on excursions outside the facility. Content The following information is included in the suctioning health care plan. The Suctioning Health Care Plan(s) contains this information and is included as a supplement to this document. Demographic information
• Child's name • Birth date • Community program name • Parent(s)/guardian(s) name and phone number(s) • Alternate emergency contact name and phone number(s)
15
• Physician(s) • Respirologist and phone number • Family physician/pediatrician and phone number
Medical information
• Medical diagnoses and other relevant conditions • Known allergies • Availability of Medic-Alert® identification • Prescribed medications
• If medication is administered at home only, the name of medication is required
• If medication is administered at the community program, drug name, dose, route, time and location is required
• Other child-specific information that is relevant for attendance in the community program
Suctioning information
• Reason for suctioning • Indications for suctioning • Recommended vacuum pressure (between 200-300 mm Hg) • Baseline information (e.g. normal activity/behavior, description of secretions,
frequency of suctioning) • Procedure for suctioning • Mouth care • Cleaning and storage of equipment and supplies • Plan for transportation, if relevant to the child • Plan for excursions, if relevant to the child
Emergency situations
• Respiratory distress Potential problems
• Child gags during suctioning • Child vomits during suctioning • Child develops nosebleed during suctioning • Dry lips • Potential problems with the suction machine

16
Documentation • Written record of procedure
• Date/time of suctioning • Issues/comments (e.g. change in secretions) • Signature(s) of community program personnel that administered suctioning
• Template for recording other actions performed by nurse and/or community program personnel (e.g. communication with parent/guardian, actions taken to resolve potential problems)
• Signatures & dates • Nurse signature, professional designation and date(s) of health care plan
development/review • Parent/guardian signature & date

17
TRAINING When a community program receives URIS 'Group B' support, training is provided to community program personnel by a registered nurse. Training is provided minimally on an annual basis. The training of community program personnel should reflect the principles of adult learning.
• The learning needs of participants should be identified and integrated into the training session.
• Information should be applicable to the participants’ responsibilities and focus on what is most useful to them.
• Adults have accumulated a foundation of life experiences and knowledge and need to connect learning to this knowledge base.
• An organized training session with clearly defined elements assists participants in identifying and attaining learning goals.
It is the responsibility of the community program to designate community program personnel to receive training. An adequate number of community program personnel should receive training to ensure there is trained personnel available throughout the child's attendance at the community program. Also, community program personnel that receive training should have adequate opportunity to perform the task of administering suctioning so their knowledge and skill is retained. It is recommended that the child who requires suctioning does not attend the community program if trained community program personnel are not available. In such situations, alternate arrangements should be made (e.g. parent/guardian administers suctioning at the community program).
The amount of time required to train community program personnel will vary depending on factors such as the existing knowledge of community program personnel and number of personnel trained. It is recommended to keep a written record of training provided to community program personnel. The Suctioning Training & Monitoring document is included as a supplement and may be used to record training.

18
Content The following standard clinical information and child specific information is included in the training session. Clinical information
• Anatomy of the respiratory system • Oral and nasal suctioning • Suction equipment and supplies • Care of equipment and supplies • Procedure for oral suctioning, if relevant to the child • Procedure for nasal suctioning, if relevant to the child • Emergency situation and required actions • Potential problems and required actions • Infection control guidelines • Documentation
Child specific information
• Reason for suctioning • Indications for suctioning • Recommended negative pressure (mm Hg) • Baseline information (e.g. normal activity/behavior, description of secretions,
frequency of suctioning) • Mouth care • Other information specific to the child

19
MONITORING
Monitoring of trained community program personnel by a nurse is required to ensure that the knowledge and skill necessary to safely care for children that require oral and/or nasal suctioning has been retained. Monitoring is required minimally on an annual basis. The frequency and timing of monitoring is based on the professional judgment of the nurse as well as the complexity of information taught, maturational issues and the skill demonstrated by community program personnel. Some monitoring strategies are listed below.
• Community program personnel complete questions about their knowledge and skill. The Suctioning Training & Monitoring includes such questions and is included as a supplement to this document.
• After training is complete, the nurse observes the community program personnel administering suctioning to the child at a later date.
20
REFERENCES American Association of Respiratory Care. Clinical Practice Guideline: Suctioning of the Patient in the Home. Respiratory Care. 1999;44(1):99-104.
Oral and Tracheal Suction, Patient Instructions. Apria Healthcare. www.apria.com.

21
RESOURCES American Association of Respiratory Care. www.aarc.org Devibliss Health Care. www.devilbisshealthcare.com