Soldering & Desoldering
17
Digital Electronics Soldering & De-soldering
-
Upload
khangminh22 -
Category
Documents
-
view
4 -
download
0
Transcript of Soldering & Desoldering

Digital Electronics
Soldering & De-soldering
Soldering & De-soldering
2
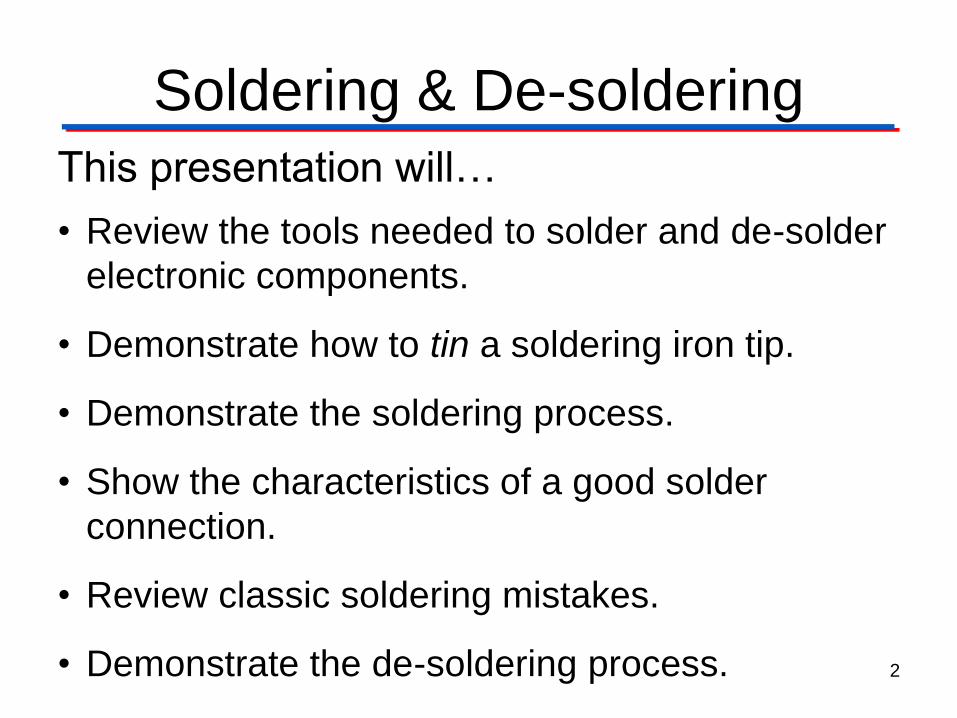
This presentation will…
• Review the tools needed to solder and de-solder
electronic components.
• Demonstrate how to tin a soldering iron tip.
• Demonstrate the soldering process.
• Show the characteristics of a good solder
connection.
• Review classic soldering mistakes.
• Demonstrate the de-soldering process.
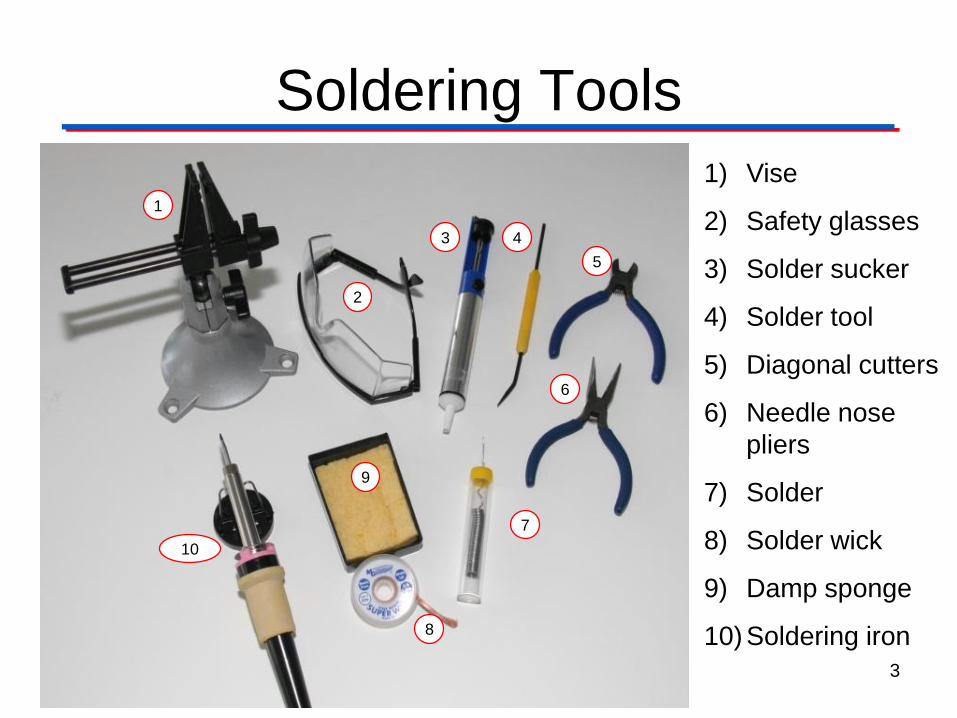
Soldering Tools
3
1) Vise
2) Safety glasses
3) Solder sucker
4) Solder tool
5) Diagonal cutters
6) Needle nose
pliers
7) Solder
8) Solder wick
9) Damp sponge
10) Soldering iron
1
2
3 4
5
6
7
9
8
10
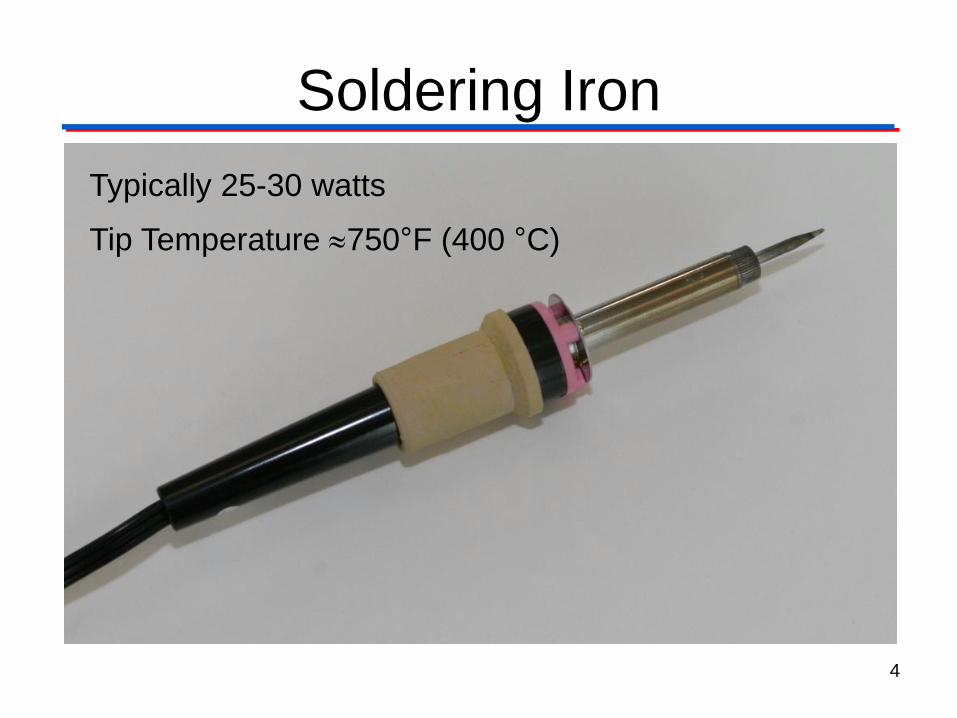
Soldering Iron
4
Typically 25-30 watts
Tip Temperature 750°F (400 °C)

Solder
• Solder is an alloy of tin and lead.
• The solder used for electronics is
frequently called 60/40 solder because it is
made of 63% tin and 37% lead.
• 60/40 solder melts at 361 F.
• Lead-free solder: As of July 1st, 2006,
European laws mandated that new
electronics be entirely lead-free. As of yet,
no such laws exist in the United States. 5
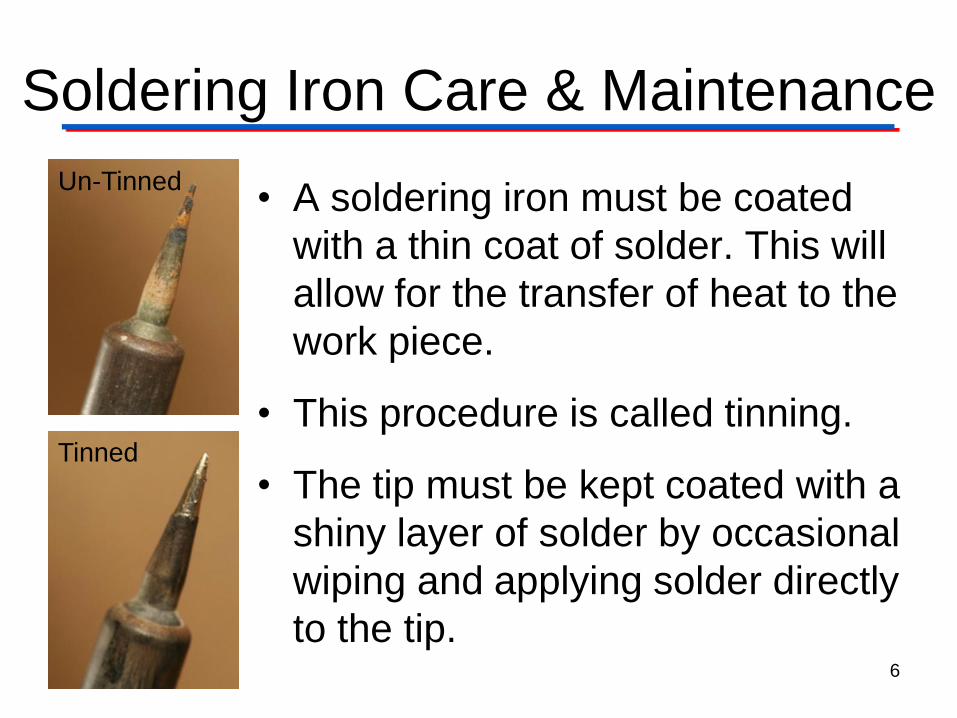
Soldering Iron Care & Maintenance
• A soldering iron must be coated
with a thin coat of solder. This will
allow for the transfer of heat to the
work piece.
• This procedure is called tinning.
• The tip must be kept coated with a
shiny layer of solder by occasional
wiping and applying solder directly
to the tip. 6
Tinned
Un-Tinned

Tinning Process
7
Apply Solder to Soldering Iron Tip Roll Tip on Damp Sponge
Properly Tinned Soldering Iron Tip
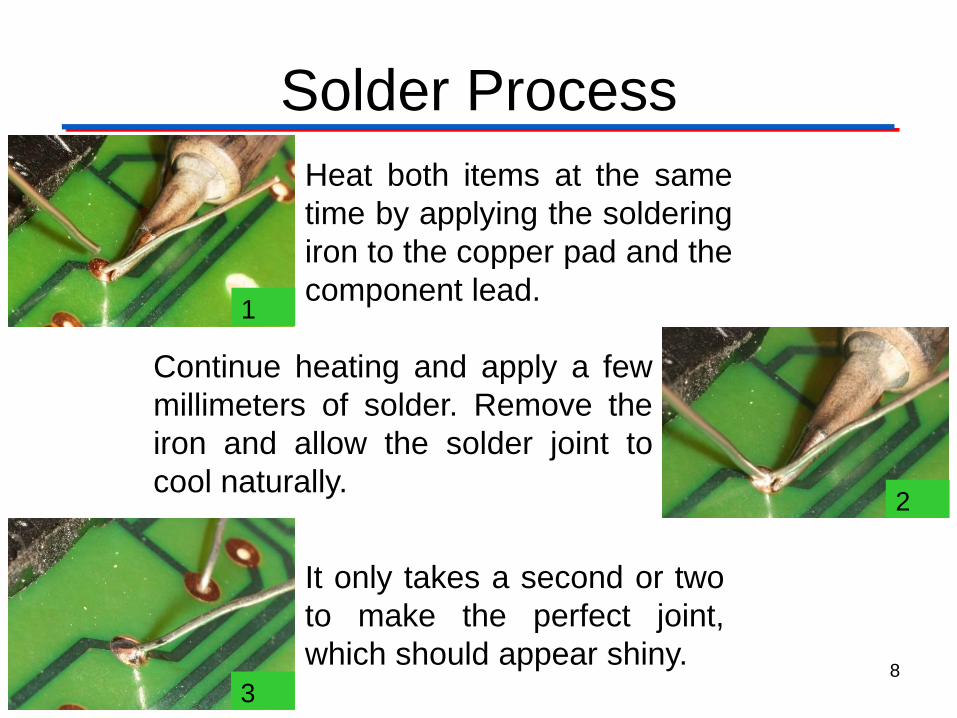
Solder Process
8
1
Heat both items at the same
time by applying the soldering
iron to the copper pad and the
component lead.
2
Continue heating and apply a few
millimeters of solder. Remove the
iron and allow the solder joint to
cool naturally.
3
It only takes a second or two
to make the perfect joint,
which should appear shiny.
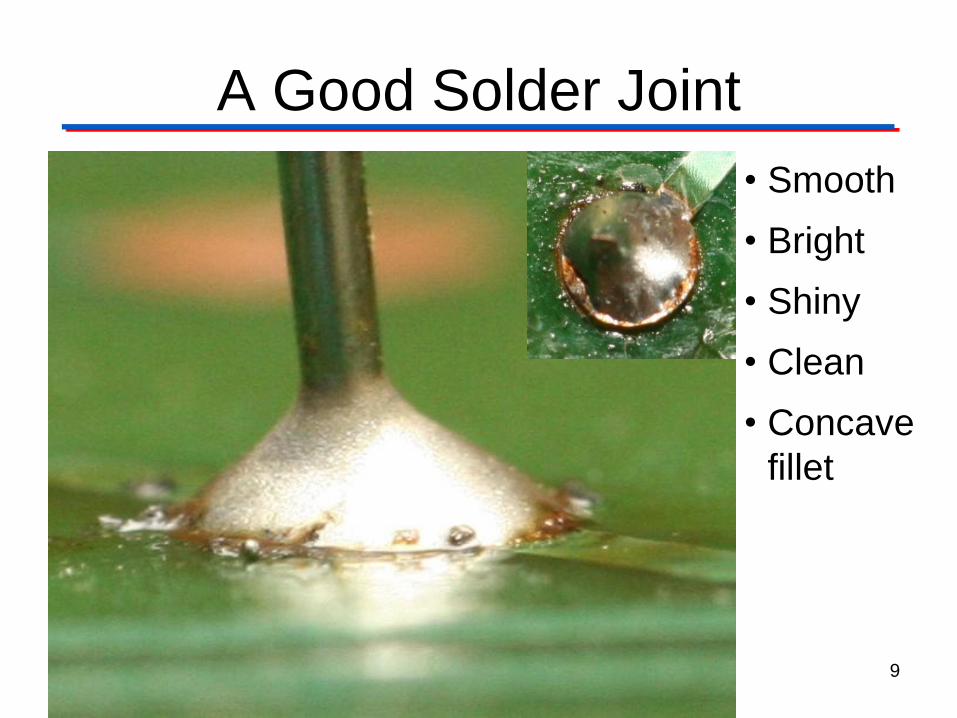
A Good Solder Joint
9
• Smooth
• Bright
• Shiny
• Clean
• Concave
fillet

Bad Solder Connections
10
Too Much Solder Too Little Solder
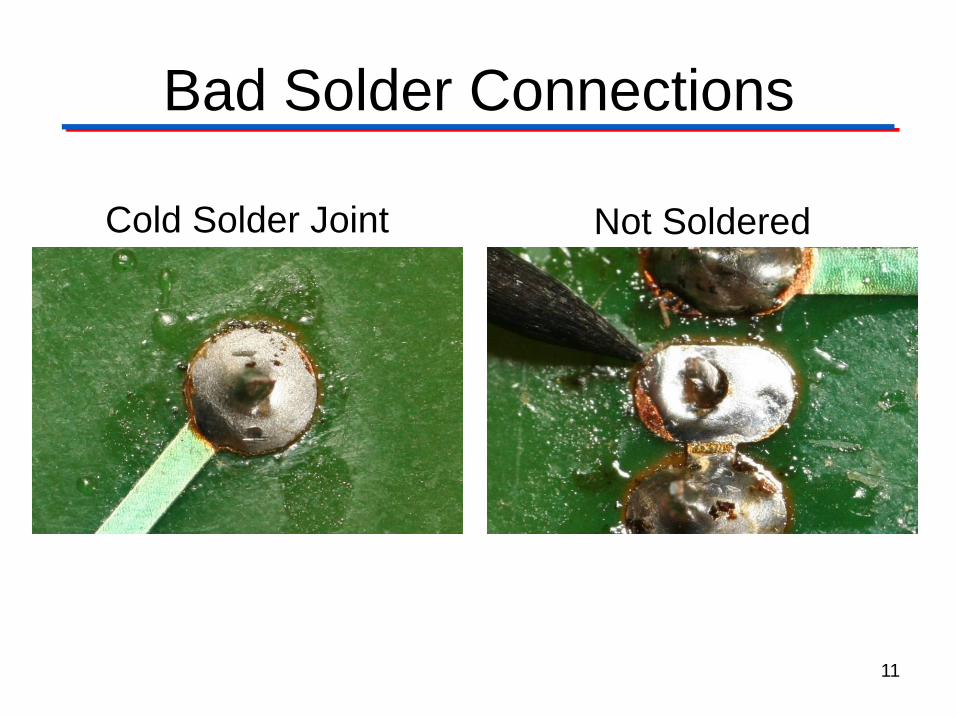
Bad Solder Connections
11
Cold Solder Joint Not Soldered

Bad Solder Connections
12
Lifted Trace/Pad Solder Bridge

De-Solder Process: Solder Sucker
13
Apply heat to the connection
to be de-soldered. When the
solder melts, trigger the
solder sucker.
Repeat de-soldering as needed
until all solder is removed. Remove
soldering iron & solder sucker from
area.
Remove component lead.
1
2
3

De-Solder Process: Solder Wick
14
Solder wick is finely braided
copper that is used to wick
away excess solder from a
de-soldered connection.
Apply the solder wick and soldering
iron to the de-soldered connection.
The solder wick will draw the excess
solder off of the PCB pad.
De-soldered PCB pad
1
2
3

Soldering Safety
• Wear safety glasses when soldering. This includes all
individuals in the vicinity of someone who is soldering.
• Place soldering iron in an approved holder when not in
use. The iron is hot and can cause burns.
• Place the soldering iron so that the cord does not get
caught up in your arms or on others.
• Ensure access to proper ventilation.
• Verify that the type of solder is safe to use in your
working environment.
• Secure the components to be soldered before beginning
the soldering process.
15
Soldering Safety
• Provide plenty of space to work.
• Use a properly-sized point for the soldering job to be
completed.
• Verify that the tip on the soldering iron has a sharp point
and has not been damaged in any way.
• Check the power cord for burned or melted sections that
show bare wires. Label those cords DO NOT USE and
ask the instructor to repair or replace.
• Do not to touch molten solder - it is hot!
• Make sure that the solder strand is long enough to keep
fingers away from the hot iron.
16
Soldering Safety • Tie back long hair and remove or tuck loose clothing.
• Use heat sinks for heat-sensitive parts. Provide
sufficient cooling time before removing parts.
• Do not flick solder off of the iron. Flicking can cause
solder to spray and hit skin or eyes.
• Hold the scrap end when cutting excess leads so that
the scrap lead is not thrown into the air.
• Cut leads evenly with wire cutters.
• Make sure that leads do not short across other traces or
leads.
• Thoroughly wash your hands after handling solder.
17