Inkjet Decal Creation and Application
28
Inkjet Decal Creation and Application Joe Vanfossen Ohio Rod BuilderS Gathering November 3, 2012 1 Delta Custom Rods “Feel the Difference”
Transcript of Inkjet Decal Creation and Application
Inkjet Decal Creation and Application
Joe VanfossenOhio Rod BuilderS
GatheringNovember 3, 2012
1
Delta Custom Rods
“Feel the Difference”
Topics of the Day• Decal Media
• Decal Design– Word Processor– Graphics Software
• Decal Application Technique– Inkjet Peel and Stick Label Application
2
Decal Media• Many types of inkjet media are available
– Waterslide Decal Media•Clear•White
– Peel and Stick•Clear Address Labels•Opaque White Vinyl•Metallic•Rub On
– Static Cling and Magnetic for Advertising
3
Decal Media• Sources for Decal Media
– Swampland Tackle ( http://www.swamplandtackle.com )•First vendor to bring inkjet media to custom builders•Currently offer packs of 5 sheets of white vinyl
– Papilio ( http://www.papilio.com )•Manufacturer of a host of decal media
– Inkjet & Laser Options– Peel & Stick, Waterslide, Magnetic, Cling, Rub On and More
– Decal Makers•Custom order decals from Decal Connection
– Supporter of ORBS and today’s Gathering
4
How to Choose Decal Media
• A quick visit to Papilio’s Website shows a plethora of options
• Which one is best for me?
• Want Professional Results– Aesthetically Pleasing– Metallic or Holographic Look– Colorful and Artistic
5
How to Choose Decal Media
• Clear vs. Opaque White or Metallic Film
• Note Inkjet Ink is NOT Opaque
• Clear Decal Media Notes– Clear decal on a dark blank will not show well
– Clear decal over a white blank will work better
– Other option, clear decal over silver or white underwrap
6
How to Choose Decal Media
• Clear vs. Opaque White or Metallic Film
• White Decal Media Notes– Label printed on white vinyl media will look like it’s printed on white paper
– Use background color to match blank color
– Use artistic background to add flair•Photo, Pattern, Design
7
How to Choose Decal Media
• Clear vs. Opaque White or Metallic Film
• Metallic Decal Media Notes– Media color dictates appearance of label– Use background color to match blank color
•Gold Media will alter colors•Control look of silver or metallic with use of color
– Use artistic background to add flair•Photo, Pattern, Design
8
Decal Design
• What do I need to create my own decals?– Inkjet Printer– Decal Media– Design Software
•Word Processor•Graphics Program
9
Inkjet Printers• People have been successful with most any inkjet printer– Most of us have one– Does not need to be expensive– May need to adjust ink flow
•Done by adjusting the transparency of the image in software
– Papilio offers powder to help dry some inks
10
Design Software
• Options fall into 2 categories
– Word Processors
– Graphics Software
11
Word Processors
• Microsoft Word, Apple Pages, Open Office
– All have basic graphics manipulation capabilities
– Can layer objects with some tweaking of settings
– Not as powerful as graphics editing software
12
Graphics Software
• Photoshop, PaintShop Pro, The GIMP– Powerful editing tools with professional capabilities
– Work naturally with layers•Easier to switch from one layer to another to work
– More tools than you may ever need
13
Decal Design Word Processor
• Using Microsoft Word• Start New Document• To get the most out of your medium, set margins to minimum (~1/8in.)– Mac: File-> Page Setup-> Microsoft Word-> Margins
– Windows: Page Layout-> Page Setup-> Margins
14
Decal Design Word Processor
• Choose Decal Size• For Full Wrap Decal
– Measure rod diameter at butt end of final decal location
– Width of decal will be circumference of blank or π*D at butt end of decal
– Can trim to adjust for blank taper, or overlap– Length of decal chosen by you
• For Partial Wrap Decal– Choose Length and Height to look good on the rod
15
Decal Design Word Processor
• Create Background– Create a rectangle
•Insert Shape Rectangle•To adjust size Format Shape Size•Can also adjust fill Colors, etc.
– Other Options•Insert Picture and scale/crop to size
16
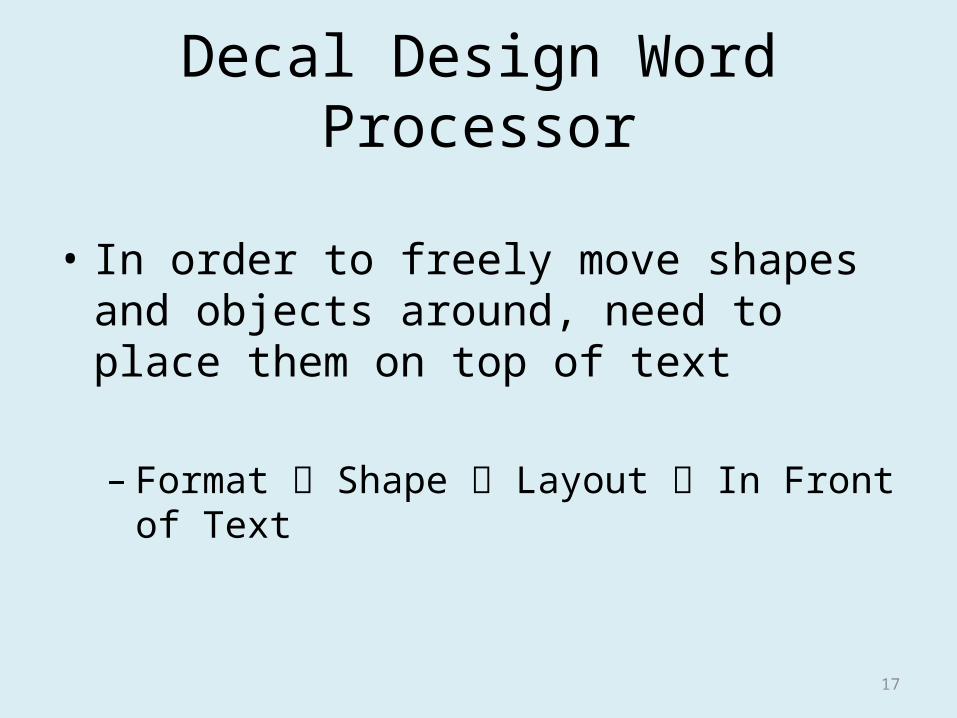
Decal Design Word Processor
• In order to freely move shapes and objects around, need to place them on top of text
– Format Shape Layout In Front of Text
17
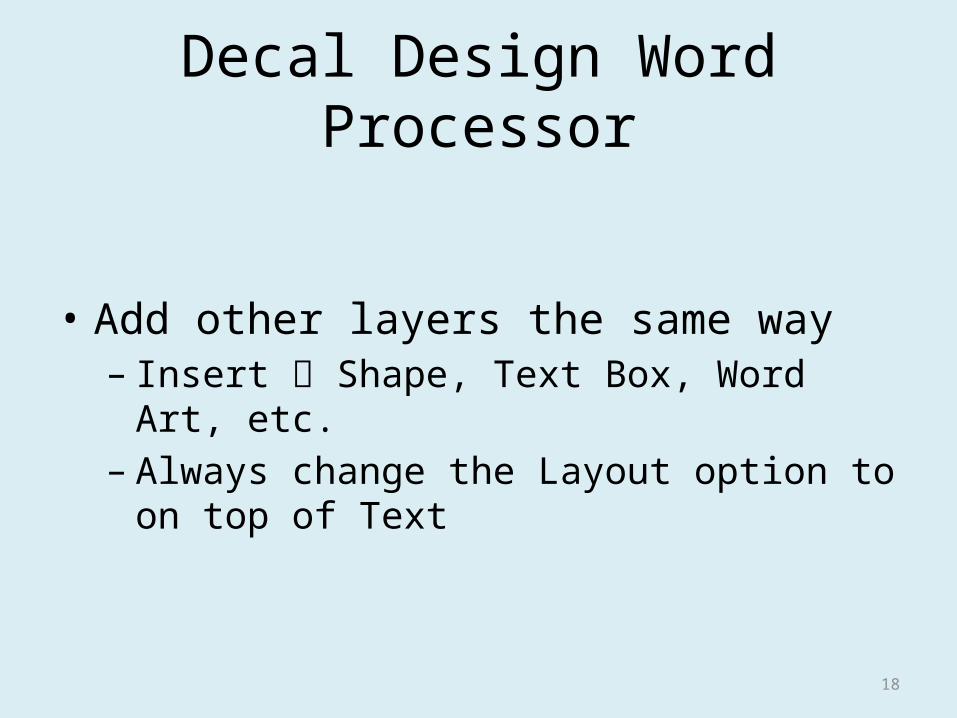
Decal Design Word Processor
• Add other layers the same way– Insert Shape, Text Box, Word Art, etc.
– Always change the Layout option to on top of Text
18
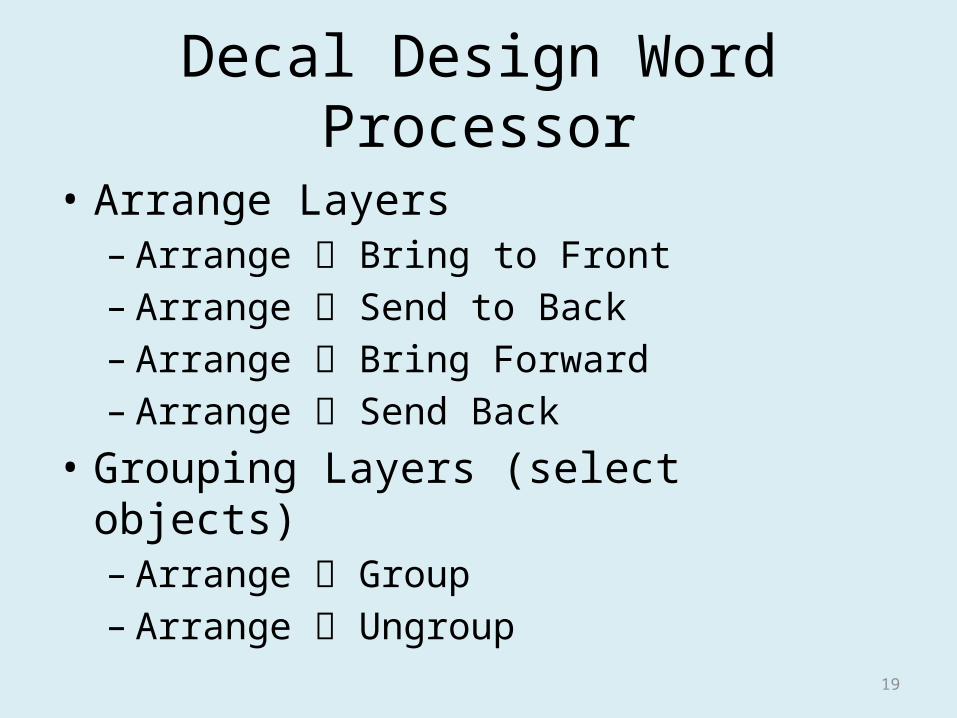
Decal Design Word Processor
• Arrange Layers– Arrange Bring to Front– Arrange Send to Back– Arrange Bring Forward– Arrange Send Back
• Grouping Layers (select objects)– Arrange Group– Arrange Ungroup
19
Decal Design Graphics Software
• Graphics Software is very powerful• Can range in price from free to $100s
• Can be easier than Word Processor in some aspects
• Tougher in other aspects• Full Professional Editing Capabilities
20
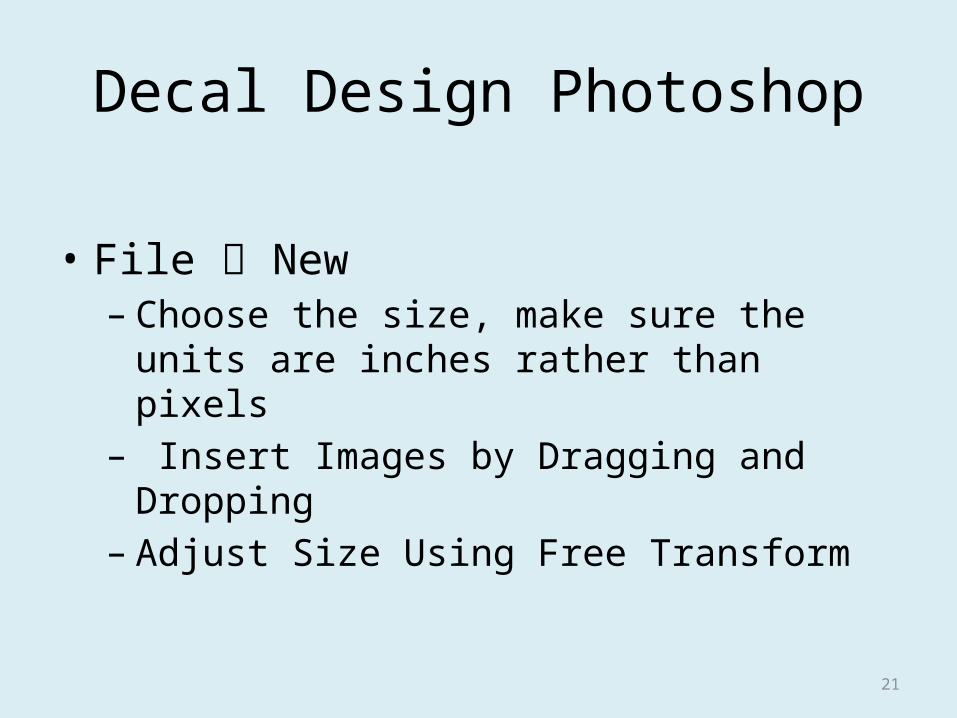
Decal Design Photoshop
• File New – Choose the size, make sure the units are inches rather than pixels
– Insert Images by Dragging and Dropping
– Adjust Size Using Free Transform
21

Decal Design Photoshop
• To Edit Each Layer Select it in Layers Panel
• To Move Layers Forward and Back, Move them Up and Down in Layers Panel
22
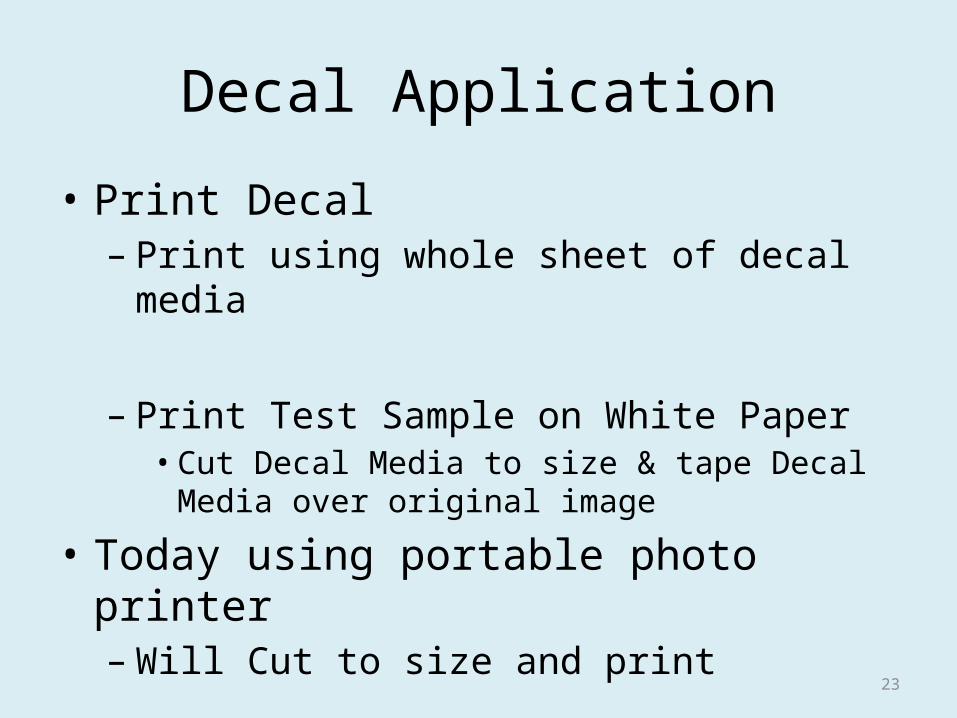
Decal Application• Print Decal
– Print using whole sheet of decal media
– Print Test Sample on White Paper•Cut Decal Media to size & tape Decal Media over original image
• Today using portable photo printer– Will Cut to size and print
23
Decal Application
• Decal Cutting– Straight Edge & Exacto Knife– Cutting Mat– Cutting Wheel
24
Decal Application
• After Decal Dries– Cut to size if not already sized
• Spray with matte clear spray paint or Fixative– I use Krylon Matte Clear
25

Decal Application
• Handle Decal by edges
• Carefully peel off backing
• Center decal over area to be applied
26
Decal Application
• Place center of decal edge down• Center other edge• Use Burnishing Tool to set Center Line
• Use Burnishing Tool to work towards top and bottom
27
Decal Application• If Decal Edges Lift
– Wrap with Paper and over wrap with thread
– Leave Overnight
• Once Decal is Set– I apply a coat of CP
• Finish as Usual28