Importing Metadata From PowerExchange Connections in ...
12
Importing Metadata From PowerExchange Connections in Test Data Management © Copyright Informatica LLC 2017, 2021. Informatica, the Informatica logo, and PowerCenter are trademarks or registered trademarks of Informatica LLC in the United States and many jurisdictions throughout the world. A current list of Informatica trademarks is available on the web at https://www.informatica.com/trademarks.html
-
Upload
khangminh22 -
Category
Documents
-
view
1 -
download
0
Transcript of Importing Metadata From PowerExchange Connections in ...

Importing Metadata From PowerExchange Connections in Test Data Management
© Copyright Informatica LLC 2017, 2021. Informatica, the Informatica logo, and PowerCenter are trademarks or registered trademarks of Informatica LLC in the United States and many jurisdictions throughout the world. A current list of Informatica trademarks is available on the web at https://www.informatica.com/trademarks.html
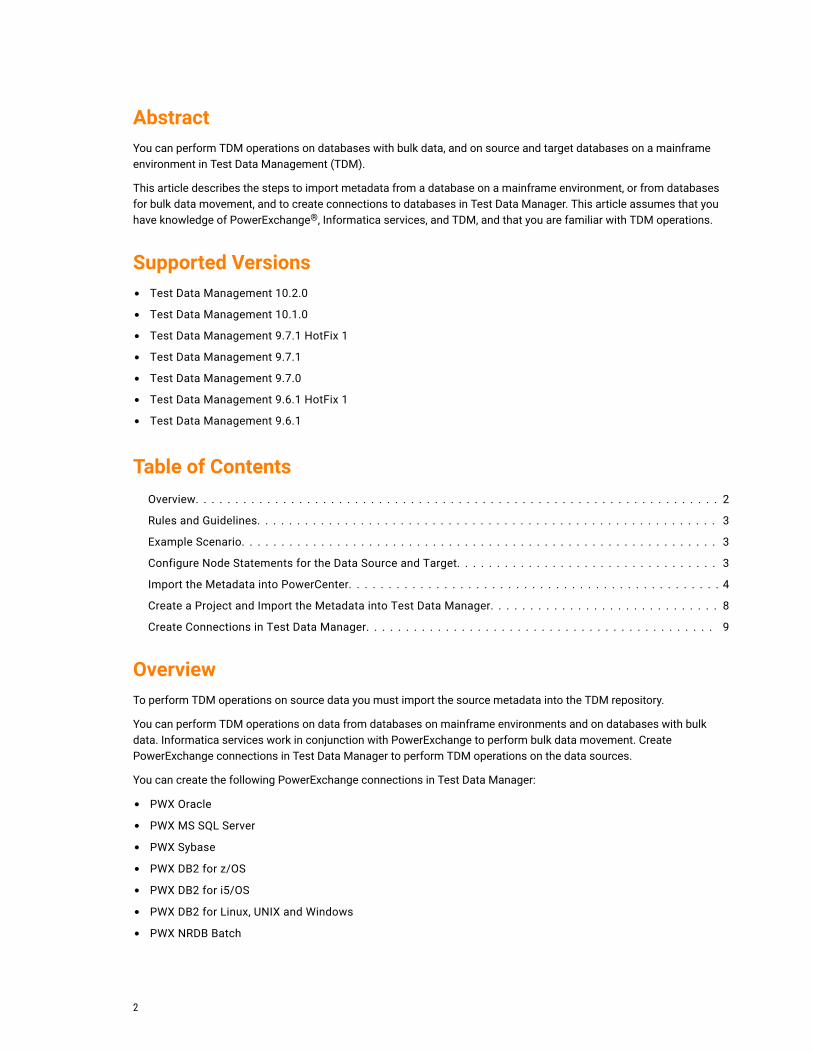
AbstractYou can perform TDM operations on databases with bulk data, and on source and target databases on a mainframe environment in Test Data Management (TDM).
This article describes the steps to import metadata from a database on a mainframe environment, or from databases for bulk data movement, and to create connections to databases in Test Data Manager. This article assumes that you have knowledge of PowerExchange®, Informatica services, and TDM, and that you are familiar with TDM operations.
Supported Versions• Test Data Management 10.2.0
• Test Data Management 10.1.0
• Test Data Management 9.7.1 HotFix 1
• Test Data Management 9.7.1
• Test Data Management 9.7.0
• Test Data Management 9.6.1 HotFix 1
• Test Data Management 9.6.1
Table of ContentsOverview. . . . . . . . . . . . . . . . . . . . . . . . . . . . . . . . . . . . . . . . . . . . . . . . . . . . . . . . . . . . . . . . . . 2
Rules and Guidelines. . . . . . . . . . . . . . . . . . . . . . . . . . . . . . . . . . . . . . . . . . . . . . . . . . . . . . . . . . 3
Example Scenario. . . . . . . . . . . . . . . . . . . . . . . . . . . . . . . . . . . . . . . . . . . . . . . . . . . . . . . . . . . . 3
Configure Node Statements for the Data Source and Target. . . . . . . . . . . . . . . . . . . . . . . . . . . . . . . . . 3
Import the Metadata into PowerCenter. . . . . . . . . . . . . . . . . . . . . . . . . . . . . . . . . . . . . . . . . . . . . . . 4
Create a Project and Import the Metadata into Test Data Manager. . . . . . . . . . . . . . . . . . . . . . . . . . . . . 8
Create Connections in Test Data Manager. . . . . . . . . . . . . . . . . . . . . . . . . . . . . . . . . . . . . . . . . . . . 9
OverviewTo perform TDM operations on source data you must import the source metadata into the TDM repository.
You can perform TDM operations on data from databases on mainframe environments and on databases with bulk data. Informatica services work in conjunction with PowerExchange to perform bulk data movement. Create PowerExchange connections in Test Data Manager to perform TDM operations on the data sources.
You can create the following PowerExchange connections in Test Data Manager:
• PWX Oracle
• PWX MS SQL Server
• PWX Sybase
• PWX DB2 for z/OS
• PWX DB2 for i5/OS
• PWX DB2 for Linux, UNIX and Windows
• PWX NRDB Batch
2

Rules and GuidelinesWhen you use PowerExchange connections in a TDM operation, consider the following rules and guidelines:
• Informatica services work in conjunction with PowerExchange to perform data movement operations on databases on mainframe environments and for bulk data movement. Install a PowerExchange version that works with the version of Informatica installed.
• Install PowerExchange on the PowerCenter Client machine, each data source or target system, and on the system that hosts the PowerCenter Integration Service or the Data Integration Service.
• You cannot import metadata from a PowerExchange connection directly into Test Data Manager. You must import the metadata from the PowerCenter® repository.
• When you create PowerExchange connections in Test Data Manager, you cannot enter a JDBC connection string. You cannot disable and enable indexes and constraints in a plan without a JDBC connection string. If you want to disable and enable indexes and constraints in a plan that uses PowerExchange connections, you must create a corresponding JDBC connection. Select the JDBC connection name when prompted in the plan.
• You cannot test the connection when you create PowerExchange connections in Test Data Manager.
Example ScenarioYou work with a software product testing team that creates and manages its test data in TDM.
You need to create test data from large volumes of production data on a DB2 for z/OS database in a mainframe environment. You need to create the test data on a database on the mainframe system.
To create test data, you import the source metadata into Test Data Manager. You can then run a TDM operation to create the test data.
To import metadata from a DB2 for z/OS data source, perform the following tasks:
1. Configure node statements for the data source and target on each PowerExchange and PowerCenter Integration Service system to identify the remote node with the source or target.
2. Import the source metadata into PowerCenter.
3. Create a project in Test Data Manager and import the source metadata from the PowerCenter repository.
4. Create the required connections in Test Data Manager. You use the connections in a plan to perform TDM operations.
Configure Node Statements for the Data Source and TargetTo access a data source or target on a remote system, PowerExchange must be able to communicate with the PowerExchange Listener on the remote system. Add PowerExchange nodes to communicate with remote data sources.
1. On systems where the PowerExchange Navigator, the PowerCenter Client, and PowerCenter Integration Service run, use the ping command to test network access to the remote data source or target system.
2. Open the PowerExchange configuration file at the following locations:
• On the PowerCenter Client machine: <PowerExchange installation directory>\bin32\dbmover.cfg.
• On the system that hosts the PowerCenter Integration Service: <PowerExchange installation directory>\dbmover.cfg.
3. Add a NODE statement to the dbmover.cfg file on each PowerExchange and PowerCenter system to identify the remote node where the source or target is located.
3
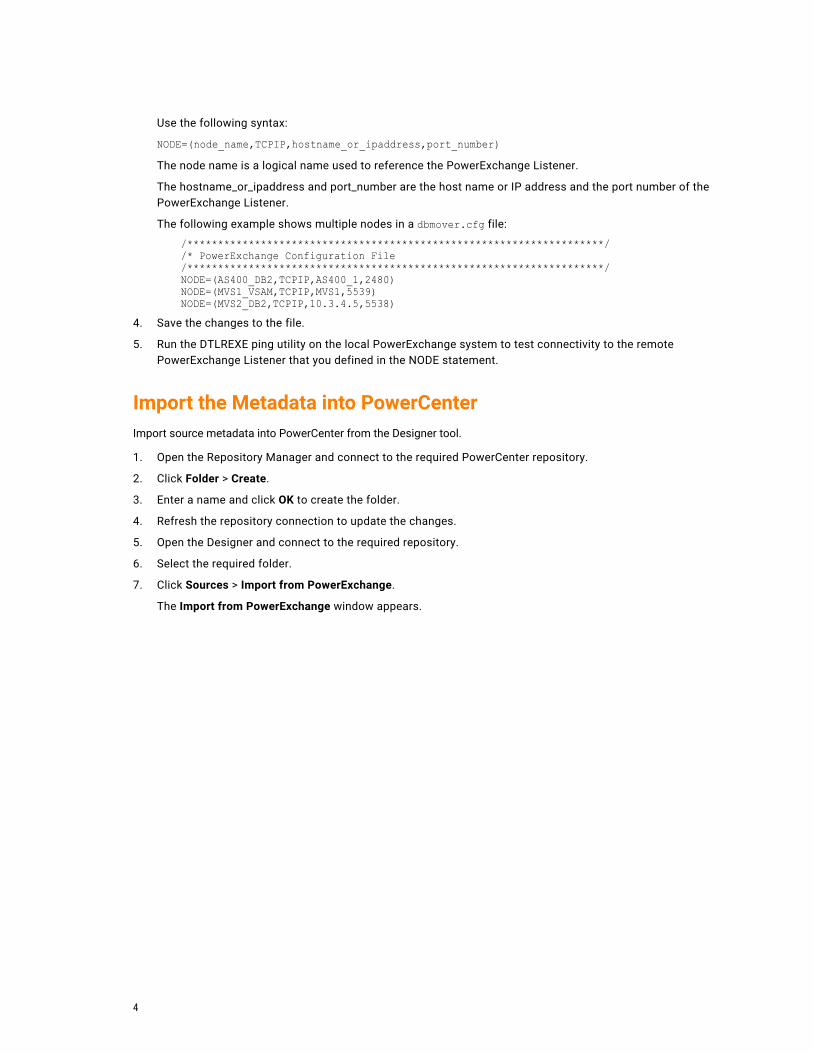
Use the following syntax:
NODE=(node_name,TCPIP,hostname_or_ipaddress,port_number)The node name is a logical name used to reference the PowerExchange Listener.
The hostname_or_ipaddress and port_number are the host name or IP address and the port number of the PowerExchange Listener.
The following example shows multiple nodes in a dbmover.cfg file:
/********************************************************************//* PowerExchange Configuration File/********************************************************************/NODE=(AS400_DB2,TCPIP,AS400_1,2480)NODE=(MVS1_VSAM,TCPIP,MVS1,5539)NODE=(MVS2_DB2,TCPIP,10.3.4.5,5538)
4. Save the changes to the file.
5. Run the DTLREXE ping utility on the local PowerExchange system to test connectivity to the remote PowerExchange Listener that you defined in the NODE statement.
Import the Metadata into PowerCenterImport source metadata into PowerCenter from the Designer tool.
1. Open the Repository Manager and connect to the required PowerCenter repository.
2. Click Folder > Create.
3. Enter a name and click OK to create the folder.
4. Refresh the repository connection to update the changes.
5. Open the Designer and connect to the required repository.
6. Select the required folder.
7. Click Sources > Import from PowerExchange.
The Import from PowerExchange window appears.
4

The following image shows the Import from PowerExchange window:
8. To import a source definition, click Sources > Import from PowerExchange and select a source type.
9. Enter connection information.
5

The following table describes the required and optional connection attributes:
Property Description
Location Required. Name of the PowerExchange Listener (Node name from PowerExchange dbmover.cfg) on the system on which the database resides.
User Name Required. A user name that has the authority to connect to the database.For connections to supported Linux, UNIX, or Windows platforms, if you have enabled PowerExchange LDAP user authentication and disabled relational pass-through authentication, the user name is the enterprise user name. For more information, see the PowerExchange Reference Manual.
Password Required. A password for the specified user. Passwords that are less than nine characters in length are not validated.To avoid errors that might arise due to code page differences, Informatica recommends that you include only those characters that are allowed for passphrases.For a DB2 for i5/OS or DB2 for z/OS source or target, you can enter a valid PowerExchange passphrase instead of a password. An i5/OS passphrase can be from 9 to 31 characters in length. A z/OS passphrase can be from 9 to 128 characters in length. A passphrase can contain the following characters:- Uppercase and lowercase letters
- The numbers 0 to 9
- Spaces
- The following special characters:’ - ; # \ , . / ! % & * ( ) _ + { } : @ | < > ? Note: The first character is an apostrophe.
Passphrases cannot include single quotation marks (‘), double quotation marks (“), or currency symbols.On z/OS, the allowable characters in the IBM IRRPHREX exit do not affect the allowable characters in PowerExchange passphrases.Note: On z/OS, a valid RACF passphrase can be up to 100 characters in length. PowerExchange truncates passphrases longer than 100 characters when passing them to RACF for validation.To use passphrases, ensure that the PowerExchange Listener runs with a security setting of SECURITY=(1,N) or higher in the DBMOVER member. For more information, see "SECURITY Statement" in the PowerExchange Reference Manual.
Multi-Record Datamaps
Select to list multi-record data maps. SEQ or VSAM sources only.
Source Type Required. DB2zOS, DB2i5OS, or DB2LUW.
CDC Datamaps Select to list CDC extraction maps - source only.
Use Sequence Fields
Select this option to generate sequence fields. IMS unload sources only. You can select this option if you select Multi-Record Data Maps.
Network Timeout Number of seconds that elapse during a network send or receive operation before PowerExchange ends the connection and issues a timeout error message.
Subsystem Id Required. Name of the subsystem for connection. DB2zOS only.
Database Name Required. Name of the database for connection. DB2i5OS and DB2LUW only.
6

Property Description
Schema Schema name to filter the resulting data maps.
Map name Table name to filter the resulting data maps.
Respect Case If selected, PowerExchange filters metadata by using the exact case of the Schema and Map name fields. Otherwise, PowerExchange ignores the case when searching for data maps.
10. Optional. Define a filter criteria to narrow the list of schemas and tables.
To define a filter, enter a schema name, table name, or both. You can use the following wildcard characters to enter name patterns:
• * (asterisk). Represents one or more characters.
• ? (question mark). Represents one character.
For example:
• A* displays schemas and tables that begin with an A.
• *A displays schemas and tables that end with an A.
• *cust* displays schemas that contain “cust.”
11. Click Connect.
The Designer displays the metadata to import in the Selected Datamaps box. If no tables are found, the Designer displays “No Data Found."
12. Select the table or tables that you want to import.
To select multiple tables, use the Shift key or Ctrl key or click Select all.
13. Click OK.
The tables are imported into the PowerCenter folder and open in the Source Analyzer window.The following image shows the Source Analyzer window in Designer:
14. Save the source metadata that you imported.
7

Create a Project and Import the Metadata into Test Data ManagerCreate a project and import the metadata into the project to perform TDM operations on source data.
1. Log in to Test Data Manager.
2. Click Projects to access the projects.
3. Click Actions > New.
The Create Project dialog box opens.
4. Enter a name and optional description and click OK to create the project.
5. Click Actions > Import Metadata.
The Import Metadata window appears.
6. Choose to import metadata from the PowerCenter repository and click Next.
You cannot directly import metadata from a PowerExchange connection in Test Data Manager.
7. Select the folder into which you imported the source metadata in Designer and click Next.
The following image shows the second step in the Import Metadata wizard:
8. Filter and select the required tables and click Next.
8

The following image shows the third step in the Import Metadata wizard:
9. Choose to import the metadata now and click Finish.
You can use the source metadata from the PowerExchange connection to perform TDM operations in Test Data Manager.
Create Connections in Test Data ManagerCreate PowerExchange connections in Test Data Manager to use the connections in a plan.
The properties that appear in each step depend on the type of PowerExchange connection that you select. For information about connection properties, see the Test Data Management Administrator Guide.
1. In the Administrator | Connections view, select New Connection from the Actions menu.
A window opens to display the new connection properties.
2. Enter a connection name and optional description.
The connection name must begin with an alphabetic character. If you enter a connection name that begins with a numeric character, a workflow that includes the connection might fail.
3. Select the PowerExchange connection that you require and enter the user information. You can create the following PowerExchange connections:
• PWX Oracle
• PWX MS SQL Server
• PWX Sybase
• PWX DB2 for i5/OS
• PWX DB2 for z/OS
9

• PWX DB2 for Linux, UNIX, and Windows
• PWX NRDB Batch
The following image shows the first step of the connection creation wizard:
4. Optional. Click Change Owner and select a different user as the connection owner.
5. Click Next.
6. Enter the connection properties and click Next.
10

The following image shows the second step of the connection creation wizard:
7. Enter the PowerCenter properties and click Next.
The location must be the name of the node that you configured in the dbmover.cfg file.
11

The following image shows the third step of the connection creation wizard:
8. Click Finish to save the connection.
The connection is visible in the Administrator | Connections view.
You can use the connection in a plan.
AuthorSadhana Kamath
AcknowledgementsThe author would like to acknowledge Hanumanthareddy Syamala, for his technical assistance.
12