Gardening with young children: It’s easier than you think
10
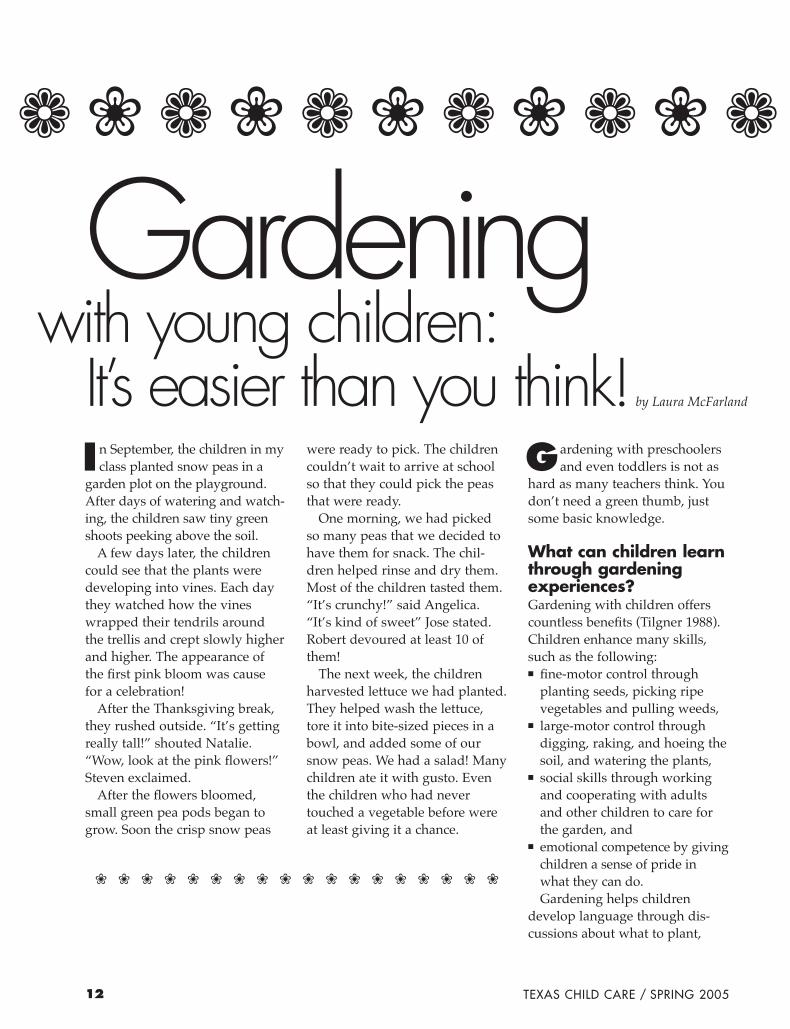
12 TEXAS CHILD CARE / SPRING 2005 n September, the children in my class planted snow peas in a garden plot on the playground. After days of watering and watch- ing, the children saw tiny green shoots peeking above the soil. A few days later, the children could see that the plants were developing into vines. Each day they watched how the vines wrapped their tendrils around the trellis and crept slowly higher and higher. The appearance of the rst pink bloom was cause for a celebration! After the Thanksgiving break, they rushed outside. Its getting really tall! shouted Natalie. Wow, look at the pink owers! Steven exclaimed. After the owers bloomed, small green pea pods began to grow. Soon the crisp snow peas I were ready to pick. The children couldnt wait to arrive at school so that they could pick the peas that were ready. One morning, we had picked so many peas that we decided to have them for snack. The chil- dren helped rinse and dry them. Most of the children tasted them. Its crunchy! said Angelica. Its kind of sweet Jose stated. Robert devoured at least 10 of them! The next week, the children harvested lettuce we had planted. They helped wash the lettuce, tore it into bite-sized pieces in a bowl, and added some of our snow peas. We had a salad! Many children ate it with gusto. Even the children who had never touched a vegetable before were at least giving it a chance. ardening with preschoolers and even toddlers is not as hard as many teachers think. You dont need a green thumb, just some basic knowledge. What can children learn through gardening experiences? Gardening with children offers countless benets (Tilgner 1988). Children enhance many skills, such as the following: ■ ne-motor control through planting seeds, picking ripe vegetables and pulling weeds, ■ large-motor control through digging, raking, and hoeing the soil, and watering the plants, ■ social skills through working and cooperating with adults and other children to care for the garden, and ■ emotional competence by giving children a sense of pride in what they can do. Gardening helps children develop language through dis- cussions about what to plant, Gardening with young children: It’s easier than you think! by Laura McFarland G ❀ ❀ ❀ ❀ ❀ ❀ ❀ ❀ ❀ ❀ ❀ ❀ ❀ ❀ ❀ ❀ ❀ ❀ ❁ ❀ ❁ ❀ ❁ ❀ ❁ ❀ ❁ ❀ ❁
Transcript of Gardening with young children: It’s easier than you think
12 TEXAS CHILD CARE / SPRING 2005
n September, the children in myclass planted snow peas in a
garden plot on the playground.After days of watering and watch-ing, the children saw tiny greenshoots peeking above the soil.
A few days later, the childrencould see that the plants weredeveloping into vines. Each daythey watched how the vineswrapped their tendrils aroundthe trellis and crept slowly higherand higher. The appearance ofthe Þrst pink bloom was causefor a celebration!
After the Thanksgiving break,they rushed outside. �It�s gettingreally tall!� shouted Natalie.�Wow, look at the pink ßowers!�Steven exclaimed.
After the ßowers bloomed,small green pea pods began togrow. Soon the crisp snow peas
I were ready to pick. The childrencouldn�t wait to arrive at schoolso that they could pick the peasthat were ready.
One morning, we had pickedso many peas that we decided tohave them for snack. The chil-dren helped rinse and dry them.Most of the children tasted them.�It�s crunchy!� said Angelica.�It�s kind of sweet� Jose stated.Robert devoured at least 10 ofthem!
The next week, the childrenharvested lettuce we had planted.They helped wash the lettuce,tore it into bite-sized pieces in abowl, and added some of oursnow peas. We had a salad! Manychildren ate it with gusto. Eventhe children who had nevertouched a vegetable before wereat least giving it a chance.
ardening with preschoolersand even toddlers is not as
hard as many teachers think. Youdon�t need a green thumb, justsome basic knowledge.
What can children learnthrough gardeningexperiences?Gardening with children offerscountless beneÞts (Tilgner 1988).Children enhance many skills,such as the following:■ Þne-motor control through
planting seeds, picking ripevegetables and pulling weeds,
■ large-motor control throughdigging, raking, and hoeing thesoil, and watering the plants,
■ social skills through workingand cooperating with adultsand other children to care forthe garden, and
■ emotional competence by givingchildren a sense of pride inwhat they can do.Gardening helps children
develop language through dis-cussions about what to plant,
Gardening with young children:
It’s easier than you think! by Laura McFarland
G
❀ ❀ ❀ ❀ ❀ ❀ ❀ ❀ ❀ ❀ ❀ ❀ ❀ ❀ ❀ ❀ ❀ ❀
❁ ❀ ❁ ❀ ❁ ❀ ❁ ❀ ❁ ❀ ❁

TEXAS CHILD CARE / SPRING 2005 13
❀ ❁ ❀ ❁ ❀ ❁ ❀ ❁ ❀ ❁ ❀
where to plant, and what kinds ofinsects are roaming in the garden.Teachers can introduce newvocabulary, such as fertilizer, com-post, roots, and bloom.
Gardening also stimulates cog-nitive growth and science pro-cessing skills. Children developobservation skills as they seewhat is growing. They learn tocompare and classify as theyobserve similarities and differ-ences in seeds, plants, ßowersand insects. As children observewhat grows and what doesn�t,they learn to infer, predict,hypothesize, and problem solveabout the growth process (Lind2000).
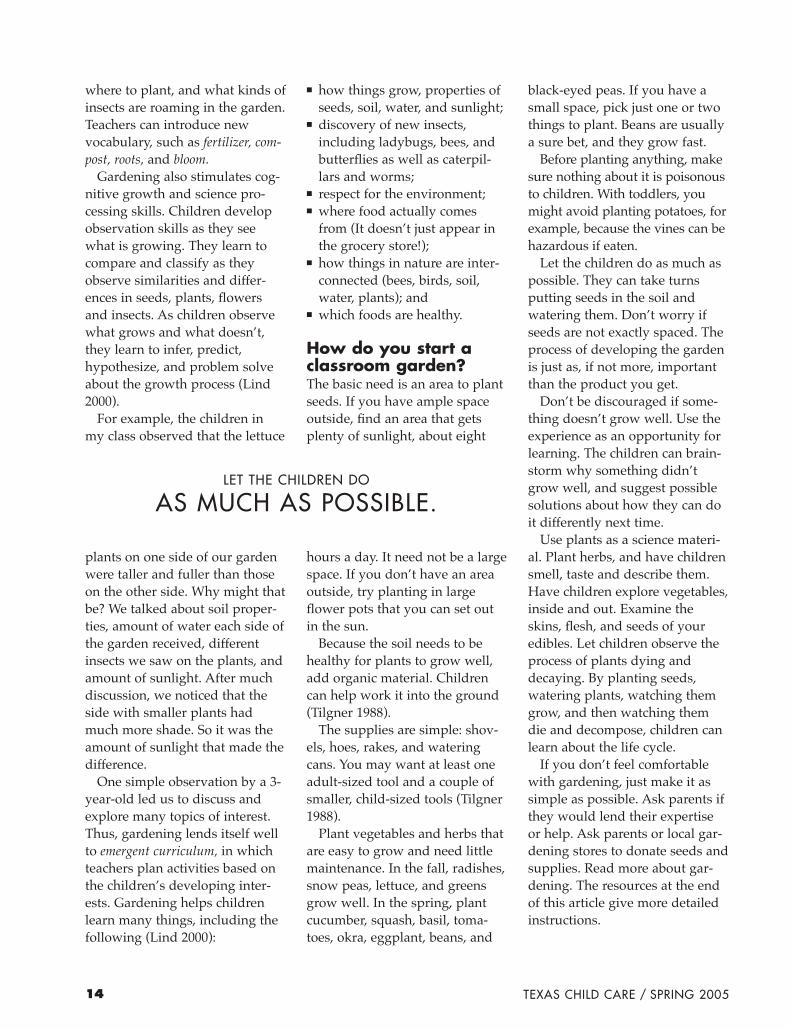
For example, the children inmy class observed that the lettuce
plants on one side of our gardenwere taller and fuller than thoseon the other side. Why might thatbe? We talked about soil proper-ties, amount of water each side ofthe garden received, differentinsects we saw on the plants, andamount of sunlight. After muchdiscussion, we noticed that theside with smaller plants hadmuch more shade. So it was theamount of sunlight that made thedifference.
One simple observation by a 3-year-old led us to discuss andexplore many topics of interest.Thus, gardening lends itself wellto emergent curriculum, in whichteachers plan activities based onthe children�s developing inter-ests. Gardening helps childrenlearn many things, including thefollowing (Lind 2000):
14 TEXAS CHILD CARE / SPRING 2005
■ how things grow, properties ofseeds, soil, water, and sunlight;
■ discovery of new insects,including ladybugs, bees, andbutterßies as well as caterpil-lars and worms;
■ respect for the environment;■ where food actually comes
from (It doesn�t just appear inthe grocery store!);
■ how things in nature are inter-connected (bees, birds, soil,water, plants); and
■ which foods are healthy.
How do you start aclassroom garden?The basic need is an area to plantseeds. If you have ample spaceoutside, Þnd an area that getsplenty of sunlight, about eight
hours a day. It need not be a largespace. If you don�t have an areaoutside, try planting in largeßower pots that you can set outin the sun.
Because the soil needs to behealthy for plants to grow well,add organic material. Childrencan help work it into the ground(Tilgner 1988).
The supplies are simple: shov-els, hoes, rakes, and wateringcans. You may want at least oneadult-sized tool and a couple ofsmaller, child-sized tools (Tilgner1988).
Plant vegetables and herbs thatare easy to grow and need littlemaintenance. In the fall, radishes,snow peas, lettuce, and greensgrow well. In the spring, plantcucumber, squash, basil, toma-toes, okra, eggplant, beans, and
black-eyed peas. If you have asmall space, pick just one or twothings to plant. Beans are usuallya sure bet, and they grow fast.
Before planting anything, makesure nothing about it is poisonousto children. With toddlers, youmight avoid planting potatoes, forexample, because the vines can behazardous if eaten.
Let the children do as much aspossible. They can take turnsputting seeds in the soil andwatering them. Don�t worry ifseeds are not exactly spaced. Theprocess of developing the gardenis just as, if not more, importantthan the product you get.
Don�t be discouraged if some-thing doesn�t grow well. Use theexperience as an opportunity forlearning. The children can brain-storm why something didn�tgrow well, and suggest possiblesolutions about how they can doit differently next time.
Use plants as a science materi-al. Plant herbs, and have childrensmell, taste and describe them.Have children explore vegetables,inside and out. Examine theskins, ßesh, and seeds of youredibles. Let children observe theprocess of plants dying anddecaying. By planting seeds,watering plants, watching themgrow, and then watching themdie and decompose, children canlearn about the life cycle.
If you don�t feel comfortablewith gardening, just make it assimple as possible. Ask parents ifthey would lend their expertiseor help. Ask parents or local gar-dening stores to donate seeds andsupplies. Read more about gar-dening. The resources at the endof this article give more detailedinstructions.
LET THE CHILDREN DO
AS MUCH AS POSSIBLE.
TEXAS CHILD CARE / SPRING 2005 15
Extend gardening tocookingOnce your garden starts produc-ing edibles, don�t be afraid to dosome cooking or food prepara-tion activities to test what youhave grown. Children are oftenexcited about trying the foodsthey help grow. Even somewhatless common vegetables mayappeal to children if they havebeen involved in their growthand preparation.
Recently, in my classroom gar-den, we picked eggplant, a foodthat most of the 2-year-olds hadnever tried. We explored the tex-ture of the skin, examined theseeds inside, and then chopped itand cooked it in a little olive oil.All the children were eager to tryit, and one child actually ate threebowls of it!
We have also made avocadosalsa with the fresh cilantro fromthe garden. It was a huge hit.
One child who rarely ate veg-etables took a bite of the collardgreens we had grown. Heexclaimed to his mother, �I triedthe collard greens!� If childrendon�t want to eat the vegetablesthey have grown, at least youhave exposed them to new foods.It often takes many exposures to anew food before a child will try it.
Getting childreninvolvedChildren as young as toddlerswill enjoy gardening. Toddlersare perfectly capable of puttingseeds in the soil (with closesupervision) and watering plantswith small watering cans.Toddlers will be fascinated by thebugs and birds that the gardenattracts.
Older children can have a more in-depth involvement in the
gardening process. For example,4- and 5-year-olds will be able tolearn the difference betweenweeds and useful plants and canhelp pull out the weeds. They canalso do more of the digging, rak-ing, and tilling of the soil.
You may Þnd that some chil-dren are not as interested in thegarden as others. That�s Þne. Forsome children, however, the gar-den will become a major sourceof fascination and wonder. Somechildren will develop a strongpassion for gardening and naturein general.
Once you get the gardeningstarted, it will be worth the effort.So, what are you waiting for? Getthose seeds planted!
ReferencesJaffe, Roberta and Gary Appel.
1990. The Growing Classroom:Garden-Based Science. Boston:Addison-Wesley Publishing Co.
Lind, Karen. 2000. ExploringScience in Early ChildhoodEducation: A DevelopmentalApproach. Albany, N.Y.: Delmar.
Moonshaw, Sally and BrendaHieronymus. 1997. More ThanMagnets. Exploring the Wondersof Science in Preschool andKindergarten. St. Paul, Minn.:Redleaf Press.
Tilgner, Linda. 1988. Let�s Grow!72 Gardening Adventures WithChildren. Pownal, Vt.: StoreyCommunications, Inc.
About the authorLaura McFarland, Ph.D., is a lec-turer in Human Developmentand Family Sciences at TheUniversity of Texas at Austin,where she earned a doctorate.She teaches two groups of tod-dlers at the Priscilla Pond FlawnChild and Family Laboratory.
❁
16 TEXAS CHILD CARE / SPRING 2005
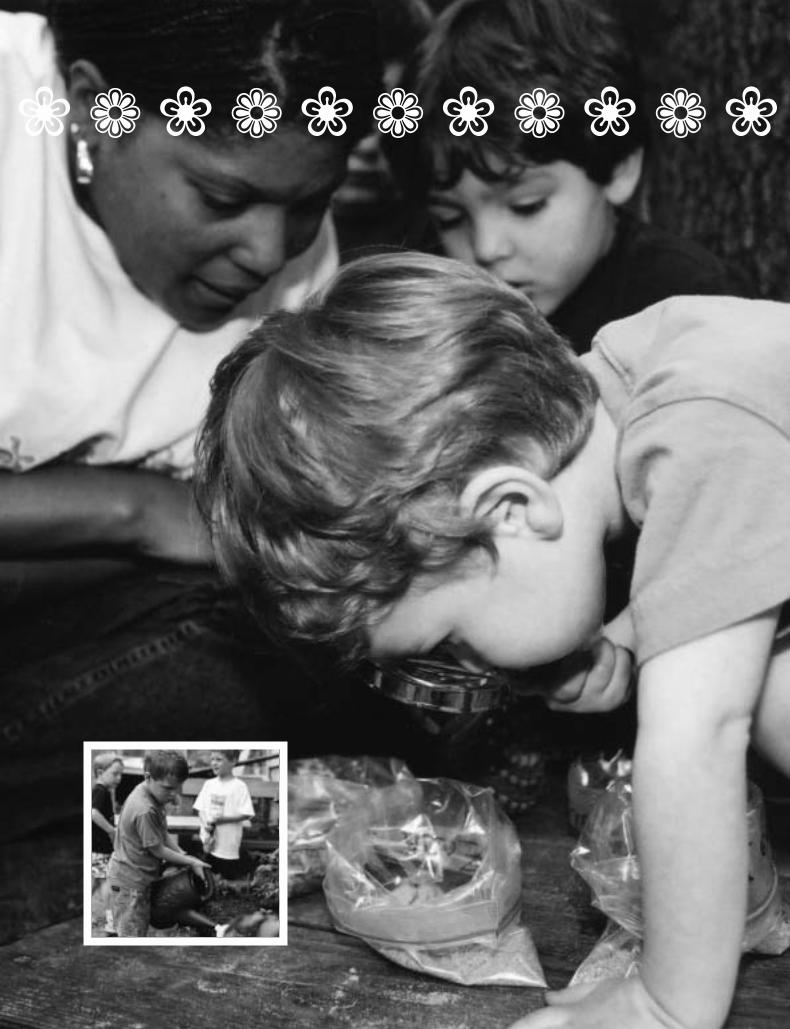
Soil rainbowSoil anchors plants and providesthe water and nutrients plantsneed to grow. But all soils are dif-ferent, each composed of differ-ent ingredients. The main ingre-dient is rock that has been brokendown into tiny particles overtime. Other ingredients includedecomposing animal and plantparts and microorganisms, ani-mals too small to see without amicroscope.
Help children examine soilwith a magnifying glass. Theymight be able to identify sand,rocks, clay, twigs, seeds, earth-worms, dead and live insects,and trash like paper or plastic.
Make a soil rainbow comparingsoils gathered from differentlocations.Here�s what you need:■ plastic, zipper-closed bags■ self-stick labels■ magnifying glass
1. Write each child�s name on alabel.
2. Attach the label to a bag.3. Instruct the children to place a
few tablespoons of soil fromtheir yards or a neighborhoodpark in their bags.
4. When the children bring thebags back to class, spread themout on a table top and comparethe soils.
5. Help the children arrange thebags by color and then by com-position.
Garden muralCollect picture books, brochures,and photographs to share withchildren. Make a mural of unusu-al gardens.Here�s what you need:■ home and garden magazines■ scissors■ mural paper■ glue
1. Encourage the children to cutout pictures of unusual gardens.
2. Glue the pictures to the muralpaper.
ry these easy, clean, and dirtygardening activities that sup-
port the concepts in �Gardeningwith young children: It�s easierthan you think� on page 12.
Begin your garden study byobserving the places plants grow.Let children dictate a list of theplaces they see plants growing.Talk about the kinds of plantsthey see. Ask whether they areused as food for animals or peo-ple or as decoration. Encouragethe children to think of other rea-sons for gardens�soothing land-scape, soil conservation, habitatfor animals, snow and windshield, or scientiÞc investigation,for example.
❀ ❀ ❀ ❀ ❀ ❀ ❀ ❀
T
Activities that inspire young gardeners
❁ ❀ ❁ ❀ ❁ ❀ ❁ ❀ ❁ ❀ ❁
TEXAS CHILD CARE / SPRING 2005 17
❀ ❁ ❀ ❁ ❀ ❁ ❀ ❁ ❀ ❁ ❀

18 TEXAS CHILD CARE / SPRING 2005
3. Talk with the children abouthow and why each kind of gar-den is important.
4. Try to include pictures of hang-ing gardens, desert landscapes,lawns, plants at shoppingmalls, water gardens, gardensalong highways, forests, andproduce farms.
Plant trashHelp children understand thatsome materials decompose whenthey die. When a plant dies, forexample, the microorganisms inthe soil turn it into compost.Other materials don�t decomposeso readily.Here�s what you need:■ shovels■ 2 inorganic trash items like a
soda can, a Styrofoam cup, or acoat hanger
■ 2 organic or degradable itemslike eggshells, orange peel, or aslice of bread
■ plant markers
1. Determine a good place to digfour 12-inch-deep holes. Makethe holes about 6 inches indiameter.
2. Bury four items: two that aredegradable and two that arenot.
3. Mark the holes and leave themundisturbed for about threeweeks.
4. Return to the holes and dig theitems up.
5. Compare the condition of theitems. Which started to decom-pose? Could the children seeworms or other insects thatmight have eaten the organicmaterials?
3. Mix the garden soil with thecompost.
4. Set two of the tires on theground, one on top of the other.Fill them with the garden mix-ture.
5. Plant the seed potatoes.6. As the plants grow, carefully
add another tire to the stack.Fill the area around the plantswith more soil. You�ll burysome of the plant but makesure some of the leaves stayabove the ground.
7. Add soil and as many as threemore tires, one at a time, as theplants grow. If the plants stopmaking ßowers, stop addingmore tires.
8. After ßowering, the plant willdie back. When it looks dead,it�s time to harvest. Lift the tiresoff the stack and dig throughthe soil to Þnd your potatoes.Note: Fertilize regularly while
the plants are ßowering. Mix liq-uid organic fertilizer (like Þshemulsion) in a watering can.Fertilize the tire tower at leastevery other week.
Vegetables of a different colorPlan regular tasting parties withunusual vegetables and theirmore familiar family members.Look for black lettuce, whitepumpkins, blue corn and bluecorn chips, white eggplant, lemoncucumbers, yellow pear toma-toes, and golden potatoes.Engage the senses�look, smell,and then taste. Make predictionsabout taste differences. Olderchildren might even enjoy blind-fold taste tests.
Garden plots and vesselsAs the children discovered mak-ing the garden mural, gardensaren�t always large, neat rectan-gular plots. Take a neighborhoodwalk and track the kinds andshapes of gardens you pass.Watch for unusual plant pots andother vessels: hanging baskets,window boxes, large buckets,urns, ponds, and raised beds. Insome neighborhoods gardensgrow in old bathtubs!
Plant needs are generally sim-ple: a vessel appropriate to thesize of the plant, soil, water, andsun. Invite children (and theirparents) to donate a containerrecycled from another use:microwave dishes, a cooking pot,a wire basket, or even an oldshoe.
Use the containers to plantseeds or cuttings from existingplants. As the plants grow, haveconversations with the childrenabout their containers and plants.
Tire tower for potatoesPotatoes require deep soil and atower of old car tires provides thedepth.Here�s what you need:■ 4 to 6 old car tires■ garden soil■ compost■ sprouted seed potatoes■ shovel■ organic fertilizer
1. Prepare the seed potatoes. Cutsprouted potatoes so that thereis an eye in each piece. Hardenthe potatoes by storing thepieces in a paper sack in a dryplace for a couple of days. Theyare then ready to plant.
2. Pick a level garden area thatgets full sun.
TEXAS CHILD CARE / SPRING 2005 19
Tepees and trellisesPlants that climb as a vine, likebeans and cucumbers, are spaceefÞcient and fun to grow. Make aframe to support this verticalgrowth. Here�s what you need:■ 7-foot-long poles■ measuring tape■ heavy twine■ scissors■ shovels
1. Gather poles. Bamboo is oftenavailable either from a garden-ing store or a generous neigh-bor. Rustic tepees and trellisescan also be built from saplingsor fallen branches.
2. Use a shovel and tape measureto draw a large circle�about 7feet in diameter�in the gar-dening area.
3. Prepare the soil along the linefor planting.
4. Line up the poles side-by-side.Make sure the bottom ends areeven.
5. Use twine to lash the polestogether about 12 inches fromthe top.
6. Gather several children to liftthe poles upright. Spread theloose ends apart evenly aroundthe prepared circle.
7. When the poles are stable,weave horizontal lines withtwine. Start by tying one end ofthe twine about 5 inches abovethe ground to the Þrst pole.Wrap the twine around, moveto the next pole and wrap onceor twice. Continue wrappinguntil you get to the seventhpole.
ScarecrowElaborate and simple scarecrowsadd color and humor to gar-dens�and they may help keepbird pests away. A scarecrowmust have a base�a length ofwood that is anchored in theground. Beyond that, buildingthe scarecrow is an exercise increativity. Here�s what you need:■ lumber or tree branches■ drill and bits■ wood screws■ clothes■ plastic bags or straw stufÞng■ safety pins■ ball■ permanent markers■ scissors■ hat
1. Find a 5- to 7-foot-long piece oflumber to be the scarecrow�sspine. The spine will beanchored in the ground and thescarecrow will hang from thespine.
2. Place the spine lumber on theground.
3. Gather shorter lengths of lum-ber scrap or tree branches.Screw these in place along thespine. Place one about 10 inch-es from the top (shoulders) andanother about 20 inches lower(hips).
4. Screw two legs from the endsof the hips.
5. Gather clothes for the scare-crow.
6. Put a shirt on the shoulderframe. Stuff the shirt�front,back, and arms�with plasticbags or straw.
8. At the seventh pole (the onenext to the starting pole), turnaround and start wrapping inthe opposite direction, leavinga door into the tepee. Make thesecond line of twine about 10inches above the Þrst.
9. Continue weaving horizontallines about 10 inches apart untilyou reach the top.
10. Plant bean seeds around theoutside base of the tepee. Beanseeds are planted about 3 inch-es apart and 1/2 inch deep.Variation: Use fallen limbs and
twine to make a standing trellis.Make sure two of the limbs aresturdy enough to support crossbranches. Dig the side framesinto the ground or hang themfrom the eaves of a building.
Toad homeWelcome toads to your garden.They�ll eat garden pests inexchange for a bit of water andshelter.Here�s what you need:■ 2 large clay pots■ garden area with loose soil or
mulch■ shallow pan for water
1. Locate a quiet, shady area ofthe garden.
2. Turn the pots on their sides andplace about 12 inches apart.Bury the lower half of each potin loose soil.
3. Place a shallow water bowlnear the pots. Make sure thereis always water in the bowl; anempty bowl will send yourtoads looking for a new home.
4. Avoid disturbing these toadhomes but watch for the toadsin the early morning when theylook for food and lap dew fromleaves.
TEXAS CHILD CARE / SPRING 200520
1/2?

TEXAS CHILD CARE / SPRING 2005 21
7. Add pants or a skirt to theframe. Attach to the shirt withsafety pins. If using pants, stuffthe pant legs. If your scarecrowwill wear a skirt, let it billow inthe breeze.
8. Extra clothing can includeboots, gloves, an apron, vest, orhandkerchief.
9. Make the head from an oldball. Cut a slit in the ball to Þtthe lumber spine and slide theball in place.
10. Use permanent markers tomake a face on the ball. Or youcould reuse an old Halloweenmask.
11. Tie a hat, old wig, or scarf tothe scarecrow�s head.
12. Decide where to place thescarecrow in the garden. Dig ahole and anchor the end ofspine in the ground. Alternative: Skip the lumber
pieces and simply stuff old cloth-ing with plastic bags, newspaper,or straw. Stuff an old sack tomake the head, paint on a face,and pin all the clothes together.Let the scarecrow relax in an oldlawn chair.
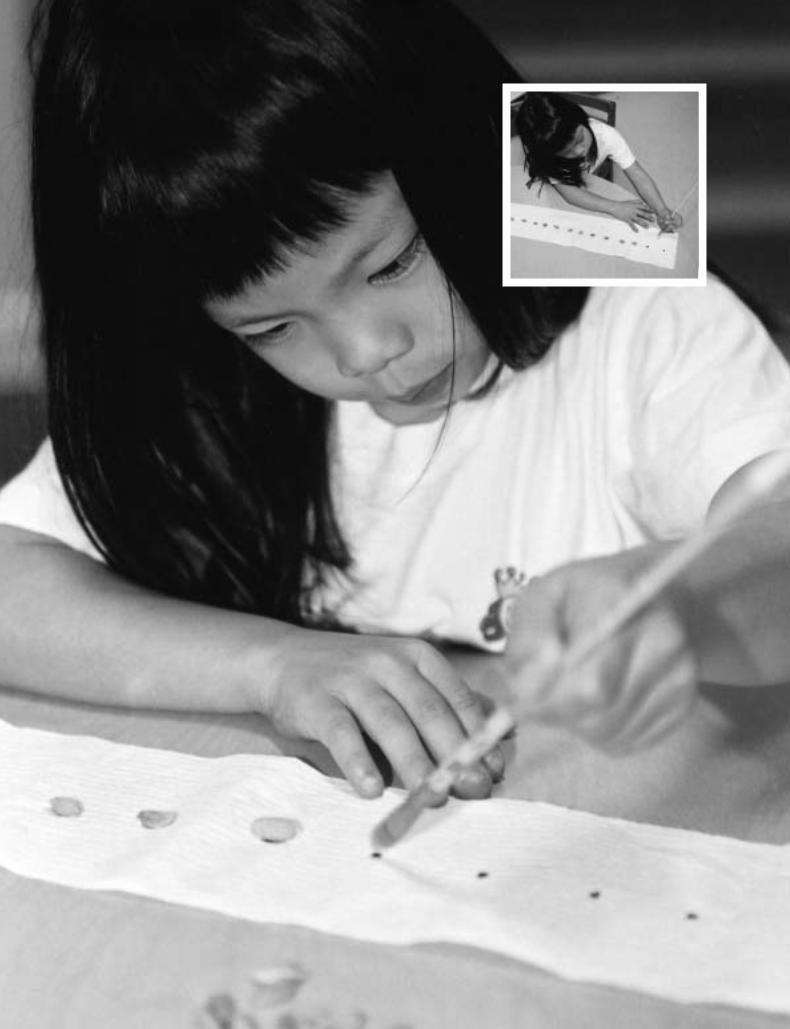
Toilet paper seed tapeIf you plan to build an in-the-ground garden bed with children,let them help with the wholeprocess. Provide appropriatetools for turning soil, fertilizing,and watering; containers forweeds and other garden wastes;and systems for sowing seeds.
9. When it�s time to plant, make atrench in the soil at the recom-mended depth for the seed�1/2 inch for carrots, for example.
10. Set the toilet paper seed tapein the trench and cover withÞne soil. A neat row of plantswill sprout.
Large seeds�beans and pump-kin, for example�can easily bespaced in the soil with Þngers.Smaller seeds�like tomatoes,radishes, and lettuce�are hard tocontrol. You can buy seed tape atgardening stores with seedsappropriately spaced onbiodegradable tape. But makingseed tape works just as well�and it�s fun.Here�s what you need:■ packets of gelatin■ mixing bowl and spoon■ water■ seeds■ white, unscented toilet paper■ ruler ■ scissors■ cardboard scrap■ marker■ cotton swab or small paint-
brush
1. Cover the work area withnewspaper if it needs to be protected.
2. Measure the garden plot anddetermine the row length forthe vegetable or ßower you areplanting.
3. Examine the seed packet todetermine the appropriatespacing for that plant. Cut thecardboard to the length of thespace recommended.
4. Unroll the toilet paper to thelength of the garden row.
5. Using the cardboard spacer,make evenly spaced marksalong the center of the toiletpaper roll.
6. Mix the gelatin with enoughwater to make a soupy paste.
7. Dip the cotton swab or paint-brush into the gelatin and dabeach spot on the toilet paper.
8. Place a seed onto each of thegelatin paste dots. Let the pastedry.
❀