
Dermapen HOME: Get Results Safely & Quickly at Home
6
Home protocols are an important part of our synergised solutions to achieve and keep the results you want. Follow this step-by-step guide to perform your at-home microneedling procedures with complete confidence. OUR SYNERGISTIC SKINCARE SOLUTIONS Dermapen HOME: Get Results Safely & Quickly at Home
-
Upload
khangminh22 -
Category
Documents
-
view
1 -
download
0
Transcript of Dermapen HOME: Get Results Safely & Quickly at Home

Home protocols are an important part of our synergised solutions to achieve and keep the results you want.
Follow this step-by-step guide to perform your at-home microneedling procedures with complete confidence.
OUR SYNERGISTIC SKINCARE SOLUTIONS
Dermapen HOME: Get Results Safely & Quickly at Home
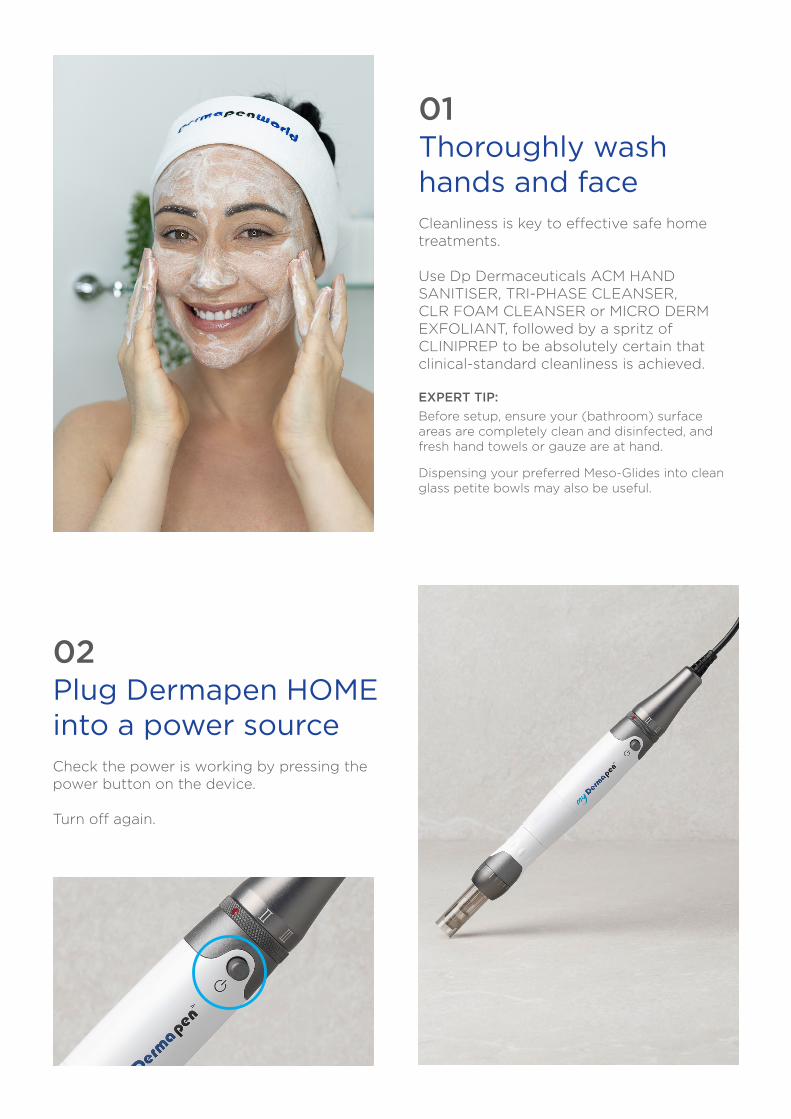
01Thoroughly wash hands and faceCleanliness is key to effective safe home treatments.
Use Dp Dermaceuticals ACM HAND SANITISER, TRI-PHASE CLEANSER, CLR FOAM CLEANSER or MICRO DERM EXFOLIANT, followed by a spritz of CLINIPREP to be absolutely certain that clinical-standard cleanliness is achieved.
EXPERT TIP:Before setup, ensure your (bathroom) surface areas are completely clean and disinfected, and fresh hand towels or gauze are at hand.
Dispensing your preferred Meso-Glides into clean glass petite bowls may also be useful.
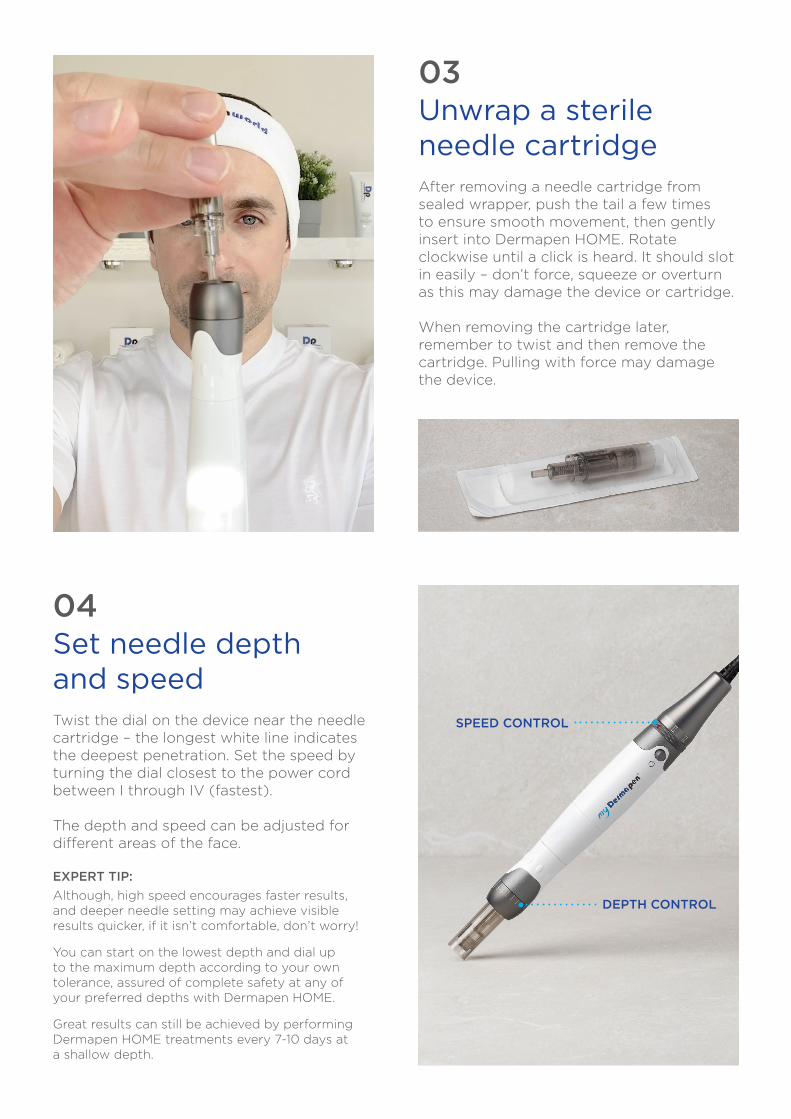
02Plug Dermapen HOME into a power sourceCheck the power is working by pressing the power button on the device.
Turn off again.
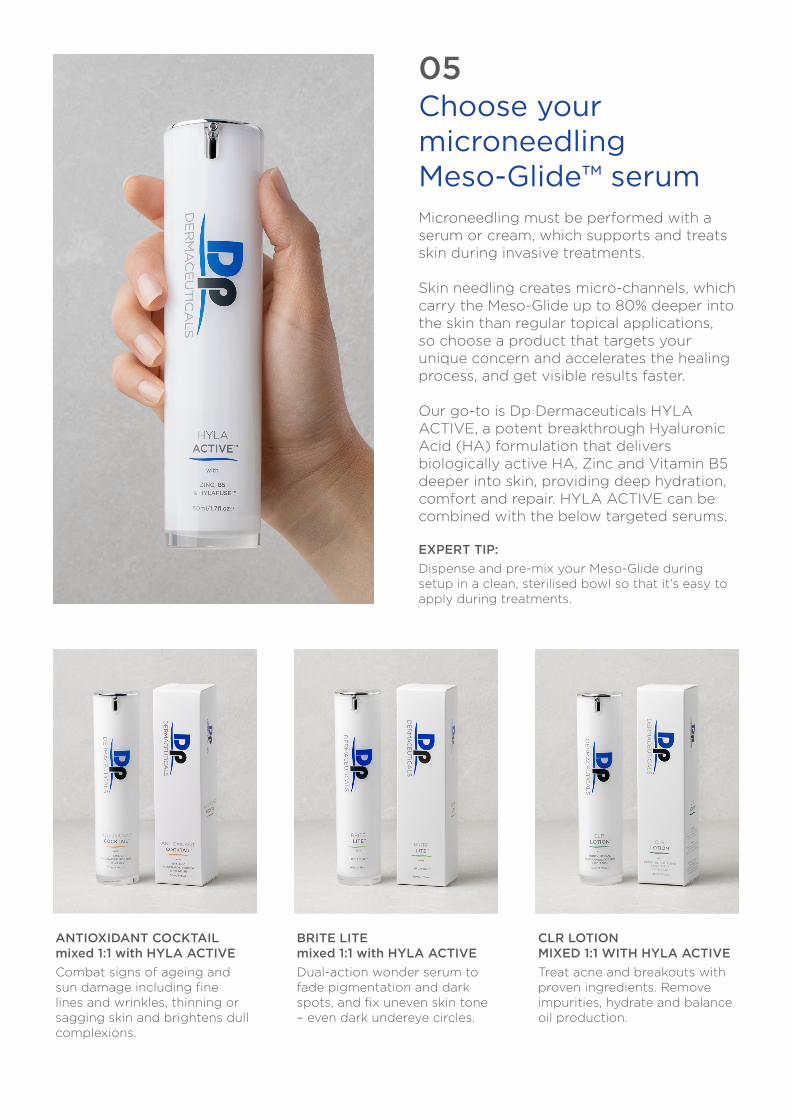
03Unwrap a sterile needle cartridgeAfter removing a needle cartridge from sealed wrapper, push the tail a few times to ensure smooth movement, then gently insert into Dermapen HOME. Rotate clockwise until a click is heard. It should slot in easily – don’t force, squeeze or overturn as this may damage the device or cartridge.
When removing the cartridge later, remember to twist and then remove the cartridge. Pulling with force may damage the device.
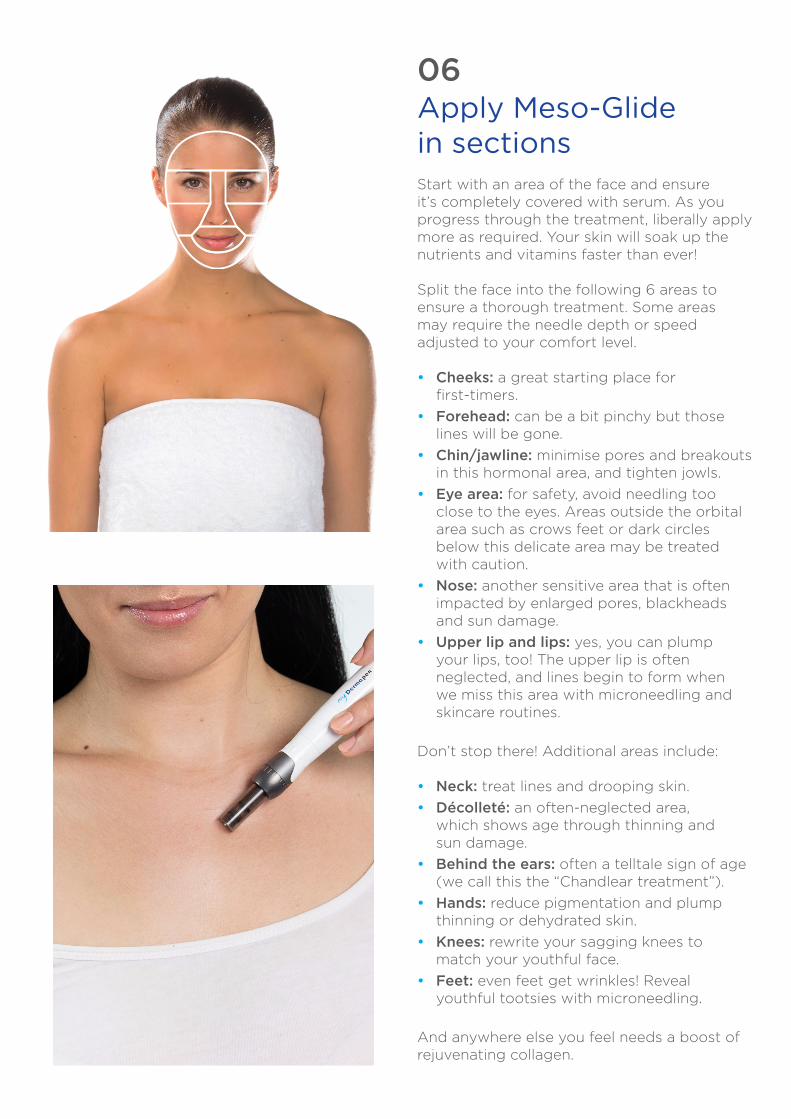
04Set needle depth and speedTwist the dial on the device near the needle cartridge – the longest white line indicates the deepest penetration. Set the speed by turning the dial closest to the power cord between I through IV (fastest).
The depth and speed can be adjusted for different areas of the face.
EXPERT TIP:Although, high speed encourages faster results, and deeper needle setting may achieve visible results quicker, if it isn’t comfortable, don’t worry!
You can start on the lowest depth and dial up to the maximum depth according to your own tolerance, assured of complete safety at any of your preferred depths with Dermapen HOME.
Great results can still be achieved by performing Dermapen HOME treatments every 7-10 days at a shallow depth.
SPEED CONTROL
DEPTH CONTROL
05Choose your microneedling Meso-Glide™ serumMicroneedling must be performed with a serum or cream, which supports and treats skin during invasive treatments.
Skin needling creates micro-channels, which carry the Meso-Glide up to 80% deeper into the skin than regular topical applications, so choose a product that targets your unique concern and accelerates the healing process, and get visible results faster.
Our go-to is Dp Dermaceuticals HYLA ACTIVE, a potent breakthrough Hyaluronic Acid (HA) formulation that delivers biologically active HA, Zinc and Vitamin B5 deeper into skin, providing deep hydration, comfort and repair. HYLA ACTIVE can be combined with the below targeted serums.
EXPERT TIP:Dispense and pre-mix your Meso-Glide during setup in a clean, sterilised bowl so that it’s easy to apply during treatments.
ANTIOXIDANT COCKTAIL mixed 1:1 with HYLA ACTIVECombat signs of ageing and sun damage including fine lines and wrinkles, thinning or sagging skin and brightens dull complexions.
BRITE LITE mixed 1:1 with HYLA ACTIVEDual-action wonder serum to fade pigmentation and dark spots, and fix uneven skin tone – even dark undereye circles.
CLR LOTION MIXED 1:1 WITH HYLA ACTIVETreat acne and breakouts with proven ingredients. Remove impurities, hydrate and balance oil production.
06Apply Meso-Glide in sectionsStart with an area of the face and ensure it’s completely covered with serum. As you progress through the treatment, liberally apply more as required. Your skin will soak up the nutrients and vitamins faster than ever!
Split the face into the following 6 areas to ensure a thorough treatment. Some areas may require the needle depth or speed adjusted to your comfort level.
• Cheeks: a great starting place for first-timers.
• Forehead: can be a bit pinchy but those lines will be gone.
• Chin/jawline: minimise pores and breakouts in this hormonal area, and tighten jowls.
• Eye area: for safety, avoid needling too close to the eyes. Areas outside the orbital area such as crows feet or dark circles below this delicate area may be treated with caution.
• Nose: another sensitive area that is often impacted by enlarged pores, blackheads and sun damage.
• Upper lip and lips: yes, you can plump your lips, too! The upper lip is often neglected, and lines begin to form when we miss this area with microneedling and skincare routines.
Don’t stop there! Additional areas include:
• Neck: treat lines and drooping skin. • Décolleté: an often-neglected area,
which shows age through thinning and sun damage.
• Behind the ears: often a telltale sign of age (we call this the “Chandlear treatment”).
• Hands: reduce pigmentation and plump thinning or dehydrated skin.
• Knees: rewrite your sagging knees to match your youthful face.
• Feet: even feet get wrinkles! Reveal youthful tootsies with microneedling.
And anywhere else you feel needs a boost of rejuvenating collagen.

08Accelerate healing and maximise results
You may experience inflammation and sensitivity following the treatment, which is why we developed Dp Dermaceuticals HYLA ACTIVE 3D Masks.
Relax for 10-30 minutes with a mask, or if time is tight, apply Dp DERMACEUTICALS VITAMIN RICH REPAIR for immediate calming and soothing.
We recommend a Dp Dermaceuticals L.E.D. mask treatment immediately after microneedling too. L.E.D. Light Therapy has been proven to reduce inflammation, assist with skin healing and increase the absorption of your skincare products.
Lastly, cover any redness and further soothe the skin with Dp Dermaceuticals COVER RECOVER.
07Start the treatmentTurn on and glide the needles across the first section. Move the device in straight lines in a steady, even and rhythmical motion. No need to push the needles into the skin; let the device glide gently.
First, up and down. Second, side to side. Finally, move diagonally across the area .
Think of the Union Jack flag as your guide.
Repeat this process, applying more serum as required, through each area you wish to treat.