

Controlling diabetes, controlling diabetics: moral language in the management of diabetes type 2
Upload
khangminh22Category
view
1download
0
Moisture Mitigation – Controlling water vapour in
concrete floors
PCA International Conference 2019
© KÖSTER BAUCHEMIE AG

Where does water vapour in floors come from?
© KÖSTER BAUCHEMIE AG
Coarse aggregate
Mortar (paste + sand)
Paste
(cementitious materials +
water)
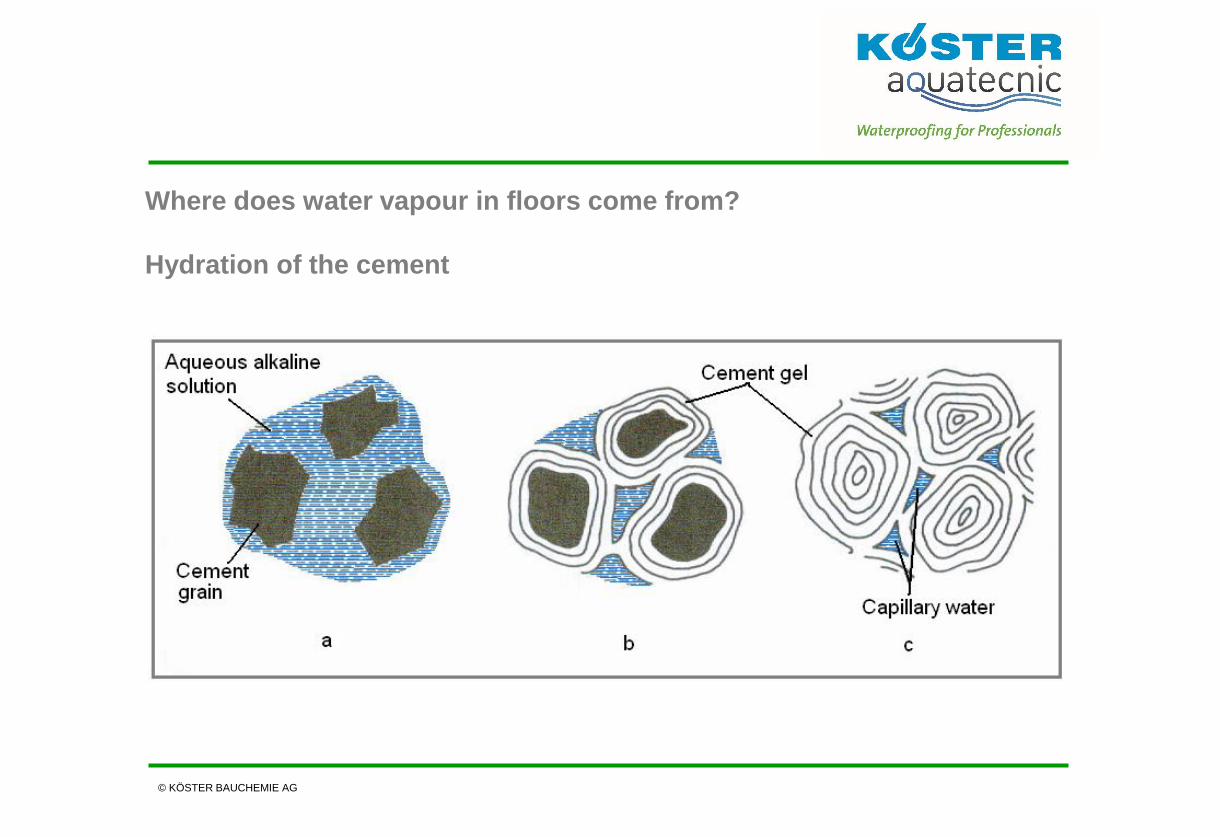
Where does water vapour in floors come from?
Hydration of the cement
© KÖSTER BAUCHEMIE AG

Where does water vapour in floors come from?
Admixtures
© KÖSTER BAUCHEMIE AG
An admixture is a material other than
water, aggregates, hydraulic cement and
fiber reinforcement, used as an ingredient
of a cementitious mixture to modify its
freshly mixed, setting or hardened
properties and that is added to the batch
before or during its mixing.
Classifications for admixtures include:
⚫ Air-entraining
⚫ Accelerators
⚫ Retarders
⚫ Water-reducing (superplasticizers)
⚫ SCMs (fly ash)

Where does water vapour in floors come from?
Lightweight Aggregate Issues
© KÖSTER BAUCHEMIE AG
Drying Normal Weight vs Lightweight Concretes
50
55
60
65
70
75
80
85
90
95
100
6-May 20-May 3-Jun 17-Jun 1-Jul 15-Jul 29-Jul 12-Aug 26-Aug 9-Sep 23-Sep 7-Oct 21-Oct 4-Nov
Date
rela
tive
hum
idity
at 5
0 m
m, %
lightweight aggregate
concrete
normal weight
concrete
length of time to dry to 75% internal relative
humidity is approximately double
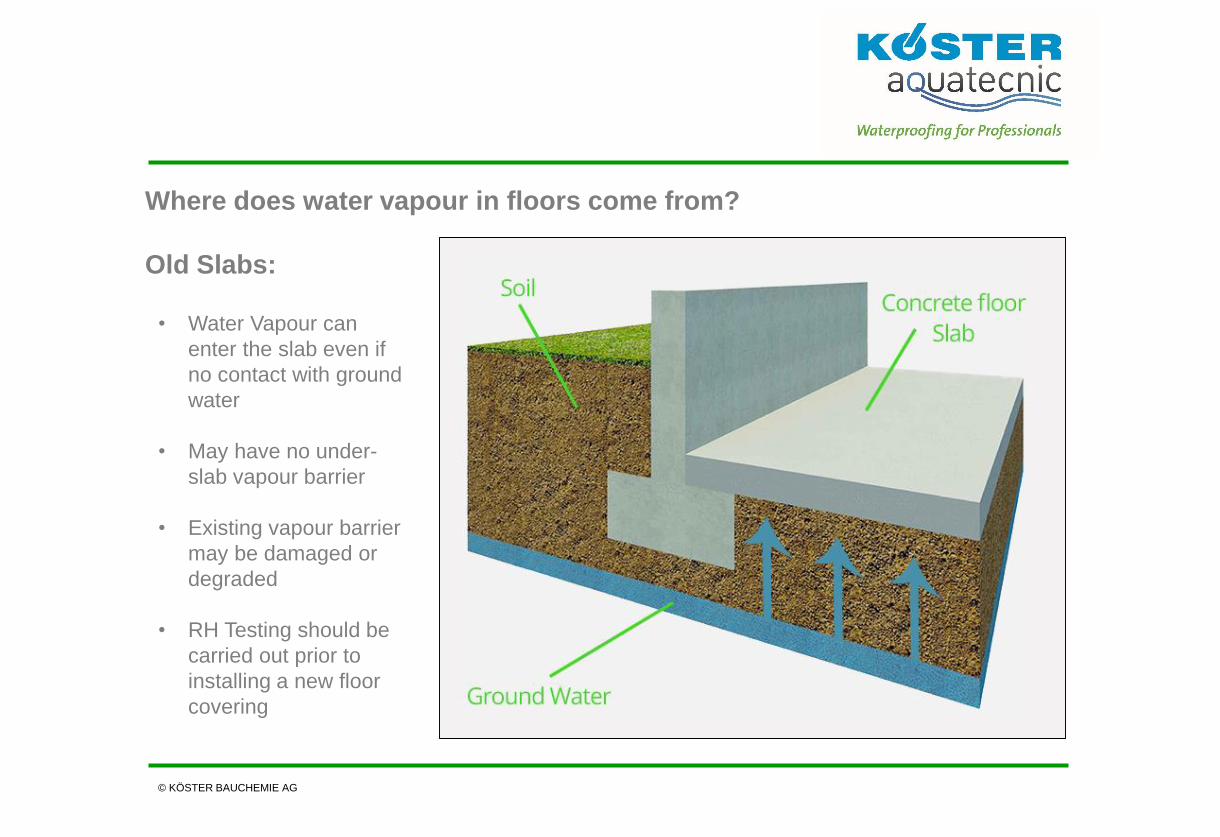
Where does water vapour in floors come from?
Old Slabs:
© KÖSTER BAUCHEMIE AG
• Water Vapour can
enter the slab even if
no contact with ground
water
• May have no under-
slab vapour barrier
• Existing vapour barrier
may be damaged or
degraded
• RH Testing should be
carried out prior to
installing a new floor
covering

Where does water vapour in floors come from?
New Slabs
© KÖSTER BAUCHEMIE AG
• Should have DPM or WPM
• Concrete drying rate normally
25mm per 1 to 2 months
• A slabs dries from the surface
first, so may look dry but still
contain a lot of water
• Air-conditioning systems can
increase the vapour drive
• Flooring manufacturers
guidelines should be checked
• Concrete should be tested

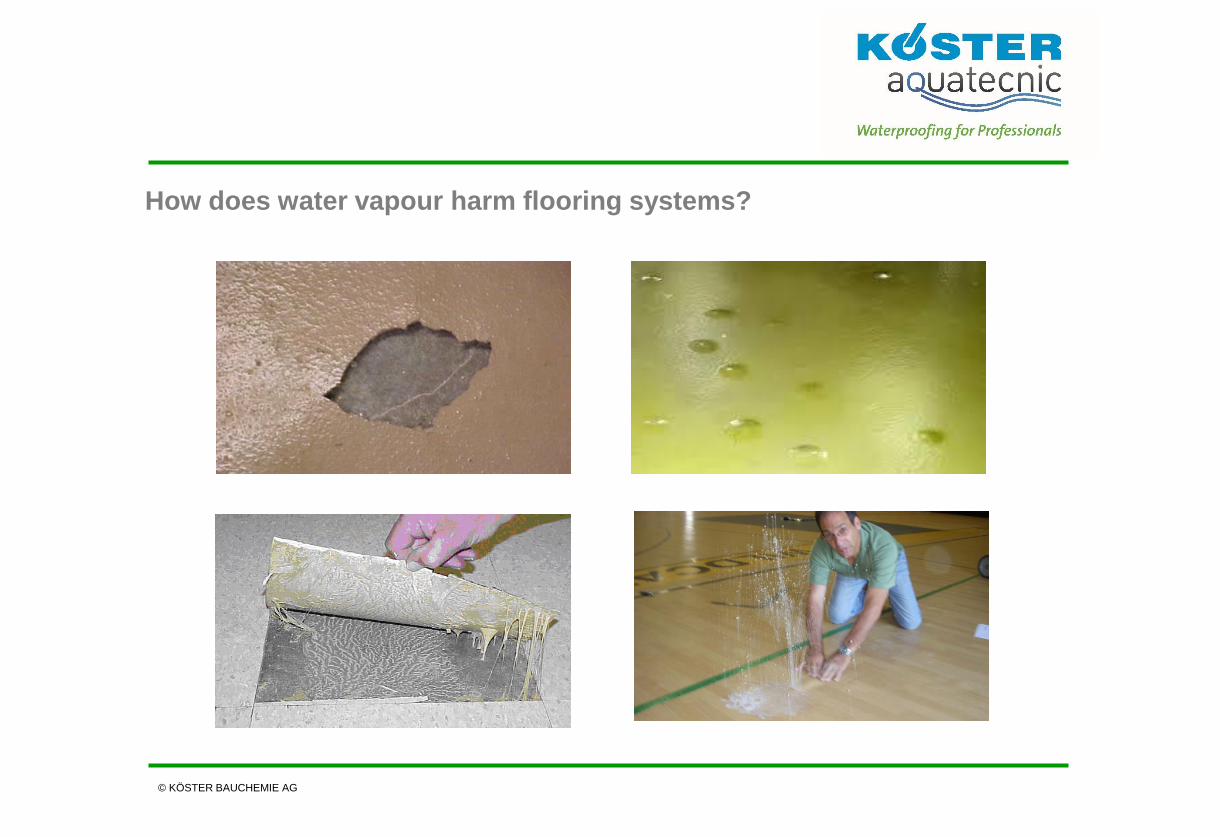
How does water vapour harm flooring systems?
© KÖSTER BAUCHEMIE AG
No floor covering
Water can pass through concrete
Can introduce higher humidity levels into
building
Can lead to efflorescence

How does water vapour harm flooring systems?
© KÖSTER BAUCHEMIE AG
New Floor Covering
Lower Permeability than concrete
Relative Humidity of Concrete will increase
Damage to wooden floors
Mycobacterial growth
Floor coatings and adhesives debond
Alkali Silica Reaction
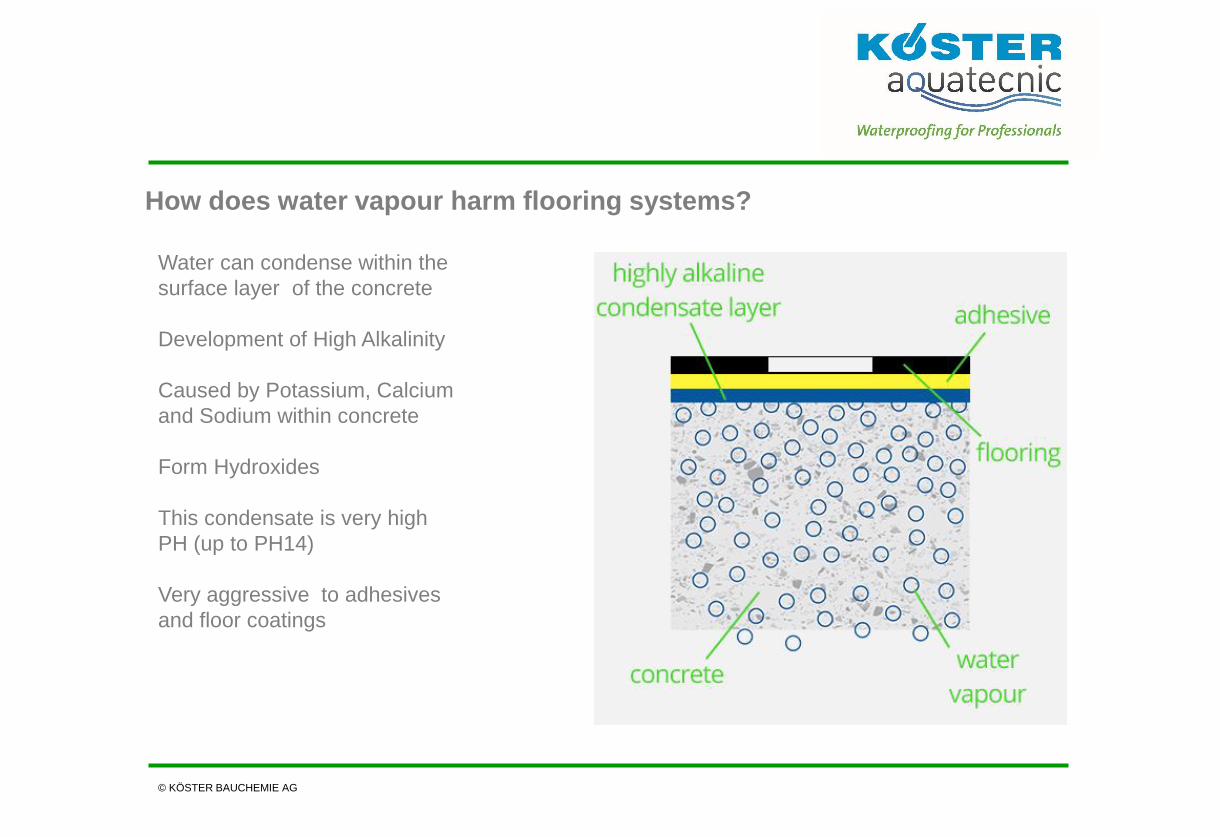
How does water vapour harm flooring systems?
© KÖSTER BAUCHEMIE AG
Water can condense within the
surface layer of the concrete
Development of High Alkalinity
Caused by Potassium, Calcium
and Sodium within concrete
Form Hydroxides
This condensate is very high
PH (up to PH14)
Very aggressive to adhesives
and floor coatings

How does water vapour harm flooring systems?
© KÖSTER BAUCHEMIE AG
Blister Formation
Highly Alkaline condensate
Attacks floor coatings, primers, adhesives
“Osmotic Blisters” form
Typically with 3 to 6 months
Blisters are liquid filled
Highly Alkaline liquid (up to PH14)

How can water vapour problems be controlled?
© KÖSTER BAUCHEMIE AG
If test results indicate an elevated water vapour level in the concrete something needs to be
done. Drying out of the slab may take several months. The moisture mitigation system blocks
rising water vapour, and prevents the final flooring from coming into contact with the high
alkalinity which develops in the concrete.
Moisture
Mitigation
System
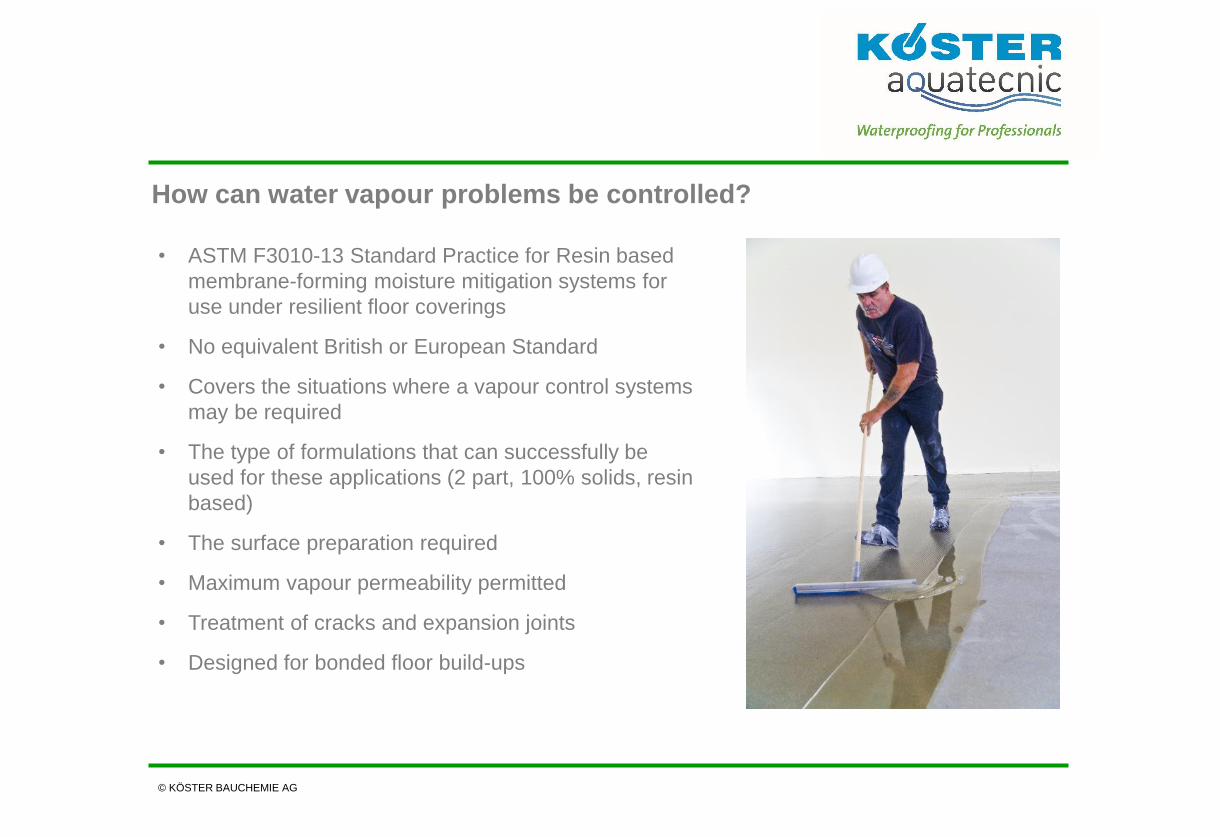
How can water vapour problems be controlled?
© KÖSTER BAUCHEMIE AG
• ASTM F3010-13 Standard Practice for Resin based
membrane-forming moisture mitigation systems for
use under resilient floor coverings
• No equivalent British or European Standard
• Covers the situations where a vapour control systems
may be required
• The type of formulations that can successfully be
used for these applications (2 part, 100% solids, resin
based)
• The surface preparation required
• Maximum vapour permeability permitted
• Treatment of cracks and expansion joints
• Designed for bonded floor build-ups
How can water vapour problems be controlled?
© KÖSTER BAUCHEMIE AG
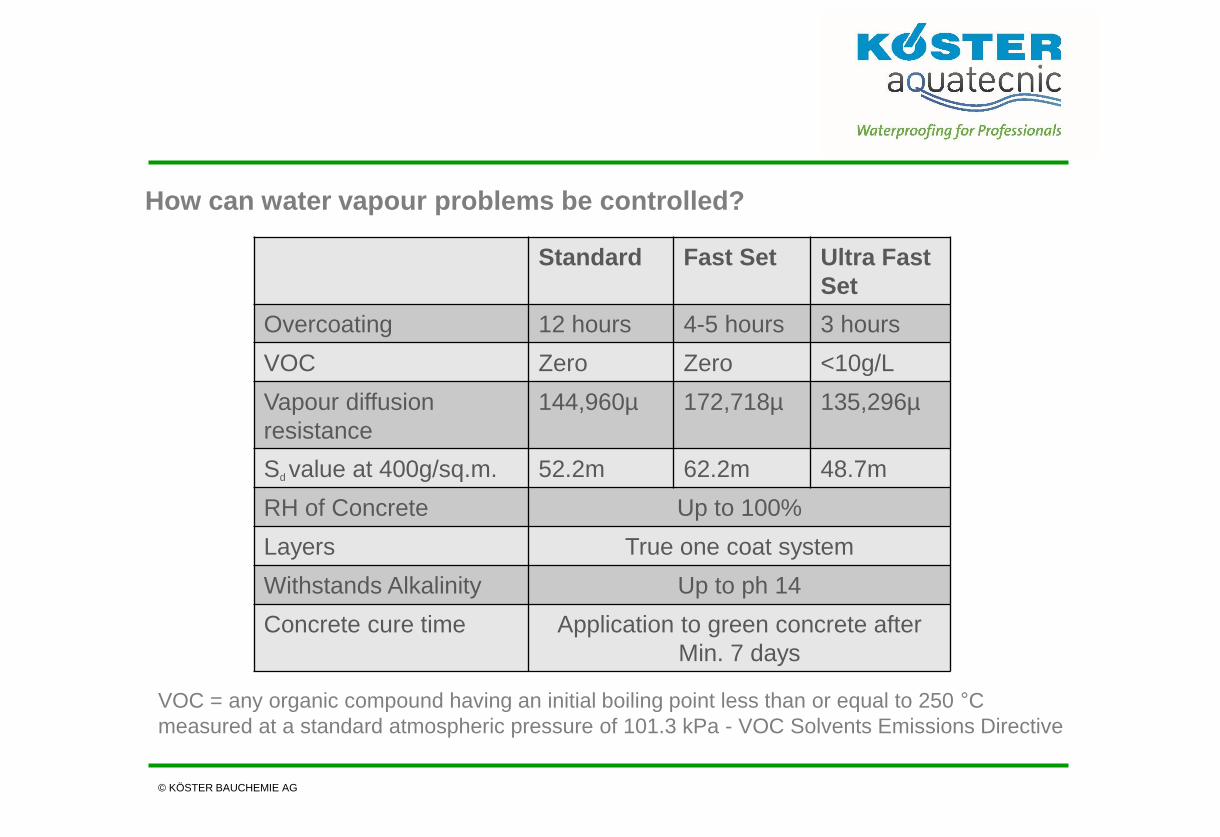
Standard Fast Set Ultra Fast
Set
Overcoating 12 hours 4-5 hours 3 hours
VOC Zero Zero <10g/L
Vapour diffusion
resistance
144,960µ 172,718µ 135,296µ
Sd value at 400g/sq.m. 52.2m 62.2m 48.7m
RH of Concrete Up to 100%
Layers True one coat system
Withstands Alkalinity Up to ph 14
Concrete cure time Application to green concrete after
Min. 7 days
VOC = any organic compound having an initial boiling point less than or equal to 250 °C
measured at a standard atmospheric pressure of 101.3 kPa - VOC Solvents Emissions Directive

µ = 26,000
µ = 150mm
µ = 144,960
µ = 100
How can water vapour problems be controlled?
© KÖSTER BAUCHEMIE AG
Vinyl flooring at 1.5mm thick = sd 39m
Adhesive at 1mm thick = sd 0.15m
Concrete at 150mm thick = sd 15m
Less than half the water vapour passing
through the concrete can escape through
the flooring.
Vapour Control at 0.4mm = sd 58m
Reduces the water vapour to a level that
the floor covering can cope with.
The thickness of the Vapour Control is
calculated according to the flooring type
and thickness
Concrete testing and analysis – Relative Humidity Testing
© KÖSTER BAUCHEMIE AG
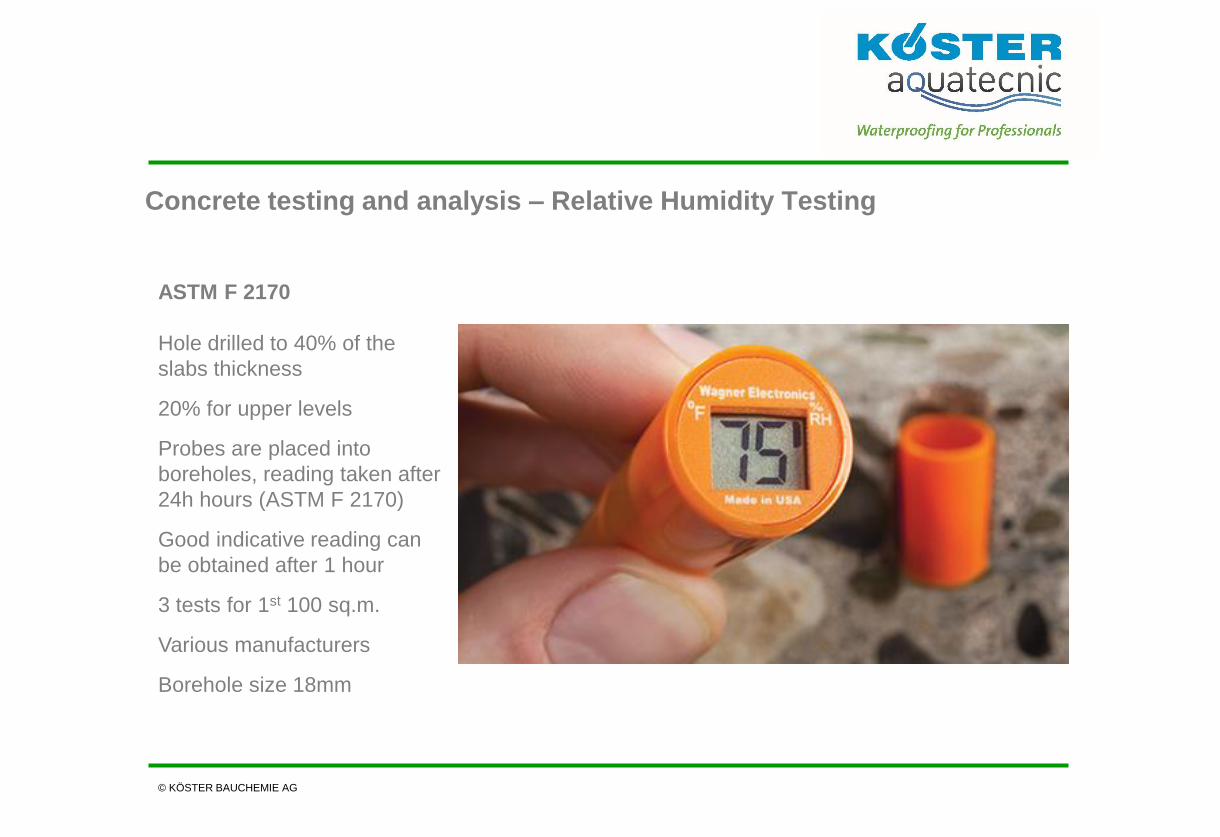
ASTM F 2170
Hole drilled to 40% of the
slabs thickness
20% for upper levels
Probes are placed into
boreholes, reading taken after
24h hours (ASTM F 2170)
Good indicative reading can
be obtained after 1 hour
3 tests for 1st 100 sq.m.
Various manufacturers
Borehole size 18mm

Concrete testing and analysis – What else to look for?
© KÖSTER BAUCHEMIE AG
New Concrete
• The mix design can be
reviewed and evaluated for
problematic ingredients
• Topically applied curing
compounds can act as bond
breakers
• Confirm which vapour barrier
was used under slab
• Visual check for other
problems such as drying
cracks or excessive power
floating
Concrete testing and analysis – What else to look for?
© KÖSTER BAUCHEMIE AG
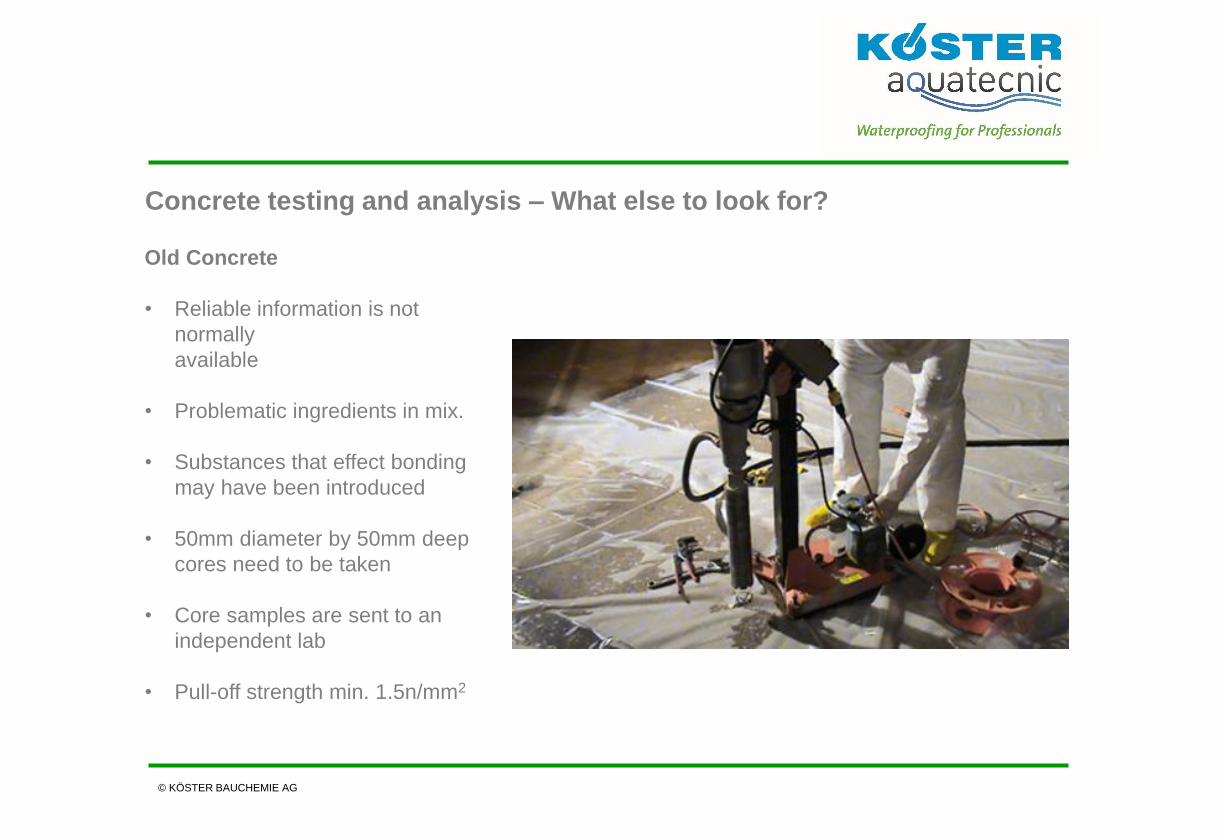
Old Concrete
• Reliable information is not
normally
available
• Problematic ingredients in mix.
• Substances that effect bonding
may have been introduced
• 50mm diameter by 50mm deep
cores need to be taken
• Core samples are sent to an
independent lab
• Pull-off strength min. 1.5n/mm2
Concrete testing and analysis – Test Report
© KÖSTER BAUCHEMIE AG
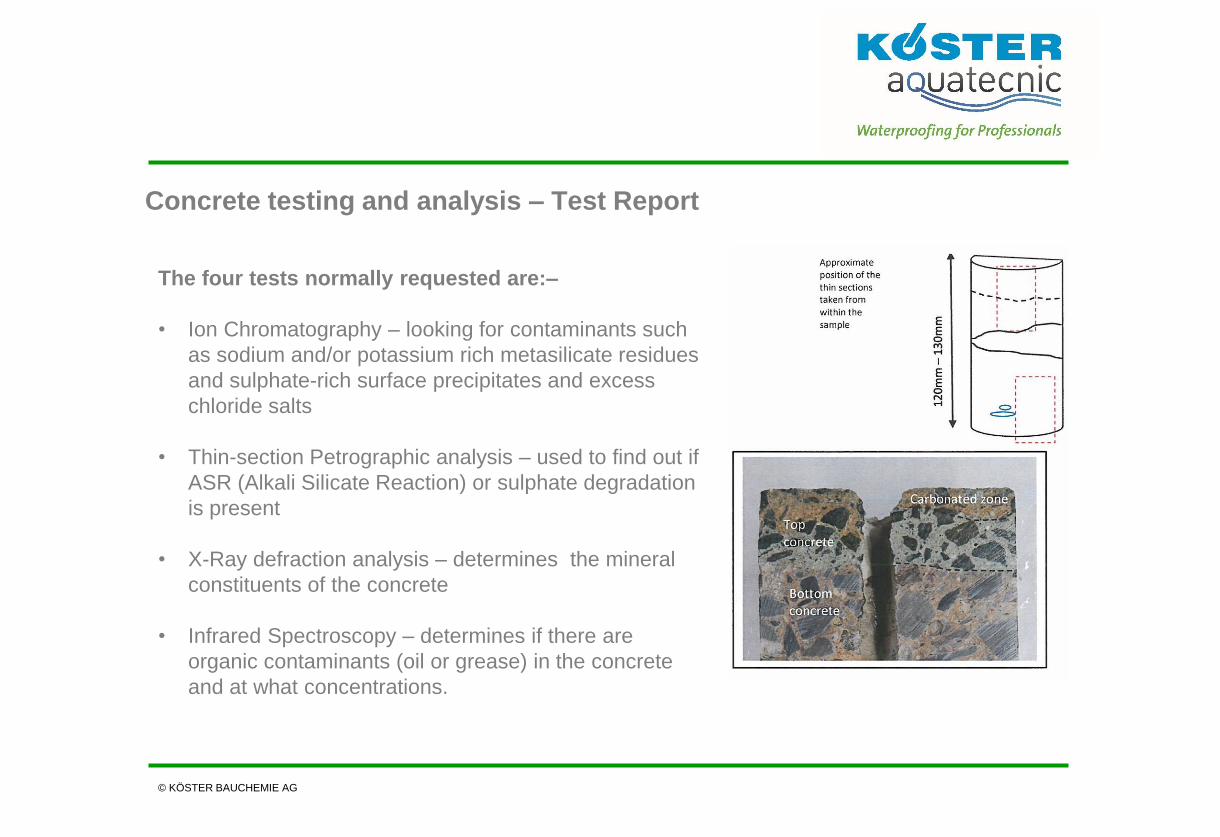
The four tests normally requested are:–
• Ion Chromatography – looking for contaminants such
as sodium and/or potassium rich metasilicate residues
and sulphate-rich surface precipitates and excess
chloride salts
• Thin-section Petrographic analysis – used to find out if
ASR (Alkali Silicate Reaction) or sulphate degradation
is present
• X-Ray defraction analysis – determines the mineral
constituents of the concrete
• Infrared Spectroscopy – determines if there are
organic contaminants (oil or grease) in the concrete
and at what concentrations.

Surface preparation – The third pillar
© KÖSTER BAUCHEMIE AG
Material
Low viscosity
Excellent bond to
concrete
Excellent
resistance to water
vapour
Resistant to high
alkalinity
Knowhow
When is it
needed?
When it shouldn’t
be used?
Interpreting tests
How much to use
How to avoid
problems
Surface
Preparation
Creates a “key” for
the entire floor
Effects the
quantities needed
Prevent unsightly
imperfections
Saves time

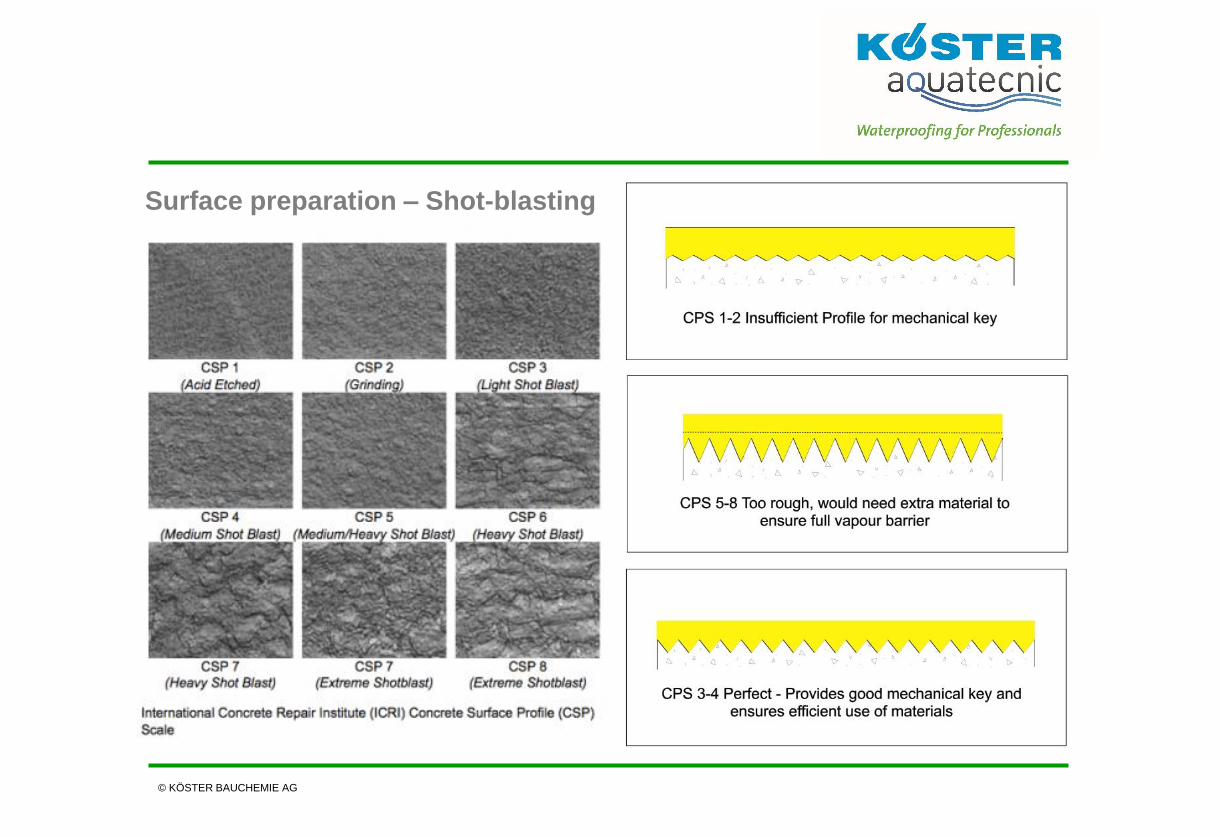
Surface preparation – Shot-blasting
© KÖSTER BAUCHEMIE AG
Shot-blasting with “wheel
abrader”
• Delivers a consistent CSP
value
• Relatively easy to operate
• Provides nearly dust-free
operation
• Provides an ideal surface
for coating adhesion
• Does not clog concrete
pores
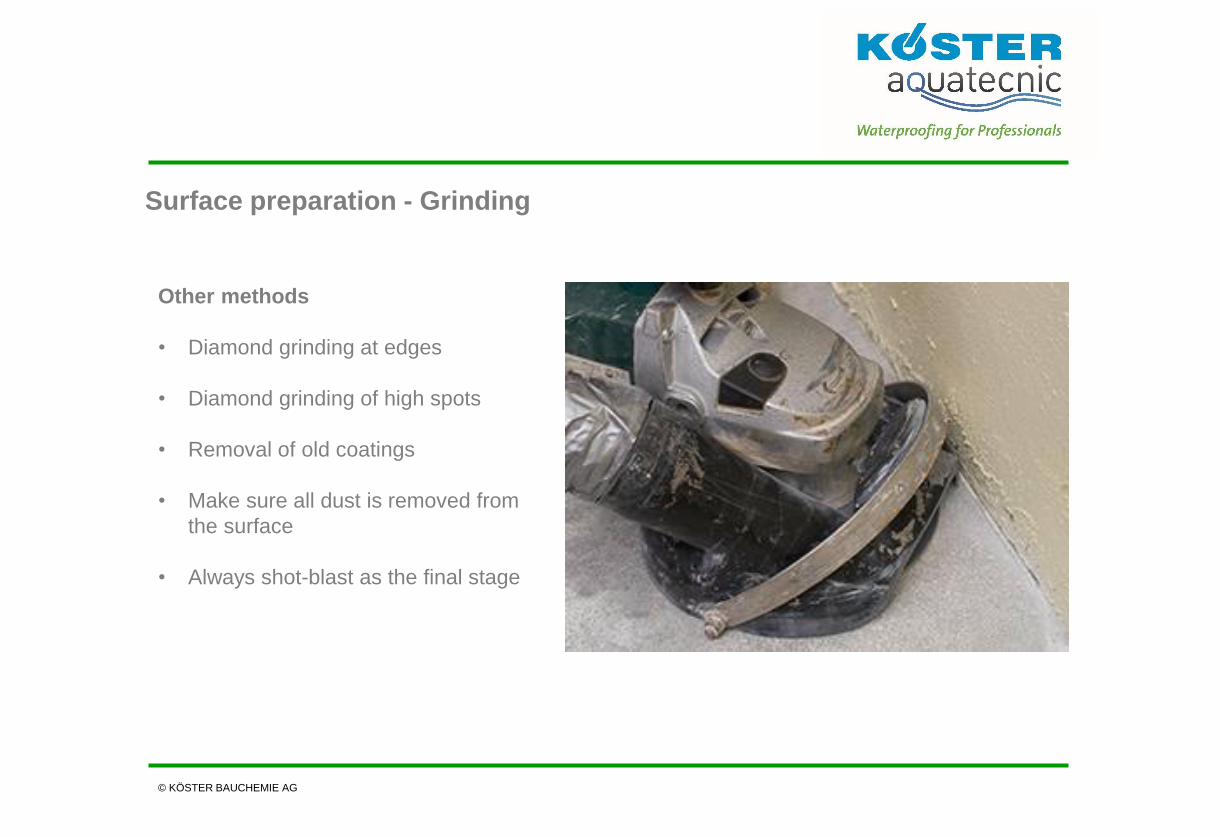
Surface preparation - Grinding
© KÖSTER BAUCHEMIE AG
Other methods
• Diamond grinding at edges
• Diamond grinding of high spots
• Removal of old coatings
• Make sure all dust is removed from
the surface
• Always shot-blast as the final stage
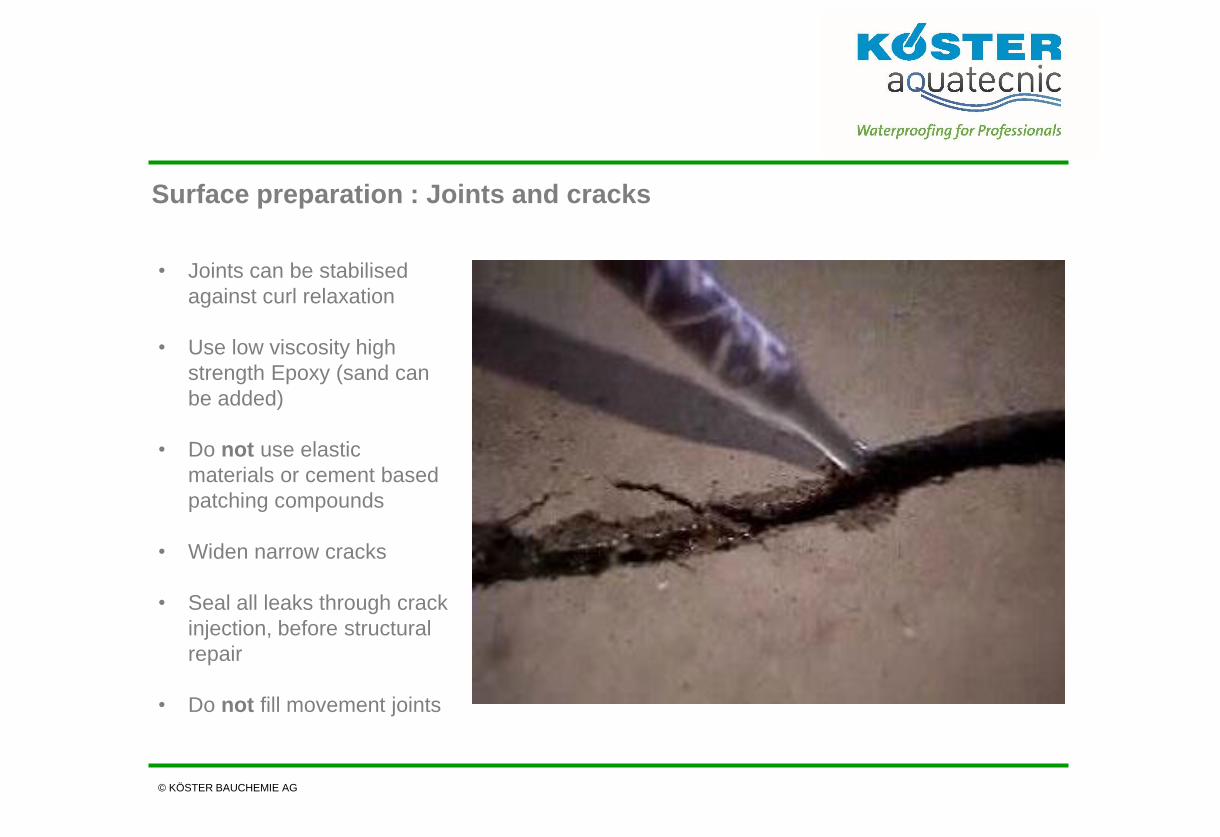
Surface preparation : Joints and cracks
© KÖSTER BAUCHEMIE AG
• Joints can be stabilised
against curl relaxation
• Use low viscosity high
strength Epoxy (sand can
be added)
• Do not use elastic
materials or cement based
patching compounds
• Widen narrow cracks
• Seal all leaks through crack
injection, before structural
repair
• Do not fill movement joints

Application of the moisture mitigation system
© KÖSTER BAUCHEMIE AG
Mix with a jiffy type mixer for 3 minutes at 400 rpm
Slowly pour all of Part B into the large component “A” drum.

Application of the moisture mitigation system
© KÖSTER BAUCHEMIE AG
IMMEDIATELY after mixing, Pour the material onto the
substrate
© KÖSTER BAUCHEMIE AG
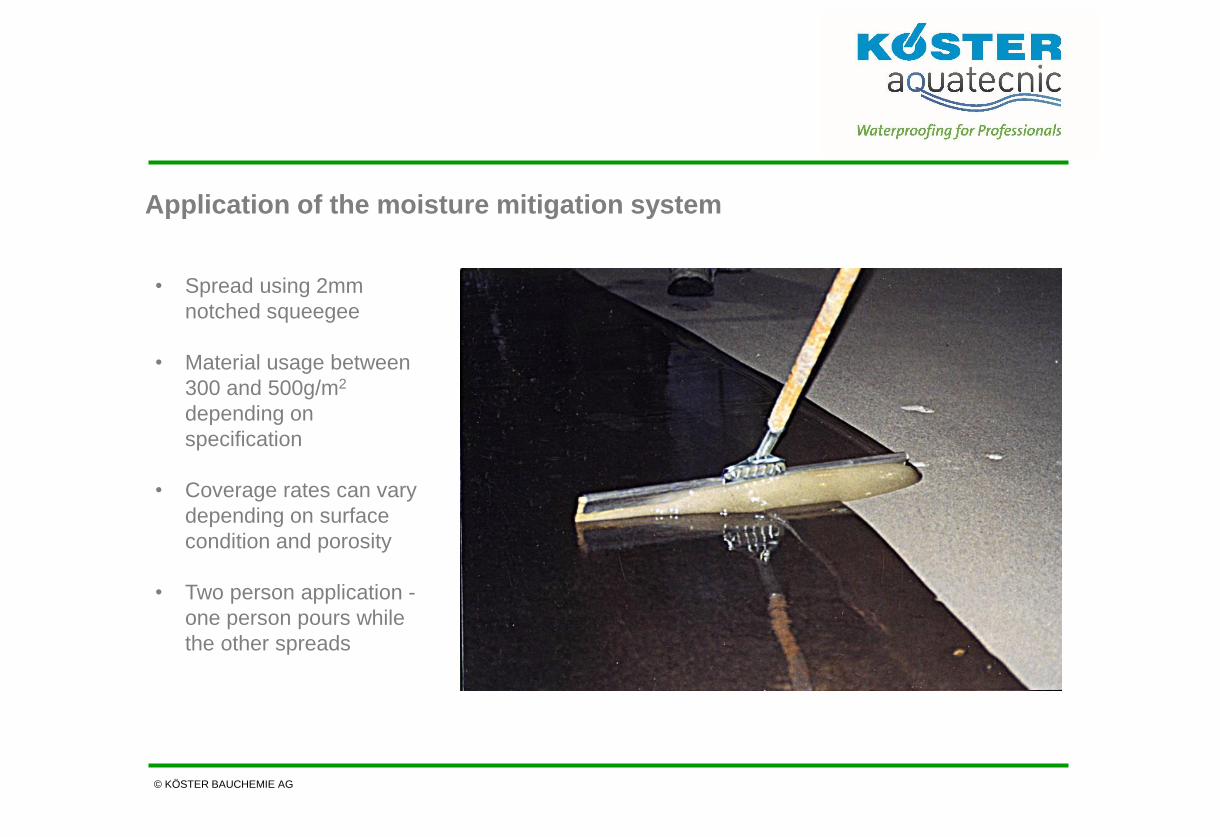
Application of the moisture mitigation system
• Spread using 2mm
notched squeegee
• Material usage between
300 and 500g/m2
depending on
specification
• Coverage rates can vary
depending on surface
condition and porosity
• Two person application -
one person pours while
the other spreads

© KÖSTER BAUCHEMIE AG
Application of the moisture mitigation system
• Lightly back-roll fresh
material with a phenolic,
short nap roller
• Ensure uniform
coverage
• Works material into
pores
• Helps de-air material
• Extension poles used to
give a longer reach

© KÖSTER BAUCHEMIE AG
Application of the moisture mitigation system
• Application finished, just
wait to cure
• Keep area clear with no
foot traffic while curing
• Standard – 12 hours
• Fast Set – 4 to 5 hours
• Ultra Fast Set – 3 hours
• Direct overcoating with
resin floors possible for
48 hours
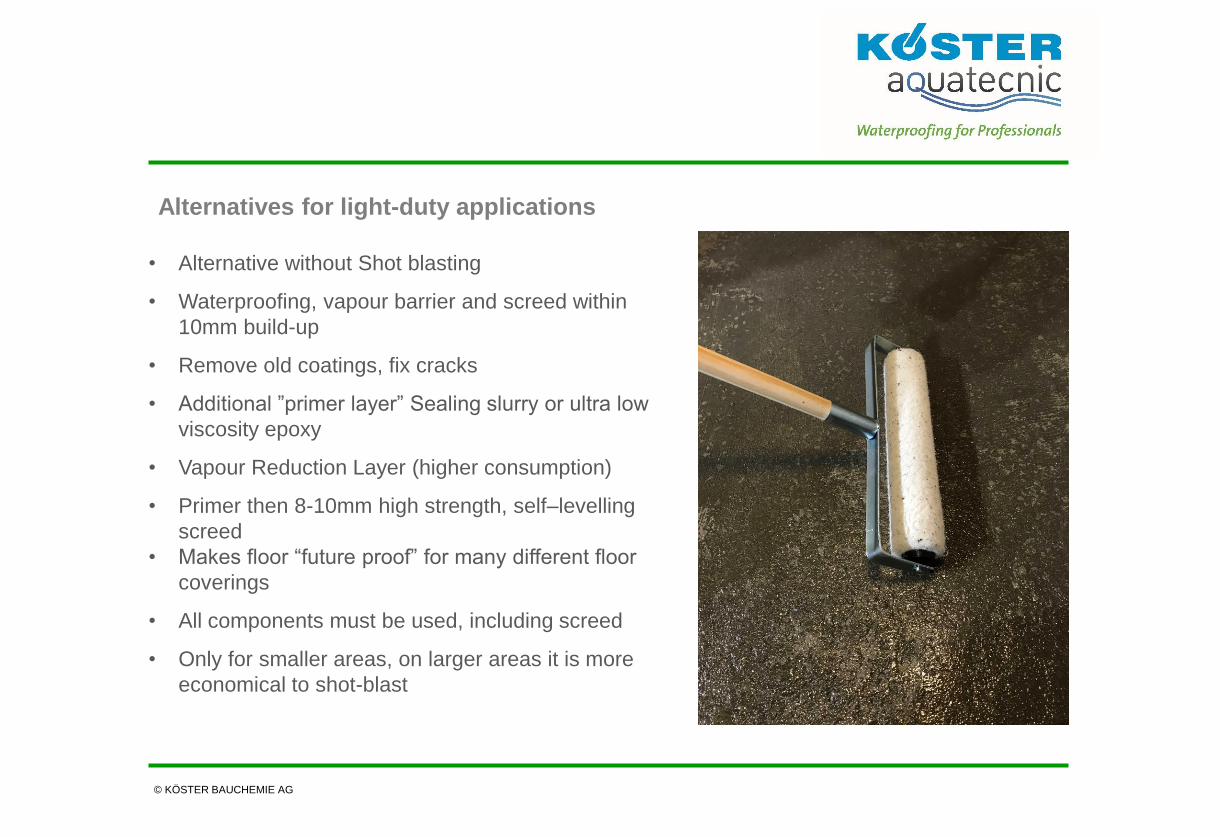
Alternatives for light-duty applications
© KÖSTER BAUCHEMIE AG
• Alternative without Shot blasting
• Waterproofing, vapour barrier and screed within
10mm build-up
• Remove old coatings, fix cracks
• Additional ”primer layer” Sealing slurry or ultra low
viscosity epoxy
• Vapour Reduction Layer (higher consumption)
• Primer then 8-10mm high strength, self–levelling
screed
• Makes floor “future proof” for many different floor
coverings
• All components must be used, including screed
• Only for smaller areas, on larger areas it is more
economical to shot-blast

Moisture Mitigation – Controlling water vapour in
concrete floors
PCA International Conference 2019
© KÖSTER BAUCHEMIE AG
Copyright © 2022 FDOKUMEN