Cleaning and Shaping of the Root Canal System (I)
41
Cleaning and Shaping of the Root Canal System (I) Dr. Muna Al‐Ali DClinDent (Uni Melb), MFDS (RCSI), BDS (UJ) [email protected]
-
Upload
khangminh22 -
Category
Documents
-
view
6 -
download
0
Transcript of Cleaning and Shaping of the Root Canal System (I)

Cleaning and Shaping of the Root Canal System (I)
Dr. Muna Al‐AliDClinDent (Uni Melb), MFDS (RCSI), BDS (UJ)

Steps of Root Canal Treatment
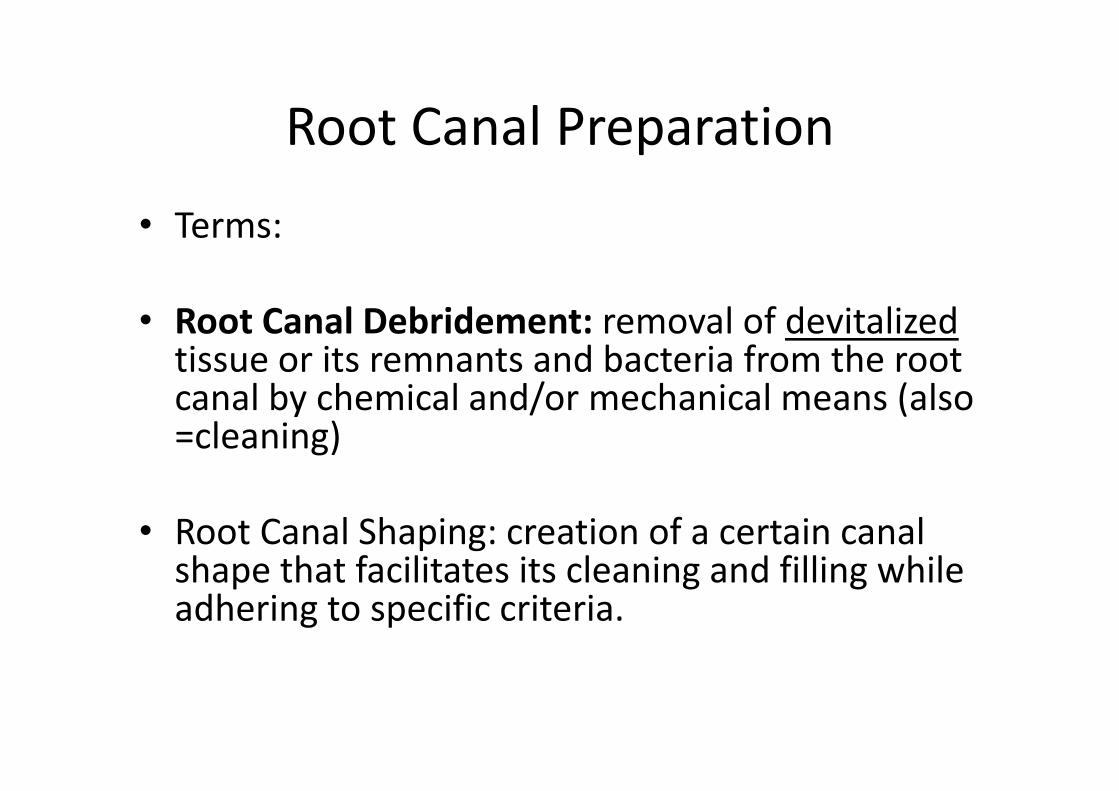
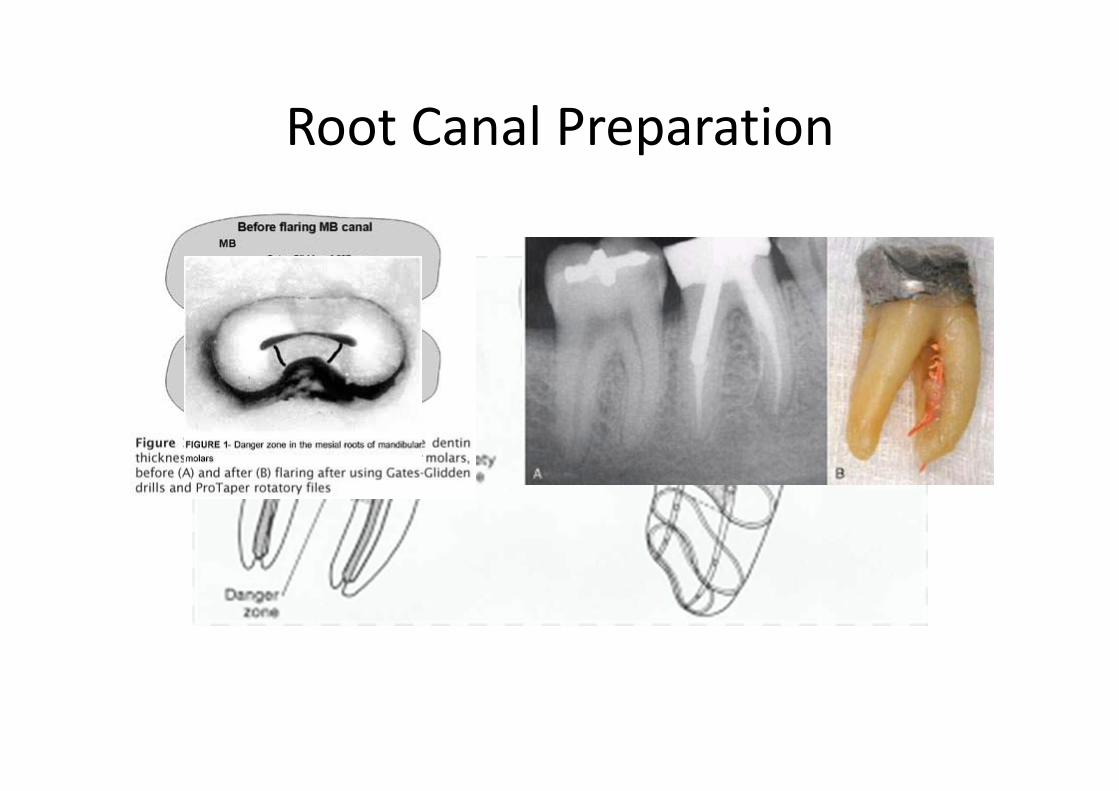
Root Canal Preparation
• Terms:
• Root Canal Debridement: removal of devitalized tissue or its remnants and bacteria from the root canal by chemical and/or mechanical means (also =cleaning)
• Root Canal Shaping: creation of a certain canal shape that facilitates its cleaning and filling while adhering to specific criteria.

Root Canal Preparation
• Root canal preparation consists of two interdependent components
– Chemical component= irrigants and root canal medicaments
– Mechanical component= instrumentation and its techniques

Root Canal Preparation
• Objectives of Root Canal Preparation
– Biological Objectives
– Technical Objectives
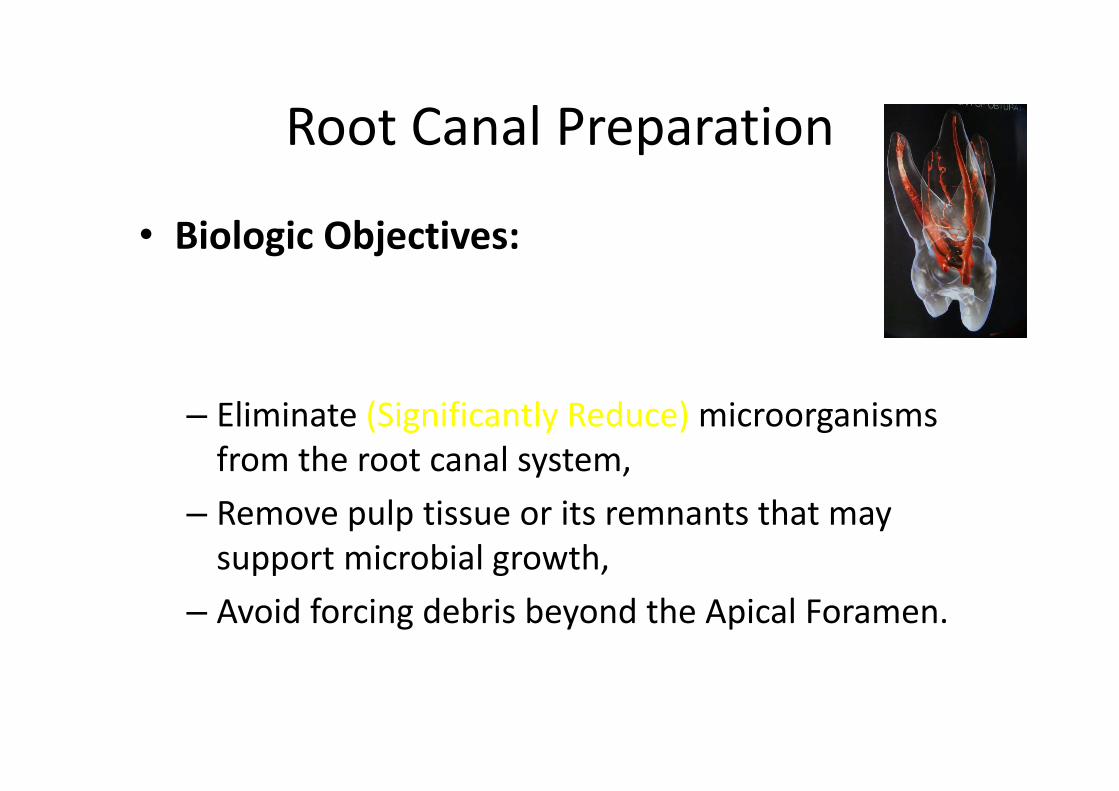
Root Canal Preparation
• Biologic Objectives:
– Eliminate (Significantly Reduce) microorganisms from the root canal system,
– Remove pulp tissue or its remnants that may support microbial growth,
– Avoid forcing debris beyond the Apical Foramen.

Root Canal Preparation
• Technical Objectives:
• are directed toward shaping the canal so as to achieve the biological objectives and to facilitate placement of a high quality root filling.

Root Canal PreparationSchilder’s mechanical Objectives*should be followed in line with achieving the biological objectives.
1) Continuously tapering funnel preparation from the access cavity to apical foramen
2) The root canal preparation should maintain the path of the original canal
3) Have the conical canal preparation exist in multiple planes (concept of flow).
4) The apical foramen should remain in its original position
5) The apical opening should be kept as small as practical

Root Canal Preparation
• The shape of the access cavity is a prerequisite that must be optimized before any canal preparation
• A straight‐line access should be obtained to the middle third of the canal, or the first/most coronal root curvature.

Root Canal Preparation

Root Canal Preparation
Instrumentation Techniques
• Manual Preparation Techniques
• Rotary Preparation Techniques

Root Canal Preparation
• Manual Preparation Techniques
• Standardized technique• Step Back technique• Step‐down Technique• Balanced force technique• Anti‐curvature technique/concept• Hybrid Techniques

Steps in root canal preparation
after the straight line access is achieved

Armamentarium
• Basic examination set (mirror, explorer, cotton pliers, etc.).• Complete selection of files size 10‐80 k flex with fitted
rubber stoppers (NiTi K files‐ >ISO # 25)• Barbed broaches.• Gates Glidden burs (sizes 1‐6)• Irrigating solution (Sodium Hypochlorite).• An irrigating syringe 3ml and irrigation needle G27 or 30• A(3‐Inch) metal ruler or Endo‐Ring• A File holder/sponge soaked with alcohol or irrigant• Paper points.

Root Canal Preparation

Root Canal Preparation
• Irrigation of pulp chamber with NaOCl(sodium hypochlorite)
• Bleaching effect of NaOCl helps in localizing/visualizing all root canals

Root Canal Preparation
• Some RULES:
1. A straight line access should be obtained.2. The working length should be determined.3. Instruments should be confined to the root
canal to prevent trauma to periapical tissues.4. Files should be used with a watch‐winding
motion (quarter‐turn) and withdrawn with a pull stroke.

Root Canal Preparation
5. Files should be used in sequence of sizes 6. Stainless Steel files larger than ISO size
10 should be Pre‐Curved7. Should always recapitulate.8. DO NOT force the instrument if it binds.9. Check instruments for deformation and
discarded if present.10. All instrumentation should be sterile.11. The canal should be wet throughout the
instrumentation process.

Root Canal Preparation
STEP BACK TECHNIQUE
• Is a technique whereby the canal is prepared with sequentially increasing sizes of files in an apical to coronal direction.
• Some modifications to this technique were introduced.

Root Canal Preparation
• Step Back technique consists of four phases
– Apical preparation phase– Step back phase– Coronal preparation (flaring) phase
– Refining/finishing phase

Root Canal Preparation
• Apical preparation phase
• Consists of enlarging the apical third to ISO size 30 at least (except if severe apical curve= ISO 25)
• Work with files to WL.
STEP‐BACK PROCEDURE
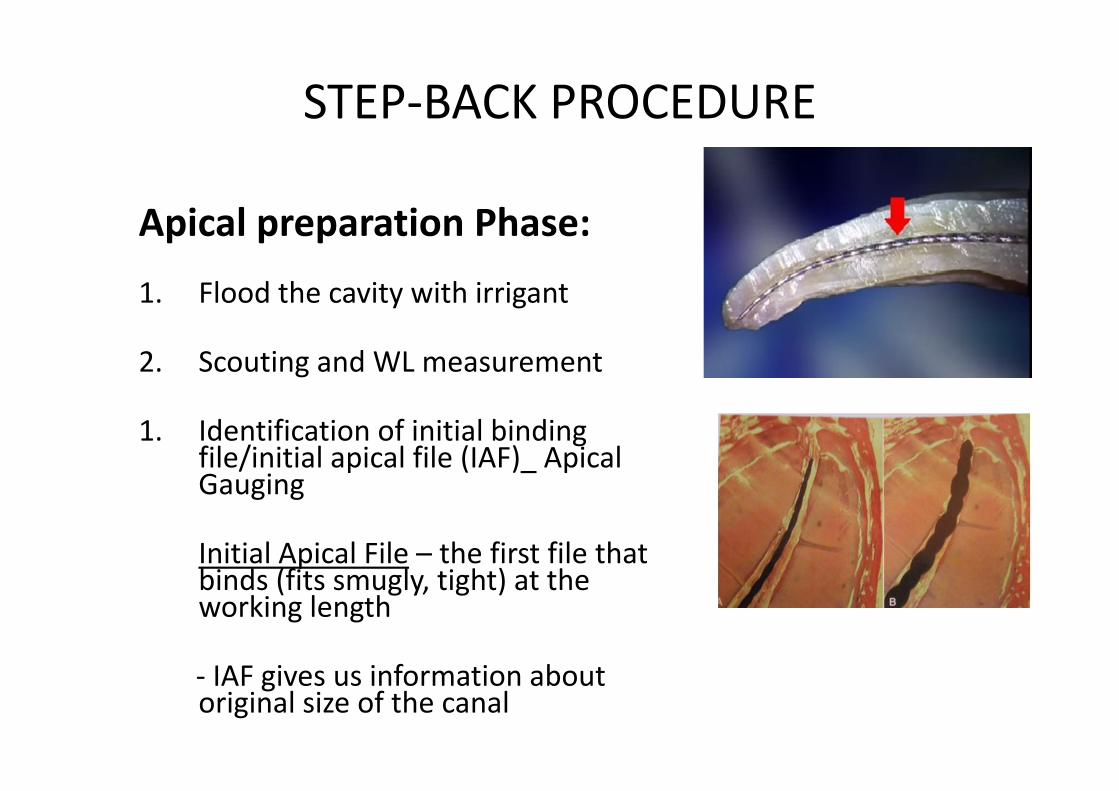
Apical preparation Phase:
1. Flood the cavity with irrigant
2. Scouting and WL measurement
1. Identification of initial binding file/initial apical file (IAF)_ Apical Gauging
Initial Apical File – the first file that binds (fits smugly, tight) at the working length
‐ IAF gives us information about original size of the canal

STEP‐BACK PROCEDURE
4. Insert the IAF to WL with “watch‐winding” and then with pull strokes work against the canal walls (Stroke the file repeatedly in 0.5‐2mm amplitude, in* & out motion) until it fits loosely to WL.
5. Irrigation with NaOCl6. Place the next larger file (if IAF=15→ 20) to WL, with
”watch‐winding” and pull strokes (as in previous step), work against the canal walls until it fits loosely to WL.
7. Irrigation with NaOCl
* Instruments must be Pre‐curved and must be at WL when the cutting action is made (pull stroke)

STEP‐BACK PROCEDURE
8. Recapitulation
9. Irrigation with NaOCl
10. Repeat steps 6‐10 until the desired file size = Master Apical File (MAF)
IAF: 8,10,15
MAF 35
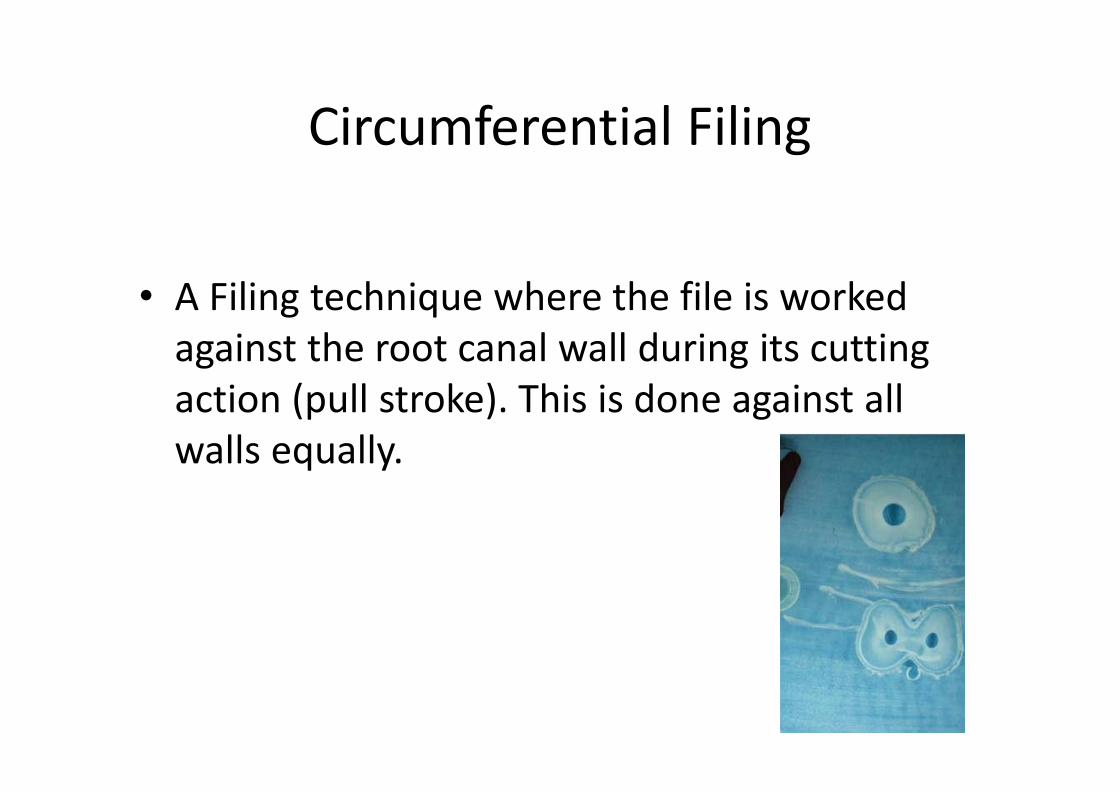
Circumferential Filing
• A Filing technique where the file is worked against the root canal wall during its cutting action (pull stroke). This is done against all walls equally.

Recapitulation
• Definition: The introduction of smaller files to full WL during root canal preparation to keep the apical area clean and patent.
• Helps prevent packing of dentinal debris and loosening these debris to be flushed out with irrigation.
• Helps in maintaining the WL and avoiding BLOCKAGE.
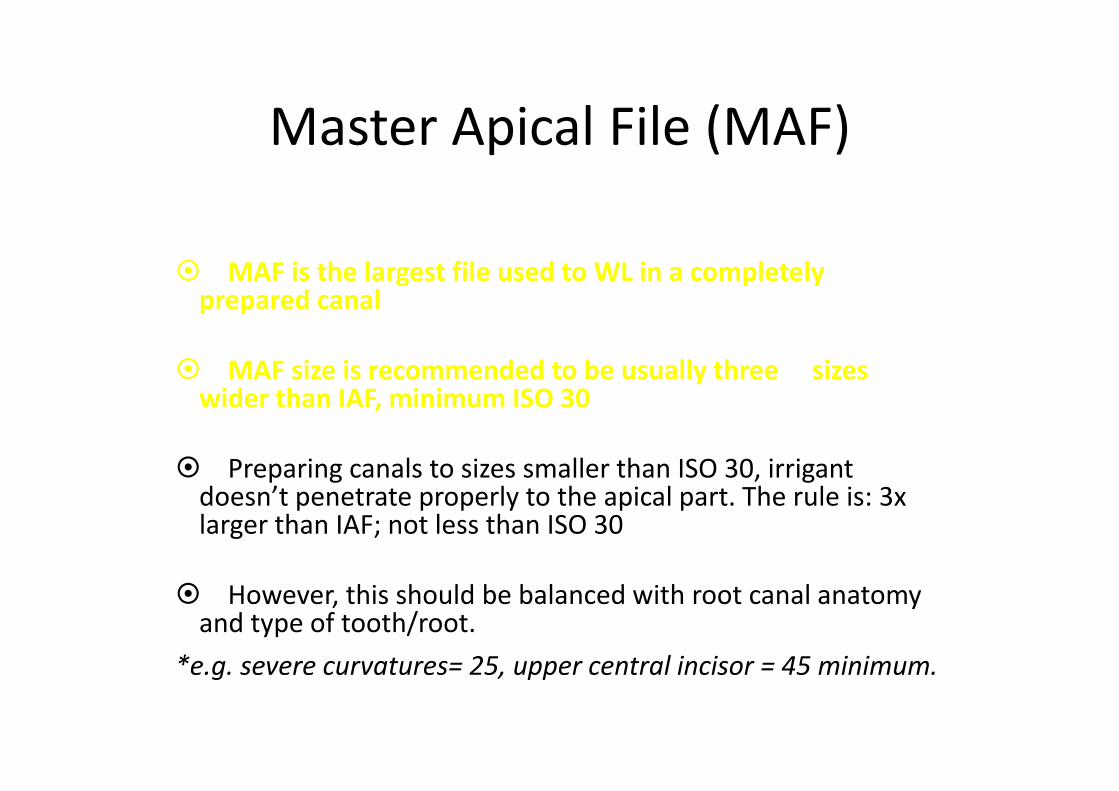
Master Apical File (MAF)
MAF is the largest file used to WL in a completely prepared canal
MAF size is recommended to be usually three sizes wider than IAF, minimum ISO 30
Preparing canals to sizes smaller than ISO 30, irrigant doesn’t penetrate properly to the apical part. The rule is: 3x larger than IAF; not less than ISO 30
However, this should be balanced with root canal anatomy and type of tooth/root.
*e.g. severe curvatures= 25, upper central incisor = 45 minimum.

Apical Stop
• Is the artificially produced ledge apically designed to prevent extrusion of the root filling material.
OpenSeatStop

Apical Patency• Apical Patency: a technique where the apical portion of the canal is maintained free of debris by recapitulation and by patency files.
• Patency file: a small file (< ISO size 15) taken through the apical foramen by maximum of 1‐1.5mm.
• Minimal/no damage to periapical tissues, and no inoculation of microogranismswhen used with NaOCl in the canal.

STEP‐BACK PROCEDURE
Step back phase:
11. Place a file one size larger than MAF into the canal 1mm short of the WL
12. Work against the walls until it is loose within the canal
13. Recapitulation to full length with MAF file to maintain patency and removal of dentin chips.
14. Copious irrigation before introducing next size instrument
15. REPEAT Until reaching middle third
50 WL-3mm45 WL-2mm40 WL-1mmMAF 35 WL
50 WL‐3mm 45 WL‐2mm40 WL‐1mm
35 WL

STEP‐BACK PROCEDURE
Coronal Flaring phase
Start with GG size 2 to about ½ to ⅔ of the canal length.
Irrigate with NaOCl and Recapitulate
Use GG size 3 in the coronal ⅓ of the canal length.
Irrigate with NaOCl and Recapitulate

STEP‐BACK PROCEDURE
Use G.G. size 4 no more than 3mm below the orifice of the canal.
Irrigate with NaOCl and Recapitulate
G.G. size 5 and 6 are used only to enlarge the orifice of canals in certain cases; e.g. long teeth or severely curved canals.
STEP‐BACK PROCEDURE
When using Gates Glidden Burs:
1. Do not force it into the canal to avoid perforation of the canal wall.
2. Do not force it because it may bind into the canal wall and break.
3. Try to lower the speed to control the movement of the G.G. and minimize perforation.
33

STEP‐BACK PROCEDURE
Refining phase:
• Return to a MAF Smoothing all around the walls with vertical push‐pull strokes
• Placing the file into the canal and pressing it laterally while withdrawing it along the path of insertion to scrape (plane) the wall.

STEP‐BACK TECHNIQUE
Scouting and WL
Apical preparation Step Back
Coronal enlargement
Recapitulation

Root Canal Preparation
Modifications to step back technique:
• Coronal flaring first (coronal pre‐enlargement)

Root Canal Preparation
• Modified Step‐Back Technique
• Coronal pre‐enlargement/flaring prior to apical preparation benefits:
– Better tactile sense and control over the files– Closer estimation of the apical size (apical gauging)– Less pressure and easier use of files during apical preparation
– Allows for better irrigation – Allows flushing of debris
Root Canal Preparation
Anti‐Curvature Technique
• A technique developed by Abu Rass in 1981
• Depends on sound knowledge of root canal anatomy.
• It is a technique where filing is done mostly in the direction of the area with the most dentin bulk (Instead of circumferential filing)

Anti‐Curvature Technique

Root Canal Preparation
• Follow the rules to avoid procedural errors
Ledge Zip formation
Zip &Apical perforation