Arduino Time
10
databot™ Basic Training Arduino Time! databot™ is based on the Arduino Open Source software and hardware. Let’s get going with some Arduino programming and teach databot™ a few new tricks! So I Have This databot™... What Now? Your new databot™ is basically a tiny computer in the palm of your hand, loaded with sensors, processors, onboard power, memory, ports for input and output – the whole meal deal! The only thing missing is instructions – databot just needs to be told what to do. Fortunately, there’s a simple way to talk to databot™ – it’s called Arduino! Arduino is the open source hardware and software platform that databot™ is based on. To talk to databot™, you simply need to get the Arduino software and start sending messages. databot™ is standing by. Follow these three simple steps to get up and running – install drivers, install and setup your Arduino software, upload a “sketch” – an Arduino program – to databot™ and start collecting data!
-
Upload
khangminh22 -
Category
Documents
-
view
0 -
download
0
Transcript of Arduino Time

databot™ Basic Training Arduino Time!
databot™ is based on the Arduino Open Source software and hardware. Let’s get going with some Arduino programming and teach databot™ a few new tricks!
So I Have This databot™... What Now?
Your new databot™ is basically a tiny computer in the palm of your hand, loaded with sensors, processors, on-‐board power, memory, ports for input and output – the whole meal deal! The only thing missing is instructions – databot just needs to be told what to do.
Fortunately, there’s a simple way to talk to databot™ – it’s called Arduino! Arduino is the open source hardware and software platform that databot™ is based on. To talk to databot™, you simply need to get the Arduino software and start sending messages. databot™ is standing by.
Follow these three simple steps to get up and running – install drivers, install and setup your Arduino software, upload a “sketch” – an Arduino program – to databot™ and start collecting data!
Driving Miss databot™ -‐ Drivers Required!
As you may have noticed, databot™ is packing around a lot of technology – sensors, lights, power – the works. One specialized piece of technology built into databot’s Power Board is a special chip, the CP2104 from Silicon Labs that facilitates communications between devices. This “facilitator” requires some software, called a driver, that enables databot™ to talk to a variety of computers running different operating systems. Your next step? Visit Silicon Labs and download and run the correct installer for your computer and operating system. Simple and fast, get to it! databot™ is waiting!
Silicon Labs Driver Website
Arduino Software
databot™ is based on Arduino. The Arduino story is an exciting one, if you’re not familiar with it, you can get a quick run down by going through our online learning module Intro to Arduino. Check it out when you have a minute.
In a nutshell, Arduino is an open source initiative with an enormous global community using it for education, invention, industry, and fun.
To begin your great databot™ STEM adventure install the Arduino IDE (Integrated Development Environment). It is available for Win / Mac / Linux platforms – so databot™ works just about everywhere!
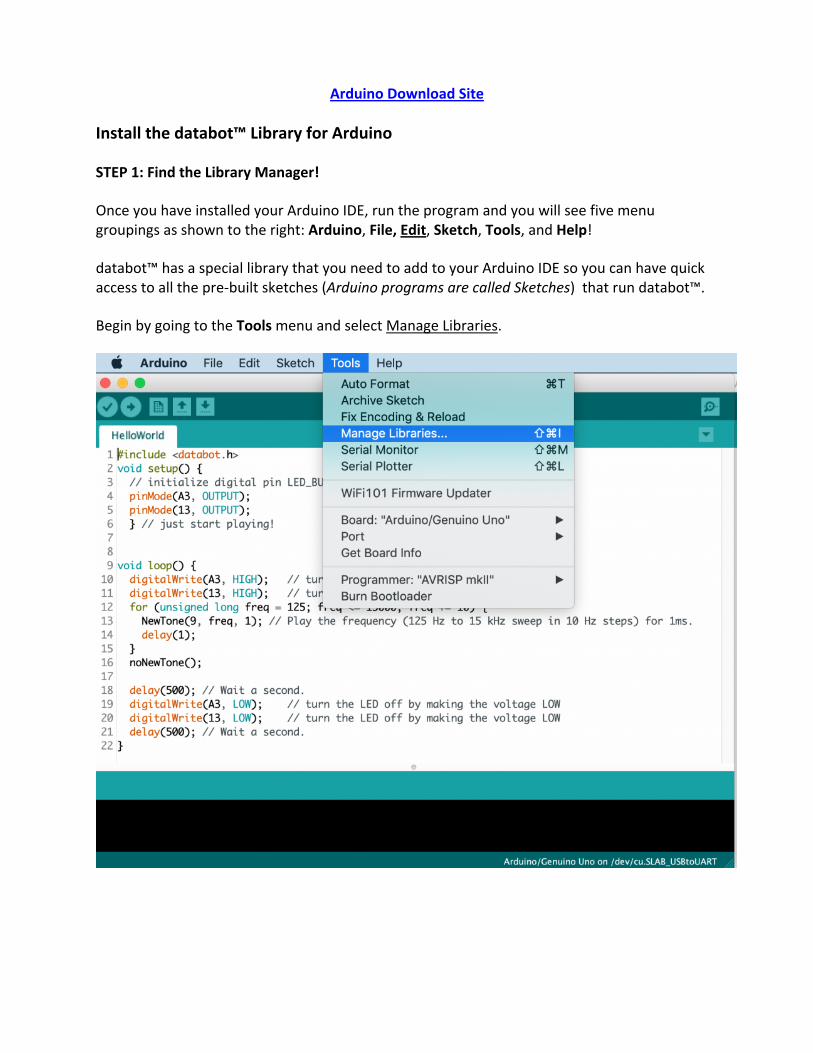
Arduino Download Site
Install the databot™ Library for Arduino
STEP 1: Find the Library Manager!
Once you have installed your Arduino IDE, run the program and you will see five menu groupings as shown to the right: Arduino, File, Edit, Sketch, Tools, and Help!
databot™ has a special library that you need to add to your Arduino IDE so you can have quick access to all the pre-‐built sketches (Arduino programs are called Sketches) that run databot™.
Begin by going to the Tools menu and select Manage Libraries.

STEP 2: Install the databot™ Library!
After clicking on Manage Libraries, a Library Manager window will open similar to what you see to the right. Enter the search term “databot” and the databot™ library will appear.
Select Install and the Arduino IDE will do the rest – AWESOME SIMPLE, RIGHT?!
IMPORTANT NOTE: The databot™ library is being updated almost daily with new example sketches and features. If you are working on lessons and activities and you see a reference to a Sketch that you are not seeing, you may need to update your library. To update your library, simply repeat this process and select “Update.”
If you have successfully installed the IDE and added your databot™ library, you are ready to go. Let’s hook up databot now and try it out!
Load and Test a Program!
Now that you are set up with the Arduino IDE software and you’ve installed the databot™ Arduino library, let’s try it out!

Step 1: Connect your databot™ to your computer using the supplied mini USB cable.
Step 2: Run your Arduino IDE and select the correct Arduino Board type.
Go to the Tools menu, select the Board Manager option, and then select the Arduino/Genuino Uno from the list of boards displayed.
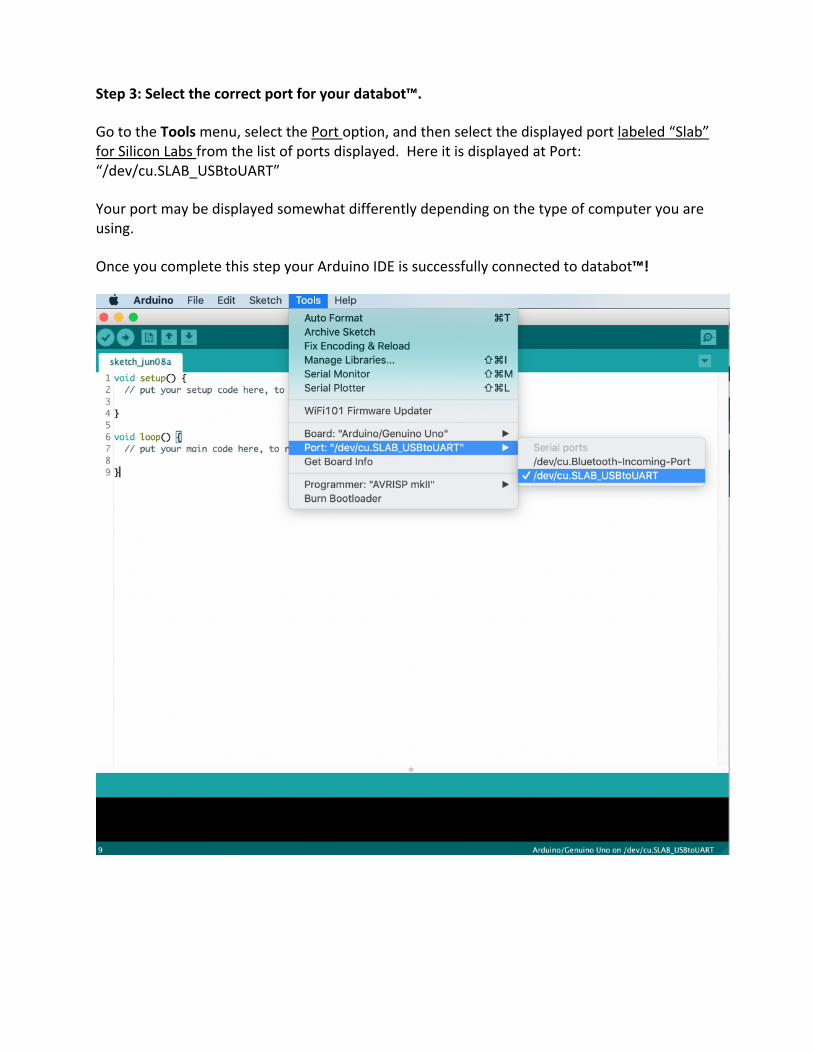
Step 3: Select the correct port for your databot™.
Go to the Tools menu, select the Port option, and then select the displayed port labeled “Slab” for Silicon Labs from the list of ports displayed. Here it is displayed at Port: “/dev/cu.SLAB_USBtoUART”
Your port may be displayed somewhat differently depending on the type of computer you are using.
Once you complete this step your Arduino IDE is successfully connected to databot™!

Step 4: Select a sketch from the databot™ library:
Go to the File menu and navigate to the following sketch and select it:
Examples/databot/IDE/databot_lux
Note: You will see additional folders for sketches within Examples. The IDE folder has all the Sketches designed for use with the IDE. If you are using Google Science Journal, you will select sketches from the Science Journal folder and so on. Additional software support for other apps, Scratch, and other platforms will show up as new folders as support for them is implemented. A simple update of the databot library will immediately reflect all new supported platforms.
Step 5: Transfer the databot_lux sketch to databot™!
When you select the databot_lux file, it will open and display similar to what you see to the right.

Click the arrow pointing to the right at the top of your sketch window. This is the “upload” icon and will transfer this sketch to databot™. Upon upload to databot™ the sketch will be running and reading light data!
Note: When you upload sketches to databot™ you will notice the Transmit (green) and Receive (blue) LEDs flashing. databot™ is listening and learning! Point this out to students when they are uploading sketches to highlight the programming process.
Step 6: Look at the data with the serial plotter!
There are two ways to view the data using the IDE, one is using the visual “Serial Plotter” which will display the data received in a graph.
Go to the Tools menu and select the option for the Serial Plotter. Your data should begin displaying in a line graph as shown to the right. Put your hand in front of databot™ and cover the light sensor. You will see the data change.
Note: The Arduino sketch determines the speed at which the data from databot is transmitted. Make sure the speed settings match. In this case to the right, you will notice the rate is set to 9600 Baud in the lower right hand corner of the plotter. This matches the lux sketch speed setting, which will look like this in your sketch:
Serial.begin(9600);

Different tools and sketches may require a different speed setting.
Step 7: Look at the data with the serial monitor!
The second method for viewing data is using the visual “Serial Plotter” which will display the data received as a stream of numbers.
Go to the Tools menu and select the option for the Serial Monitor. Your data should begin displaying as shown to the right. Using the Serial Monitor you can capture numeric data and copy it into a spreadsheet or other program for analysis.
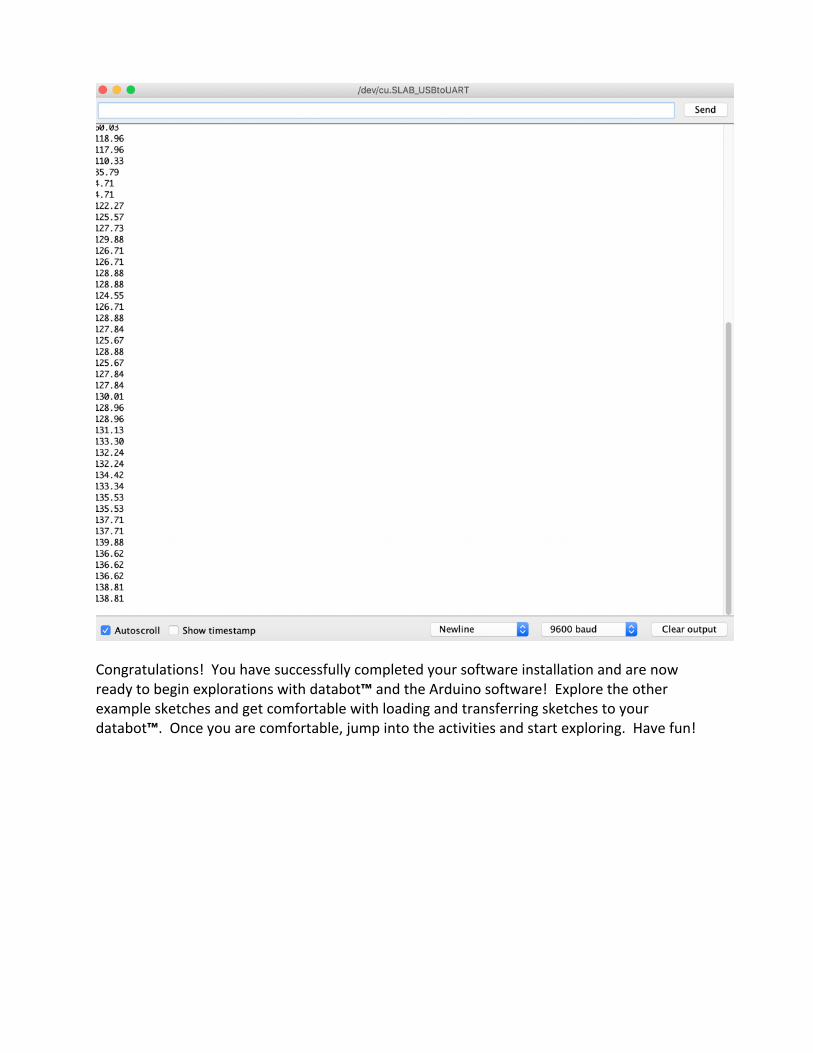
Congratulations! You have successfully completed your software installation and are now ready to begin explorations with databot™ and the Arduino software! Explore the other example sketches and get comfortable with loading and transferring sketches to your databot™. Once you are comfortable, jump into the activities and start exploring. Have fun!