ANDROID SAMPLES LOCATION BASED SERVICES - … · android.location package • Address – A class...
53
ANDROID SAMPLES LOCATION BASED SERVICES Herman Tolle Pengembangan Aplikasi Perangkat Bergerak PTIIK UB
Transcript of ANDROID SAMPLES LOCATION BASED SERVICES - … · android.location package • Address – A class...
ANDROID SAMPLES LOCATION BASED SERVICES
Herman Tolle
Pengembangan Aplikasi Perangkat Bergerak PTIIK UB
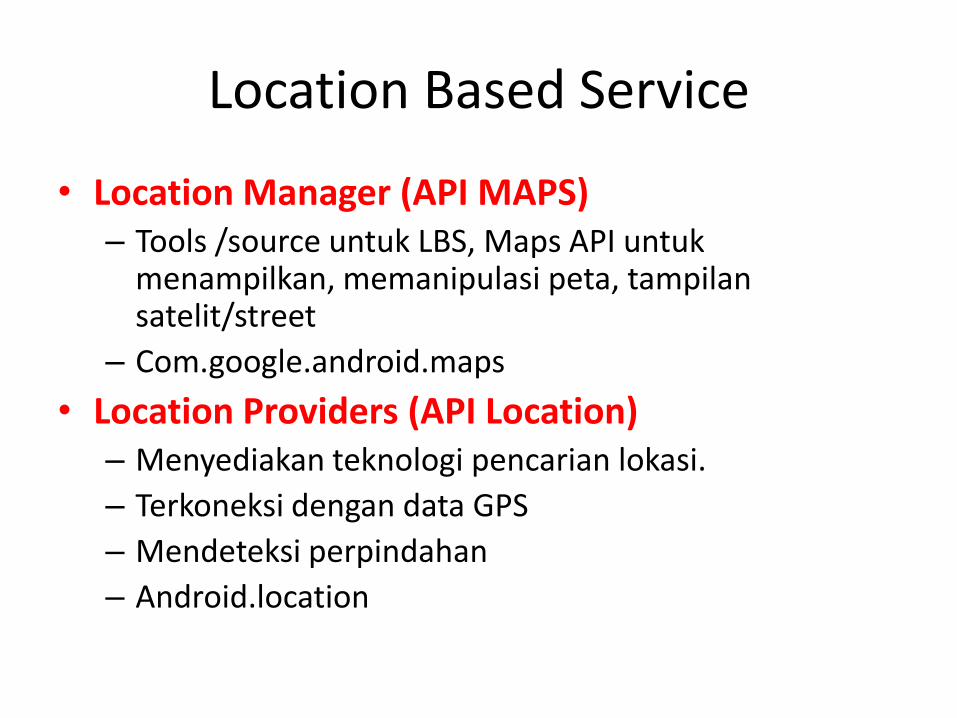
Location Based Service
• Location Manager (API MAPS) – Tools /source untuk LBS, Maps API untuk
menampilkan, memanipulasi peta, tampilan satelit/street
– Com.google.android.maps
• Location Providers (API Location) – Menyediakan teknologi pencarian lokasi.
– Terkoneksi dengan data GPS
– Mendeteksi perpindahan
– Android.location

Android basics
• Get a LocationManger from the system
• Choose a provider with Criteria or just a provider
– providers: gps, network, etc…
• get the Location and use the data.
• Use a LocationListener

Permissions
• Add them to the AndroidManifest.xml <uses-permission android:name="android.permission.INTERNET" />
– Maybe needed for some things, but needed the mapactivity.
<uses-permission android:name = "android.permission.ACCESS_FINE_LOCATION" /> – GPS location
<uses-permission android:name = "android.permission.ACCESS_COARSE_LOCATION" /> – Cell_ID or WiFI location
• There maybe other needed as well – ACCESS_LOCATION_EXTRA_COMMANDS, ACCESS_MOCK_LOCATION
– See http://developer.android.com/intl/zh-CN/reference/android/Manifest.permission.html for all permissions.

android.location package • Address
– A class representing an Address, i.e, a set of Strings describing a location.
• Criteria – A class indicating the application criteria for selecting a location provider.
• Geocoder – A class for handling geocoding and reverse geocoding.
• GpsSatellite – This class represents the current state of a GPS satellite.
• GpsStatus – This class represents the current state of the GPS engine.
• Location – A class representing a geographic location sensed at a particular time (a "fix").
• LocationManager – This class provides access to the system location services.
• LocationProvider – An abstract superclass for location providers.
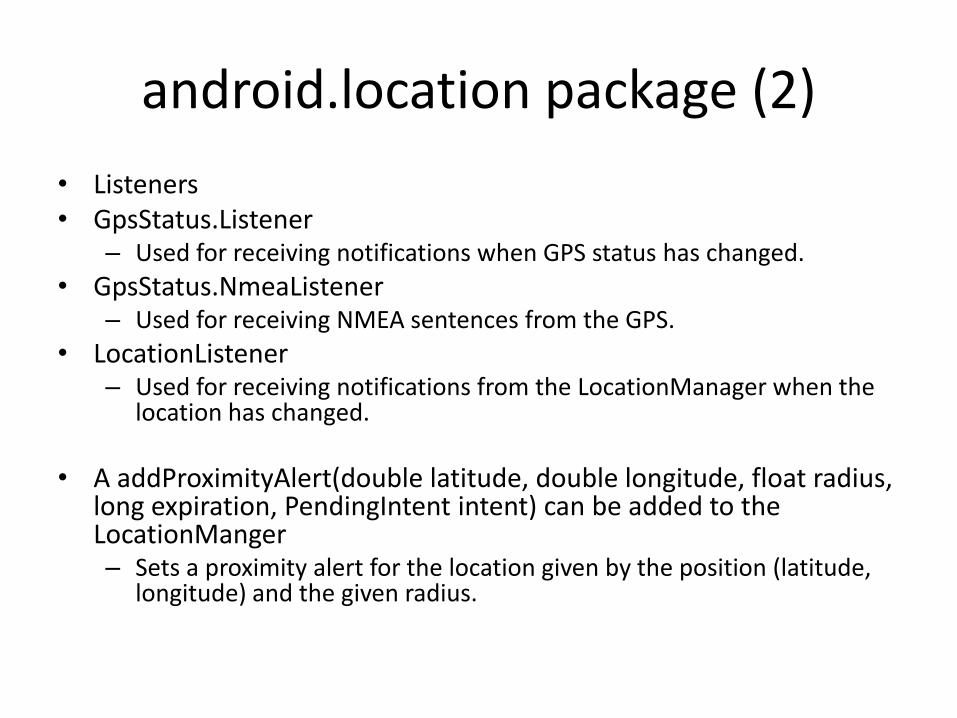
android.location package (2)
• Listeners • GpsStatus.Listener
– Used for receiving notifications when GPS status has changed.
• GpsStatus.NmeaListener – Used for receiving NMEA sentences from the GPS.
• LocationListener – Used for receiving notifications from the LocationManager when the
location has changed.
• A addProximityAlert(double latitude, double longitude, float radius, long expiration, PendingIntent intent) can be added to the LocationManger – Sets a proximity alert for the location given by the position (latitude,
longitude) and the given radius.
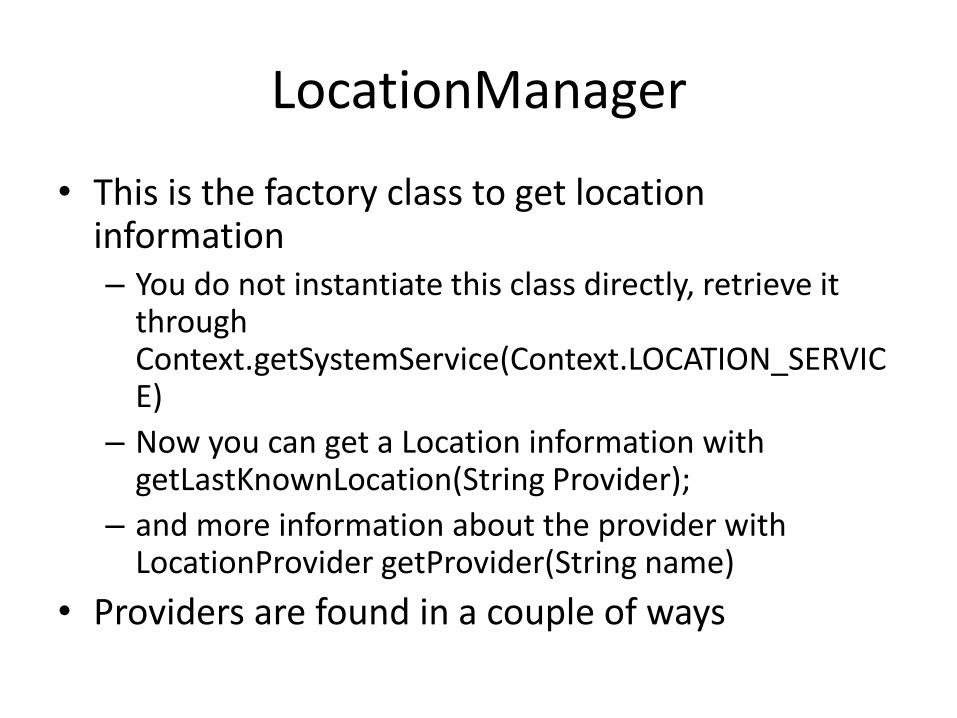
LocationManager
• This is the factory class to get location information – You do not instantiate this class directly, retrieve it
through Context.getSystemService(Context.LOCATION_SERVICE)
– Now you can get a Location information with getLastKnownLocation(String Provider);
– and more information about the provider with LocationProvider getProvider(String name)
• Providers are found in a couple of ways

Providers
• List<string> getProviders(Boolean enabledOnly)
– get a list of providers, true for ones that are working
• String getBestProvider(Criteria criteria, boolean enabledOnly)
– get a provider based on Criteria
• List<string> getAllProviders()
– Returns a list of all providers
– You can use boolean isProvidersEnabled(String) to determine if it is enabled or not.

LocationProvider
• Information about the Provider • int getAccuracy(), int getPowerRequirement(), boolean hasMonetaryCost() • boolean meetsCriteria(Criteria criteria) • boolean requiresCell()
– Returns true if the provider requires access to an appropriate cellular network (e.g., to make use of cell tower IDs), false otherwise.
• boolean requiresNetwork() – Returns true if the provider requires access to a data network (e.g., the Internet), false
otherwise.
• boolean requiresSatellite() – Returns true if the provider requires access to a satellite-based positioning system (e.g., GPS),
false otherwise.
• boolean supportsAltitude() – Returns true if the provider is able to provide altitude information, false otherwise.
• boolean supportsBearing() – Returns true if the provider is able to provide bearing information, false otherwise.
• boolean supportsSpeed() – Returns true if the provider is able to provide speed information, false otherwise.

Criteria Criteria Units Default Value Setter Accessor
Horizontal accuracy
Meters NO_REQUIREMENT setHorizontalAccuracy
getHorizontalAccuracy
Vertical accuracy Meters NO_REQUIREMENT setVerticalAccuray getVerticalAccuracy
Preferred response time
Milliseconds NO_REQUIREMENT setPreferredResponseTime
getPreferredResponseTime
Power consumption
int NO_REQUIREMENT setPreferredPowerConsumption
getPreferredPowerConsumption
Cost allowed boolean true (allowed to cost) setCostAllowed isAllowedToCost
Speed and course required
boolean false (not required) setSpeedAndCourseRequired
getSpeedAndCourseRequired
Altitude required boolean false (not required) setAltitudeRequired getAltitudeRequire
d
Address required boolean false (not required) setAddressInfoRequired
getAddressInfoRequired
Note: NO_REQUIREMENT, POWER_USAGE_LOW, POWER_USAGE_MEDIUM, POWER_USAGE_HIGH are field constants

Location
• Has a standard set of getters you would expect – double getLatitude(), double getLongitude(), float
getSpeed(), double getAltitude() – long getTime()
• Returns the UTC time of this fix, in milliseconds since January 1, 1970.
– float getAccuracy() • Returns the accuracy of the fix in meters.
– float getBearing() • Returns the direction of travel in degrees East of true North.
– Returns true if has X • hasAltitude(), hasBearing(), hasSpeed(), hasAccuracy()
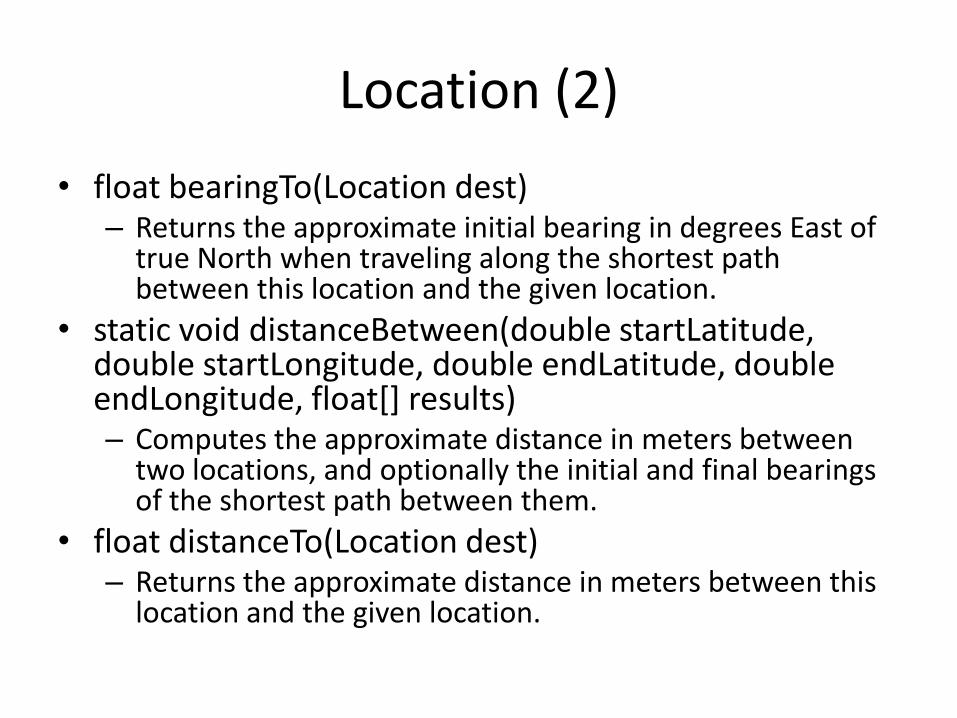
Location (2)
• float bearingTo(Location dest) – Returns the approximate initial bearing in degrees East of
true North when traveling along the shortest path between this location and the given location.
• static void distanceBetween(double startLatitude, double startLongitude, double endLatitude, double endLongitude, float[] results) – Computes the approximate distance in meters between
two locations, and optionally the initial and final bearings of the shortest path between them.
• float distanceTo(Location dest) – Returns the approximate distance in meters between this
location and the given location.

Example code get a location
LocationManager myL = (LocationManager)
getBaseContext().getSystemService(Context.LOCATION
_SERVICE);
//or use (LocationManager)
getContext().getSystemService(Context.LOCATION_SER
VICE);
Location loc = myL.getLastKnownLocation("gps");
if (loc != null ) {
double sLatitude = loc.getLatitude();
double sLongitude = loc.getLongitude();
String location = sLatitude+","+sLongitude;
} else {
//No location can be found with gps
}

LocationListener
• Create a LocationListener or implement LocationListener in a class
• The following methods must be implemented – void onLocationChanged(Location location)
• Called when the location has changed.
– void onProviderDisabled(String provider) • Called when the provider is disabled by the user.
– void onProviderEnabled(String provider) • Called when the provider is enabled by the user.
– void onStatusChanged(String provider, int status, Bundle extras) • Called when the provider status changes. • Status can be OUT_OF_SERVICE, TEMPORARILY_UNAVAILABLE,
AVAILABLE

LocationListener
• added to your LocationManger • LocationManager myL = (LocationManager)
getBaseContext().getSystemService(Context.LOCATION_SERVICE);
• myL.requestLocationUpdates(LocationManager.GPS_PROVIDER, 0, 0, myLocationListener); – here Use a GPS provider, could be NETWORK_PROVIDER
– minTime the minimum time interval for notifications, in milliseconds. This field is only used as a hint to conserve power, and actual time between location updates may be greater or lesser than this value. Here set to 0
– minDistance the minimum distance interval for notifications, in meters. Again set to 0 here.
– myLocationListener is a the LocationListener to be called.

Example code
• A simple android program is provided on the website. It will display location information in a TextView. It also has a LocationListener.
• Use the ddms.bat in the tools directory to change the location info.

Contoh public void onCreate(Bundle savedInstanceState) {
super.onCreate(savedInstanceState);
setContentView(R.layout.main);
LocationManager locationManager;
String svcName = Context.LOCATION_SERVICE;
locationManager = (LocationManager)getSystemService(svcName);
Criteria criteria = new Criteria();
criteria.setAccuracy(Criteria.ACCURACY_FINE);
criteria.setPowerRequirement(Criteria.POWER_LOW);
criteria.setAltitudeRequired(false);
criteria.setBearingRequired(false);
criteria.setSpeedRequired(false);
criteria.setCostAllowed(true);
String provider = locationManager.getBestProvider(criteria, true);
Location l = locationManager.getLastKnownLocation(provider);
updateWithNewLocation(l);
locationManager.requestLocationUpdates(provider,2000,10,locationListener);
}

private void updateWithNewLocation(Location location) {
TextView myLocationText;
myLocationText =
(TextView)findViewById(R.id.myLocationText);
String latLongString = "No location found";
String addressString = "No address found";
if (location != null) {
double lat = location.getLatitude();
double lng = location.getLongitude();
latLongString = "Lat:" + lat + "\nLong:" + lng;
double latitude = location.getLatitude();
double longitude = location.getLongitude();
Geocoder gc = new Geocoder(this, Locale.getDefault());
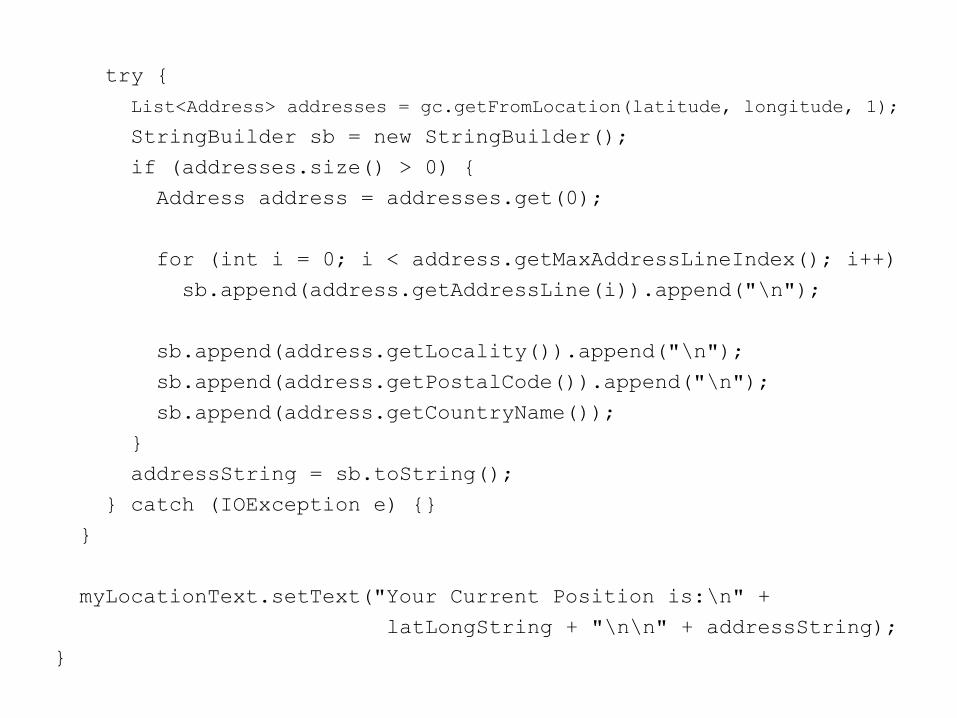
try {
List<Address> addresses = gc.getFromLocation(latitude, longitude, 1);
StringBuilder sb = new StringBuilder();
if (addresses.size() > 0) {
Address address = addresses.get(0);
for (int i = 0; i < address.getMaxAddressLineIndex(); i++)
sb.append(address.getAddressLine(i)).append("\n");
sb.append(address.getLocality()).append("\n");
sb.append(address.getPostalCode()).append("\n");
sb.append(address.getCountryName());
}
addressString = sb.toString();
} catch (IOException e) {}
}
myLocationText.setText("Your Current Position is:\n" +
latLongString + "\n\n" + addressString);
}

References
• Android (many links have mapactivity as well, skipped in lecture, we’ll come back to it) – http://developer.android.com/intl/zh-
CN/guide/topics/location/index.html – http://foo.jasonhudgins.com/2007/12/cruising-around-with-
android.html – http://www.androidcompetencycenter.com/2009/01/android-
location-api/http://www.vogella.de/articles/Android/article.html#locationapi
– http://www.damonkohler.com/2009/02/android-recipes.html
• Controlling the android emulator – http://developer.android.com/intl/zh-
CN/guide/developing/tools/ddms.html#emulator-control

GOOGLE MAPS

Maps V1 and V2
• In March 2013 google removed the ability to get a map key for version 1.
• Version 2 had been introduced in December of 2012.
• Many of the documentation on the web is still for version 1!

Documentation and use
• Eclipse will not have any documentation on the maps
– Eclipse also have problems with the maps= in the xml. My experience, every change required the project to be cleaned or eclipse shows errors.
• CAN NOT be run on the emulators. You must a physical device in order to test/run the maps v2.
Google Maps API v2
• I’m not going to repeat here everything needed in the getting started guide: https://developers.google.com/maps/documentation/android/start
• One thing to repeat, you must have good-play-servcies_lib imported into your workspace and the project must a library and open! – You also need to add in in the Library section. – Otherwise, your project will just error out.
• The sample code has all of this in it already. Except you will need your map key in the manifest file.

Keys
• Note your map key is going to be tied to the key you are using to compile the project.
– Likely this is a debug key that eclipse generated for you. It will be different on everyone machine unless you copy it around with your.
– C:\Users\<username>\.android
• Debug.keystore

AndroidManifest.xml
• It gets complex, but basically you need a lot of premissions: <uses-permission android:name="android.permission.INTERNET" /> <uses-permission android:name="android.permission.WRITE_EXTERNAL_STORAGE" /> <uses-permission android:name="com.google.android.providers.gsf.permission.READ_GSERVICES" /> <uses-permission android:name="android.permission.ACCESS_COARSE_LOCATION" /> <uses-permission android:name="android.permission.ACCESS_FINE_LOCATION" /> <uses-permission android:name="edu.cs4730.mapdemov2.permission.MAPS_RECEIVE" />
• Then some pieces for the maps itself: <permission
android:name="edu.cs4730.mapdemov2.permission.MAPS_RECEIVE" android:protectionLevel="signature" /> <uses-feature android:glEsVersion="0x00020000" android:required="true" /> <meta-data android:name="com.google.android.maps.v2.API_KEY" android:value=“YOUR KEY" />
• Note the red is your project package name.

layout
• There is a fragment and a mapview. We’ll work with the fragment. • The layout will look something like this: <fragment android:id="@+id/map" android:layout_width="match_parent" android:layout_height="match_parent" class="com.google.android.gms.maps.SupportMapFragment" />
• You can this as a single element in a layout or with many of widgets as well. – There are also lot of settings we can use, but we come back to it later.
FragmentActivity
• With the layout, a map will show up when it is run. • But likely your code will want interact with the map and the user: • First which kind of map do you want to show:
– Normal • Typical road map. Roads, some man-made features, and important natural
features such as rivers are shown. Road and feature labels are also visible.
– Hybrid • Satellite photograph data with road maps added. Road and feature labels are
also visible.
– Satellite • Satellite photograph data. Road and feature labels are not visible.
– Terrain • Topographic data. The map includes colors, contour lines and labels, and
perspective shading. Some roads and labels are also visible.
– None • No tiles. The map will be rendered as an empty grid with no tiles loaded.

FragmentActivity (2)
• First we get the map
– GoogleMap map = ((SupportMapFragment) getSupportFragmentManager().findFragmentById(R.id.map)).getMap();
• Now we can access and change it. – map.setMapType(GoogleMap.MAP_TYPE_NORMAL); //normal map
– map.setMapType(GoogleMap.MAP_TYPE_HYBRID); //hybrid map
• We can set a location and zoom to it
• We can also set a click listener as well.

FragmentActivity (3)
• We can also set up “markers” on the map
– First with need coordinates:
LatLng LARAMIE = new LatLng(41.312928,-105.587253); – LatLng is the data time that is used for the maps (mostly).
Marker cheyenne = map.addMarker(new MarkerOptions().position(Laramie)
.title(“Laramie"));

example
• We can add Laramie and Cheyenne
– With Laramie also changed the picture and what the user sees when you click on it.

More info
Marker laramie = map.addMarker(new MarkerOptions()
.position(LARAMIE)
.title("Laramie")
.snippet("I'm in Laramie!")
.icon(BitmapDescriptorFactory.fromResource(R.d
rawable.ic_launcher))
);

Basic Click listener
map.setOnMapClickListener(new OnMapClickListener() { @Override public void onMapClick(LatLng point) { Toast.makeText(getApplicationContext(), "Lat: " + point.latitude+ " Long:" +point.longitude, Toast.LENGTH_SHORT).show(); } });

Settings in XML
• We can setup most of the settings in the xml as well. • <fragment xmlns:android="http://schemas.android.com/apk/res/android"
xmlns:map="http://schemas.android.com/apk/res-auto" android:id="@+id/map" android:layout_width="match_parent" android:layout_height="match_parent" class="com.google.android.gms.maps.SupportMapFragment" map:cameraBearing="112.5" map:cameraTargetLat="-33.796923" map:cameraTargetLng="150.922433" map:cameraTilt="30" map:cameraZoom="13" map:mapType="normal" map:uiCompass="false" map:uiRotateGestures="true" map:uiScrollGestures="false" map:uiTiltGestures="true" map:uiZoomControls="false" map:uiZoomGestures="true"/>
• https://developers.google.com/maps/documentation/android/reference/com/google/android/gms/maps/UiSettings – Note the map:… may cause eclipse to think there is an error. Clean the project.

Sample code (so far)
• mapDemoV2.zip
• The BasicMapActivity
– Shows the basics with some controls
• The CompassActivity does most the work in xml
– The layout is compassactivity.xml
DRAWING ON MAPS

Drawing.
• You can add Polylines, Polygons (with holes as needed), and Circles
– We can then customize the appearance of the color and of the shapes
• We are going to focus on Polygons
– For the others see:
• https://developers.google.com/maps/documentation/android/shapes
Adding a shape
• Polygon polygon = map.addPolygon( PolygonOptions polygonoptions);
• We need to setup the poygonoptoins first.
– Or we could use a new in the that as well.
PolygonOptions
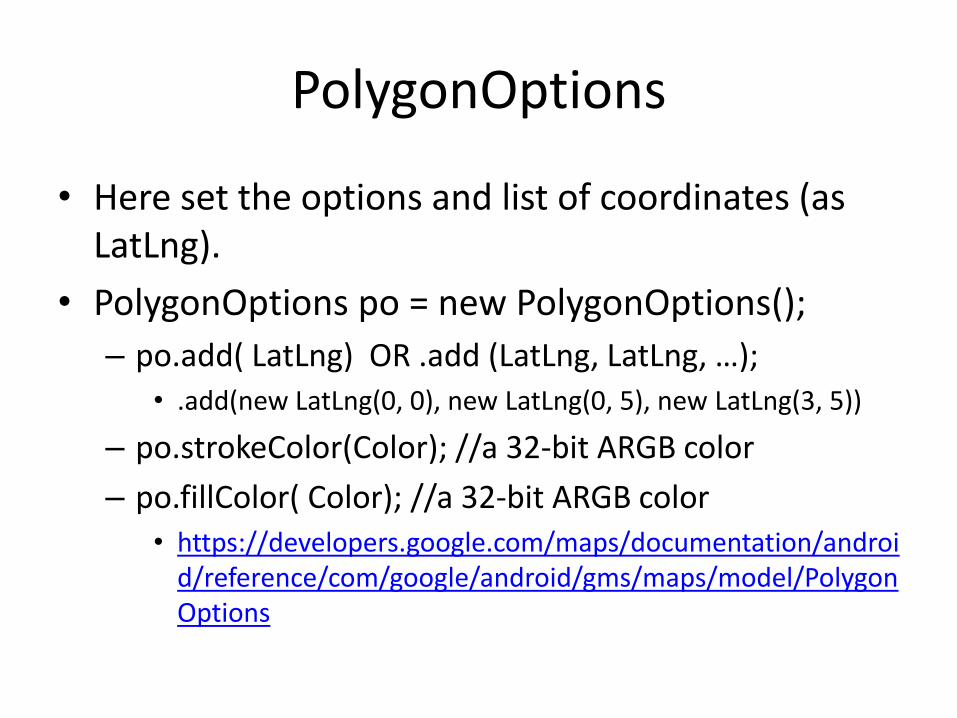
• Here set the options and list of coordinates (as LatLng).
• PolygonOptions po = new PolygonOptions();
– po.add( LatLng) OR .add (LatLng, LatLng, …);
• .add(new LatLng(0, 0), new LatLng(0, 5), new LatLng(3, 5))
– po.strokeColor(Color); //a 32-bit ARGB color
– po.fillColor( Color); //a 32-bit ARGB color
• https://developers.google.com/maps/documentation/android/reference/com/google/android/gms/maps/model/PolygonOptions

XML (KML) PARSING Android

XML parsing
• Since a lot of map data can be found in XML files (called kml)
• We need to be able to parse xml files for this project as well.
• There is an xml parser in android, called sax. – First we setup the SAX parser and create a Handler to
process our k/xml files.
– Uses the following packages javax.xml.parsers.SAXParser, javax.xml.parsers.SAXParserFactory, and org.xml.sax.*
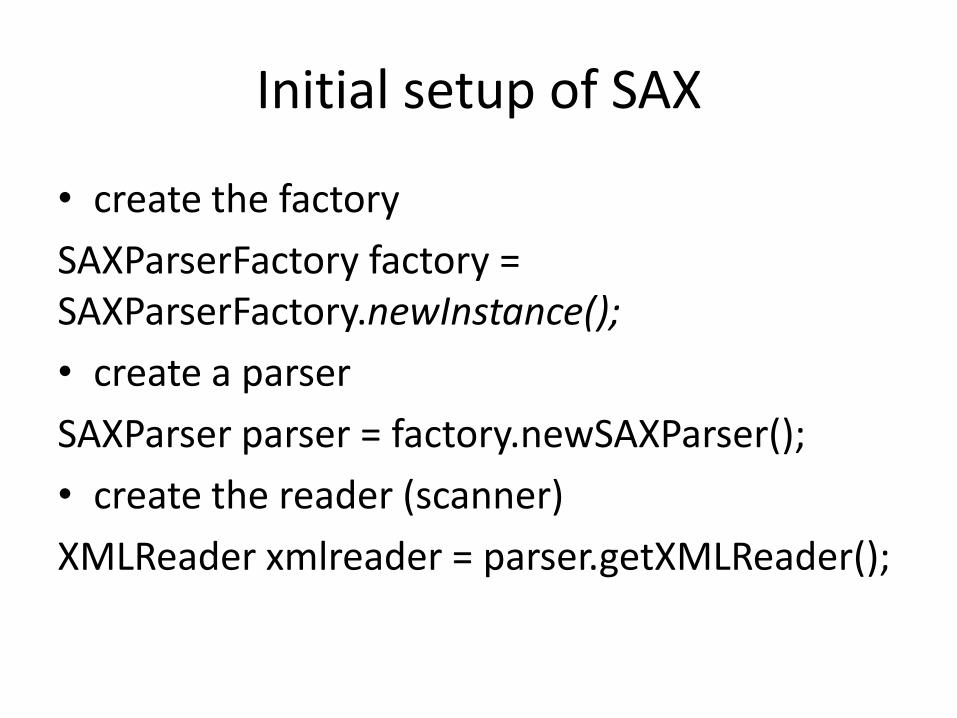
Initial setup of SAX
• create the factory
SAXParserFactory factory = SAXParserFactory.newInstance();
• create a parser
SAXParser parser = factory.newSAXParser();
• create the reader (scanner)
XMLReader xmlreader = parser.getXMLReader();

setup of SAX to parse
• Assign our handler, on the next slides
xmlreader.setContentHandler(MyDefaultHander);
• Perform the synchronous parse of the data
xmlreader.parse(InputSource OurSource); • Example: InputSource is = new InputSource(
getResources().openRawResource(R.raw.cats));
• At this point the parse of the data is done or it failed, throwing an Exception that we should handle.
DefaultHandler
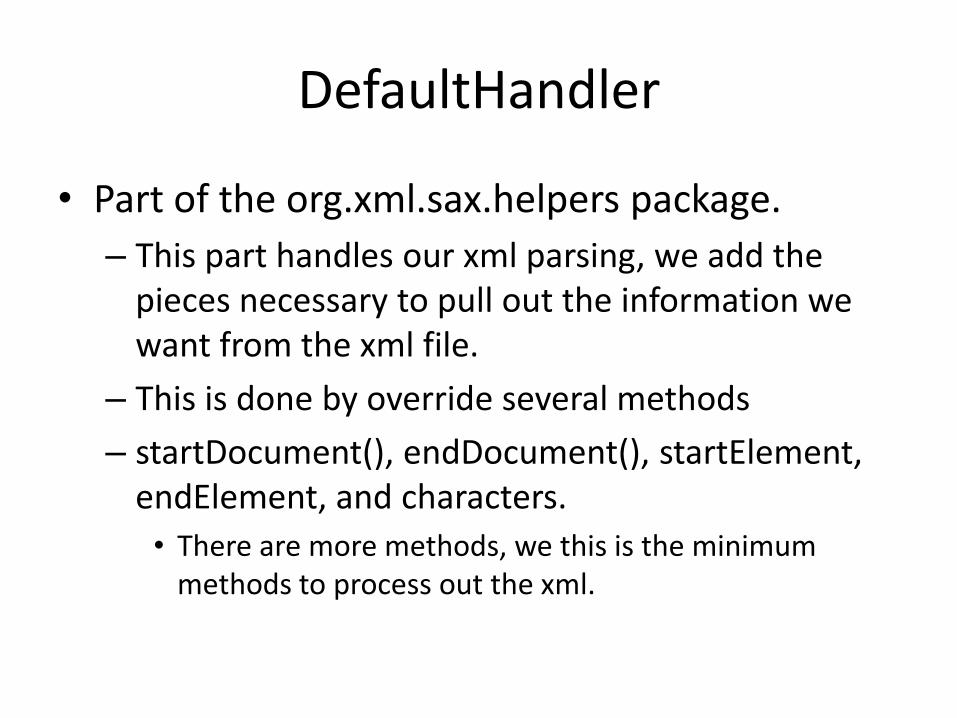
• Part of the org.xml.sax.helpers package.
– This part handles our xml parsing, we add the pieces necessary to pull out the information we want from the xml file.
– This is done by override several methods
– startDocument(), endDocument(), startElement, endElement, and characters.
• There are more methods, we this is the minimum methods to process out the xml.

DefaultHandler (2)
• startDocument()
– Receive notification of the beginning of the document.
– Setup whatever data structure you are using to hold all the data from the xml document.
• endDocument()
– Receive notification of the end of the document.
– Finalized your data structure, as necessary.
DefaultHandler (3)
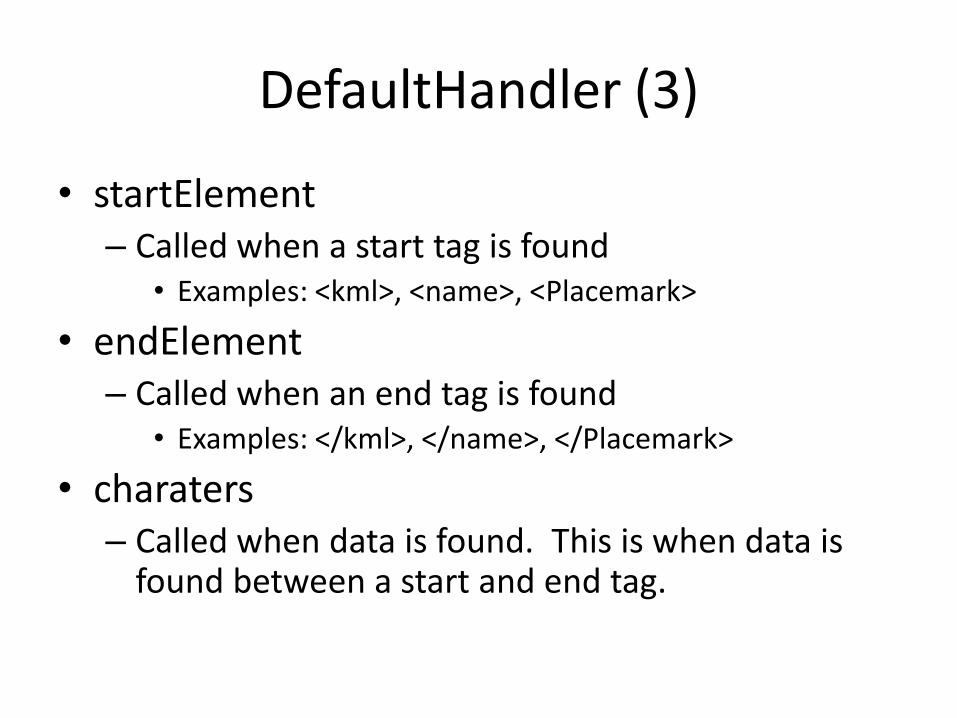
• startElement – Called when a start tag is found
• Examples: <kml>, <name>, <Placemark>
• endElement – Called when an end tag is found
• Examples: </kml>, </name>, </Placemark>
• charaters – Called when data is found. This is when data is
found between a start and end tag.

Example k/xml file and calls
StartDocument call <?xml version="1.0" encoding="UTF-8"?> <kml xmlns … > StartElement called <Document> StartElement called <Placemark id="ID_00000"> StartElement called <name> StartElement called Absaroka characters called </name> endElement called <coordinates> StartElement called -109.3,44.70,0 -109.9,44.70,0 -109.9,44.20,0 characters called -109.3,44.2,0 -109.3,44.70,0 characters called </coordinates> endElement called </Placemark> endElement called </Document> endElement called </kml> endElement called endDocument called

Dealing the calls.
• So in your StartElement you going to have to setup “something”, so you know where to put the data.
• Boolean variables are handy.
• In characters, check the variables, so you know what the data is based on the startelement
• Remember this maybe called several times in a row.
• And in EndElement, finished the data as needed and set the Boolean to false.
At this point.
• We’ll look at the source code MapDemo to see how this is all working.
– In the SaxHandler.java
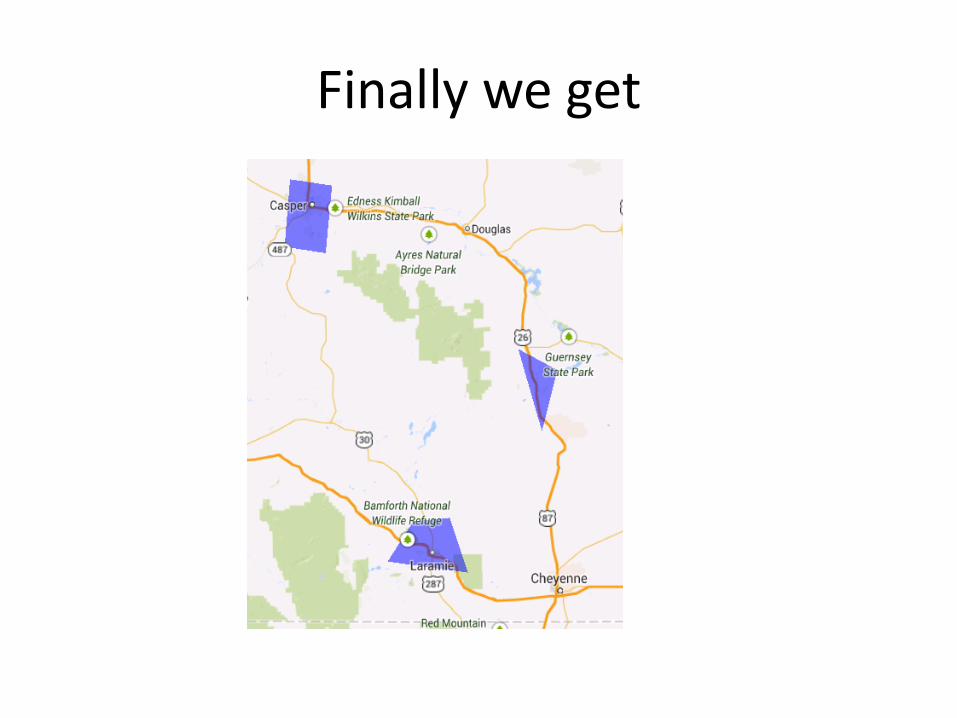
Finally we get

Sample code
• The DrawMapActivity
– Uses /raw/cats kml file
• Also dogs, if you want to try it.
– Needs the dataSet.java (simple array list of placemarks)
– Placemarks.java holds information about a place including the coordinates
– saxHandler.java which handler to read the kml file.

References
• https://developers.google.com/maps/documentation/android/start#installing_the_google_maps_android_v2_api
• http://www.vogella.com/articles/AndroidGoogleMaps/article.html
• http://wptrafficanalyzer.in/blog/google-maps-in-android-application-with-new-google-maps-android-api-v2-using-supportmapfragment/

Sumber:
• http://www.cs.uwyo.edu/~seker/courses/4730/