MyGraphicsLab: Adobe Photoshop CS6 ACA Certification ...
21
PREPARING IMAGES FOR WEB, PRINT, AND VIDEO MyGraphicsLab: Adobe Photoshop CS6 ACA Certification Preparation for Visual Communication Copyright © 2013 MyGraphicsLab/Pearson Education
-
Upload
khangminh22 -
Category
Documents
-
view
2 -
download
0
Transcript of MyGraphicsLab: Adobe Photoshop CS6 ACA Certification ...

PREPARING IMAGES FOR WEB, PRINT, AND VIDEO
MyGraphicsLab: Adobe Photoshop CS6 ACA Certification Preparation for Visual Communication
Copyright © 2013 MyGraphicsLab/Pearson Education

OBJECTIVES
5.1 Demonstrate knowledge of preparing images for web, print, and video.
Copyright © 2013 MyGraphicsLab/Pearson Education
This presentation covers the following ACA Exam objective:

PREPARING IMAGES FOR OUTPUT
As you’ve learned, how you prepare images for output depends on the output destination. Web output requires small file
sizes while retaining clarity and crispness. Print output requires high
resolution and correct color mode settings for reproduction on commercial presses. Video output requires attention
to file size (especially for web videos), file format, and pixel aspect ratio for reliable playback on intended devices.
Copyright © 2013 MyGraphicsLab/Pearson Education

WEB OUTPUT
Optimizing images for the web balances two competing criteria: Small file size (and thus fast
downloading) Sharp, clear image quality
Copyright © 2013 MyGraphicsLab/Pearson Education

WEB OUTPUT: FILE FORMATS
Three file formats are used for web images: JPEG: best for photographic
images and complex illustrations GIF: best for images with large
blocks of solid color, web animations, and background transparency PNG: a kind of hybrid; creates
higher-quality images than GIF, but larger file sizes than JPEG
Copyright © 2013 MyGraphicsLab/Pearson Education
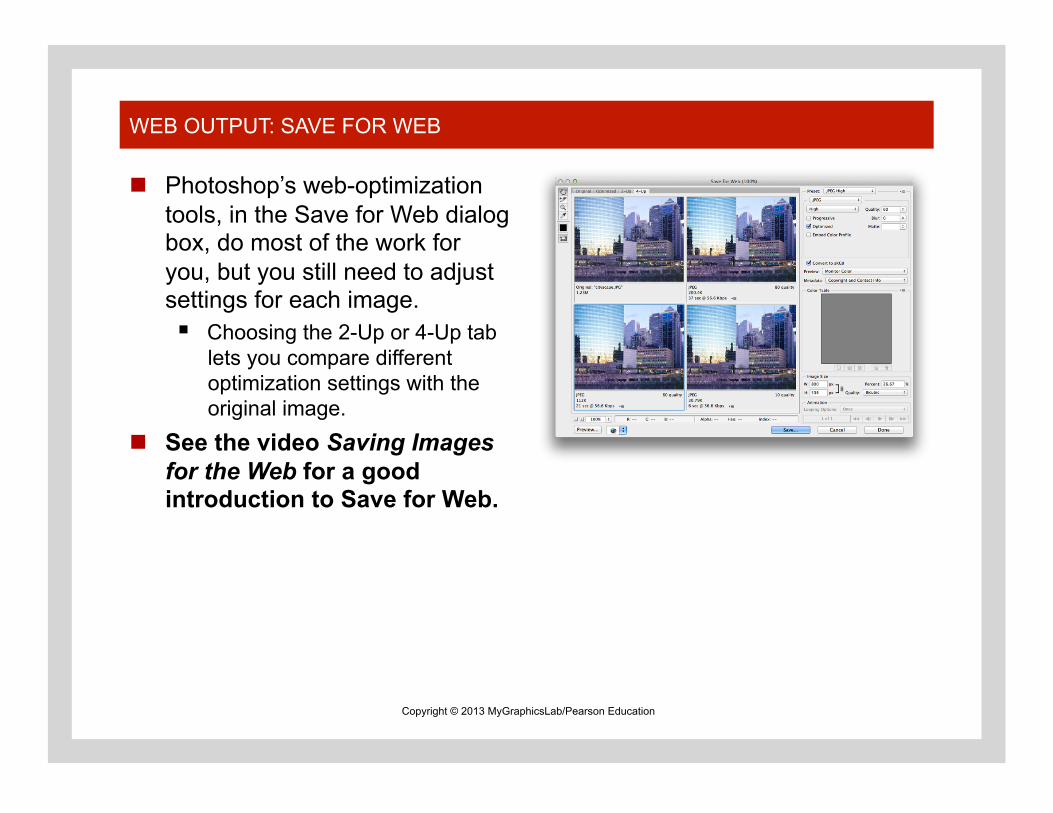
WEB OUTPUT: SAVE FOR WEB
Photoshop’s web-optimization tools, in the Save for Web dialog box, do most of the work for you, but you still need to adjust settings for each image. Choosing the 2-Up or 4-Up tab
lets you compare different optimization settings with the original image.
See the video Saving Images for the Web for a good introduction to Save for Web.
Copyright © 2013 MyGraphicsLab/Pearson Education

WEB OUTPUT: OPTIMIZING JPEG IMAGES
To save as JPEG, choose File > Save for Web. In the dialog box: 1. Choose a JPEG preset from the
Preset menu, or choose JPEG from the second menu.
2. Select Optimized to reduce file size. (Lowering Image Size dimensions lowers file size too.)
3. Click the 2-Up tab, and compare original and JPEG versions as you try different quality settings.
4. Select Convert to sRGB (the color profile used by web browsers).
5. Click Save, choose a name and location, and click Save again.
Copyright © 2013 MyGraphicsLab/Pearson Education

WEB OUTPUT: CREATE A WEB GALLERY (1 OF 5)
In Bridge, you can create a web photo gallery, ready to upload. Step 1: In Bridge, click Output to
switch to the Output workspace. Step 2: Click the Web Gallery
button in the Output panel. Step 3: Navigate to the folder
with your gallery images, and select all. If your gallery images are
scattered in different folders, collect them in one folder.
If you have more images in the folder than you will use in the gallery, select only those you will use.
Copyright © 2013 MyGraphicsLab/Pearson Education

WEB OUTPUT: CREATE A WEB GALLERY (2 OF 5)
Step 4: In the Output panel, choose a gallery template and corresponding style.
■ See Adobe Photoshop CS6 Classroom in a Book, Lesson 13, pages 355–358, for an exercise on creating a web gallery.
Copyright © 2013 MyGraphicsLab/Pearson Education

WEB OUTPUT: CREATE A WEB GALLERY (3 OF 5)
Step 5: In the Output panel, click Preview in Browser to preview your web gallery. Repeat this step as needed while
you adjust settings to your liking.
■ See the video Building a Web Photo Gallery for a good orientation.
Copyright © 2013 MyGraphicsLab/Pearson Education

WEB OUTPUT: CREATE A WEB GALLERY (4 OF 5)
Step 6: In the Output panel, choose your options: Site Info: Gallery Title, Gallery
Caption, and Your Name appear in most templates.
Color Palette: tweak your chosen template style.
Appearance: fine-tune the default settings for your chosen template, including Transition Effect.
Create Gallery: choose a folder for the gallery files, and enter FTP server settings for uploading to your web server.
Preview in Browser, and tweak again until you are satisfied.
Copyright © 2013 MyGraphicsLab/Pearson Education

WEB OUTPUT: CREATE A WEB GALLERY (5 OF 5)
Step 7: Click Save to save the gallery files to your computer. Even if you also upload to your
web server, saving a copy on your computer is a good idea.
Step 8 (optional): Click Upload to upload the gallery files to your web server. Choose this only if you normally
upload files to the web server. The FTP settings in the Output
panel must be filled in. Note: The resulting index.html file
and image folder must stay intact and together for the gallery to work.
Copyright © 2013 MyGraphicsLab/Pearson Education

PRINT OUTPUT: RESAMPLING REFRESHER
Resampling is Photoshop’s process of determining which pixels can be deleted, or added, with the least effect on quality.
Resampling down to a lower image resolution deletes pixels but usually retains quality.
Caution: Resampling up adds pixels and always results in a lower-quality image.
Choose images whose resolution and document size are close to your output needs.
See the video Preparing Press-Quality Images for an overview of image resizing.
Copyright © 2013 MyGraphicsLab/Pearson Education

PRINT OUTPUT: WORKFLOW
Choose Color Settings most appropriate for your printer.
Edit in RGB mode, not CMYK. Use nondestructive editing
methods whenever possible. After editing, resample down
(never up) to the standard image resolutions for print: 240 ppi for desktop printers 300 ppi for commercial printers
Soft-proof your document, and make final color corrections.
Convert to CMYK mode as the last step. When printing to inkjet and
office printers, leave in RGB.
Copyright © 2013 MyGraphicsLab/Pearson Education

PRINT OUTPUT: FILE FORMATS
Most commercial printers accept documents in the following formats: DCS (Desktop Color
Separations) EPS (Encapsulated PostScript) PDF (Portable Document
Format): most common PSD (Photoshop Document) TIFF
See Adobe Photoshop CS6 Classroom in a Book, pages 364–371, for an overview of and exercises on preparing images for print.
Copyright © 2013 MyGraphicsLab/Pearson Education

PRINT OUTPUT: PRINT COMMAND REFRESHER (1 OF 2)
Photoshop’s redesigned Print dialog box gives you more control over color, with a large preview. In the Color Management section, you choose the following settings: Color Handling: determines
whether the printer or Photoshop manages color. With printer selected, all other
options become unavailable. If you have a color profile for
your printer, Adobe recommends choosing Photoshop Manages Colors.
Printer Profile: Choose the closest match to your printer.
Copyright © 2013 MyGraphicsLab/Pearson Education

PRINT OUTPUT: PRINT COMMAND REFRESHER (2 OF 2)
Rendering intent: Determined by your Color Settings, the default setting is recommended.
Black Point Compensation
Copyright © 2013 MyGraphicsLab/Pearson Education
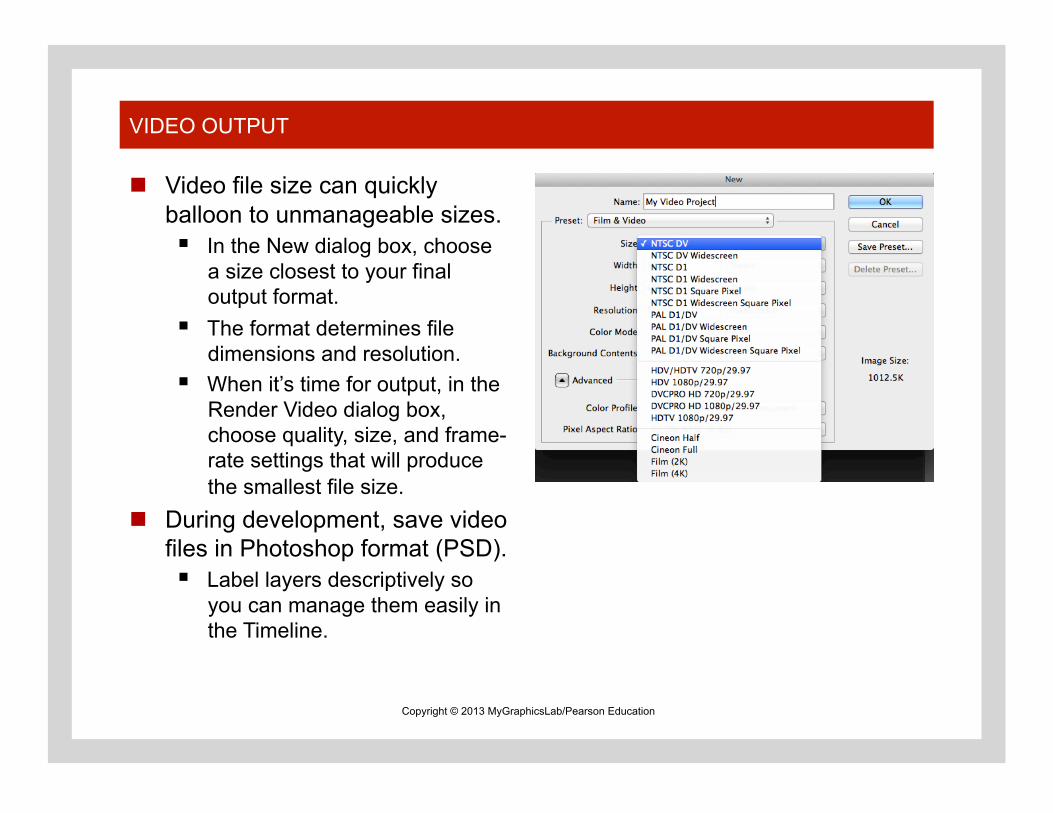
VIDEO OUTPUT
Video file size can quickly balloon to unmanageable sizes. In the New dialog box, choose
a size closest to your final output format.
The format determines file dimensions and resolution.
When it’s time for output, in the Render Video dialog box, choose quality, size, and frame-rate settings that will produce the smallest file size.
During development, save video files in Photoshop format (PSD). Label layers descriptively so
you can manage them easily in the Timeline.
Copyright © 2013 MyGraphicsLab/Pearson Education

VIDEO OUTPUT: TITLE-SAFE AREAS
If you edit for broadcast or home-use video, be aware that most consumer TV sets cut off the edges of a video.
When you select NTSC, PAL, or HDTV size in the New dialog box, Photoshop creates guides delineating safe editing areas. The outer set of guides is the
action-safe area. The inner set of guides is the
title-safe area. See Adobe Photoshop CS6
Classroom in a Book, pages 268–285, for an exercise on video.
Copyright © 2013 MyGraphicsLab/Pearson Education

VIDEO OUTPUT: RENDER VIDEO
To create the final video file, render it to compute your edits: File > Export > Render Video.
In the Render Video dialog box, choose Adobe Media Encoder, and then choose a format: DPX (Digital Picture Exchange):
for importing to a professional video editor
H.264 (MPEG-4): the most versatile, with presets for HDTV and optimized web formats
QuickTime (MOV): required for exporting uncompressed video
Copyright © 2013 MyGraphicsLab/Pearson Education
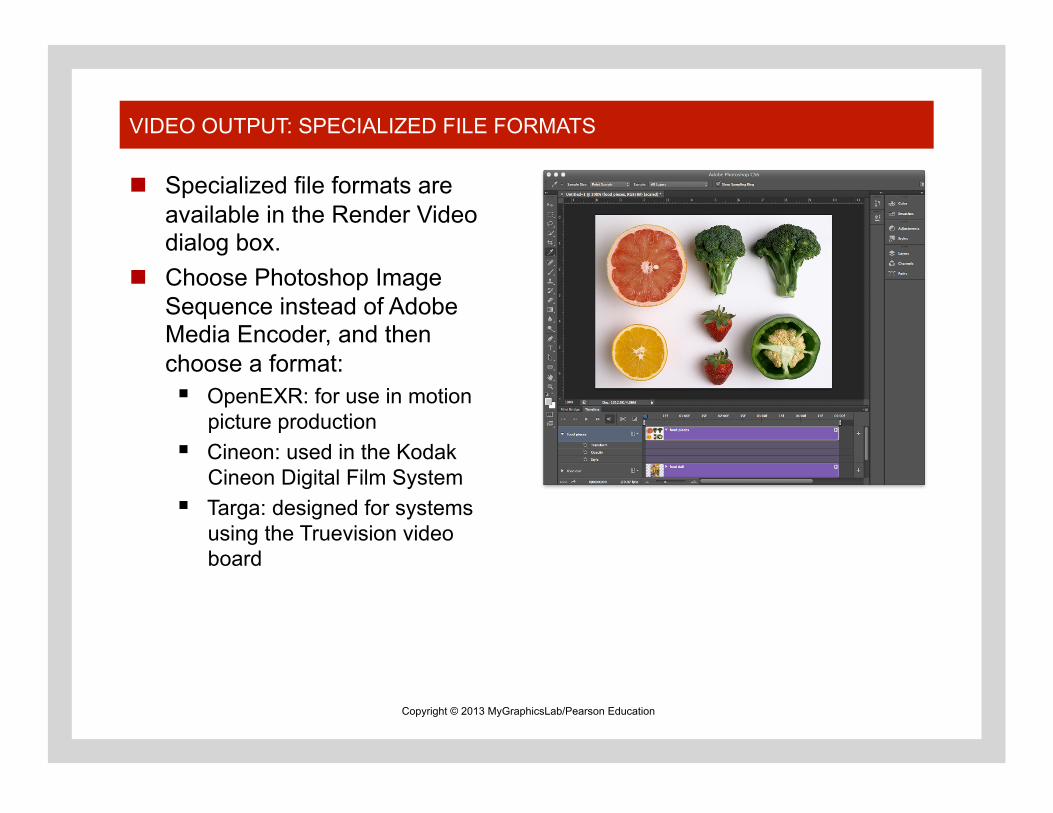
VIDEO OUTPUT: SPECIALIZED FILE FORMATS
Specialized file formats are available in the Render Video dialog box.
Choose Photoshop Image Sequence instead of Adobe Media Encoder, and then choose a format: OpenEXR: for use in motion
picture production Cineon: used in the Kodak
Cineon Digital Film System Targa: designed for systems
using the Truevision video board
Copyright © 2013 MyGraphicsLab/Pearson Education