Installation & Warranty Guide - Bowater Doors
12
Installation & Warranty Guide
-
Upload
khangminh22 -
Category
Documents
-
view
2 -
download
0
Transcript of Installation & Warranty Guide - Bowater Doors

Installation & Warranty Guide
0 1
CONTENTS
DELIVERY
STORAGE
DOOR INSTALLATION
DOOR INSTALLATION WITH SIDELIGHTS
STRUCTURAL CAVITY CLOSER
HINGE ADJUSTMENT
LOCK AND KEEP ADJUSTMENT
WARRANTY PERIOD
REPORTING A WARRANTY ISSUE
WARRANTY CHECKLIST
KEY CONTACTS
2
2
3
4
4
6
6
7
7
8
9
PAGE
DELIVERY
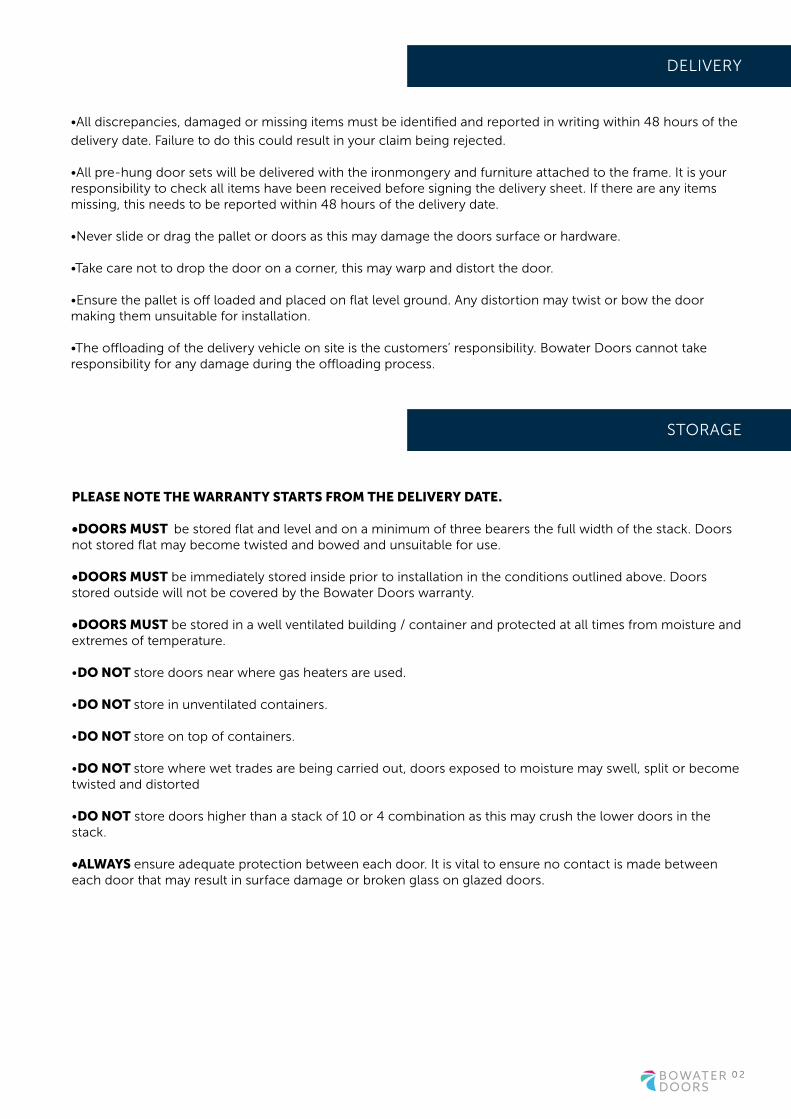
•All discrepancies, damaged or missing items must be identified and reported in writing within 48 hours of the
delivery date. Failure to do this could result in your claim being rejected.
•All pre-hung door sets will be delivered with the ironmongery and furniture attached to the frame. It is your responsibility to check all items have been received before signing the delivery sheet. If there are any items missing, this needs to be reported within 48 hours of the delivery date.
•Never slide or drag the pallet or doors as this may damage the doors surface or hardware.
•Take care not to drop the door on a corner, this may warp and distort the door.
•Ensure the pallet is off loaded and placed on flat level ground. Any distortion may twist or bow the door making them unsuitable for installation.
•The offloading of the delivery vehicle on site is the customers’ responsibility. Bowater Doors cannot take responsibility for any damage during the offloading process.
PLEASE NOTE THE WARRANTY STARTS FROM THE DELIVERY DATE.
•DOORS MUST be stored flat and level and on a minimum of three bearers the full width of the stack. Doors not stored flat may become twisted and bowed and unsuitable for use.
•DOORS MUST be immediately stored inside prior to installation in the conditions outlined above. Doors stored outside will not be covered by the Bowater Doors warranty. •DOORS MUST be stored in a well ventilated building / container and protected at all times from moisture and extremes of temperature. •DO NOT store doors near where gas heaters are used.
•DO NOT store in unventilated containers.
•DO NOT store on top of containers.
•DO NOT store where wet trades are being carried out, doors exposed to moisture may swell, split or become twisted and distorted
•DO NOT store doors higher than a stack of 10 or 4 combination as this may crush the lower doors in the stack.
•ALWAYS ensure adequate protection between each door. It is vital to ensure no contact is made between each door that may result in surface damage or broken glass on glazed doors.
STORAGE
0 2

DOOR INSTALLATION
1. Pre-check door(s) for any sign of physical damage.
2. Remove the keys and handle pack attached to the side of the frame.
3. Ensure the sill is supported on a bed of mortar with a minimum support of 100mm.
4. CHECK THE DOOR FRAME IS LEVEL AND PLUMB BEFORE PROCEEDING.
140
200
5050
8585
B
B
186
592
152
588
152
152
152
238
152
140
8585
5. Our doors are supplied with a Part M compliant
threshold. These will arrive as a goal post or on a
sill (composite, timber or UPVc). These thresholds
are secured to the sill and sealed at our factory,
however if you have asked for them to be supplied
unfitted, please ensure you re-seal with two full
lengths of silicone prior to fitting. Take care not
to block up the three 6mm drainage holes with
silicone or debris. (point E) and maintain a drainage
channel (point F).
6. Place the frame within the door aperture with the
aid of non-compressible shims at both jambs and
centralise to ensure the door frame is still LEVEL
AND PLUMB.
7. Using concrete/masonry torx screws, direct fix
the frame into masonry or use a structural cavity
closer (recommended when fixing into an open
cavity). Start from the top of the frame and ensure
there are two fixings above and below each hinge.
All fixings should achieve a minimum structural
penetration of 60mm.
8. Check the gap between door and frame for
uniformity, with particular attention to the lock
jamb and sill. Adjust if necessary (see hinge
adjustment instructions on page 6). Some
resistance should be apparent at the threshold
seals.
9. Adjust the frame keeps to create compression
against frame seal (see keep adjustment on page 6).
Finished Floor LevelDrainage Channel
Ensure there is a drainage channel in between the landing area
and the sill to divert water away from the sill.
If you are fixing to a timber frame
building/construction you must email
guidance.
12
ELocation of 6mm
Drainage Holes
FE
0 3

INSTALLATION WITH SIDELIGHTS
Follow the standard door fitting installation instructions to point 5 (page 2) and finish with the points below.
Un-coupled side lights are delivered as a complete unit. Coupled sidelights need to be fixed together on site.
1. We recommend that the sidelight and frame should be temporarily clamped when fixing. Using self-drilling
screws (not supplied by Bowater Doors), fix the door frame to the coupled sidelight at six points through
the aluminium bar attached to the glazed section. The fixings should be approximately 50mm above and
below each keep and latch (see point A). This is to ensure that the multipoint lock performs to its tested
tolerance for security.
2. Secure the frame using non compressible shims. Once in place, use concrete/masonry torx screws (not
supplied by Bowater Doors) to direct fix the straight and plumb frame at points marked B & D. Start fixing
from the top to the bottom at 40-50mm above and below the middle and top hinges.
3. De-glaze the side light frame prior to fixing:
• Gently remove the two vertical beads followed by the horizontal beads with a glazing or putty knife, take
extra care not to damage the bead.
• Carefully remove the glazing, identify and take note of the external laminated side, you will need to know
this for re-fitting the glass
• Once the side light is fully de-glazed, ensure the frame is plumb and level by packing evenly at the jambs
and each fixing point using non-compressible shims
4. For double side light frames, direct fixings should be applied at the head of the door 100mm from jambs
“where possible” to provide central rigidity (Point G)
Continue to follow the standard door fitting instructions (page 2) from point 6 to complete the installation.
Bowater Doors recommend de-glazing all side lights prior to installation. We do not endorse
fitting our doors using straps.
Bowater Doors recommend the use of a Structural
Cavity Closer in all open cavity installations to allow a
solid fix of the frame.
This allows a direct fix through the outer door frame
into the cavity closer. As a result, it minimises any
movement that may occur once the door has been
installed.
• 100mm, 125mm and 150mm versions are
available.
• Acts as a damp-proof course (DPC).
• Structural Cavity Closers can be purchased direct
from Bowater Doors or from Cavalock.
STRUCTURAL CAVITY CLOSERS Image shows the use of a
Cavalock Cavity Closer
0 4

INSTALLATION WITH SIDELIGHTS15
059
515
059
560
0
200
140
8550
50
A
B
B
85
152
592
152
588
152
152
152
238
186
140
8585
SIN
GLE
SID
E L
IGH
T C
OU
PLE
D D
OO
R S
ET
DO
UB
LE S
IDE
LIG
HT
UN
-CO
UP
LED
DO
OR
SE
T
150
595
150
595
600
B
150
595
150
595
600
B120 120
GG
0 5

HINGE ADJUSTMENTS
The central keep should be adjusted first, the top
and bottom keeps should be adjusted if required.
To increase compression move the keeps
towards ‘A’
To reduce compression move the keeps towards
‘B’
AB
LOCK AND KEEP ADJUSTMENTS
1
2
3
Loosen screws 1 and 3 by three turns.
Tighten or loosen Allen Screw 2 with a 4 mm Allen Key.
Tighten screws 1 and 3.
Height Adjustment:Turn Allen Screw B with a 4mm key
Key as shown in Figure A.
Adjustment: -2/+6mm.
Horizontal Adjustment:
B
Figure A
If you are adjusting a style of hinge that has been discontinued by Bowater Doors, please contact [email protected] for futher assistance
0 6
1
2
3

WARRANTY PERIOD
The customer* is granted a limited warranty covering the safe and reliable function of a Bowater Door supplied
by Birtley Group.
The warranty period of the component parts is stipulated as:
2 years starting from the date of delivery
All warranty issues are to be reported through our website at bowaterdoors.co.uk/reporting-a-warranty-issue/
Please note, if the requested information and relevant images are not supplied your warranty claim will NOT be
processed.
Bowater Doors guarantees that from the date of delivery and whist the original occupier remains in the
premises of the installation, it will, in accordance with the warranty schedule, repair or replace components or
materials that prove to be defective. Bowater Doors do not cover any warranty issues associated with incorrect
installation and maintenance.
An engineer’s site visit is chargeable at £150 + VAT, the customer will be required to provide a purchase order
number prior to any engineer visit. If the product is found to be defective, this payment will not be
collected.
* The customer is defined as the direct customer of Bowater Doors, not the end user/consumer.
Please note, Bowater Doors do not accept any contra charges in any circumstances
REPORTING A WARRANTY ISSUE
If you feel that the product is defective and the issue is not associated with delivery, storage, installation or
adjustment as detailed in this document please visit the following URL to submit a claim.
www.bowaterdoors.co.uk/reporting-a-warranty-issue/
We need all of the requested information in this form to identify the original order and plot number. If the
information is not supplied we will not be able to process your claim.
Engineer Site Visits
When submitting a claim, you will be asked for a purchase order number. If after a site visit, the issue is found
to be a result of delivery, storage, installation or adjustment, a charge of £150+ VAT will be collected.
A detailed engineers report will be available after inspection. If the issue is found to be the result of installation,
the Bowater Doors Engineer will attempt to make appropriate adjustments. However, the engineer will NOT
re-fit the doorset.
Please note that the customer is responsible for all arrangements with the end user. If for any reason there is
no access to the property upon the engineers’ arrival, the call charge will still apply
0 7

CHECKLIST
GENERAL CHECKLIST YES NO COMMENTS
Has the door been installed to the Bowater Doors Specification? THROUGH FRAME FIXING
Is the door fixed on straps?
Has a structural cavity closer been used?
Have the correct amount of fixings been used to install the doorset? (see page 2)
Has the door frame been fitted level and plumb without bowing?
Has the door frame been packed at each fixing point and foam filled?
Does the door leaf close into the frame without excessive force?
Is there a parallel gap between the lock and the side of the door and keep side of the frame? (3-4mm timber frame, 4-5mm PVC frame)
Is there a parallel gap between the top of the door and the head of the frame? (3-4mm timber frame, 4-5mm PVC frame)
Have the hinges been adjusted to achieve the correct gap? PVC FRAME ONLY
GAPS AND DRAUGHTS
With the door locked, is there any movement backwards and forwards between the door leaf and the frame?
Have the lock keeps been adjusted to achieve the correct operating force?
Are the frame gaskets full length (NO GAPS)
LOCKING ISSUES
Have the hinges been adjusted to achieve the correct gap? PVC FRAME ONLY
With the door locked, is there any movement backwards and forwards between the door leaf and the frame?
Have the lock keeps been adjusted to the correct operating force?
Are the multipoint lock engaged when the door is closed?
WATER PENETRATION
With the door locked, is there any movement backwards and forwards between the door leaf and frame?
Have the lock keeps been adjusted to the correct operating force?
Are the frame gaskets full length (NO GAPS)
Was the threshold supplied loose? If yes, has
it been fitted in accordance with the fitting
instructions?
Is the threshold clear of debris?
Are the drainage holes clear?
Is the sill fully supported on a bed of mortar?
0 8

KEY CONTACTS
0 9
Pre- Delivery and General Enquiries
Door Delivered - Not Installed
wChargeable Spare Parts
Post Installation Queries
Example queries
• Changing the order prior to delivery
• Placing orders
• Site call offs
• U value requests
• Additional copies of fitting
instructions
Example queries
• Door is damaged
• Item missing from door
• Any other issue with a door that has
been delivered to site
Issues must be reported within 48 hours of delivery
If the door is already fitted and something
fails
Example queries
• Bowed door slab
• Water ingress issues
• Locking issues
• Adjustment (please refer to page 6 of
the Installation Manual in first instance)
If you need to purchase any spare parts for
your door.
Department to Contact
w
Bowater Doors Sales [email protected]
Bowater Doors Customer Service [email protected]
Department to Contact
Department to Contact
Department to Contact
Bowater Doors Warranty
bowaterdoors.co.uk/reporting-a-warranty-issue/
Visit the web address below to report a
warranty issue. Please note, if the
requested information and relevant images
are not supplied your warranty claim will
NOT be processed.
Bowater Doors Customer Service [email protected]

NOTES
1 0

Birtley Group, Mary Avenue, Birtley, County Durham DH3 1JF United Kingdom
T: 0191 410 6631 | F: 0844 815 6592 | [email protected] | www.bowaterdoors.co.ukThe particulars of this brochure are for guidance only. We operate a policy of continuous improvement and individual features may vary from time to time. Precise information should always be requested from our technical department. Birtley Group cannot be held responsible for any errors or
omissions contained in this brochure. Birtley Group 250518. LVL05 November 2021
Installation & Warranty Guide