Excellent Reference • Radiograph Quality Evaluation for Exposure Variables—A Review
16
1 Physics of Radiography Part 2: image characteristics Laura Ziegler, DVM What makes a good radiograph? • Should be able to see everything you are “supposed” to see given the study • Intent of the study may change what constitutes a good radiograph – (e.g. a good cervical spinal radiograph is generally poor for assessing the pharynx) • We will leave off talking about positioning, centering, etc. Excellent Reference • Radiograph Quality Evaluation for Exposure Variables—A Review – Robert M. Kirberger, Vet Radiol Ultrasound Vol 40, NO. 3, 1999, pp 220-226
-
Upload
independent -
Category
Documents
-
view
1 -
download
0
Transcript of Excellent Reference • Radiograph Quality Evaluation for Exposure Variables—A Review
1
Physics of Radiography
Part 2: image characteristics
Laura Ziegler, DVM
What makes a good radiograph?
• Should be able to see everything you are “supposed” to see given the study
• Intent of the study may change what constitutes a good radiograph– (e.g. a good cervical spinal radiograph is
generally poor for assessing the pharynx)• We will leave off talking about positioning,
centering, etc.
Excellent Reference
• Radiograph Quality Evaluation for Exposure Variables—A Review– Robert M. Kirberger, Vet Radiol Ultrasound
Vol 40, NO. 3, 1999, pp 220-226

2
What makes a good radiograph?
• Appropriate density (referring to optical density) of the ENTIRE film– High density film=relatively BLACK– Low density film=relatively WHITE
• Density is related to the number of photons interacting with the silver in the film
Film Density
• Directly related to mAs• Directly, but not linearly, related to kVp• Affected by film/screen type (remember
characteristic curves?)• Also affected by processing• Affected by grid (if not compensated)• MUST have a good technique chart (see
lab!)
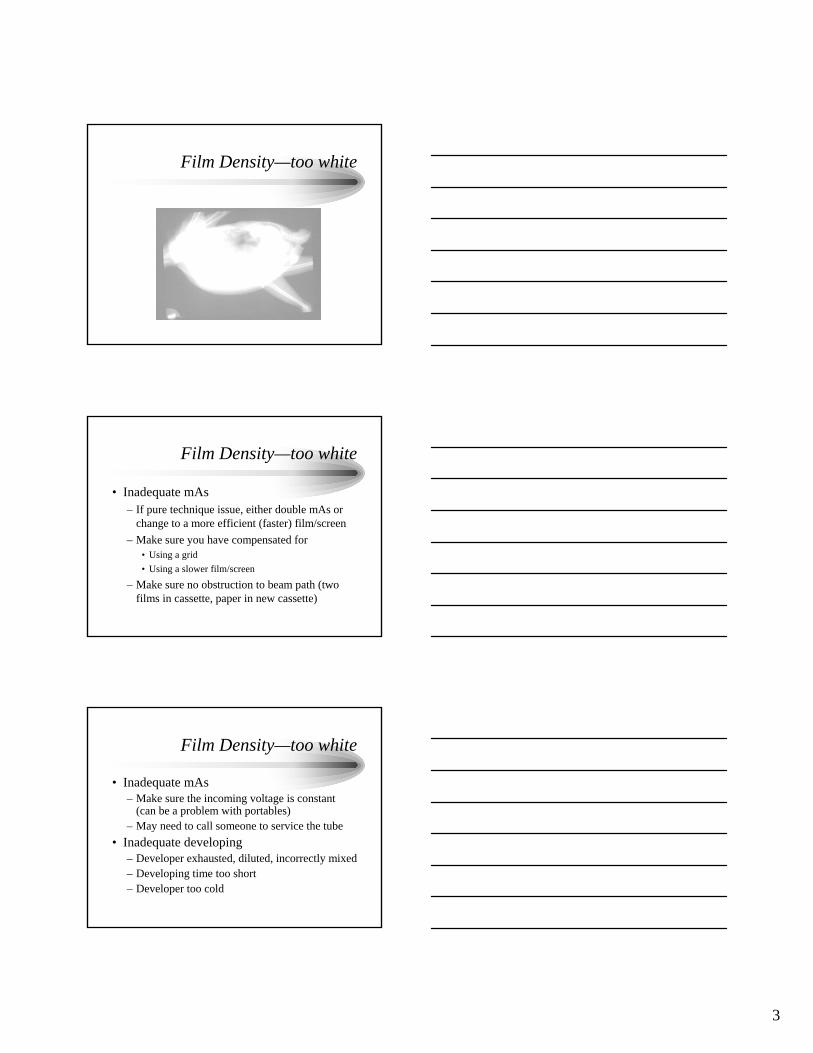
Film Density—too white
• Periphery of film (where the patient isn’t) should be BLACK – Quick test-you should not be able to see a
finger through it• If not, either have:
– Inadequate mAs– Inadequate developing
3
Film Density—too white
Film Density—too white
• Inadequate mAs– If pure technique issue, either double mAs or
change to a more efficient (faster) film/screen– Make sure you have compensated for
• Using a grid• Using a slower film/screen
– Make sure no obstruction to beam path (two films in cassette, paper in new cassette)
Film Density—too white
• Inadequate mAs– Make sure the incoming voltage is constant
(can be a problem with portables)– May need to call someone to service the tube
• Inadequate developing– Developer exhausted, diluted, incorrectly mixed– Developing time too short– Developer too cold
4
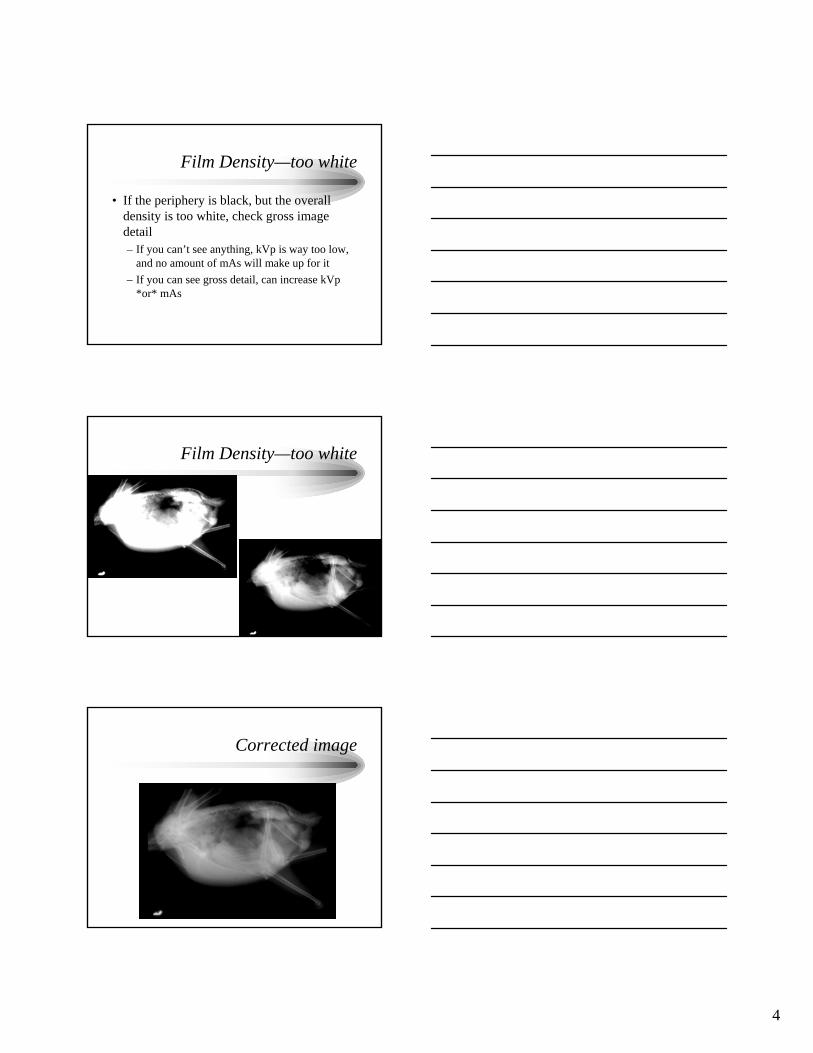
Film Density—too white
• If the periphery is black, but the overall density is too white, check gross image detail– If you can’t see anything, kVp is way too low,
and no amount of mAs will make up for it– If you can see gross detail, can increase kVp
*or* mAs
Film Density—too white
Corrected image

5
Film Density—too white
• Roughly speaking, halving or doubling mAsis equivalent to increasing or decreasing kVp by 10-15%
• Must change kVp by at least 5% to detect a visible difference
• kVp change of 15% will approximately double the density of the film
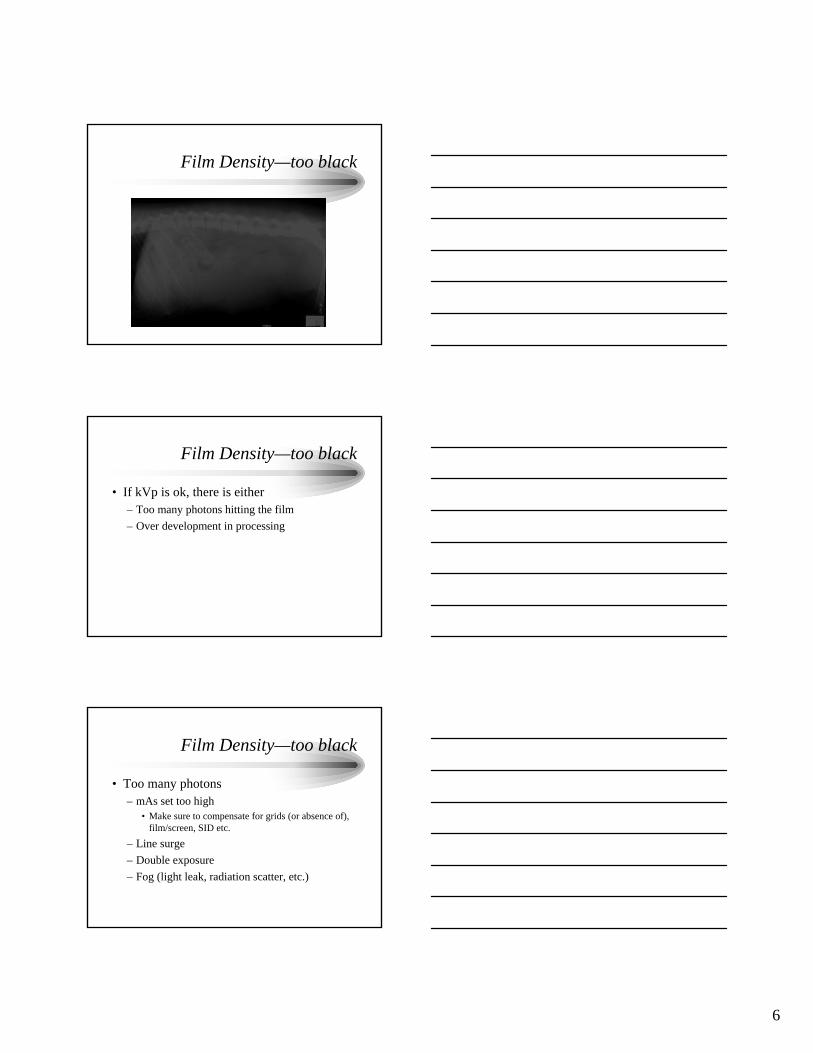
Film Density—too black
• Evaluate under a hot light for small, thin bones
• If they are visible, the kVp is ok• If they are not visible, the kVp is too high
Film Density—too black
6
Film Density—too black
Film Density—too black
• If kVp is ok, there is either– Too many photons hitting the film– Over development in processing
Film Density—too black
• Too many photons– mAs set too high
• Make sure to compensate for grids (or absence of), film/screen, SID etc.
– Line surge– Double exposure– Fog (light leak, radiation scatter, etc.)
7
Film Density—too black
• Over development– Developer incorrectly mixed– Developer time too long– Developer temperature too high
Film Density—too black
• If kVp is too high (small detail not visible), must decrease kVp
• However, the factors mentioned above (usually too high mAs) are also in play
• If kVp is too high but mAs is fine, overall film density is ok, but IMAGE CONTRAST suffers
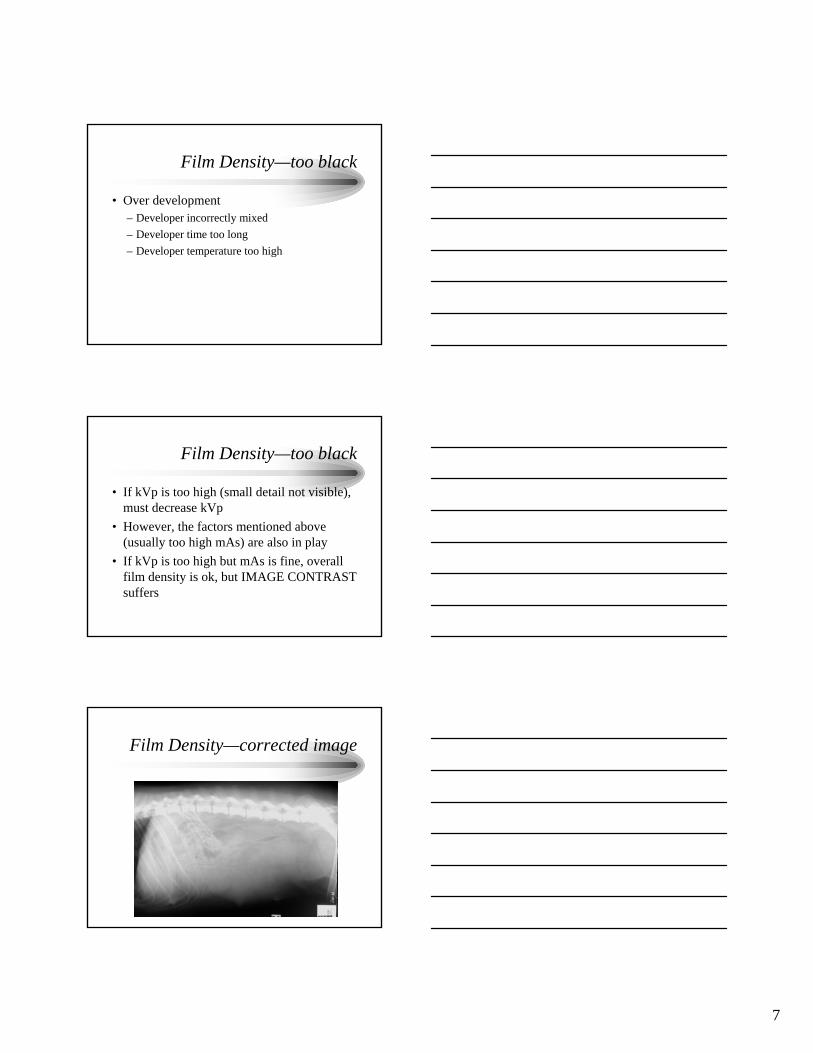
Film Density—corrected image
8
Film Density
• When in doubt, err (slightly) on the side of OVEREXPOSURE (higher kVp or mAs), as information can frequently be retrieved with a hot light
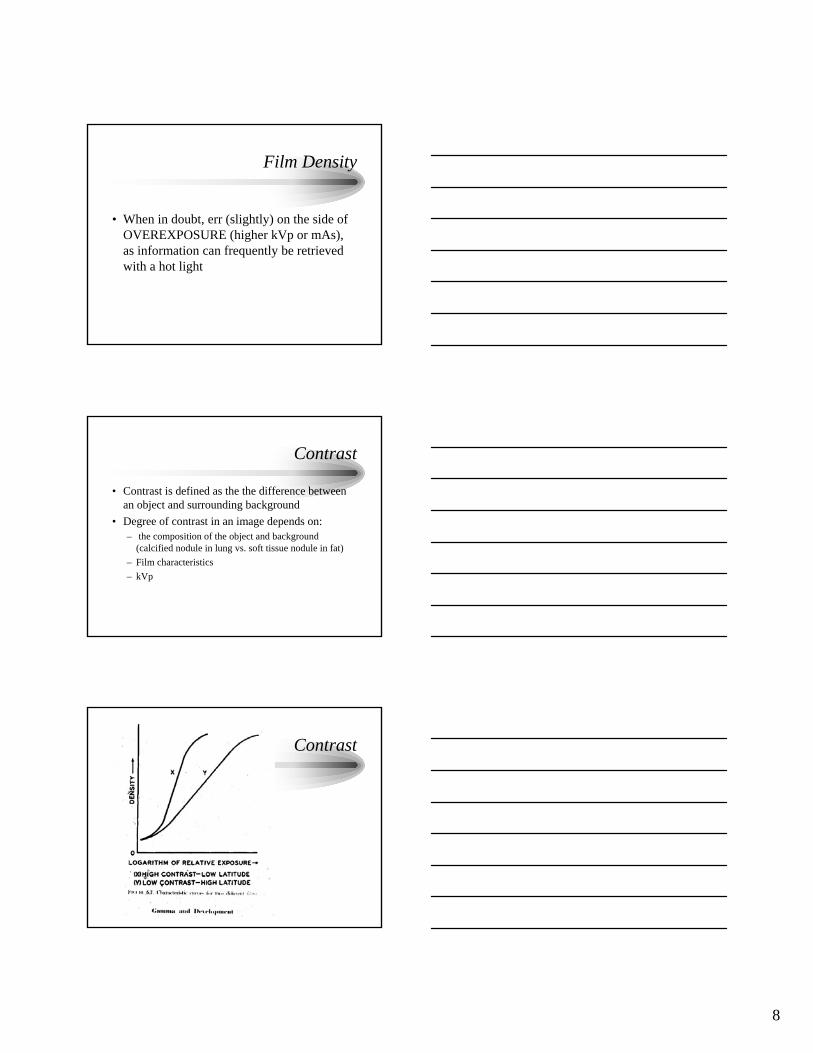
Contrast
• Contrast is defined as the the difference between an object and surrounding background
• Degree of contrast in an image depends on:– the composition of the object and background
(calcified nodule in lung vs. soft tissue nodule in fat)– Film characteristics– kVp
Contrast
9
Contrast
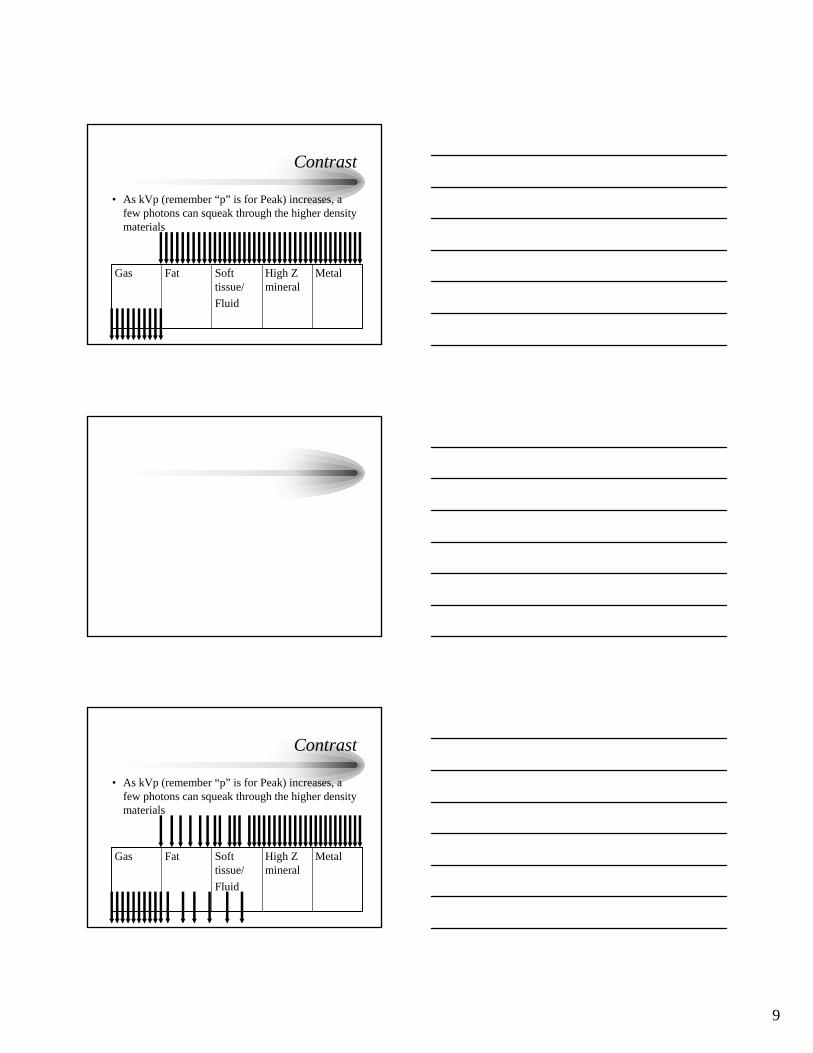
• As kVp (remember “p” is for Peak) increases, a few photons can squeak through the higher density materials
MetalHigh Z mineral
Soft tissue/Fluid
FatGas
Contrast
• As kVp (remember “p” is for Peak) increases, a few photons can squeak through the higher density materials
MetalHigh Z mineral
Soft tissue/Fluid
FatGas
10
Contrast
Contrast
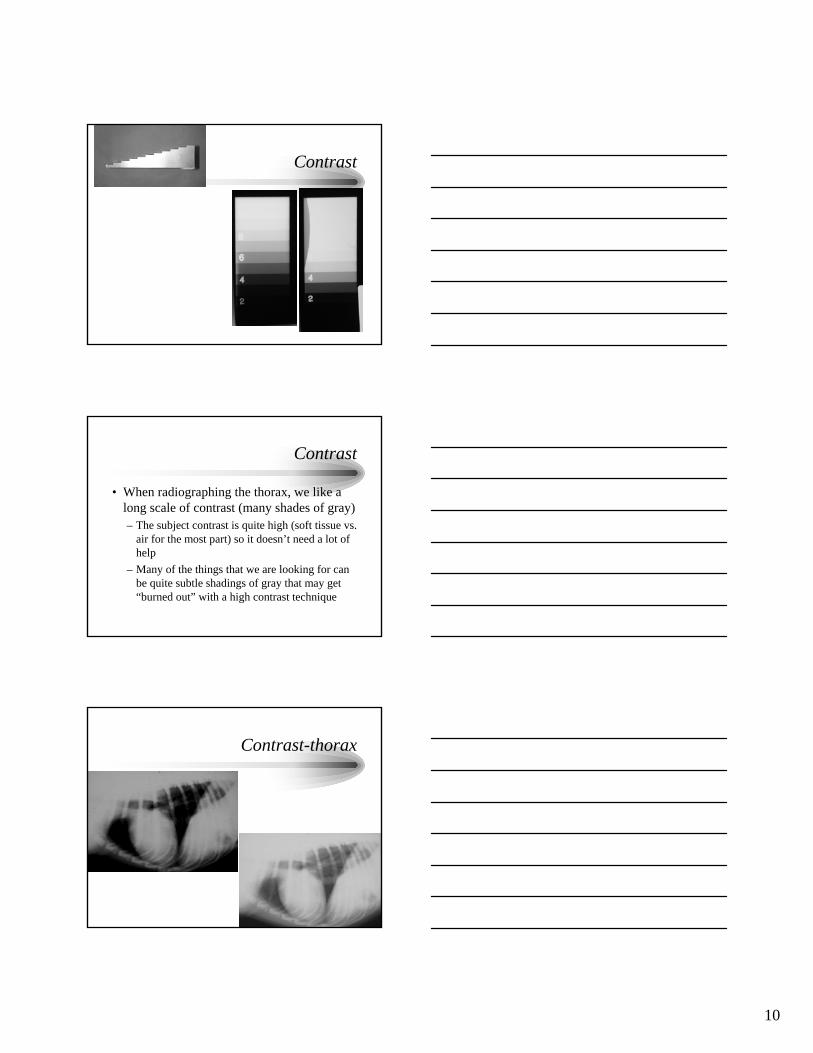
• When radiographing the thorax, we like a long scale of contrast (many shades of gray)– The subject contrast is quite high (soft tissue vs.
air for the most part) so it doesn’t need a lot of help
– Many of the things that we are looking for can be quite subtle shadings of gray that may get “burned out” with a high contrast technique
Contrast-thorax

11
Contrast
• Relatively HIGH kVp for thorax radiographs
Contrast
• When radiographing the abdomen, we like higher contrast (shorter scale)– This is mostly because the subject contrast is
quite low (soft tissue vs. fat)– In order to tell the difference between the two,
we need to compensate with our technique
Contrast-abdomen
12
Contrast
• Relatively LOW kVp for abdomen radiographs
Contrast
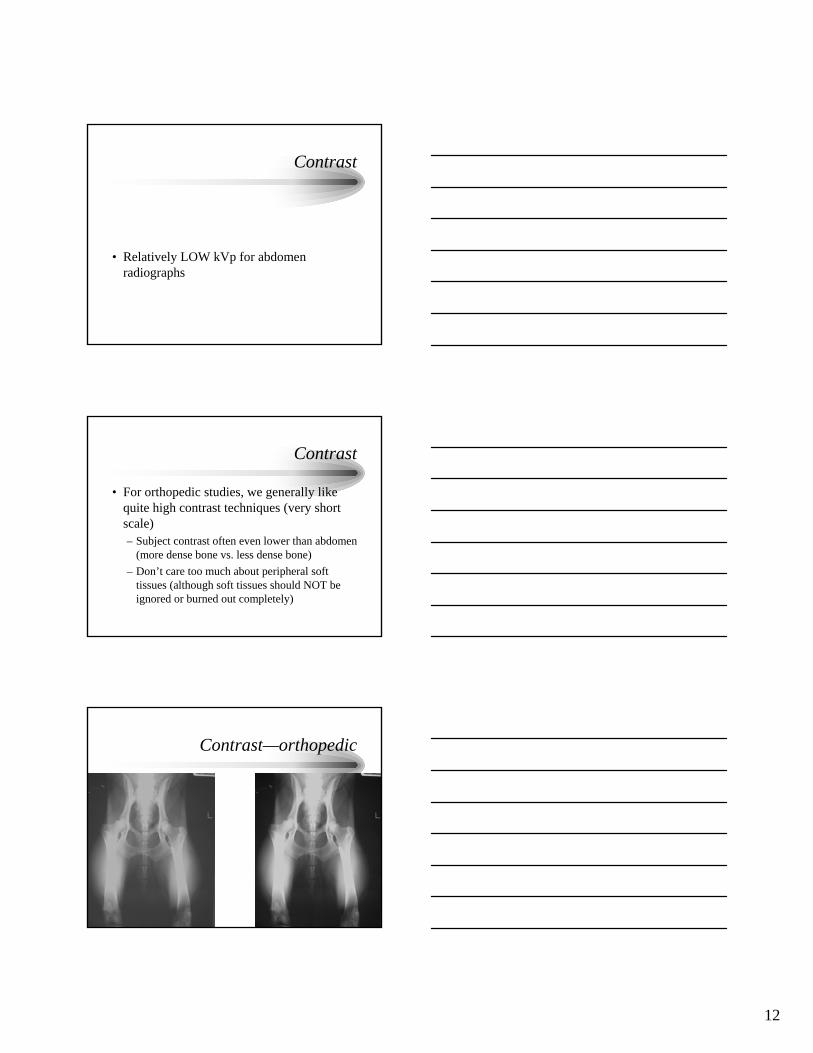
• For orthopedic studies, we generally like quite high contrast techniques (very short scale)– Subject contrast often even lower than abdomen
(more dense bone vs. less dense bone)– Don’t care too much about peripheral soft
tissues (although soft tissues should NOT be ignored or burned out completely)
Contrast—orthopedic
13
Contrast
• Relatively LOW kVp for orthopedic studies
Detail
• Detail (resolution) is the ability to discern two discrete objects as being separate from one another
• Objectively measured in line pairs per millimeter– Higher lp/mm, better resolution
Detail
• Remember, biggest influences on detail are the film (big/little silver crystals, thick/thin emulsion, double/single emulsion) and the screen (big/little phosphor crystals, thick/thin phosphor layer)
• Trade off for high detail is high technique• Generally, want to use the highest detail system
you can get away with (exposure time generally the limiting factor)
14
Detail
• Remember that distance also degrades detail (penumbra)
• Scatter degrades detail and also decreases contrast (grays the image out)
Artifacts
• An artifact is where the image appears to represent something that is not real or interferes with the ability to see things that are real
• Things can go wrong anywhere in the process, from electrons boiling off to the final image being produced and safely stored in a folder or electronic file (and sometimes beyond)
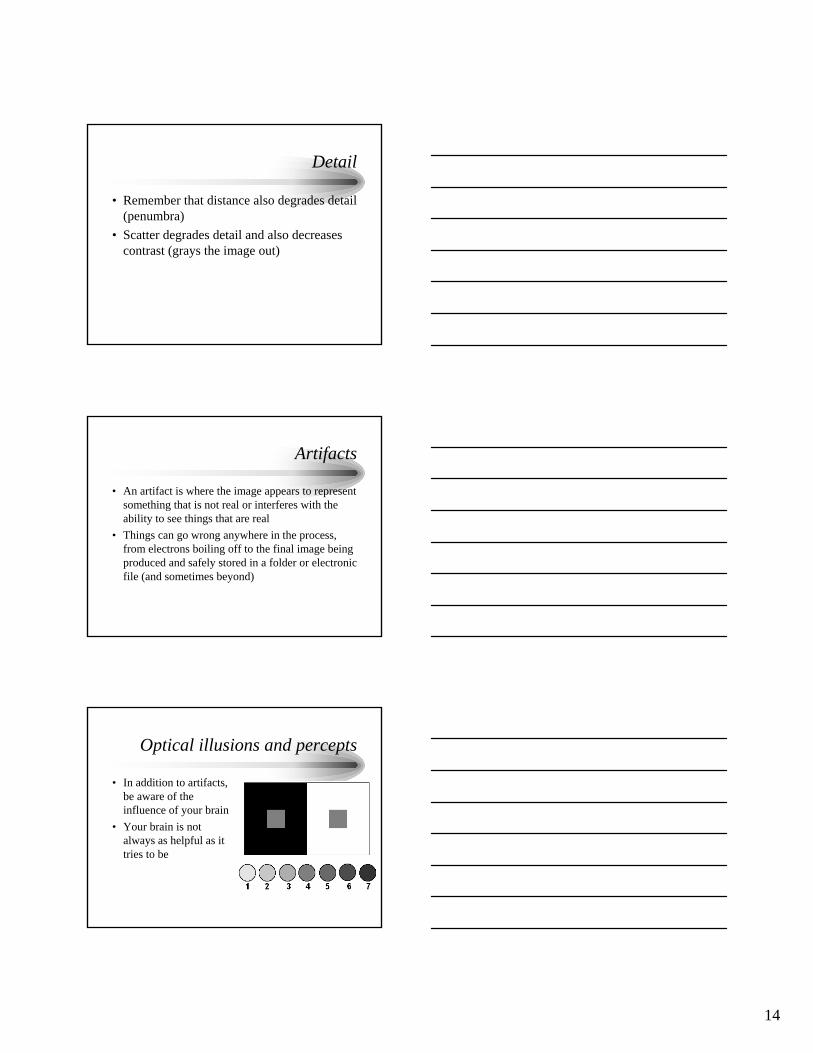
Optical illusions and percepts
• In addition to artifacts, be aware of the influence of your brain
• Your brain is not always as helpful as it tries to be
15
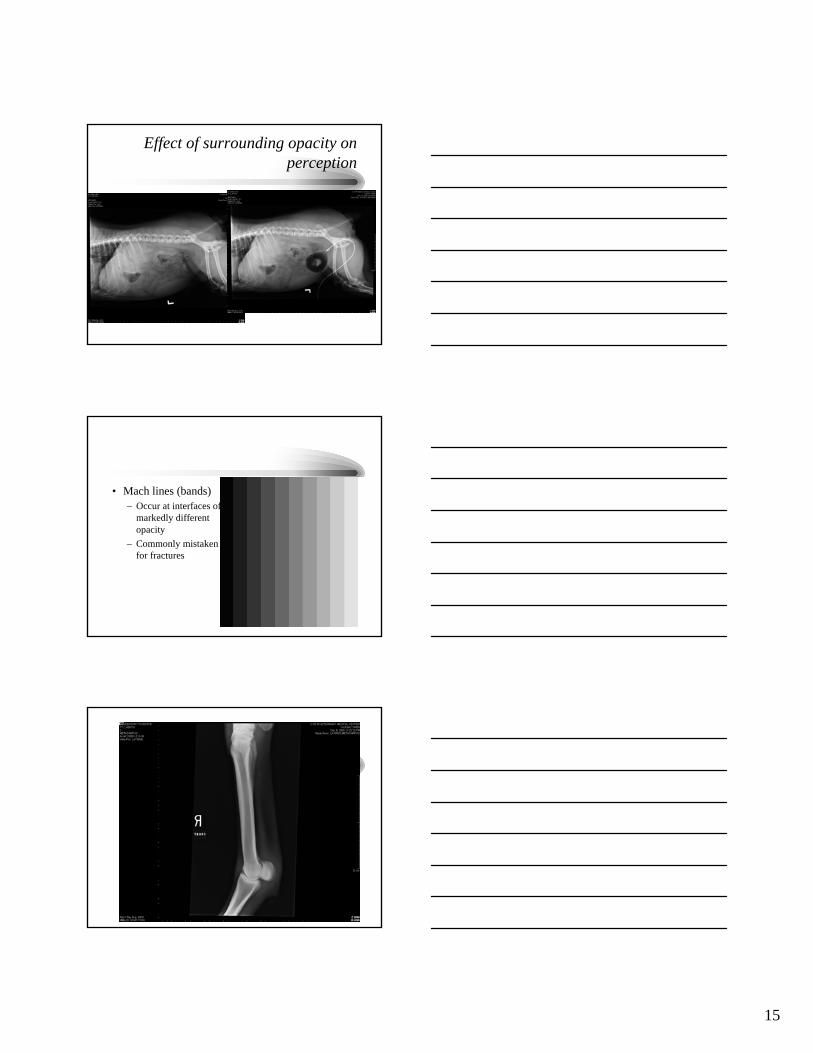
Effect of surrounding opacity on perception
• Mach lines (bands) – Occur at interfaces of
markedly different opacity
– Commonly mistaken for fractures
16
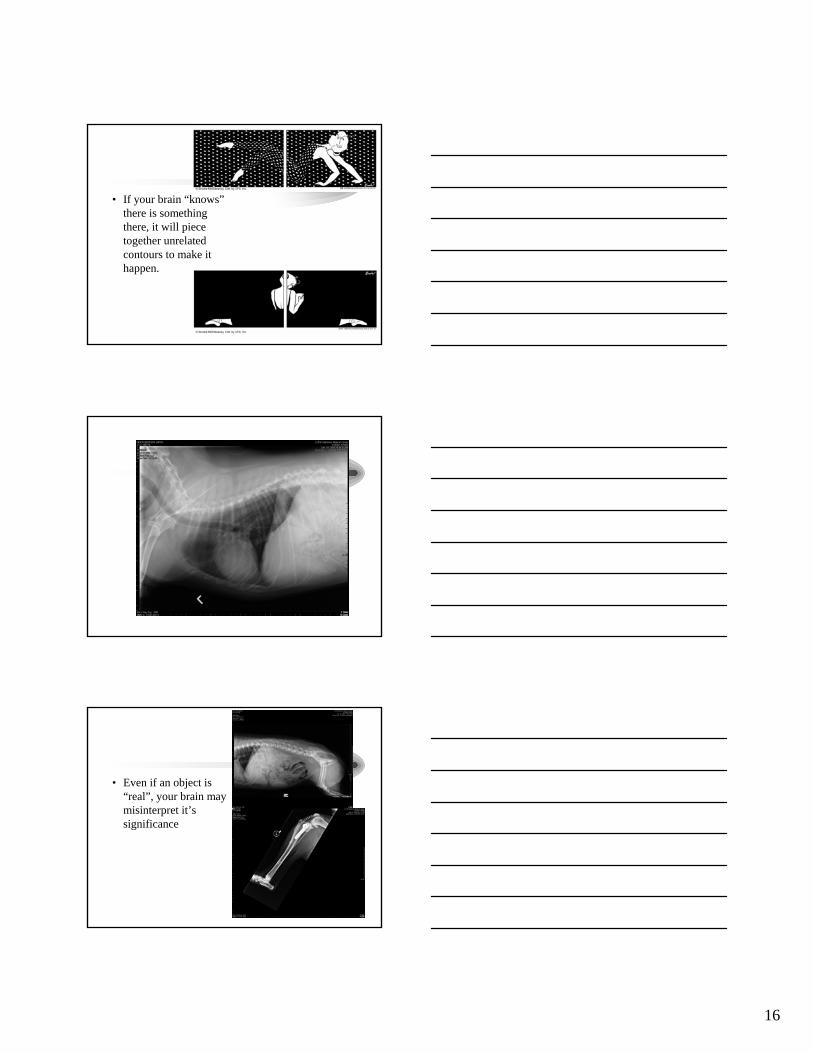
• If your brain “knows”there is something there, it will piece together unrelated contours to make it happen.
• Even if an object is “real”, your brain may misinterpret it’s significance