MENDEL Chapter - Evaluating Social Mission Related Outcomes - May 15
Upload
khangminh22Category
view
0download
0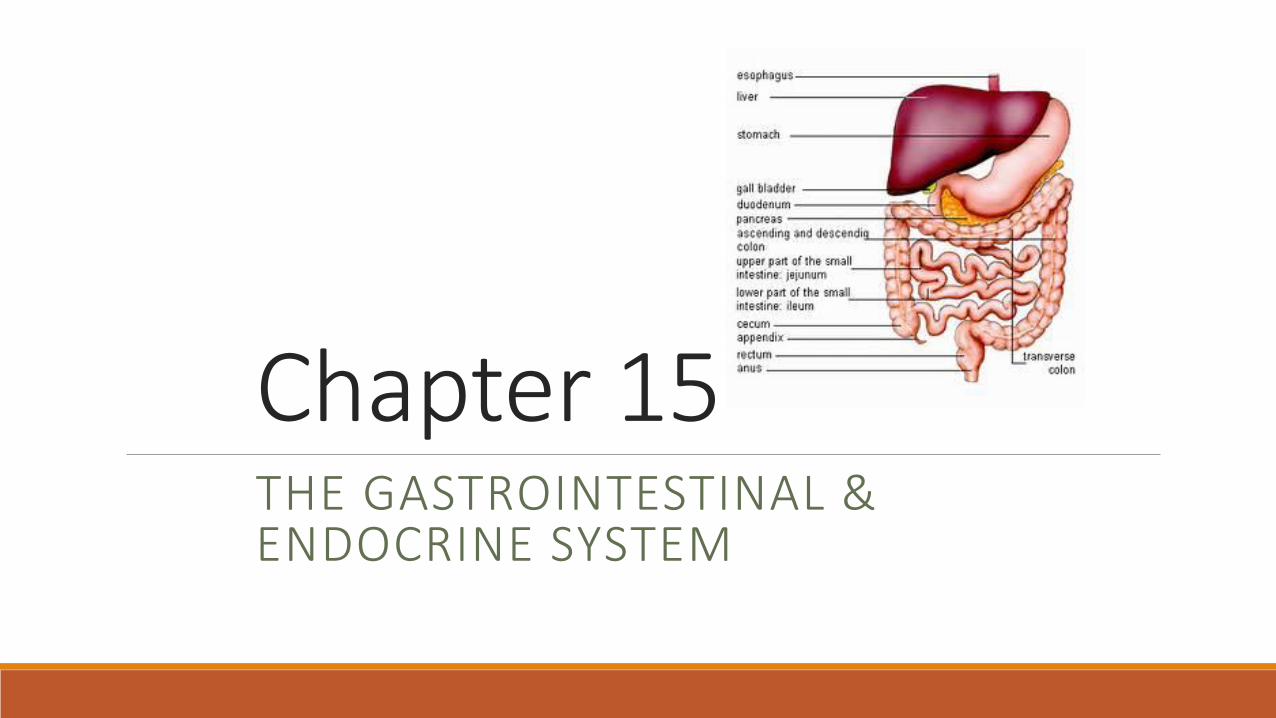
Chapter 15THE GASTROINTESTINAL & ENDOCRINE SYSTEM

15
The Gastrointestinal System
2. Explain key terms related to the body
These ten systems make up the human body:
• Gastrointestinal or digestive
• Urinary
• Reproductive
• Integumentary or skin
• Circulatory or cardiovascular
• Respiratory
• Musculoskeletal
• Nervous
• Endocrine
• Immune and lymphatic
15
The Gastrointestinal System
REMEMBER:
Homeostasis is the condition in which all of the body’s systems are balanced and are working at their best. Keeping body temperature around 98.6° Fahrenheit, regardless of how cold or hot it is outside, is an example of homeostasis.
Knowing what normal changes of aging are for each body system helps nursing assistants better recognize any abnormal changes in their residents.
2. Explain key terms related to the body
15
The Gastrointestinal System
Define the following terms:
gastrointestinal tract
a continuous tube from the opening of the mouth all the way to the anus, where solid wastes are eliminated from the body.
peristalsis
muscular contractions that push food through the gastrointestinal tract.
chyme
semi-liquid substance made as a result of the chemical breakdown of food in the stomach.
duodenum
the first part of the small intestine, where the common bile duct enters the small intestine.
3. Explain the structure and function of the gastrointestinal system

15
The Gastrointestinal System
Define the following terms:
absorption
the transfer of nutrients from the intestines to the cells.
feces
solid body waste excreted through the anus from the large intestine; also called stool.
electrolytes
chemical substances that are essential to maintaining fluid balance and homeostasis in the body.
colon
the large intestine.
3. Explain the structure and function of the gastrointestinal system

15
The Gastrointestinal System
Define the following terms:
defecation
the process of eliminating feces from the rectum through the anus.
ingestion
the process of taking food or fluids into the body.
digestion
the process of converting food so that it can be absorbed into the blood and used by body tissues.
elimination
the process of expelling wastes.
3. Explain the structure and function of the gastrointestinal system
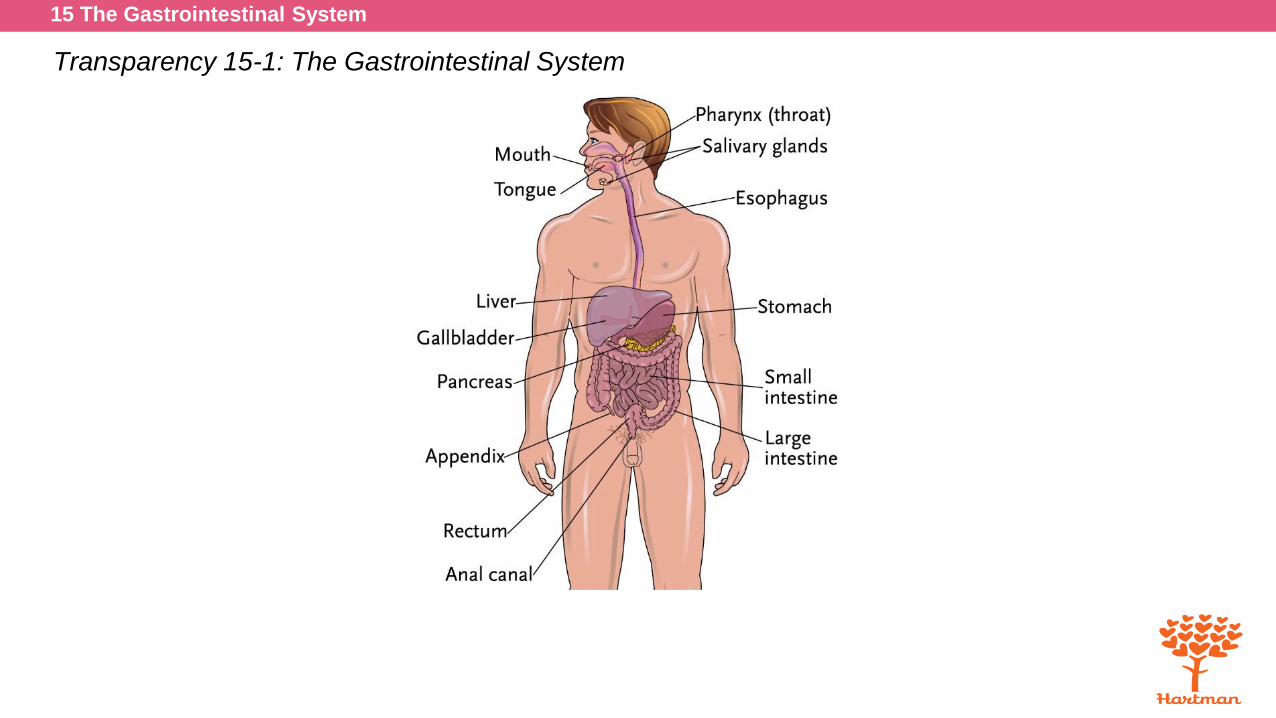
15 The Gastrointestinal System
Transparency 15-1: The Gastrointestinal System

15
The Gastrointestinal System
3. Explain the structure and function of the gastrointestinal system
Know these important points about the gastrointestinal, or digestive system:
• Digestion prepares food for absorption into cells.
• Elimination is expelling solid wastes.

15
The Gastrointestinal System
3. Explain the structure and function of the gastrointestinal system
Here are the functions of the gastrointestinal system:
• Ingestion of food and fluids
• Digestion of food
• Absorption of nutrients
• Elimination of waste products from food/fluids

15
The Gastrointestinal System
4. Discuss changes in the gastrointestinal system due to aging
The following are normal changes of aging:
• Ability to taste decreases.
• Process of digestion takes longer and is less efficient.
• Body waste moves more slowly through the intestines, causing more frequent constipation.
• Difficulty chewing and swallowing may occur.
• Absorption of vitamins and minerals decreases.
• Production of saliva and digestive fluids decreases.

15
The Gastrointestinal System
5. List normal qualities of stool and identify signs and symptoms to report about stool
Define the following term:
bowel elimination
the physical process of releasing or emptying the colon or large intestine of solid waste, called stool or feces.
15
The Gastrointestinal System
5. List normal qualities of stool and identify signs and symptoms to report about stool
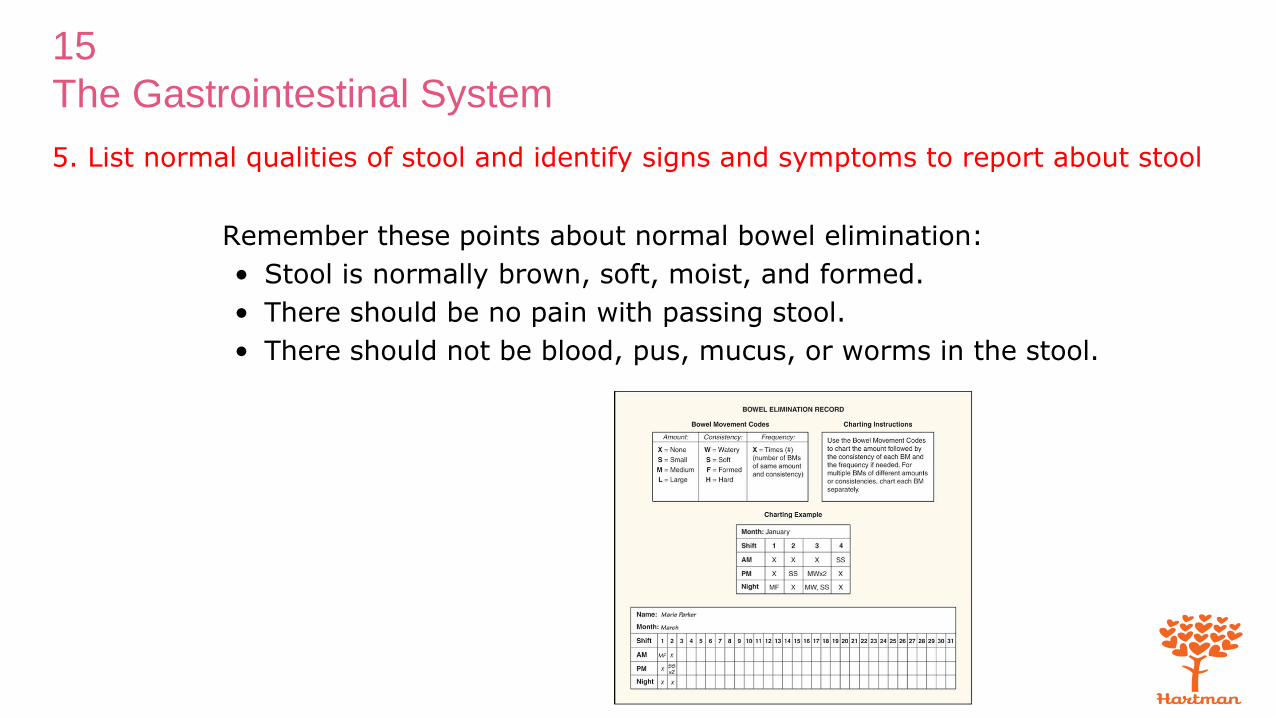
Remember these points about normal bowel elimination:
• Stool is normally brown, soft, moist, and formed.
• There should be no pain with passing stool.
• There should not be blood, pus, mucus, or worms in the stool.
15
The Gastrointestinal System
5. List normal qualities of stool and identify signs and symptoms to report about stool
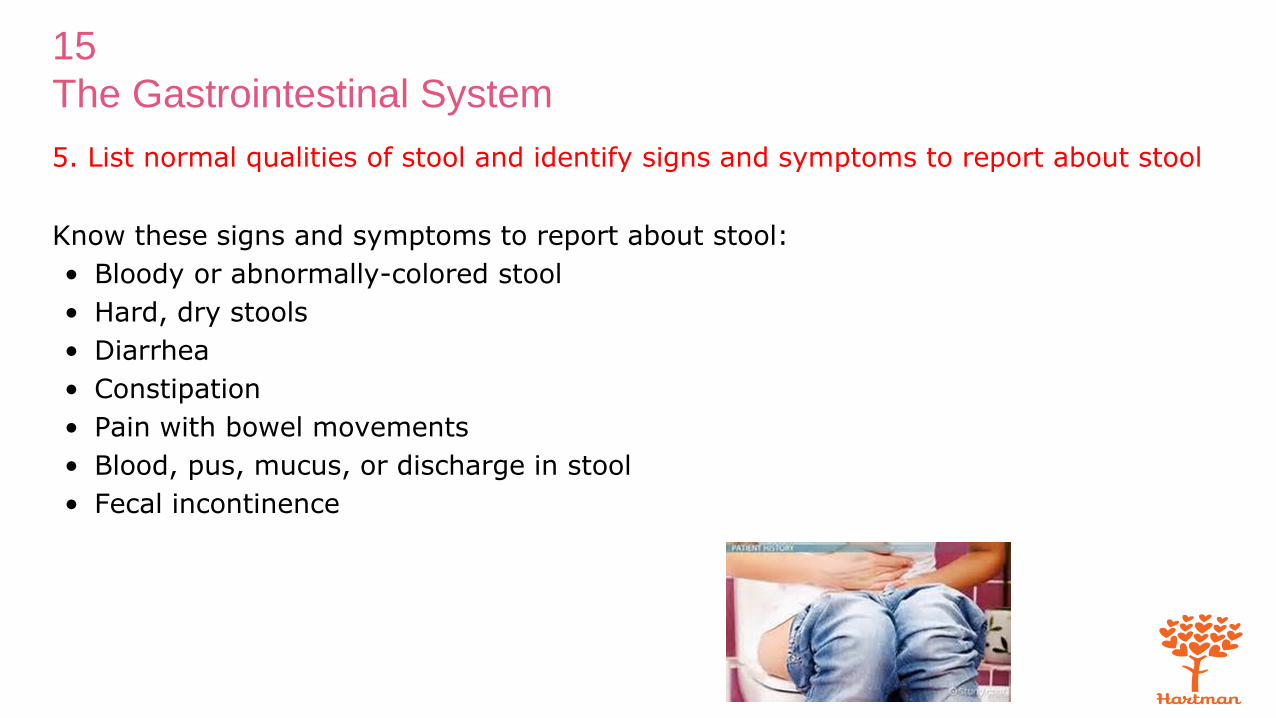
Know these signs and symptoms to report about stool:
• Bloody or abnormally-colored stool
• Hard, dry stools
• Diarrhea
• Constipation
• Pain with bowel movements
• Blood, pus, mucus, or discharge in stool
• Fecal incontinence
15
The Gastrointestinal System
6. List factors affecting bowel elimination and describe how to promote normal bowel elimination
Define the following terms:
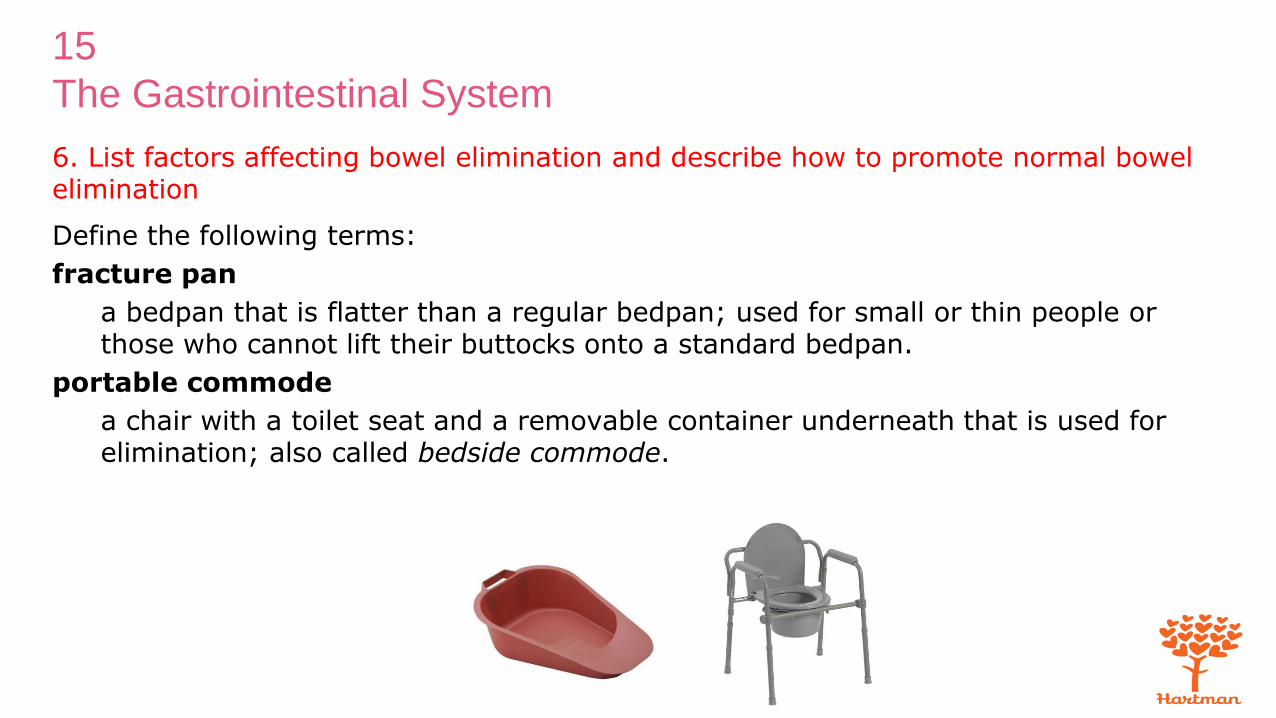
fracture pan
a bedpan that is flatter than a regular bedpan; used for small or thin people or those who cannot lift their buttocks onto a standard bedpan.
portable commode
a chair with a toilet seat and a removable container underneath that is used for elimination; also called bedside commode.

15 The Gastrointestinal System
Transparency 15-2: Factors Affecting Bowel Elimination
• Growth and development
• Psychological factors
• Diet
• Fluid intake
• Physical activity and exercise
• Personal habits
• Medications
• Privacy

15
The Gastrointestinal System
6. List factors affecting bowel elimination and describe how to promote normal bowel elimination
Growth and development may affect bowel elimination in these ways:
• Aging affects the regularity of bowel elimination.
• Peristalsis slows due to a decrease in muscle tone.
• Nutrients are not absorbed as well, making digestion more difficult.

15
The Gastrointestinal System
6. List factors affecting bowel elimination and describe how to promote normal bowel elimination
REMEMBER:
To promote normal elimination, encourage fluids and nutritious meals. Encourage regular exercise and activity as allowed.

15
The Gastrointestinal System
6. List factors affecting bowel elimination and describe how to promote normal bowel elimination
Psychological factors may also influence bowel elimination:
• Lack of privacy may affect bowel elimination.
• Having a roommate for the first time, being in a place that is not home, and needing help with elimination can disrupt normal elimination patterns.
• Anxiety, stress, fear, or anger can increase the frequency of bowel movements, causing watery, loose stools, and may even cause incontinence.
• Depression can decrease the frequency of elimination.
15
The Gastrointestinal System
6. List factors affecting bowel elimination and describe how to promote normal bowel elimination
REMEMBER:
To promote normal elimination, nursing assistants should always provide privacy and allow plenty of time for elimination. They must also respond to call lights immediately. If residents want to talk about their concerns, NAs should take the time to listen to them, and report their concerns to the nurse.
15
The Gastrointestinal System
6. List factors affecting bowel elimination and describe how to promote normal bowel elimination
Diet can affect bowel elimination in these ways:
• A diet low in fiber may decrease elimination and cause constipation.
• Foods high in animal fats, such as dairy products, red meat, and eggs may also cause constipation.
• Beans, whole grains, apples, cabbage, onions, dairy products, and carbonated drinks are examples of foods that can cause gas.
15
The Gastrointestinal System
6. List factors affecting bowel elimination and describe how to promote normal bowel elimination
REMEMBER:
To promote normal elimination, nursing assistants should encourage nutritious meals. Increasing fiber intake and decreasing fatty, sugary foods can help if constipation is a problem.

15
The Gastrointestinal System
6. List factors affecting bowel elimination and describe how to promote normal bowel elimination
Fluid intake affects bowel elimination:
• The sense of thirst decreases as a person ages.
• A decrease in fluids may cause constipation.
• A lack of strength or coordination can also lower fluid intake. Some beverages, such as orange or prune juice, can cause an increase in bowel elimination.
15
The Gastrointestinal System
6. List factors affecting bowel elimination and describe how to promote normal bowel elimination
REMEMBER:
To promote normal elimination, nursing assistants should encourage fluid intake. Generally, a healthy person needs at least 64 ounces of fluid each day.

15
The Gastrointestinal System
6. List factors affecting bowel elimination and describe how to promote normal bowel elimination
Physical activity and exercise are factors affecting bowel elimination:
• A lack of exercise and mobility can weaken muscles and slow elimination.
• Regular physical activity helps bowel elimination by strengthening abdominal and pelvic muscles. This helps peristalsis.
15
The Gastrointestinal System
6. List factors affecting bowel elimination and describe how to promote normal bowel elimination
REMEMBER:
To promote normal elimination, nursing assistants should encourage daily exercise such as regular walks and other types of activities, as allowed.
15
The Gastrointestinal System
6. List factors affecting bowel elimination and describe how to promote normal bowel elimination
Personal habits can affect bowel elimination in these ways:
• Certain times of day may be more common for having bowel movements.
• Drinking warm fluids can increase bowel movements.
• Familiar places, such as the resident’s own bathroom, may encourage bowel elimination.
• Positioning in bed also affects elimination. A resident who is lying flat on his back (supine) will have difficulty with elimination because it is difficult to contract the muscles in this position.
15
The Gastrointestinal System
6. List factors affecting bowel elimination and describe how to promote normal bowel elimination
REMEMBER:
To promote normal elimination, nursing assistants can make sure residents are helped to the bathroom at the time of day that is best for each person. Use the bathroom the resident prefers or get a portable commode if the resident cannot make it to the bathroom. Raise the head of the bed for residents who use a bedpan. The best position for elimination is squatting and leaning forward.

15
The Gastrointestinal System
6. List factors affecting bowel elimination and describe how to promote normal bowel elimination
Medications may affect bowel elimination:
• Antibiotics can cause diarrhea.
• Pain relievers may cause constipation.

15
The Gastrointestinal System
6. List factors affecting bowel elimination and describe how to promote normal bowel elimination
REMEMBER:
To promote normal elimination, laxatives may be ordered. Laxatives can help with elimination, but may cause diarrhea. Nursing assistants should report diarrhea or constipation to the nurse promptly.
Assisting a resident with use of a bedpan
Equipment: bedpan, bedpan cover, disposable bed protector, bath blanket, toilet paper, disposable wipes, soap, towel, supplies for perineal care, 2 pairs of gloves
1. Identify yourself by name. Identify the resident. Greet the resident by name.
2. Wash your hands.
3. Explain procedure to resident. Speak clearly, slowly, and directly. Maintain face-to-face contact whenever possible.
4. Provide for the resident’s privacy with a curtain, screen, or door.
5. Adjust bed to safe level, usually waist high. Before placing bedpan, lower head of bed. Lock bed wheels.
6. Put on gloves.
7. Cover the resident with a bath blanket. Ask him to hold it while you pull down the top covers underneath. Do not expose more of the resident than you need to.
Assisting a resident with use of a bedpan
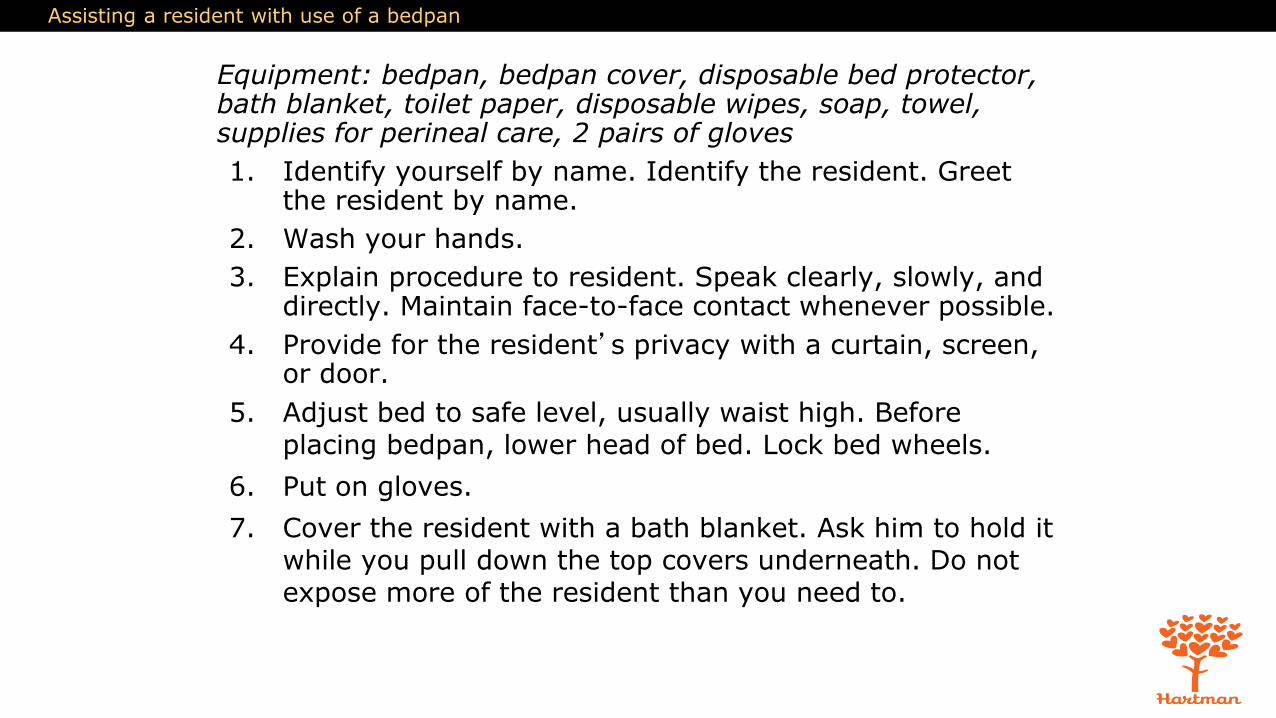
8. Place the bed protector under the resident’s buttocks and hips. To do this, have the resident turn toward you. If the resident cannot do this, you must turn him toward you (see Chapter 11). Be sure resident cannot roll off the bed. Place bed protector on the empty side of the bed, on the area where the resident will lie on his back. The side of the protector nearest the resident should be fanfolded (folded several times into pleats) and tucked under the resident.
Assisting a resident with use of a bedpan
8. (cont’d) Ask resident to roll onto his back, or roll him back as you did before. Unfold rest of bed protector so it completely covers area under and around the resident’s hips.
9. Ask resident to remove undergarments or help him do so.
10. Place bedpan near his hips in correct position. A standard bedpan should be positioned with the wider end aligned with resident’s buttocks. A fracture pan should be positioned with handle toward foot of bed.
Assisting a resident with use of a bedpan
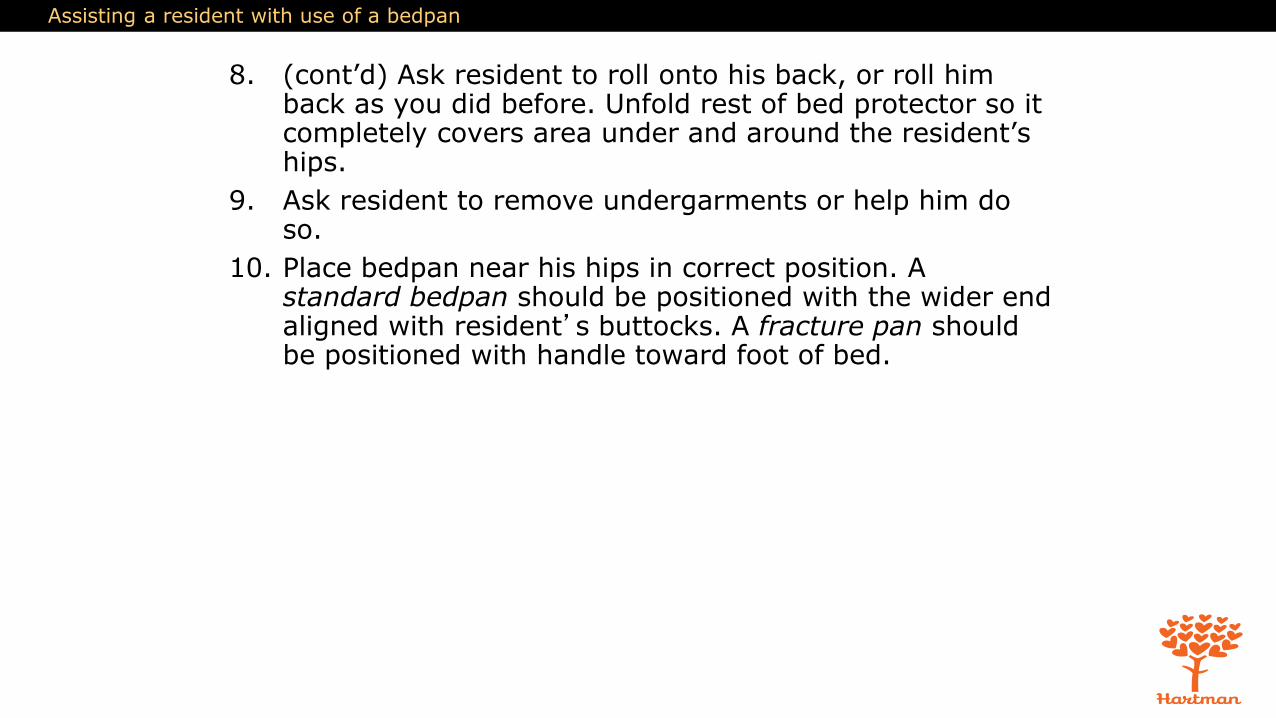
11. If resident is able, ask him to raise hips by pushing with feet and hands at the count of three. Slide the bedpan under his hips.
If a resident cannot help you in any way, keep the bed flat and roll the resident toward you. Slip the bedpan under the hips on the empty side of the bed and gently roll him back onto the bedpan, Keep the bedpan centered underneath.
12. Remove and discard gloves. Wash your hands.
Assisting a resident with use of a bedpan
13. Raise the head of the bed. Prop the resident into a semi-sitting position using pillows.
14. Make sure the bath blanket is still covering the resident. Place toilet paper and wipes within resident’s reach. Ask resident to clean his hands with a hand wipe when finished if he is able.
15. Leave call light within resident’s reach. Wash your hands. Ask resident to signal when finished. Leave the room and close the door.
16. When called by the resident, return and wash your hands. Put on clean gloves.
17. Lower the head of the bed. Make sure resident is still covered. Do not overexpose the resident.
18. Remove bedpan carefully and gently. Cover bedpan.
19. Give perineal care if help is needed. Wipe from front to back. Dry the perineal area with a towel. Help the resident put on undergarment. Cover the resident and remove the bath blanket.
Assisting a resident with use of a bedpan
20. Remove and discard the bed protector. Place the towel and bath blanket in a hamper or bag, and discard disposable supplies.
21. Take bedpan to the bathroom. Note color, odor, amount, and consistency of contents. Empty contents into toilet unless a specimen is needed or the nurse needs to check the contents. If you notice anything unusual about the stool or urine (for example, the presence of blood), do not discard it. You will need to inform the nurse.
22. Turn the faucet on with a paper towel. Rinse the bedpan with cold water and empty it into the toilet. Flush the toilet. Place bedpan in area for cleaning or clean and store it according to policy.
23. Remove and discard gloves. Wash your hands.
24. Make resident comfortable.
25. Return bed to lowest position. Remove privacy measures.

Assisting a resident with use of a bedpan
26. Leave call light within resident’s reach.
27. Wash your hands.
28. Be courteous and respectful at all times.
29. Report any changes in the resident to the nurse. Document procedure using facility guidelines.
Assisting a male resident with a urinal
Equipment: urinal, disposable bed protector, disposable wipes, 2 pairs of gloves
1. Identify yourself by name. Identify the resident. Greet the resident by name.
2. Wash your hands.
3. Explain procedure to resident. Speak clearly, slowly, and directly. Maintain face-to-face contact whenever possible.
4. Provide for the resident’s privacy with a curtain, screen, or door.
5. Adjust bed to a safe level, usually waist high. Lock bed wheels.
6. Put on gloves.
7. Place the bed protector under the resident’s buttocks and hips.

Assisting a male resident with a urinal
8. Hand the urinal to the resident. If the resident is not able to do this himself, place urinal between his legs and position penis inside the urinal. Replace bed covers.
9. Remove and discard gloves. Wash your hands.
Assisting a male resident with a urinal
10. Raise the head of the bed. Place wipes within resident’s reach. Ask the resident to clean his hands with a hand wipe when finished if he is able. Leave call light within reach. Wash your hands. Ask resident to signal when done. Leave the room and close the door.
11. When called by the resident, return and wash your hands. Put on clean gloves.
12. Have resident hand urinal to you, or gently remove urinal. Remove the bed protector. Discard disposable supplies.
13. Take urinal to the bathroom. Note color, odor, amount, and qualities (for example, cloudiness) of contents. Empty contents into toilet unless a specimen is needed or the nurse needs to check the contents.
14. Turn the faucet on with a paper towel. Rinse the urinal with cold water and empty rinse water into the toilet. Flush toilet. Place urinal in proper area for cleaning or clean and store it according to policy.
Assisting a male resident with a urinal
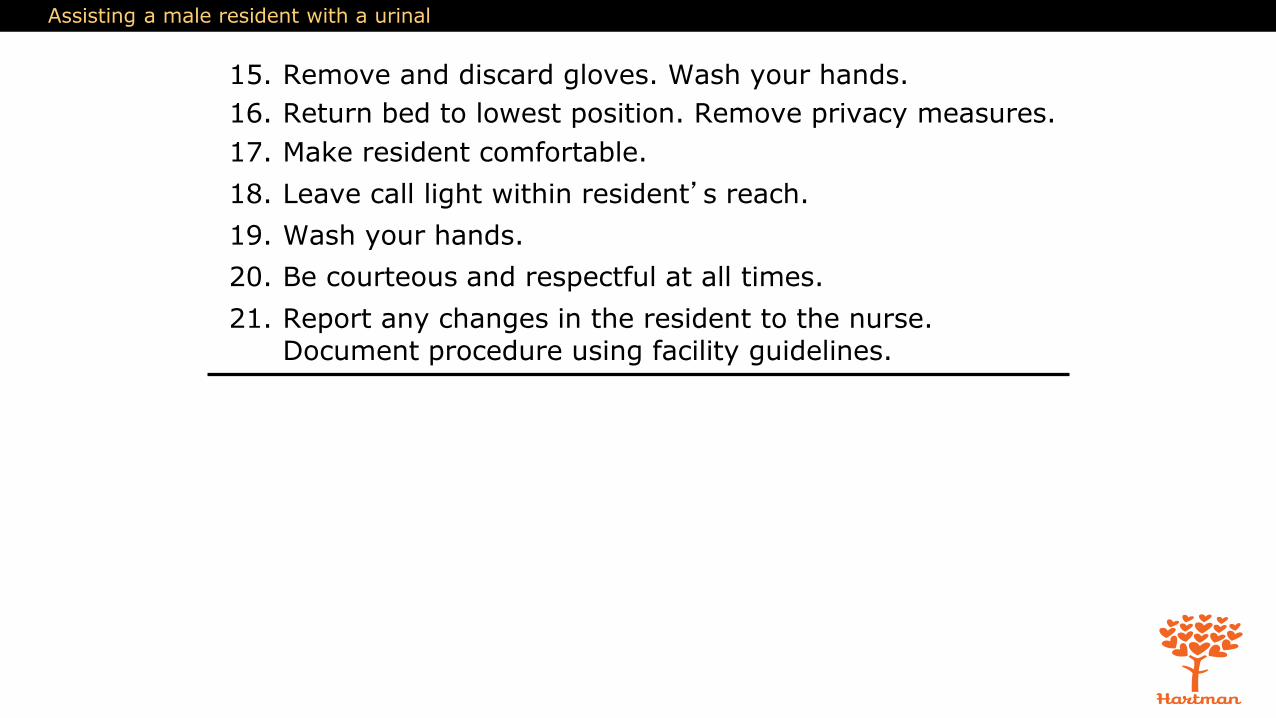
15. Remove and discard gloves. Wash your hands.
16. Return bed to lowest position. Remove privacy measures.
17. Make resident comfortable.
18. Leave call light within resident’s reach.
19. Wash your hands.
20. Be courteous and respectful at all times.
21. Report any changes in the resident to the nurse. Document procedure using facility guidelines.

Helping a resident use a portable commode
Equipment: portable commode with basin, toilet paper, disposable wipes, nonskid footwear, towel, bath blanket, supplies for perineal care, 3 pairs of gloves
1. Identify yourself by name. Identify the resident. Greet the resident by name.
2. Wash your hands.
3. Explain procedure to resident. Speak clearly, slowly, and directly. Maintain face-to-face contact whenever possible.
4. Provide for the resident’s privacy with a curtain, screen, or door.
5. Lock commode wheels. Adjust bed to lowest position. Lock bed wheels.
6. Put on gloves.
7. Help resident out of bed and to portable commode. Make sure resident is wearing nonskid footwear that is securely fastened.
Helping a resident use a portable commode
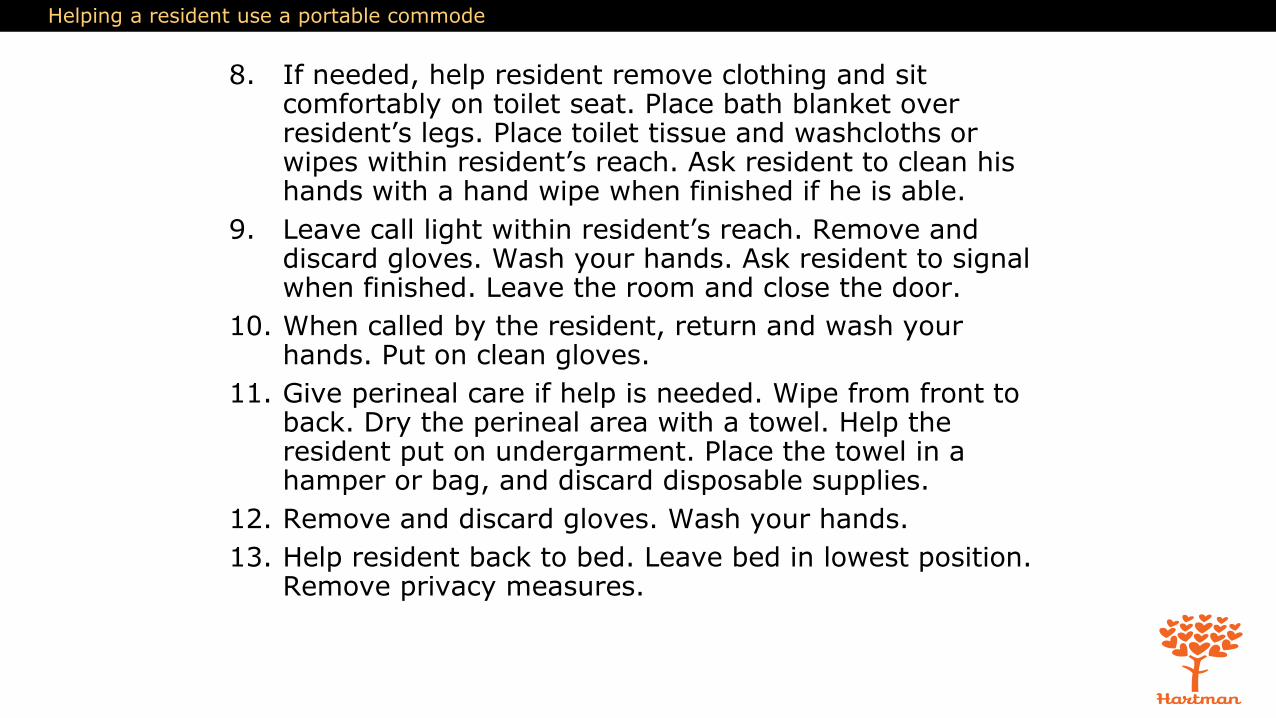
8. If needed, help resident remove clothing and sit comfortably on toilet seat. Place bath blanket over resident’s legs. Place toilet tissue and washcloths or wipes within resident’s reach. Ask resident to clean his hands with a hand wipe when finished if he is able.
9. Leave call light within resident’s reach. Remove and discard gloves. Wash your hands. Ask resident to signal when finished. Leave the room and close the door.
10. When called by the resident, return and wash your hands. Put on clean gloves.
11. Give perineal care if help is needed. Wipe from front to back. Dry the perineal area with a towel. Help the resident put on undergarment. Place the towel in a hamper or bag, and discard disposable supplies.
12. Remove and discard gloves. Wash your hands.
13. Help resident back to bed. Leave bed in lowest position. Remove privacy measures.
Helping a resident use a portable commode
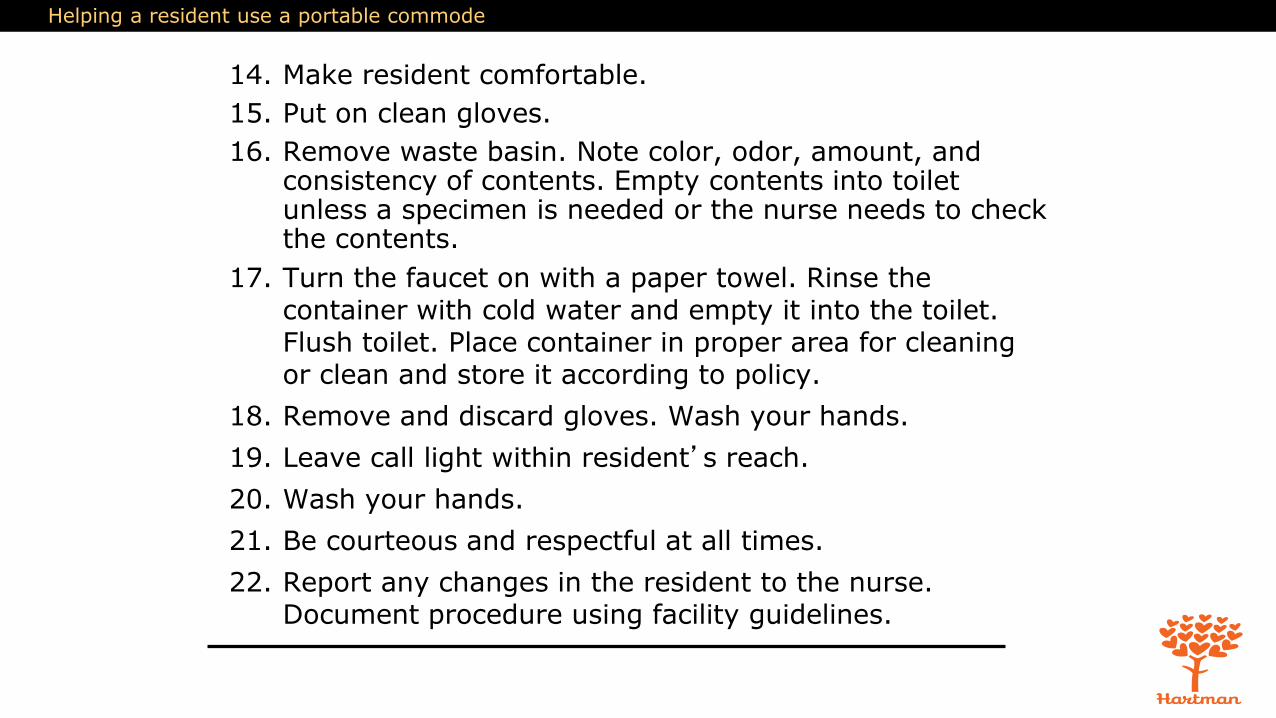
14. Make resident comfortable.
15. Put on clean gloves.
16. Remove waste basin. Note color, odor, amount, and consistency of contents. Empty contents into toilet unless a specimen is needed or the nurse needs to check the contents.
17. Turn the faucet on with a paper towel. Rinse the container with cold water and empty it into the toilet. Flush toilet. Place container in proper area for cleaning or clean and store it according to policy.
18. Remove and discard gloves. Wash your hands.
19. Leave call light within resident’s reach.
20. Wash your hands.
21. Be courteous and respectful at all times.
22. Report any changes in the resident to the nurse. Document procedure using facility guidelines.
15
The Gastrointestinal System
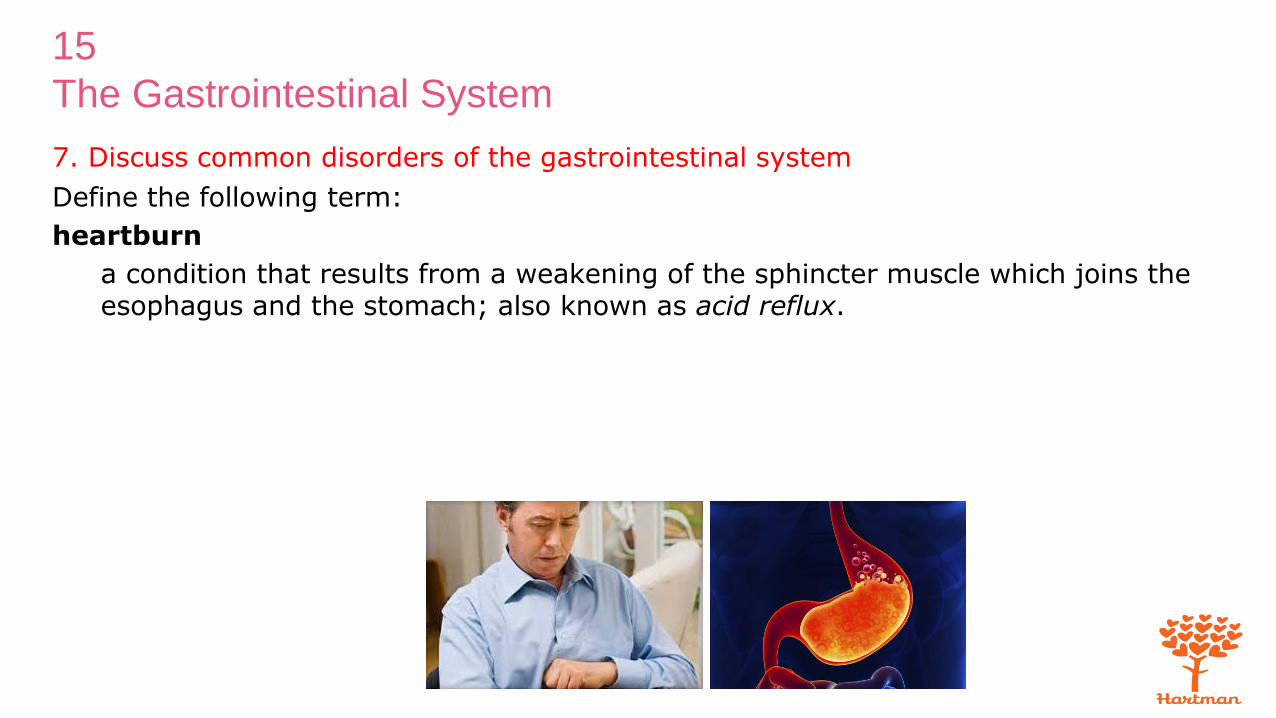
7. Discuss common disorders of the gastrointestinal system
Define the following term:
heartburn
a condition that results from a weakening of the sphincter muscle which joins the esophagus and the stomach; also known as acid reflux.
15
The Gastrointestinal System
7. Discuss common disorders of the gastrointestinal system
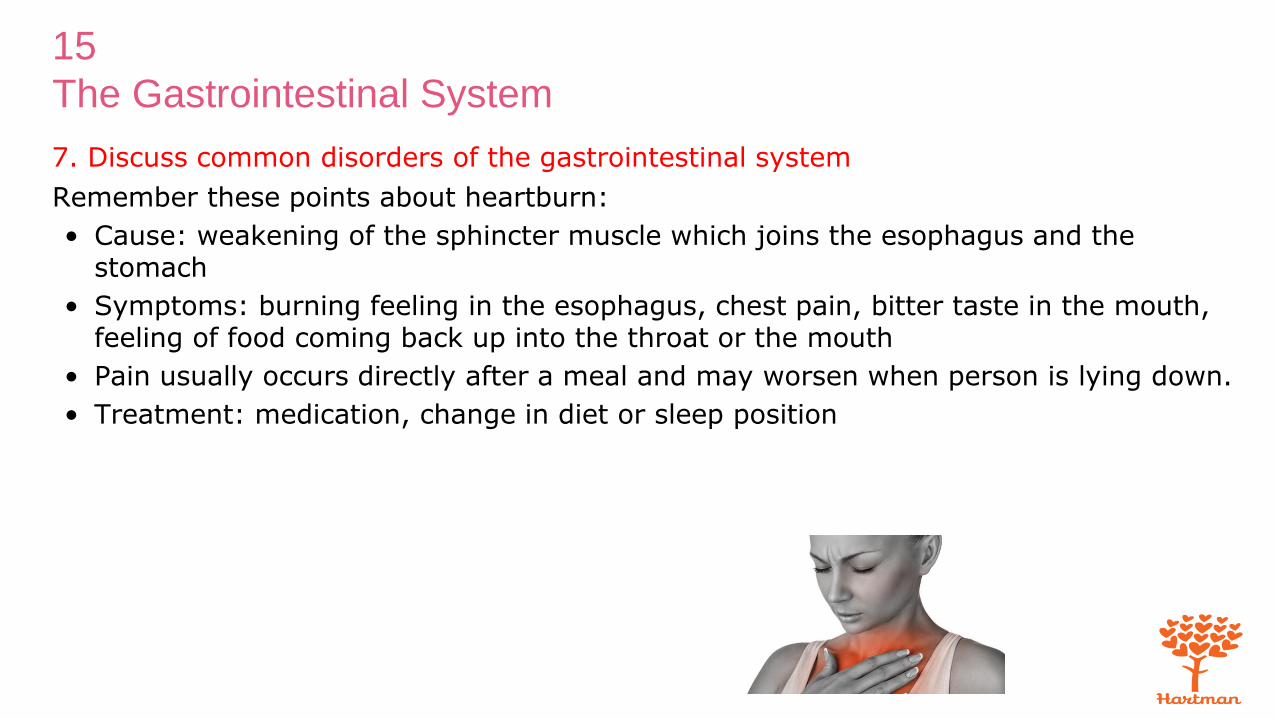
Remember these points about heartburn:
• Cause: weakening of the sphincter muscle which joins the esophagus and the stomach
• Symptoms: burning feeling in the esophagus, chest pain, bitter taste in the mouth, feeling of food coming back up into the throat or the mouth
• Pain usually occurs directly after a meal and may worsen when person is lying down.
• Treatment: medication, change in diet or sleep position

15
The Gastrointestinal System
7. Discuss common disorders of the gastrointestinal system
Define the following term:
gastroesophageal reflux disease (GERD)
a chronic condition in which the liquid contents of the stomach back up into the esophagus.

15
The Gastrointestinal System
7. Discuss common disorders of the gastrointestinal system
Remember these points about gastroesophageal reflux disease (GERD):
• Cause: liquid contents of the stomach back up into the esophagus; can inflame and damage lining of the esophagus and cause bleeding, ulcers, or difficulty swallowing
• Symptoms: frequent heartburn, chest pain, hoarseness in the morning, difficulty swallowing, tightness in the throat, coughing, bad breath
• Possible causes: obesity, hiatal hernia, weak lower esophageal sphincter, slow digestion, diets high in acidic and spicy foods, smoking, alcohol use

15
The Gastrointestinal System
7. Discuss common disorders of the gastrointestinal system
Remember these points about GERD (cont'd):
• Treatment: losing weight; stopping smoking and drinking alcohol; wearing loose-fitting clothing; serving frequent, small meals throughout the day; serving last meal of the day three to four hours before bedtime; sitting up for at least two to three hours after eating; elevation of the head of the bed; and using extra pillows
15
The Gastrointestinal System
7. Discuss common disorders of the gastrointestinal system
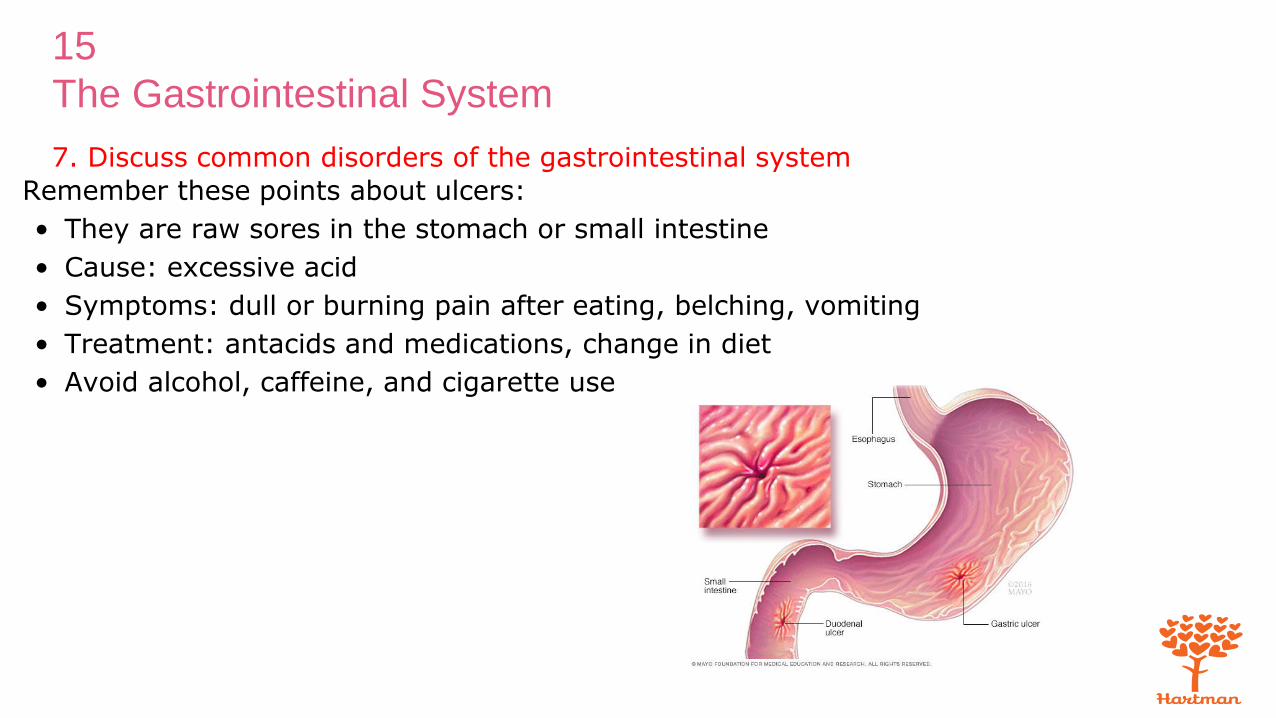
Remember these points about ulcers:
• They are raw sores in the stomach or small intestine
• Cause: excessive acid
• Symptoms: dull or burning pain after eating, belching, vomiting
• Treatment: antacids and medications, change in diet
• Avoid alcohol, caffeine, and cigarette use
15
The Gastrointestinal System
7. Discuss common disorders of the gastrointestinal system
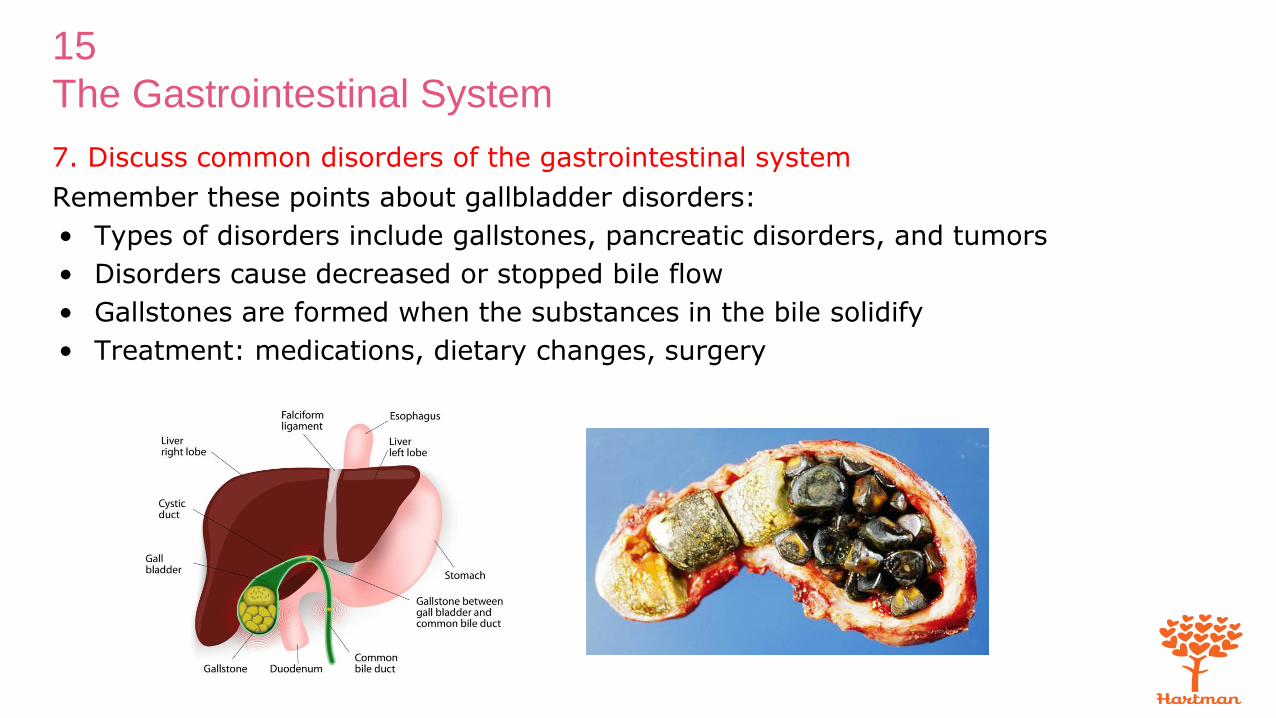
Remember these points about gallbladder disorders:
• Types of disorders include gallstones, pancreatic disorders, and tumors
• Disorders cause decreased or stopped bile flow
• Gallstones are formed when the substances in the bile solidify
• Treatment: medications, dietary changes, surgery
15
The Gastrointestinal SystemDigestive Disorders (cont’d)
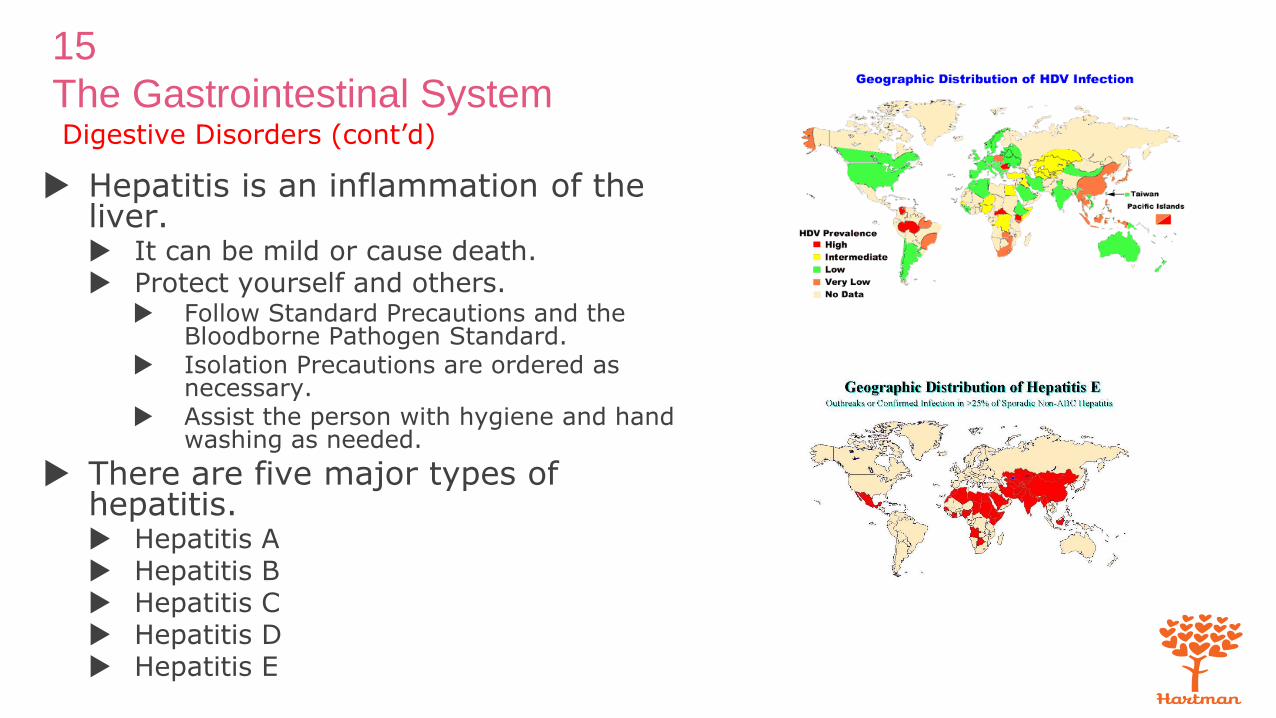
Hepatitis is an inflammation of the liver. It can be mild or cause death. Protect yourself and others.
Follow Standard Precautions and the Bloodborne Pathogen Standard.
Isolation Precautions are ordered as necessary.
Assist the person with hygiene and hand washing as needed.
There are five major types of hepatitis. Hepatitis A Hepatitis B Hepatitis C Hepatitis D Hepatitis E
15
The Gastrointestinal SystemDigestive Disorders (cont’d)
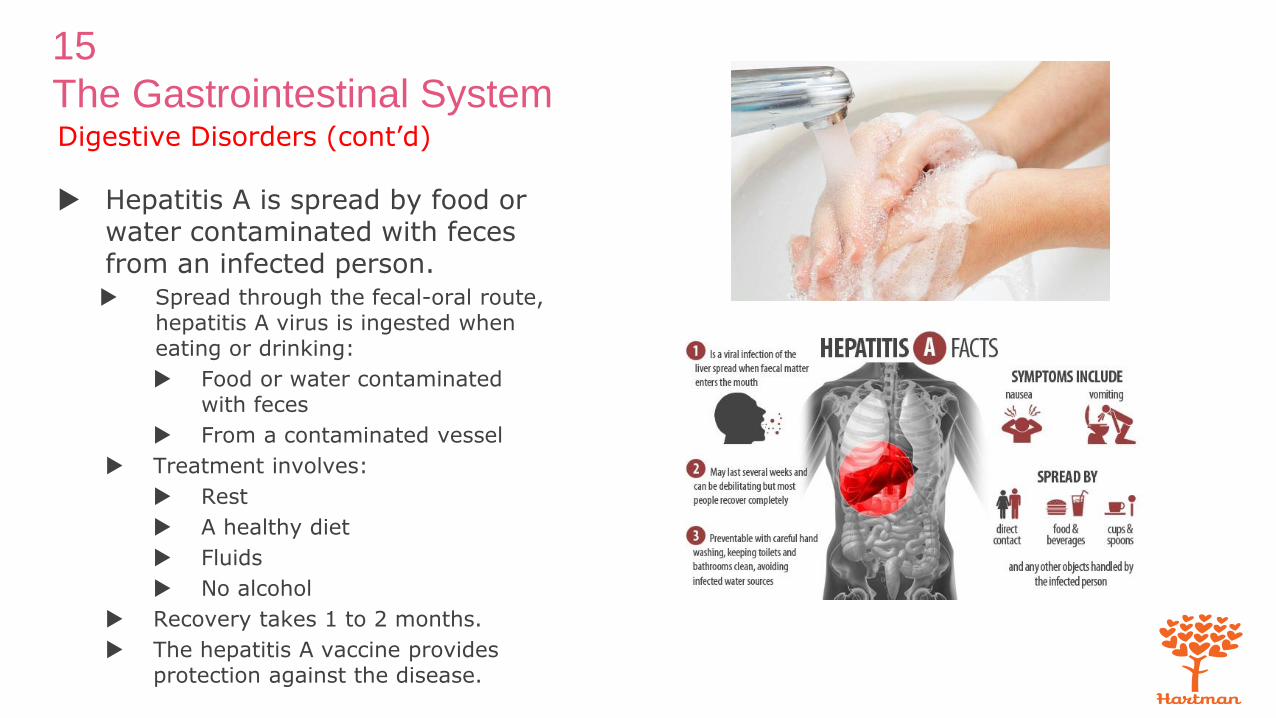
Hepatitis A is spread by food or water contaminated with feces from an infected person. Spread through the fecal-oral route,
hepatitis A virus is ingested when eating or drinking:
Food or water contaminated with feces
From a contaminated vessel
Treatment involves:
Rest
A healthy diet
Fluids
No alcohol
Recovery takes 1 to 2 months.
The hepatitis A vaccine provides protection against the disease.

15
The Gastrointestinal SystemDigestive Disorders (cont’d)
Hepatitis B is caused by the hepatitis B virus (HBV). It is spread through infected blood or blood
products and body fluids of infected persons.
Body fluids include saliva, semen, and vaginal secretions.
The HBV virus can be spread by:
IV (intravenous) drug use and sharing needles and syringes
Accidental needle-sticks
Sex without a condom (especially anal sex)
Contaminated tools used for tattoos or body piercings
Sharing a toothbrush, razor, or nail clippers with an infected person
HBV vaccine is available.
Drugs are ordered for chronic hepatitis B.
15
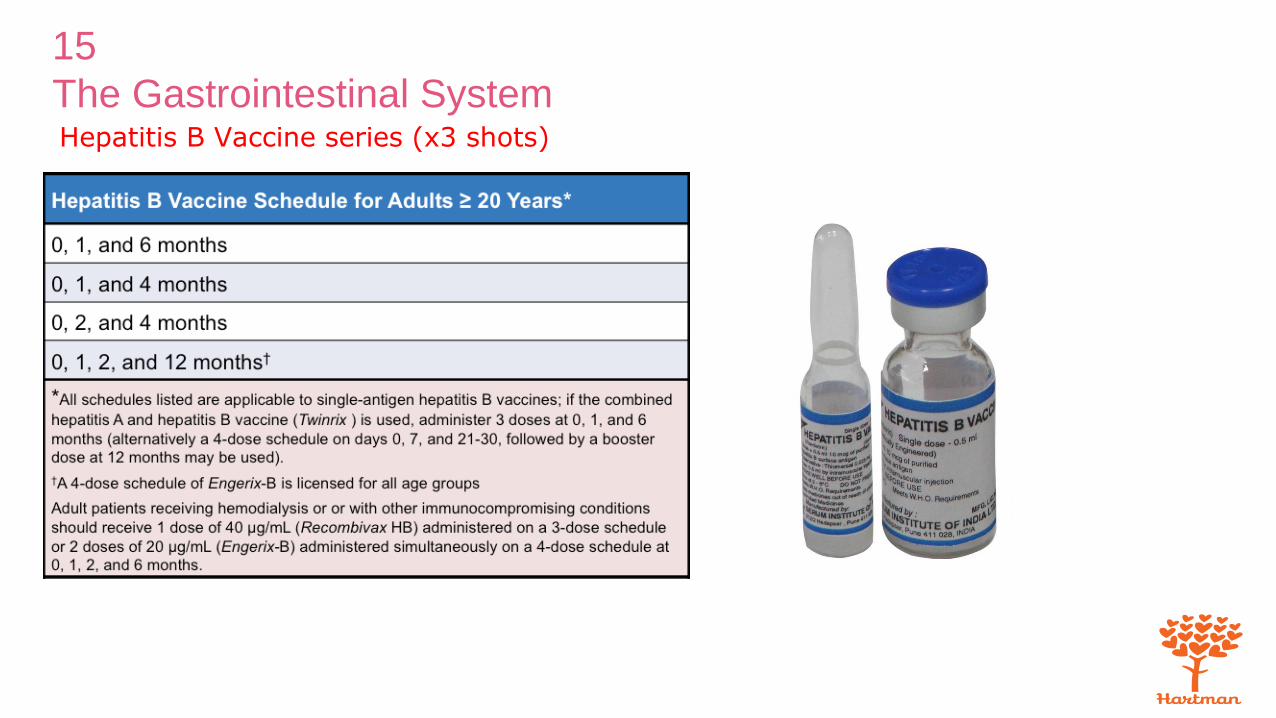
The Gastrointestinal SystemHepatitis B Vaccine series (x3 shots)

15
The Gastrointestinal SystemDigestive Disorders (cont’d)
• Hepatitis C is spread by blood contaminated with the hepatitis C virus.• A person may have no symptoms but can transmit the
disease.
– Serious liver disease and damage may show up years later.
• Hepatitis C is treated with drugs. (Cureable/Vaccine)
• The virus is spread by:
– Blood contaminated with the virus
– IV drug use and sharing needles and syringes
– Inhaling cocaine through contaminated straws
– Contaminated tools used for tattoos or body piercings
– High-risk sexual activity:
• Sex with an infected person
• Multiple sex partners
– Sharing a toothbrush, razor, or nail clippers with an infected person

15
The Gastrointestinal System

15
The Gastrointestinal SystemDigestive Disorders (cont’d)
Hepatitis D occurs only in people infected with hepatitis B.
It is spread the same way as HBV.
Hepatitis E is spread through food or water contaminated by feces from an infected person.
It is spread by the fecal-oral route.
This disease is not common in the United States.

15
The Gastrointestinal System
7. Discuss common disorders of the gastrointestinal system
Remember these points about cirrhosis:
• Cause: liver damage from alcohol abuse, hepatitis, and fatty liver syndrome
• Symptoms: fatigue, bruising easily, itchy skin, jaundice, ascites in the abdomen, and edema in the legs
• Treatment: eliminating alcohol, maintaining a healthy weight, medications, liver transplant (depends on the cause)
15
The Gastrointestinal System
7. Discuss common disorders of the gastrointestinal system
Remember these points about hernia:
• Cause: pressure pushing a body cavity out through a muscle or tissue due to heavy lifting or constipation
• Symptoms: swelling in the area of the abdomen or the groin and discomfort in the abdominal area or groin when lifting
• Treatment: surgery
15
The Gastrointestinal System
7. Discuss common disorders of the gastrointestinal system
Define the following term:
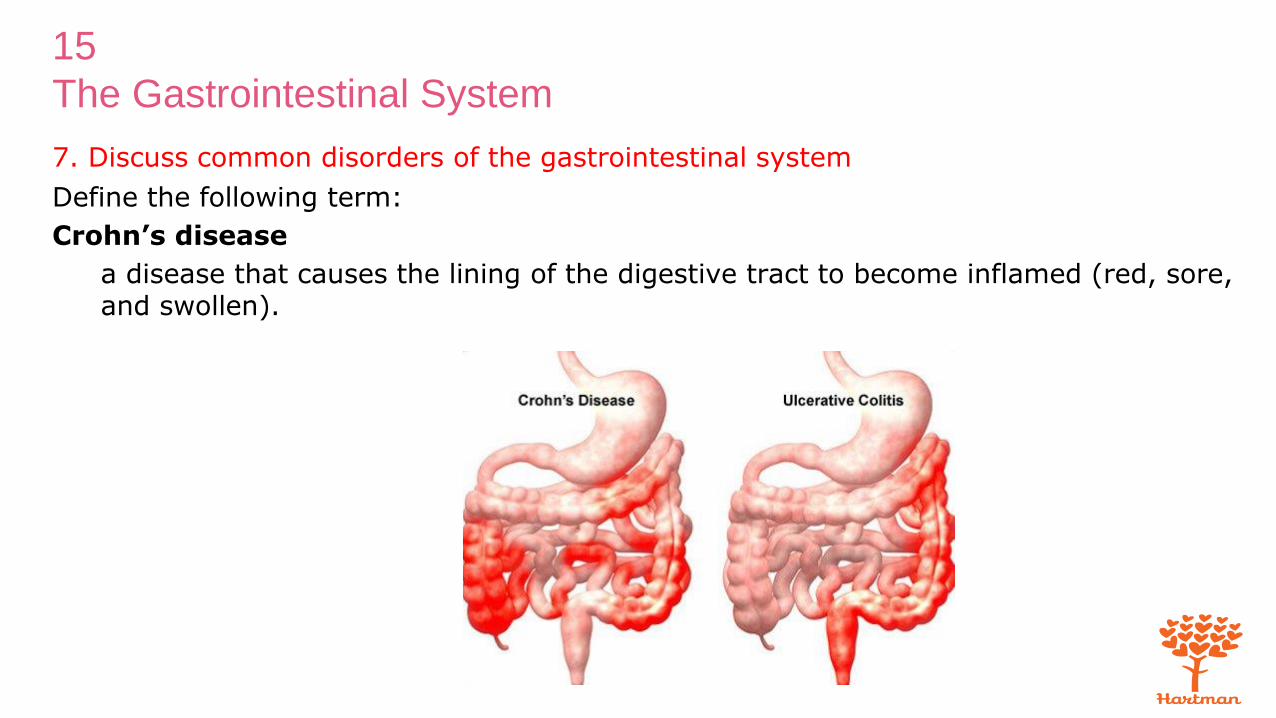
Crohn’s disease
a disease that causes the lining of the digestive tract to become inflamed (red, sore, and swollen).

15
The Gastrointestinal System
7. Discuss common disorders of the gastrointestinal system
Remember these points about Crohn’s disease:
• Causes the wall of the intestines to become inflamed
• Symptoms: diarrhea, abdominal cramping and pain, rectal bleeding, fever, weight loss
• Treatment: Medication, dietary changes, stopping smoking, surgery
15
The Gastrointestinal System
7. Discuss common disorders of the gastrointestinal system
Define the following term:
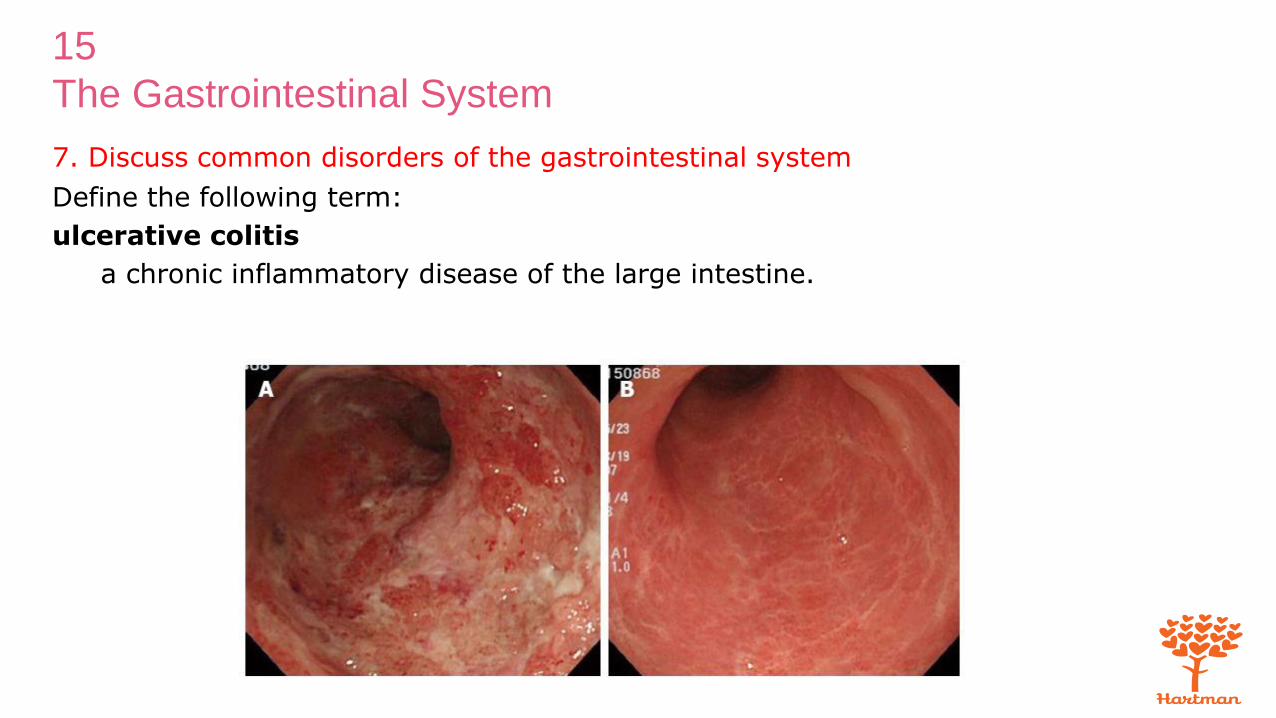
ulcerative colitis
a chronic inflammatory disease of the large intestine.
15
The Gastrointestinal System
7. Discuss common disorders of the gastrointestinal system
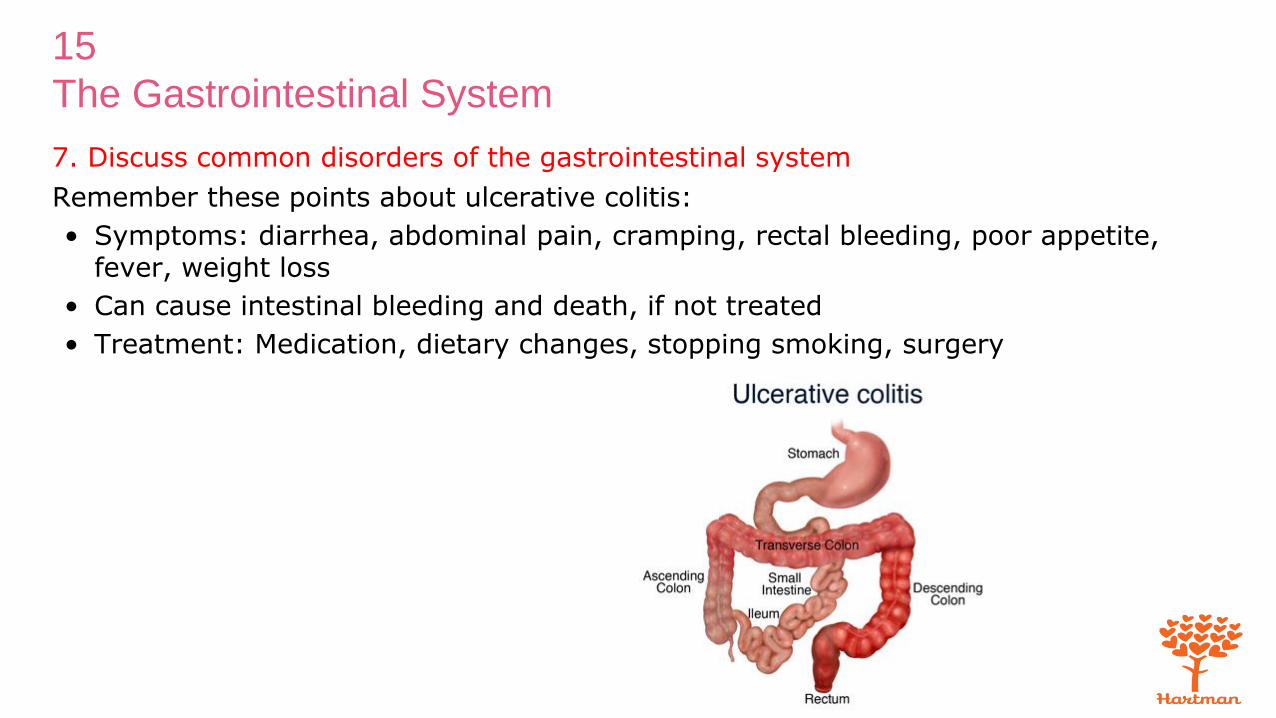
Remember these points about ulcerative colitis:
• Symptoms: diarrhea, abdominal pain, cramping, rectal bleeding, poor appetite, fever, weight loss
• Can cause intestinal bleeding and death, if not treated
• Treatment: Medication, dietary changes, stopping smoking, surgery

15
The Gastrointestinal System
7. Discuss common disorders of the gastrointestinal system
Define the following terms:
diverticulitis
inflammation of sacs that develop in the wall of the large intestine due to diverticulosis.
diverticulosis
a disorder in which sac-like pouchings develop in weakened areas of the wall of the large intestine (colon).

15
The Gastrointestinal System
7. Discuss common disorders of the gastrointestinal system
Remember these points about diverticulosis and diverticulitis:
• Diverticulosis causes sac-like pouches to develop in weakened areas of the intestinal wall.
• Some people with diverticulosis will develop diverticulitis, or inflammation inside the pouchings.
• Cause: low-fiber diet
• Treatment: rest, medications, special diets, surgery

15
The Gastrointestinal System
7. Discuss common disorders of the gastrointestinal system
Define the following terms:
flatulence
air in the intestine that is passed through the rectum; also called gas or flatus.
malabsorption
a condition in which the body cannot absorb or digest a particular nutrient properly.
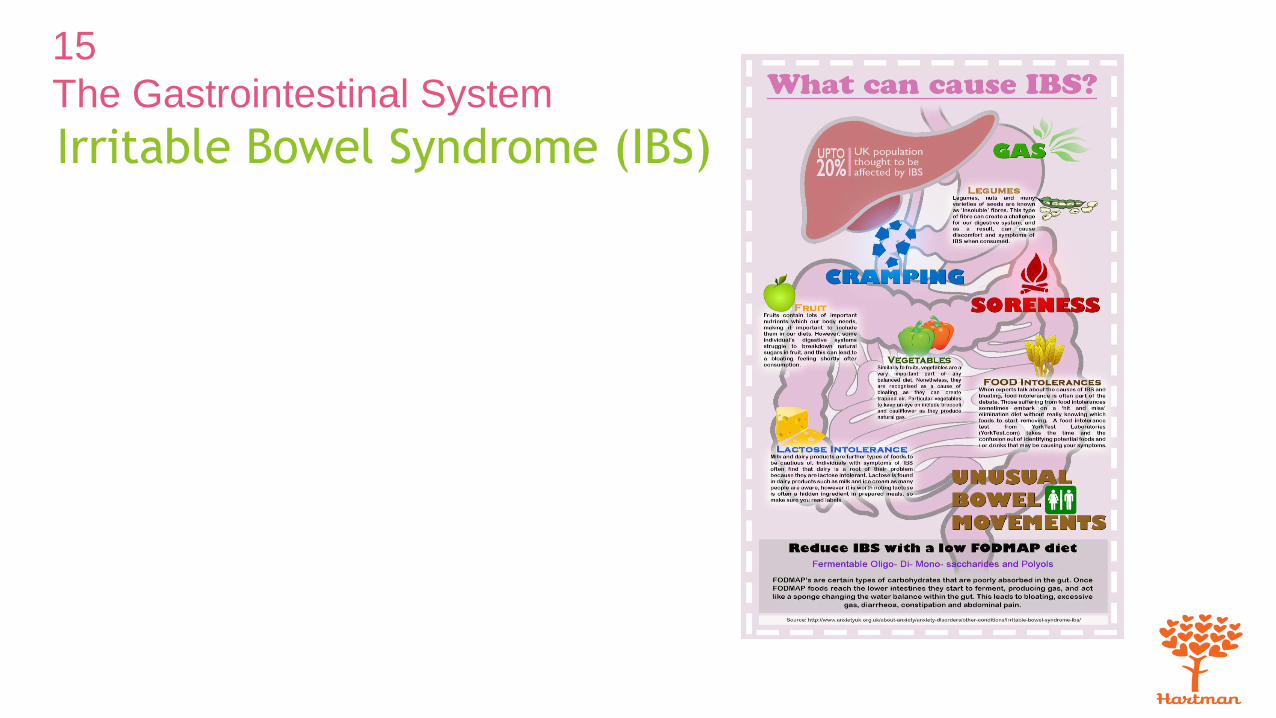
irritable bowel syndrome (IBS)
a chronic condition of the large intestine that is worsened by stress.

15
The Gastrointestinal System
7. Discuss common disorders of the gastrointestinal system
Remember these points about flatulence:
• Presence of excessive air in the digestive tract
• Causes: high-fiber foods, intolerance of foods, swallowing air when eating, antibiotics, malabsorption, IBS
• May be relieved by positioning, rectal tube
15
The Gastrointestinal System
15
The Gastrointestinal SystemIrritable Bowel Syndrome (IBS) cont.
Irritable bowel syndrome (IBS) is a group of symptoms—including pain or discomfort in your abdomen and changes in your bowel movement patterns—that occur together.
Symptoms & Causes
The most common symptoms of irritable bowel syndrome (IBS) include pain or discomfort in your abdomen and changes in how often you have bowel movements or how your stools look. Doctors aren’t sure what causes IBS.
Diagnosis
Your doctor may be able to diagnose irritable bowel syndrome (IBS) based on a review of your symptoms. Your doctor may not need to do medical tests or may do a limited number of tests.
Treatment
Though irritable bowel syndrome (IBS) doesn’t have a cure, your doctor can manage the symptoms with a combination of diet, medicines, probiotics, and therapies for mental health problems.
Eating, Diet, & Nutrition
Eating smaller meals more often, or eating smaller portions, may help your IBS symptoms. You should avoid foods and drinks that make your symptoms worse.

15
The Gastrointestinal System7. Discuss common disorders of the gastrointestinal system
Define the following terms:
constipation
the inability to eliminate stool, or the infrequent, difficult and often painful elimination of hard, dry stool.
enema
a specific amount of water, with or without an additive, introduced into the colon to stimulate the elimination of stool.
suppository
a medication given rectally to cause a bowel movement.

15 The Gastrointestinal System
Handout 15-1: Giving a Rectal Suppository
Giving a rectal suppository
Equipment: 2 pairs of gloves, suppository, lubricant, bath blanket, toilet paper, supplies for perineal care
1. Identify yourself by name. Identify the resident. Greet the resident by name.
2. Wash your hands.
3. Explain procedure to resident. Speak clearly, slowly, and directly. Maintain face-to-face contact whenever possible.
4. Provide for the resident’s privacy with a curtain, screen, or door.
5. Adjust bed to safe working level, usually waist high. Lock bed wheels.
6. Help the resident to left-lying (Sims’) position. Cover with a bath blanket.
7. Fold back linens to expose only the rectal area.
8. Unwrap the suppository.
9. Put on gloves.
10. Lubricate suppository as needed.
11. Spread buttocks to expose anal area.
12. Insert the suppository, using your index finger. Place the suppository past the rectal sphincter, against the wall of the colon.
13. Ask the resident to take deep breaths, as it will help him or her relax and retain the suppository.

15 The Gastrointestinal System
Handout 15-1: Giving a Rectal Suppository (cont'd)
14. Withdraw the finger and hold toilet paper against the anus briefly.
15. Remove and discard gloves.
16. Wash your hands.
17. Remove bath blanket and cover the resident. Ask the resident to retain the suppository as long as possible. Make resident comfortable.
18. Don clean gloves to provide a bedpan or assistance to the bathroom if needed.
19. Return bed to lowest position. Remove privacy measures.
20. Make resident comfortable.
21. Place call light and fresh water within resident’s reach.
22. Wash your hands.
23. Be courteous and respectful at all times.
24. Report any changes in the resident to the nurse. Document procedure using facility guidelines.
15
The Gastrointestinal System
7. Discuss common disorders of the gastrointestinal system
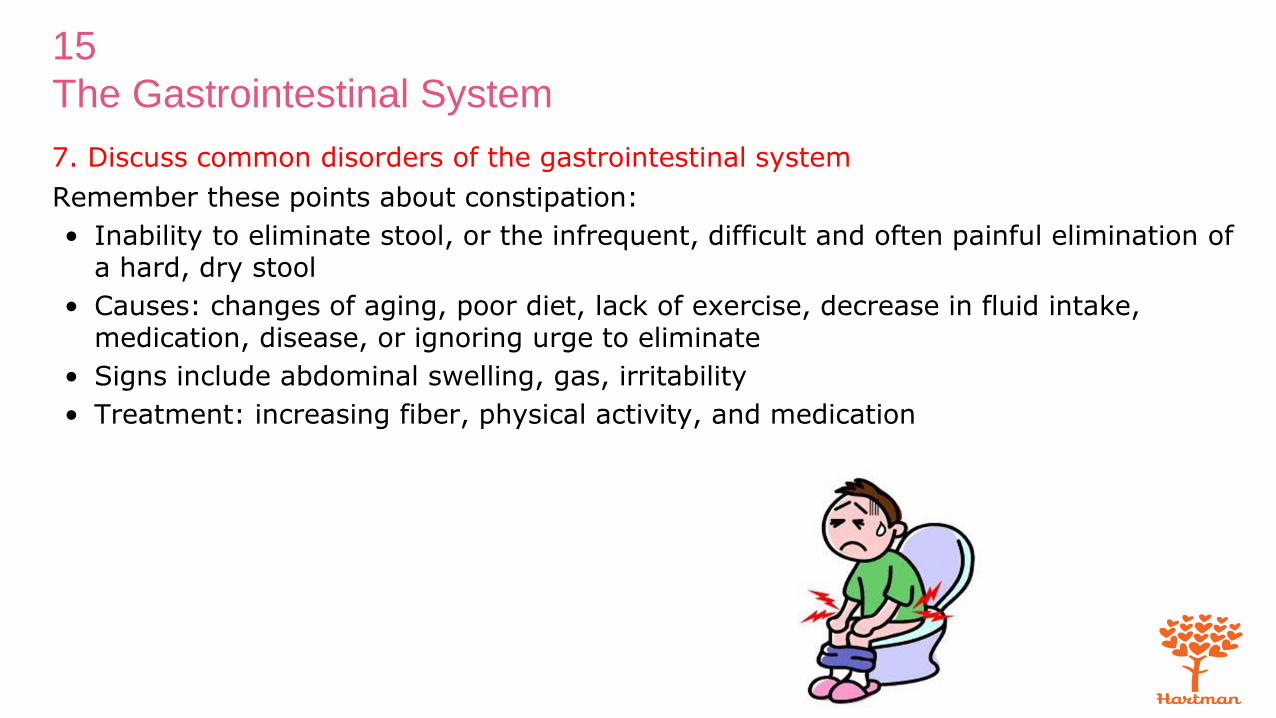
Remember these points about constipation:
• Inability to eliminate stool, or the infrequent, difficult and often painful elimination of a hard, dry stool
• Causes: changes of aging, poor diet, lack of exercise, decrease in fluid intake, medication, disease, or ignoring urge to eliminate
• Signs include abdominal swelling, gas, irritability
• Treatment: increasing fiber, physical activity, and medication

15
The Gastrointestinal System
7. Discuss common disorders of the gastrointestinal system
Define the following term:
diarrhea
frequent elimination of liquid or semi-liquid feces.

15
The Gastrointestinal System
7. Discuss common disorders of the gastrointestinal system
Remember these points about diarrhea:
• It is the frequent elimination of liquid or semi-liquid feces.
• Causes: infections, microorganisms, irritating foods, medication
• Treatment: medication, change of diet
15
The Gastrointestinal System
7. Discuss common disorders of the gastrointestinal system
Define the following term:
fecal incontinence
an inability to control the muscles of the bowels, which leads to an involuntary passage of stool or gas.
15
The Gastrointestinal System
7. Discuss common disorders of the gastrointestinal system
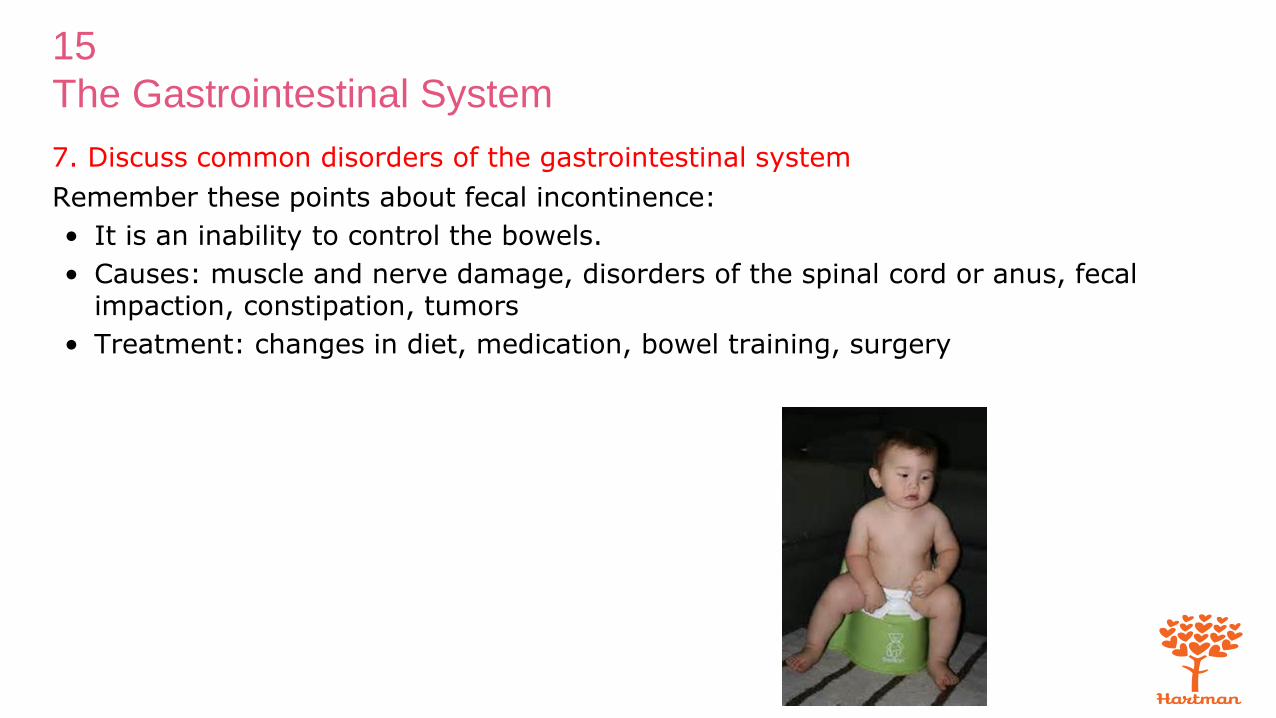
Remember these points about fecal incontinence:
• It is an inability to control the bowels.
• Causes: muscle and nerve damage, disorders of the spinal cord or anus, fecal impaction, constipation, tumors
• Treatment: changes in diet, medication, bowel training, surgery

15
The Gastrointestinal System
7. Discuss common disorders of the gastrointestinal system
Define the following term:
fecal impaction
a mass of dry, hard stool that remains packed in the rectum and cannot be expelled.

15
The Gastrointestinal System
7. Discuss common disorders of the gastrointestinal system
Remember these points about fecal impaction:
• Buildup of dry, hardened feces in the rectum
• Signs: no stool for several days, cramping, abdominal and rectal pain, abdominal swelling, nausea, and vomiting.
• Nurse or doctor will break mass into fragments.
• Can be fatal if complete bowel obstruction occurs
15
The Gastrointestinal System
7. Discuss common disorders of the gastrointestinal system
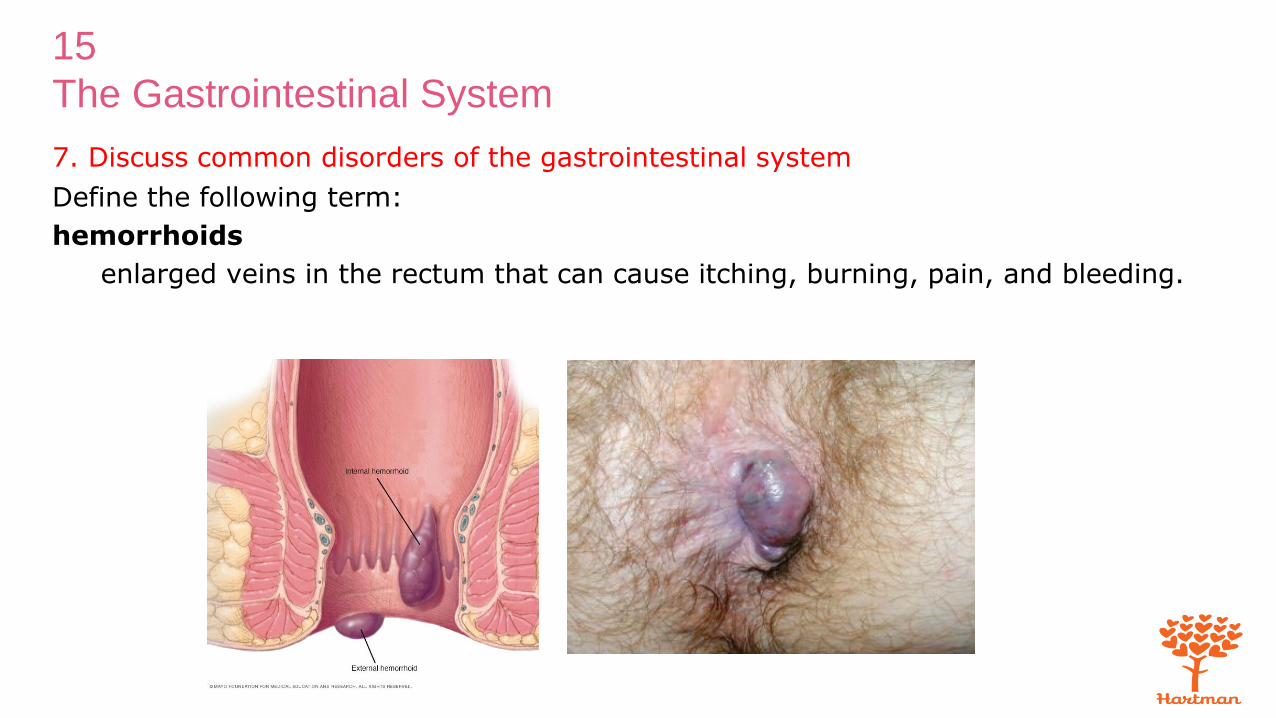
Define the following term:
hemorrhoids
enlarged veins in the rectum that can cause itching, burning, pain, and bleeding.

15
The Gastrointestinal System
7. Discuss common disorders of the gastrointestinal system
Remember these points about hemorrhoids:
• Enlarged veins in the rectum
• Causes: constipation, obesity, pregnancy, diarrhea, overuse of enemas and laxatives, straining during bowel movements
• Symptoms: rectal itching, burning, pain, and bleeding
• Treatment: changes in diet, surgery

15
The Gastrointestinal System
7. Discuss common disorders of the gastrointestinal system
REMEMBER:
Obesity increases the risk for certain gastrointestinal diseases or disorders, including GERD, gallbladder disease, fatty liver syndrome, and cancers of the gastrointestinal system.
15
The Gastrointestinal System
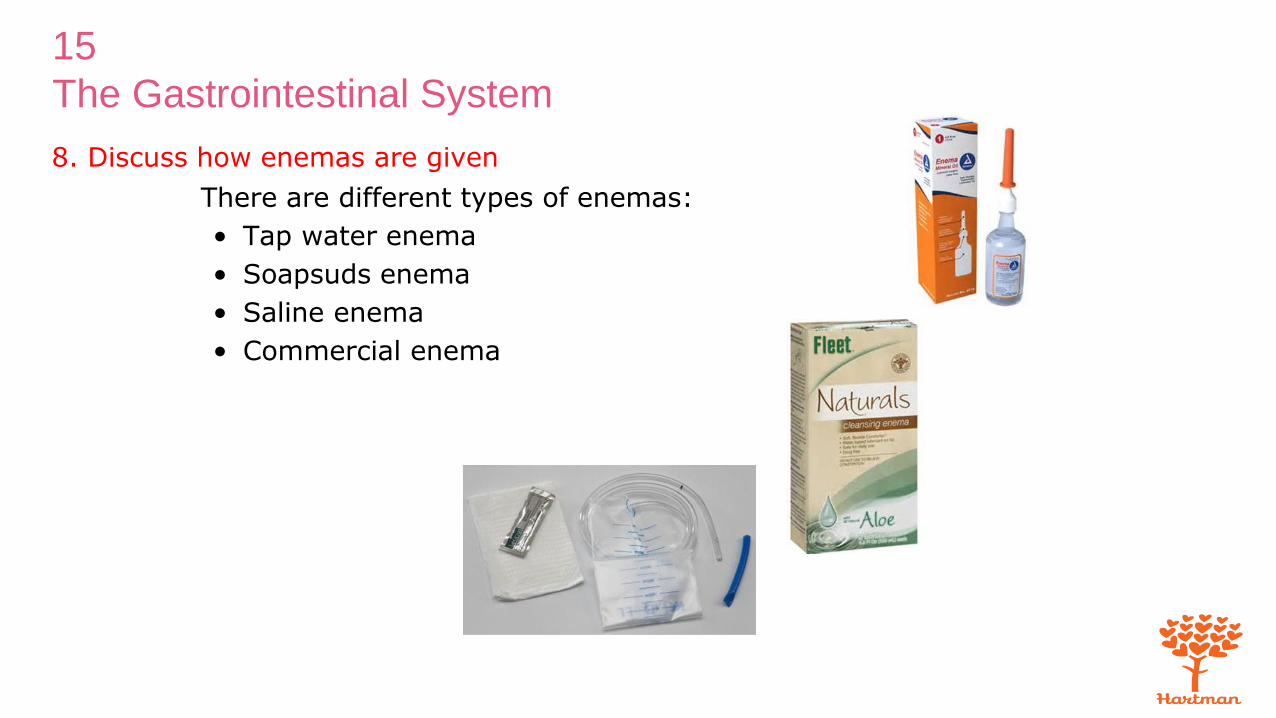
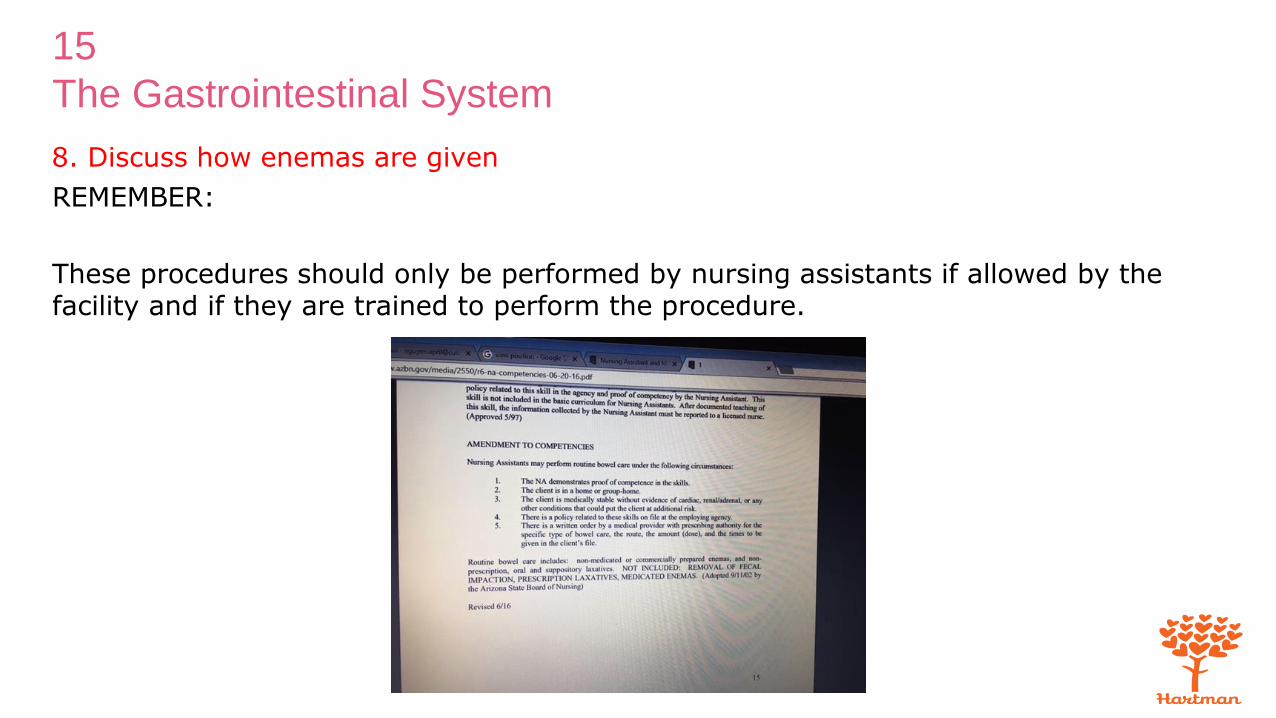
8. Discuss how enemas are given
There are different types of enemas:
• Tap water enema
• Soapsuds enema
• Saline enema
• Commercial enema

15
The Gastrointestinal System
8. Discuss how enemas are given
REMEMBER:
Residents must be in Sims’ position to receive an enema.
15
The Gastrointestinal System
8. Discuss how enemas are given
REMEMBER:
An enema should be stopped immediately if the resident complains of pain or if you feel resistance. This must be reported to the nurse.
15
The Gastrointestinal System
8. Discuss how enemas are given
Nursing assistants should remember these guidelines about enemas:
• Provide plenty of privacy for the resident.
• Place the resident in the Sims’ position.
• When giving a cleansing enema, remove the air from the enema tubing before inserting the tube into the rectum.
• Give the enema slowly, holding the tubing in place.
• Be reassuring and gentle during the procedure.
• Observe for cramping, pain or discomfort, bleeding, ability to retain the fluid, and any change in the resident’s condition during and after the enema.
Giving a cleansing enema
Equipment: bath blanket, IV pole, enema solution, additive (if
needed), tubing and clamp, disposable bed protector, bedpan,
bedpan cover, lubricating jelly, bath thermometer, tape
measure, toilet paper, disposable wipes, towel, robe, nonskid
footwear, paper towel, supplies for perineal care, 2 pairs of
gloves
1. Identify yourself by name. Identify the resident. Greet the resident by name.
2. Wash your hands.
3. Explain procedure to resident. Speak clearly, slowly, and
directly. Maintain face-to-face contact whenever possible.
4. Provide for the resident’s privacy with a curtain, screen, or door.
5. Adjust bed to safe working level, usually waist high. Lock bed wheels.
6. Put on gloves.
7. Place bed protector under resident. Ask resident to remove undergarments or help him do so.
Giving a cleansing enema
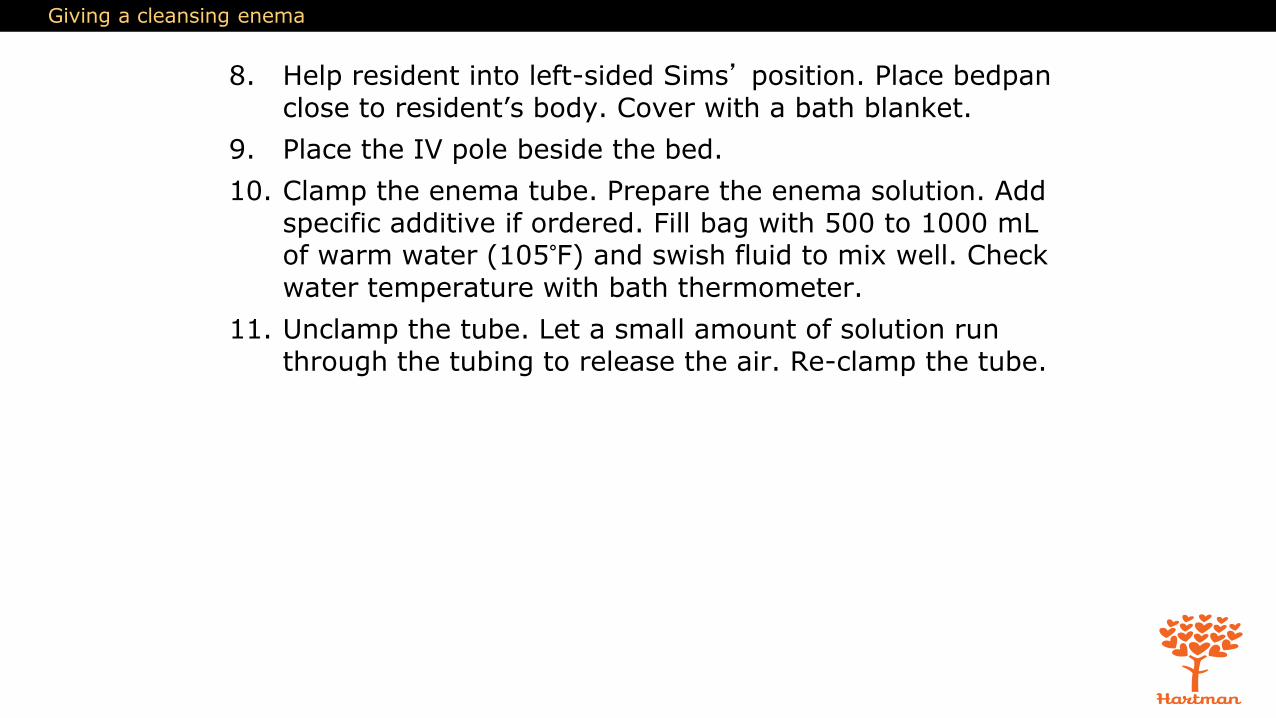
8. Help resident into left-sided Sims’ position. Place bedpan close to resident’s body. Cover with a bath blanket.
9. Place the IV pole beside the bed.
10. Clamp the enema tube. Prepare the enema solution. Add specific additive if ordered. Fill bag with 500 to 1000 mL of warm water (105°F) and swish fluid to mix well. Check
water temperature with bath thermometer.
11. Unclamp the tube. Let a small amount of solution run through the tubing to release the air. Re-clamp the tube.

Giving a cleansing enema
12. Hang bag on IV pole. Using the tape measure, make sure bottom of enema bag is not more than 12 inches above the resident’s anus.
13. Lubricate two to four inches of the tip of the tubing with lubricating jelly.
14. Ask resident to breathe deeply. This relieves cramps during procedure.
Giving a cleansing enema
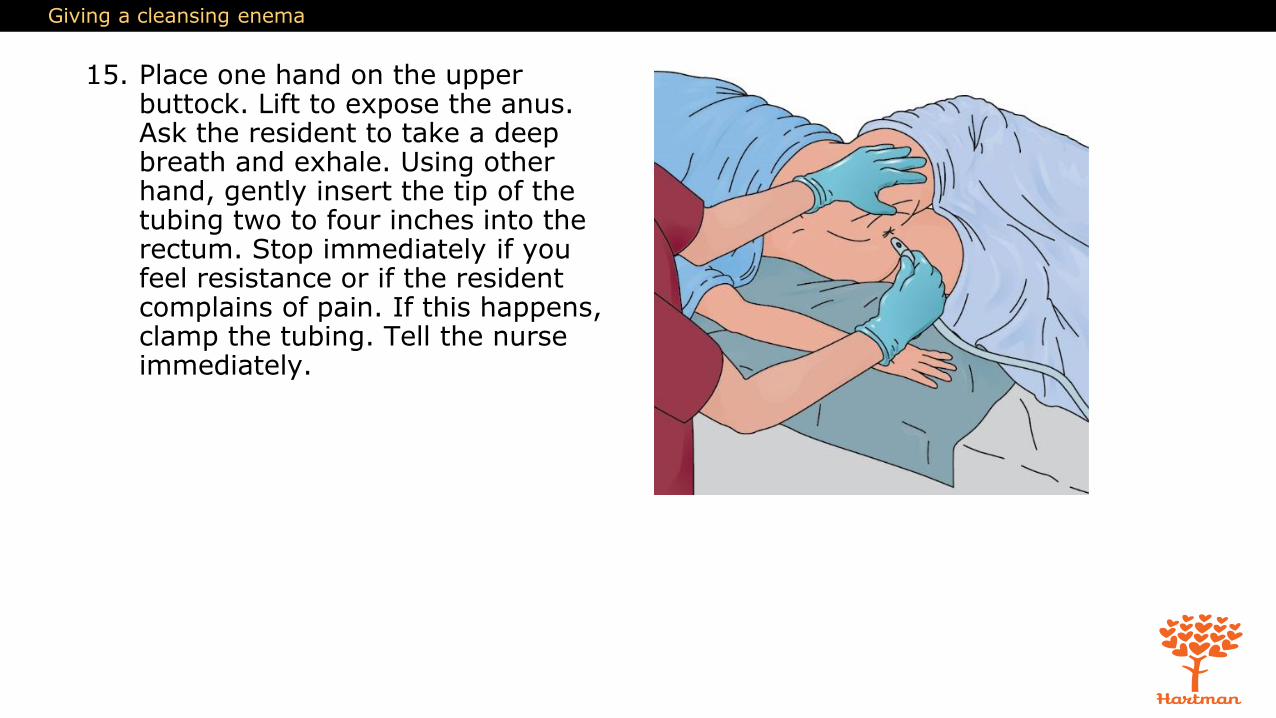
15. Place one hand on the upper buttock. Lift to expose the anus. Ask the resident to take a deep breath and exhale. Using other hand, gently insert the tip of the tubing two to four inches into the rectum. Stop immediately if you feel resistance or if the resident complains of pain. If this happens, clamp the tubing. Tell the nurse immediately.

Giving a cleansing enema
16. Unclamp the tubing. Allow the solution to flow slowly into the rectum. Ask resident to take slow, deep breaths. If resident complains of cramping, clamp the tubing and stop for a couple of minutes. Encourage him or her to take as much of the solution as possible. The resident should let you know when he cannot take any more fluid.
17. Clamp the tubing before the bag is empty, when the solution is almost gone. Gently remove the tip from the rectum. Place the tip into the enema bag. Do not contaminate yourself, resident, or bed linens.
18. Ask the resident to hold the solution inside as long as possible.
19. Help resident to use bedpan or commode or to get to the bathroom. Raise the head of the bed if resident is using bedpan. If the resident uses a commode or toilet, put on robe and nonskid footwear. Lower the bed to its lowest position before the resident gets up.
Giving a cleansing enema
20. Remove and discard gloves. Wash your hands.
21. Place toilet paper and wipes within resident’s reach. Ask the resident to clean his hands with a hand wipe when finished if he is able. If the resident is using the toilet, ask him not to flush it when finished.
22. Place the call light within resident’s reach. Wash your hands. Ask resident to signal when finished. Leave the room and closet the door.
23. When called by the resident, return and wash your hands. Put on clean gloves.
24. Lower the head of the bed if raised. Make sure resident is still covered. Do not overexpose the resident.
25. Remove bedpan carefully and gently. Cover bedpan
26. Give perineal care if help is needed. Wipe from front to back. Dry the perineal area with a towel. Help the resident put on undergarment. Cover the resident and remove the bath blanket.
Giving a cleansing enema
27. Remove and discard the bed protector. Place the towel and bath blanket in a hamper or bag and discard disposable supplies.
28. Take bedpan to the bathroom. Call the nurse to observe enema results, whether in bedpan or in toilet. Empty contents into toilet.
29. Turn the faucet on with a paper towel. Rinse the bedpan with cold water and empty it into the toilet. Flush the toilet. Place bedpan in area for cleaning or clean and store it according to policy.
30. Remove and discard gloves. Wash your hands.
31. Make resident comfortable.
32. Return bed to lowest position. Remove privacy
measures.
33. Leave call light within resident’s reach.
34. Wash your hands.
Giving a cleansing enema
35. Be courteous and respectful at all times.
36. Report any changes in the resident to the nurse. Document procedure using facility guidelines.
Giving a commercial enema
Equipment: bath blanket, standard or oil retention commercial enema kit, disposable bed protector, bedpan, bedpan cover, lubricating jelly, toilet paper, disposable wipes, towel, robe, nonskid footwear, supplies for perineal care, 2 pairs of gloves
1. Identify yourself by name. Identify the resident. Greet the resident by name.
2. Wash your hands.
3. Explain procedure to resident. Speak clearly, slowly, and directly. Maintain face-to-face contact whenever possible.
4. Provide for the resident’s privacy with a curtain, screen, or door.
5. Adjust bed to safe working level, usually waist high. Lock bed wheels.
6. Put on gloves.
7. Place bed protector under resident. Ask resident to remove undergarments or help him do so.
Giving a commercial enema
8. Help resident into left-sided Sims’ position. Cover with a bath blanket.
9. Uncover resident enough to expose anus only.
10. Add extra lubricating jelly to the tip of bottle if needed.
11. Ask resident to breathe deeply to relieve cramps during procedure.
12. Place one hand on the upper buttock. Lift to expose the anus. Ask the resident to take a deep breath and exhale. Using other hand, gently insert the tip of the tubing about one and a half inches into the rectum. Stop immediately if you feel resistance or if the resident complains of pain. Tell the nurse immediately.
13. Slowly squeeze and roll the enema container so that the solution runs inside the resident. Stop when the container is almost empty.

Giving a commercial enema
14. Gently remove tip from the rectum, continuing to keep pressure on the container until you place bottle inside the box upside down.
15. Ask the resident to hold the solution inside as long as possible.
16. Help resident to use bedpan or commode or go to the bathroom. Raise the head of the bed if resident is using bedpan. If the resident uses a commode or toilet, put on robe and nonskid footwear. Lower the bed to its lowest position before the resident gets up.

Giving a commercial enema
17. Remove and discard gloves. Wash your hands.
18. Place toilet paper and wipes within resident’s reach. Ask the resident to clean his hands with a hand wipe when finished if he is able. If the resident is using the bathroom, ask him not to flush it when finished.
19. Place the call light within resident’s reach. Wash your hands. Ask resident to signal when done. Leave the room and close the door.
20. When called by the resident, return and wash your hands. Put on clean gloves.
21. Lower the head of the bed if raised. Make sure resident is still covered. Do not overexpose the resident.
22. Remove bedpan carefully and gently. Cover bedpan. Remove and discard the bed protector.

Giving a commercial enema
23. Give perineal care if help is needed. Wipe from front to back. Dry the perineal area with a towel. Help the resident put on undergarment. Cover the resident and remove the bath blanket. Place the towel and bath blanket in a hamper or bag, and discard disposable supplies.
24. Take bedpan to the bathroom. Call the nurse to observe enema results, whether in bedpan or in toilet. Empty contents into toilet.
25. Turn the faucet on with a paper towel. Rinse the bedpan with cold water and empty it into the toilet. Flush the toilet. Place bedpan in area for cleaning or clean and store it according to policy.
26. Remove and discard gloves. Wash your hands.
27. Make resident comfortable.
28. Return bed to lowest position. Remove privacy measures.
29. Leave call light within resident’s reach.
Giving a commercial enema
30. Wash your hands.
31. Be courteous and respectful at all times.
32. Report any changes in the resident to the nurse. Document procedure using facility guidelines.
15
The Gastrointestinal System
8. Discuss how enemas are given
REMEMBER:
These procedures should only be performed by nursing assistants if allowed by the facility and if they are trained to perform the procedure.
15
The Gastrointestinal System
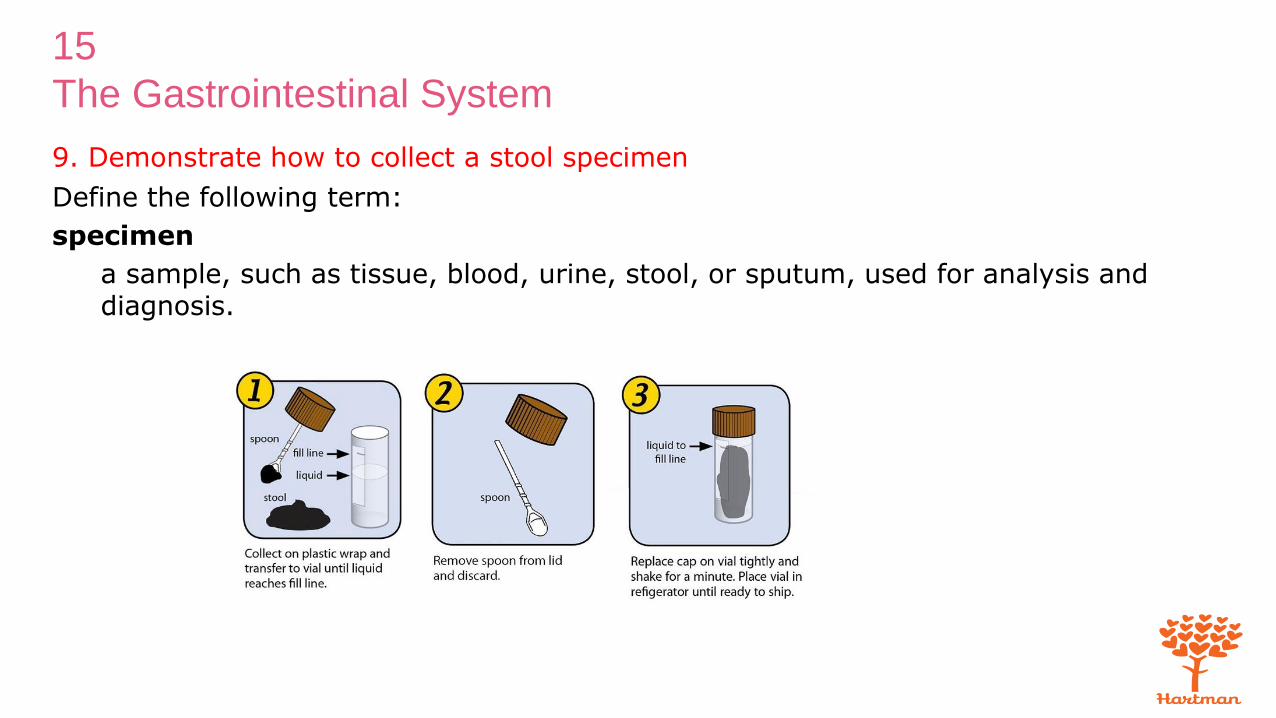
9. Demonstrate how to collect a stool specimen
Define the following term:
specimen
a sample, such as tissue, blood, urine, stool, or sputum, used for analysis and diagnosis.

15
The Gastrointestinal System
9. Demonstrate how to collect a stool specimen
Remember these points about stool specimens:
• Stool is tested for blood, pathogens, and other things, such as ova and parasites.
• Stool must be warm if being tested for ova and parasites, so these specimens must be taken to the lab immediately.
• Urine or tissue in a stool sample can ruin the sample.

Collecting a stool specimen
Equipment: specimen container and lid, completed label (labeled with resident’s name, date of birth, doctor’s name, room number, date, and time), 2 tongue blades, 2 pairs of gloves, bedpan (if resident cannot use portable commode or toilet), hat for toilet (if resident uses toilet or commode), plastic bag, toilet paper, disposable wipes, supplies for perineal care, lab slip
1. Identify yourself by name. Identify the resident. Greet the resident by name.
2. Wash your hands.
3. Explain procedure to resident. Speak clearly, slowly, and directly. Maintain face-to-face contact whenever possible.
4. Provide for the resident’s privacy with a curtain, screen, or door.
5. Put on gloves.
Collecting a stool specimen
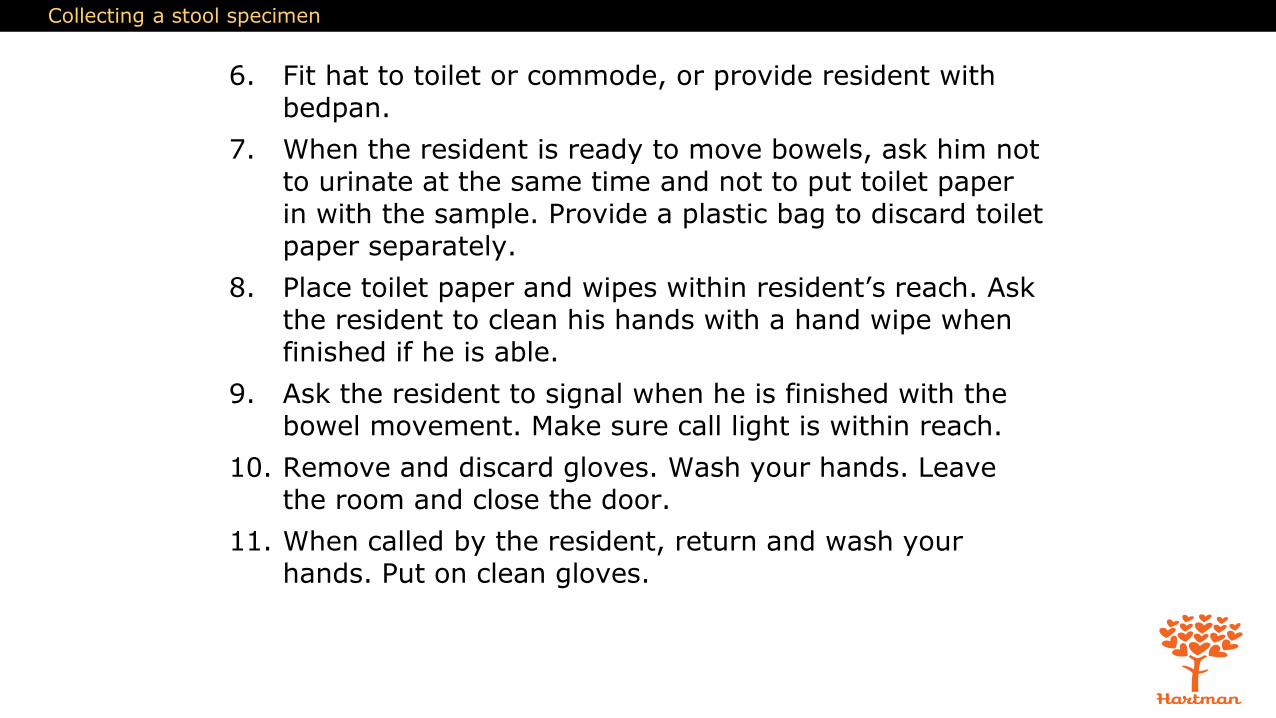
6. Fit hat to toilet or commode, or provide resident with bedpan.
7. When the resident is ready to move bowels, ask him not to urinate at the same time and not to put toilet paper in with the sample. Provide a plastic bag to discard toilet paper separately.
8. Place toilet paper and wipes within resident’s reach. Ask the resident to clean his hands with a hand wipe when finished if he is able.
9. Ask the resident to signal when he is finished with the bowel movement. Make sure call light is within reach.
10. Remove and discard gloves. Wash your hands. Leave the room and close the door.
11. When called by the resident, return and wash your hands. Put on clean gloves.
Collecting a stool specimen
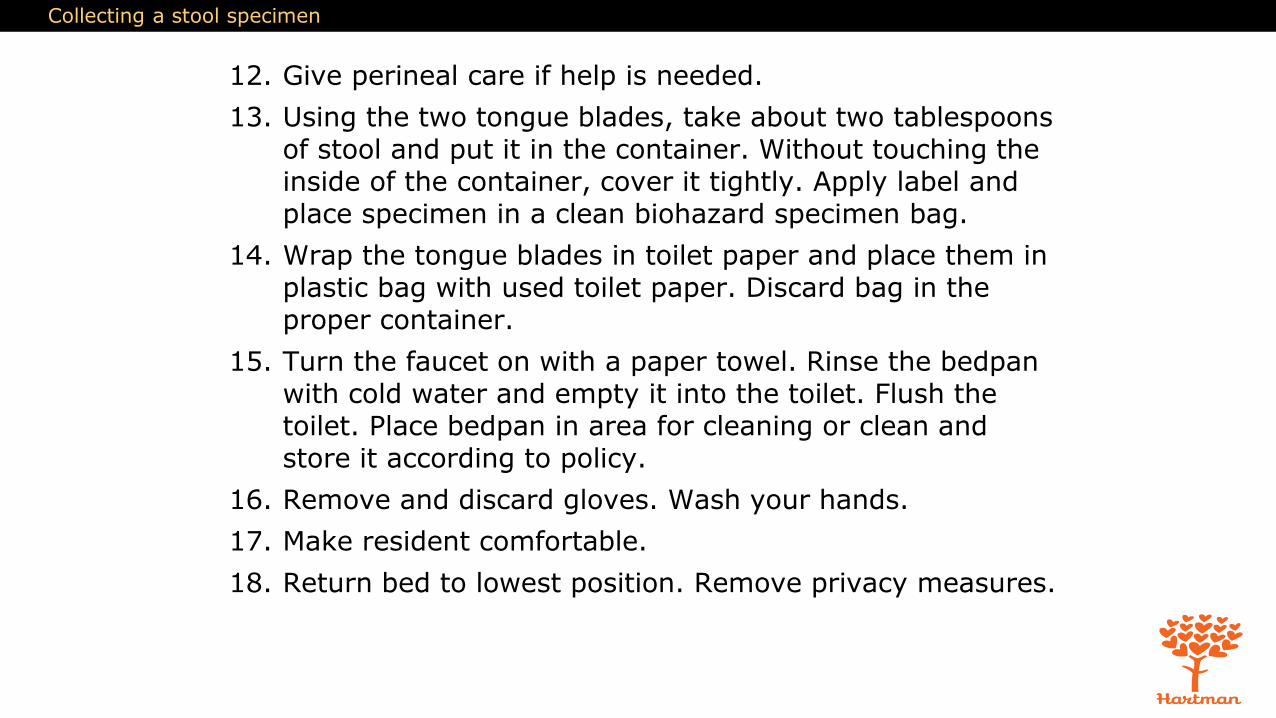
12. Give perineal care if help is needed.
13. Using the two tongue blades, take about two tablespoons of stool and put it in the container. Without touching the inside of the container, cover it tightly. Apply label and place specimen in a clean biohazard specimen bag.
14. Wrap the tongue blades in toilet paper and place them in plastic bag with used toilet paper. Discard bag in the proper container.
15. Turn the faucet on with a paper towel. Rinse the bedpan with cold water and empty it into the toilet. Flush the toilet. Place bedpan in area for cleaning or clean and store it according to policy.
16. Remove and discard gloves. Wash your hands.
17. Make resident comfortable.
18. Return bed to lowest position. Remove privacy measures.

Collecting a stool specimen
19. Leave call light within resident’s reach.
20. Wash your hands.
21. Be courteous and respectful at all times.
20. Report any changes in the resident to the nurse. Document procedure using facility guidelines. Take specimen and lab slip to designated place promptly.

15
The Gastrointestinal System
10. Explain occult blood testing
Define the following term:
occult
hidden.
15
The Gastrointestinal System
10. Explain occult blood testing
REMEMBER:
Hidden, or occult, blood is found inside stool with a microscope or a special chemical test. This may be a sign of a serious physical problem, such as cancer.

Testing a stool specimen for occult blood
Equipment: labeled stool specimen, occult blood test kit, 2 tongue blades, plastic bag, gloves
1. Wash your hands.
2. Put on gloves.
3. Open the test card.
4. Pick up a tongue blade. Get small amount of stool from specimen container.
5. Using a tongue blade, smear a small amount of stool onto Box A of test card.

Testing a stool specimen for occult blood
6. Flip tongue blade (or use new tongue blade). Get some stool from another part of specimen. Smear small amount of stool onto Box B of test card.
7. Close the test card. Turn over to other side.
8. Open the flap.
9. Open developer. Apply developer to each box. Follow manufacturer’s instructions.
10. Wait the amount of time listed in instructions, usually between 10 and 60 seconds.
11. Watch the squares for any color changes. Record color changes. Follow instructions.
12. Place tongue blade(s) and test packet in plastic bag.
13. Dispose of plastic bag properly in biohazard container.
14. Remove and discard gloves.

Testing a stool specimen for occult blood
15. Wash your hands.
16. Document procedure using facility guidelines. Report results to the nurse.

15
The Gastrointestinal System
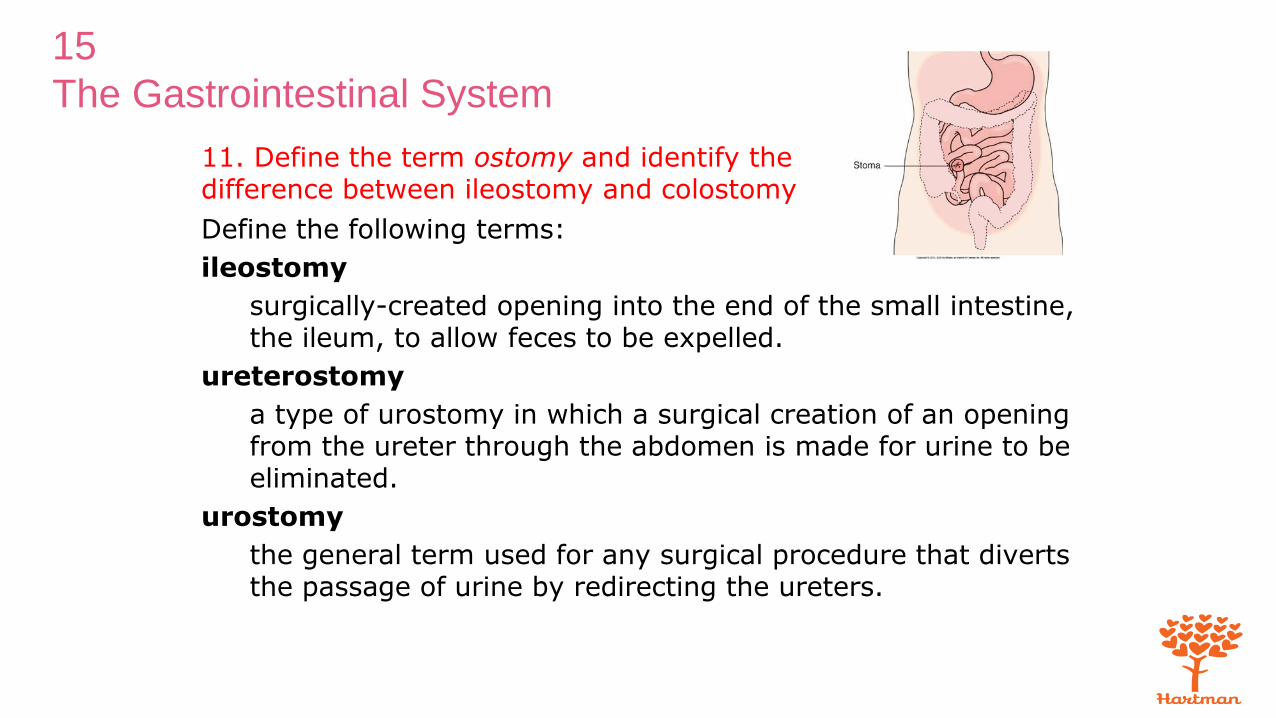
11. Define the term ostomy and identify the difference between ileostomy and colostomy
Define the following terms:
ostomy
surgical creation of an opening from an area inside the body to the outside.
stoma
an artificial opening in the body.
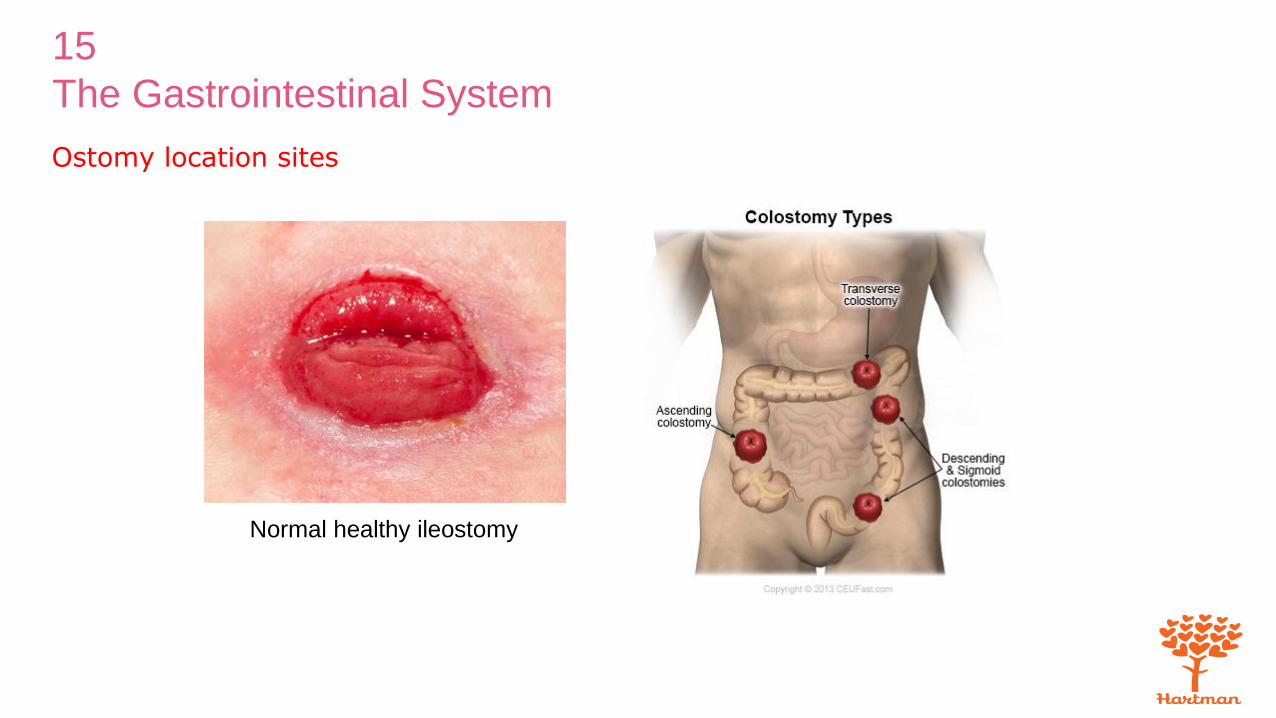
colostomy
surgically-created opening through the abdominal wall into the large intestine to allow feces to be expelled.
15
The Gastrointestinal System
Ostomy location sites
Normal healthy ileostomy
15
The Gastrointestinal System
11. Define the term ostomy and identify the difference between ileostomy and colostomy
Define the following terms:
ileostomy
surgically-created opening into the end of the small intestine, the ileum, to allow feces to be expelled.
ureterostomy
a type of urostomy in which a surgical creation of an opening from the ureter through the abdomen is made for urine to be eliminated.
urostomy
the general term used for any surgical procedure that diverts the passage of urine by redirecting the ureters.
15
The Gastrointestinal System
11. Define the term ostomy and identify the difference between ileostomy and colostomy
REMEMBER:
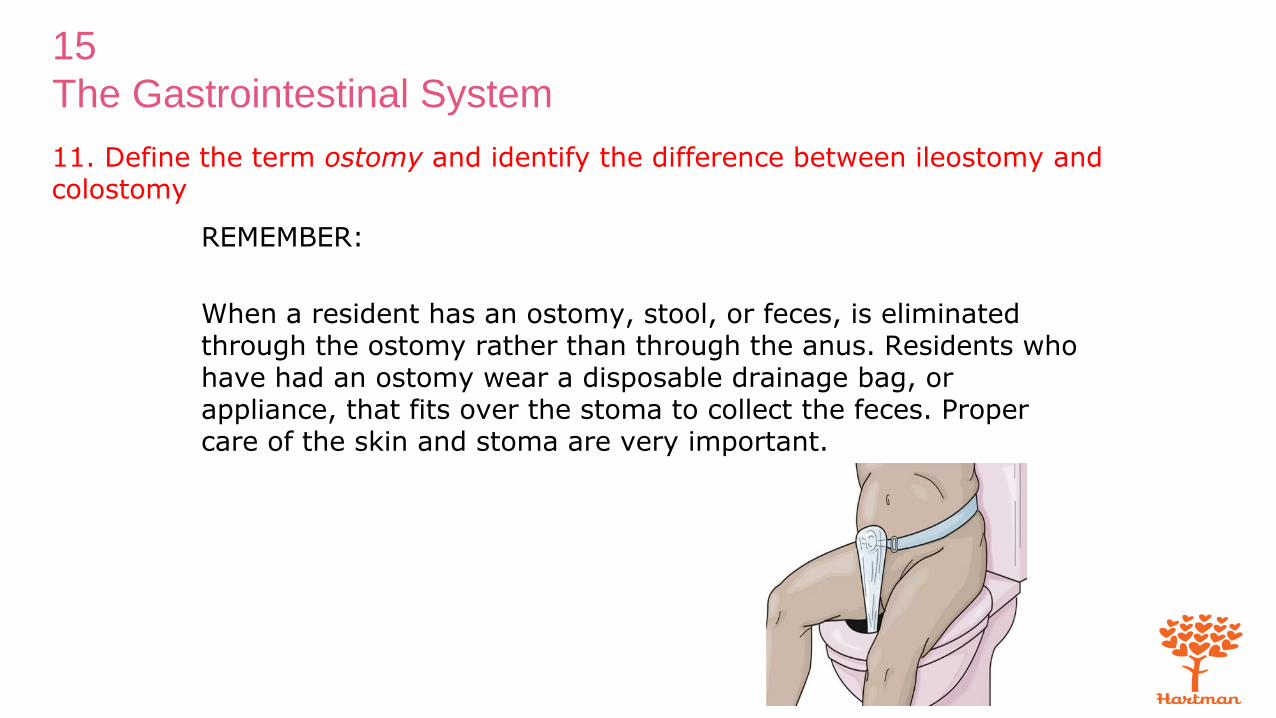
When a resident has an ostomy, stool, or feces, is eliminated through the ostomy rather than through the anus. Residents who have had an ostomy wear a disposable drainage bag, or appliance, that fits over the stoma to collect the feces. Proper care of the skin and stoma are very important.
15
The Gastrointestinal System
11. Define the term ostomy and identify the difference between ileostomy and colostomy
REMEMBER:
Many people with ostomies feel embarrassed or angry. They often feel they have lost control of a basic bodily function. Ostomies can cause odor, discomfort, and fear of the bag falling off.
Nursing assistants can do a great deal to help residents with ostomies feel better about themselves. They must be sensitive and supportive and always provide privacy for ostomy care.

15
The Gastrointestinal System
11. Define the term ostomy and identify the difference between ileostomy and colostomy
Know these guidelines for ostomy care:
• Follow Standard and/or Transmission-Based Precautions.
• Provide good skin care and hygiene.
• Remove ostomy pouches carefully.
• Before removing pouches, allow a little air out of the bag.
• Observe contents of pouch.
• Empty, clean, and replace the ostomy pouch whenever stool is eliminated.
15
The Gastrointestinal System
11. Define the term ostomy and identify the difference between ileostomy and colostomy
Guidelines for ostomy care (cont'd):
• Assist residents to wash hands.
• Observe for skin irritation, rashes, swelling or bleeding around stoma.
• Use skin barriers as ordered.
• Make sure bottom of pouch is securely clamped before applying to stoma.
• Make sure pouch is attached securely before completing care and before residents go out or receive visitors.
• Be supportive, empathetic, and caring.

15
The Gastrointestinal System
11. Define the term ostomy and identify the difference between ileostomy and colostomy
REMEMBER:
A urostomy is the general term used for any surgical procedure that diverts the passage of urine by re-directing the ureters. A ureterostomy is a type of urostomy in which an opening from a ureter is brought through the abdomen for urine to be eliminated.

15
The Gastrointestinal SystemOstomy Changing Supplies
Caring for an ostomy
Equipment: disposable bed protector, bath blanket, clean ostomy pouching system, belt (if needed), disposable wipes (made for ostomy care), basin of warm water, washcloth, 2 towels, plastic disposable bag, gloves, special deodorant (if used)
1. Identify yourself by name. Identify the resident. Greet the resident by name.
2. Wash your hands.
3. Explain procedure to resident. Speak clearly, slowly, and directly. Maintain face-to-face contact whenever possible.
4. Provide for the resident’s privacy with a curtain, screen, or door.
5. Adjust bed to safe working level, usually waist high. Lock bed wheels.
6. Put on gloves.
Caring for an ostomy
7. Place bed protector under resident. Cover resident with a bath blanket. Pull down the top sheet and blankets. Expose only the ostomy site. Offer resident a towel to keep clothing dry.
8. Undo the ostomy belt if used. Pull gently on one edge of ostomy pouch to release air.
9. Remove ostomy bag carefully. Place it in plastic bag. Note the color, odor, consistency, and amount of stool in the bag.
10. Wipe area around stoma with disposable wipes for ostomy care. Discard wipes in plastic bag.
Caring for an ostomy
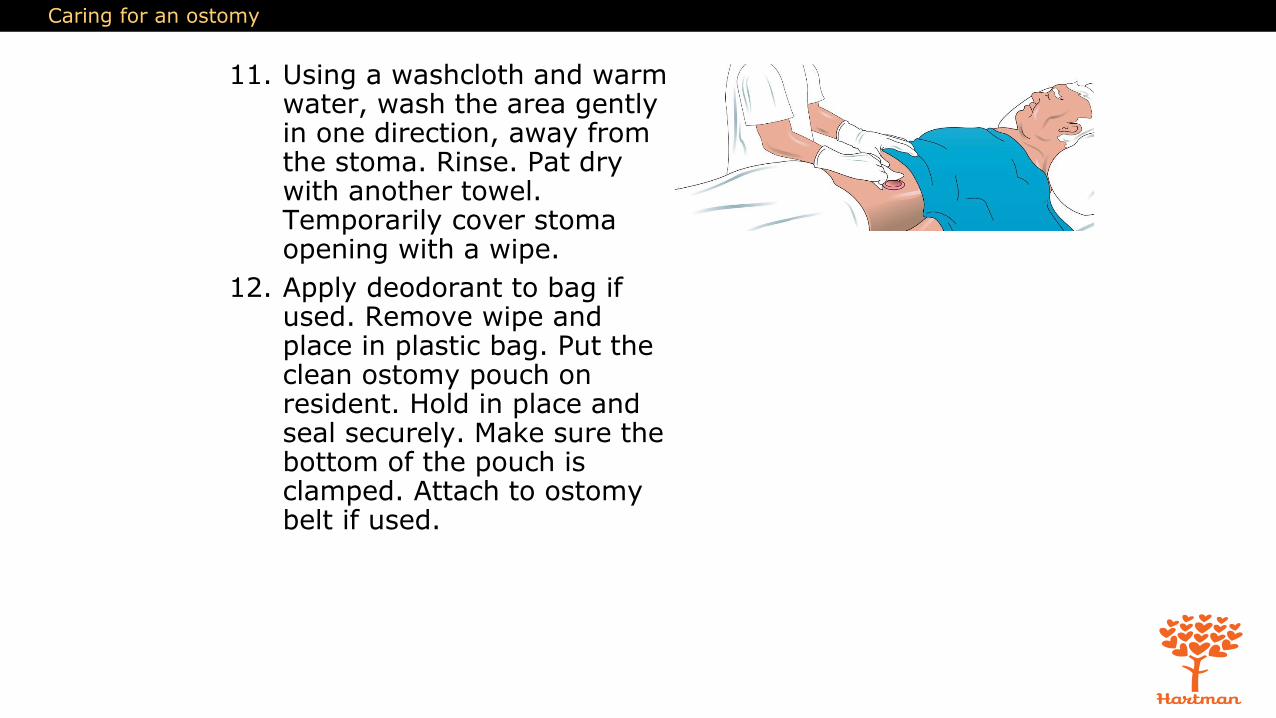
11. Using a washcloth and warm water, wash the area gently in one direction, away from the stoma. Rinse. Pat dry with another towel. Temporarily cover stoma opening with a wipe.
12. Apply deodorant to bag if used. Remove wipe and place in plastic bag. Put the clean ostomy pouch on resident. Hold in place and seal securely. Make sure the bottom of the pouch is clamped. Attach to ostomy belt if used.
Caring for an ostomy
13. Remove bed protector and discard. Place soiled linens in proper container. Discard plastic bag in the proper container.
14. Remove and discard gloves.
15. Wash your hands.
16. Make resident comfortable.
17. Return bed to lowest position. Remove privacy measures.
18. Leave call light within resident’s reach.
19. Wash your hands.
20. Be courteous and respectful at all times.
21. Report any changes in the resident to the nurse. Document procedure using facility guidelines.
15
The Gastrointestinal System
12. Explain guidelines for assisting with bowel retraining
REMEMBER:
Residents who have had an illness, injury, or a period of inactivity may need assistance in re-establishing a regular routine and normal bowel function. Retraining is the process of assisting residents to regain control of their bowels. Nursing assistants may be asked to help residents with this.
15
The Gastrointestinal System
12. Explain guidelines for assisting with bowel retraining
REMEMBER:
Keeping a positive attitude when residents struggle with bowel retraining can make a huge difference.

15
The Gastrointestinal System
12. Explain guidelines for assisting with bowel retraining
Nursing assistants may assist with bowel retraining in the following ways:
• Explain the schedule to the resident. Follow the schedule.
• Follow Standard Precautions. Wear gloves.
• Observe resident’s elimination habits.
• Keep a record of elimination.
• Offer bedpan or trip to the bathroom at specific times each day.
• Answer call lights promptly.
15
The Gastrointestinal System
12. Explain guidelines for assisting with bowel retraining
Ways in which NAs assist with bowel retraining (cont'd):
• Provide privacy. Do not rush resident.
• Help with perineal care.
• Encourage fluids and proper diet.
• Dispose of wastes properly.
• Praise attempts and successes in controlling bowels.
• Never show frustration or anger.

15
The Gastrointestinal SystemD&S Skill Perineal Care- Male with Changing a Soiled Brief
15
The Gastrointestinal System
12. Explain guidelines for assisting with bowel retraining
Think about this question:
How would it feel if you were unable to control elimination?
Copyright © 2022 FDOKUMEN