雲端計算與網路- Final Project
30
雲端計算與網路 - Final Project Reporter: Green Advisor: Hsueh-Wen Tseng
-
Upload
khangminh22 -
Category
Documents
-
view
1 -
download
0
Transcript of 雲端計算與網路- Final Project

雲端計算與網路 - Final Project
Reporter: Green
Advisor: Hsueh-Wen Tseng
Outline
• What is NS2
• How to use NS2
– NS2安裝
– NS2程式語法
– NS2的Tracefile解析
• How to do a final project
• Example:
– localCLFS.tcl
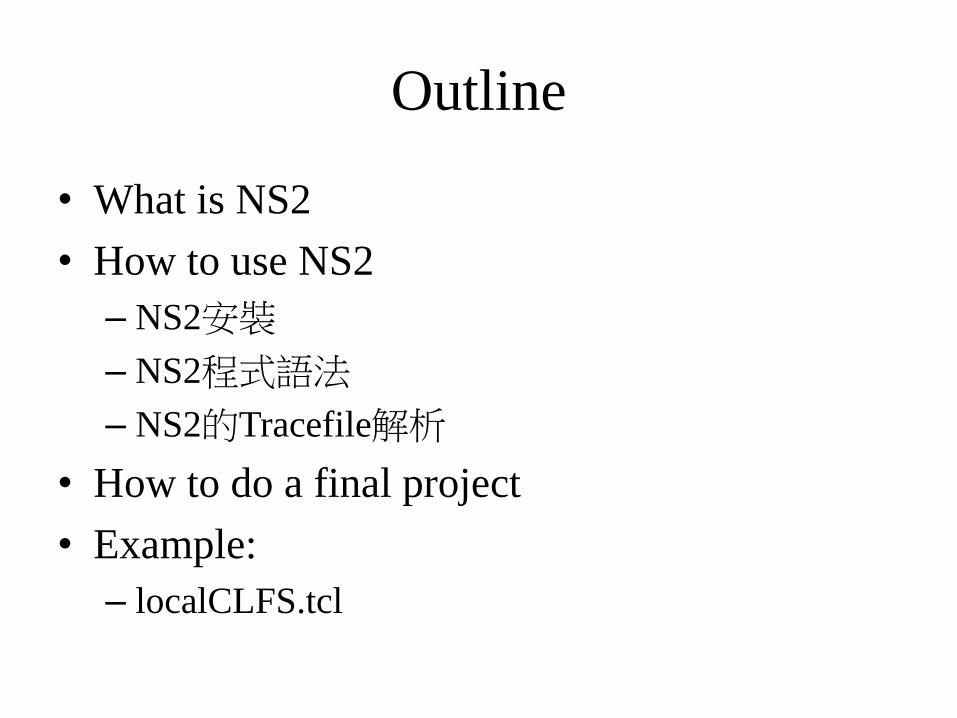
What is NS2
3
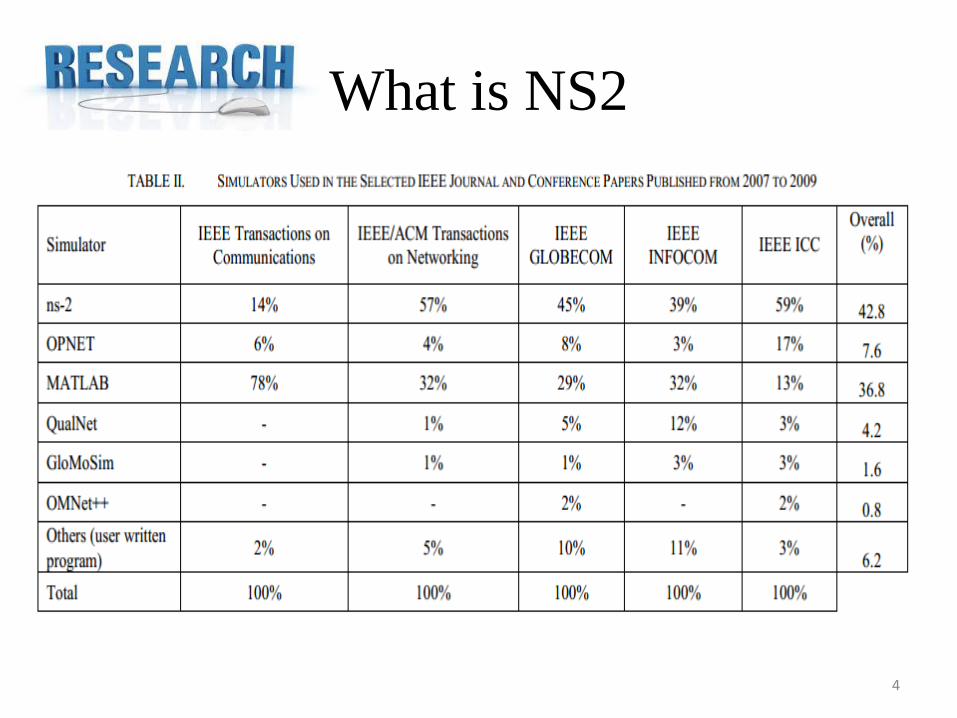
What is NS2
4
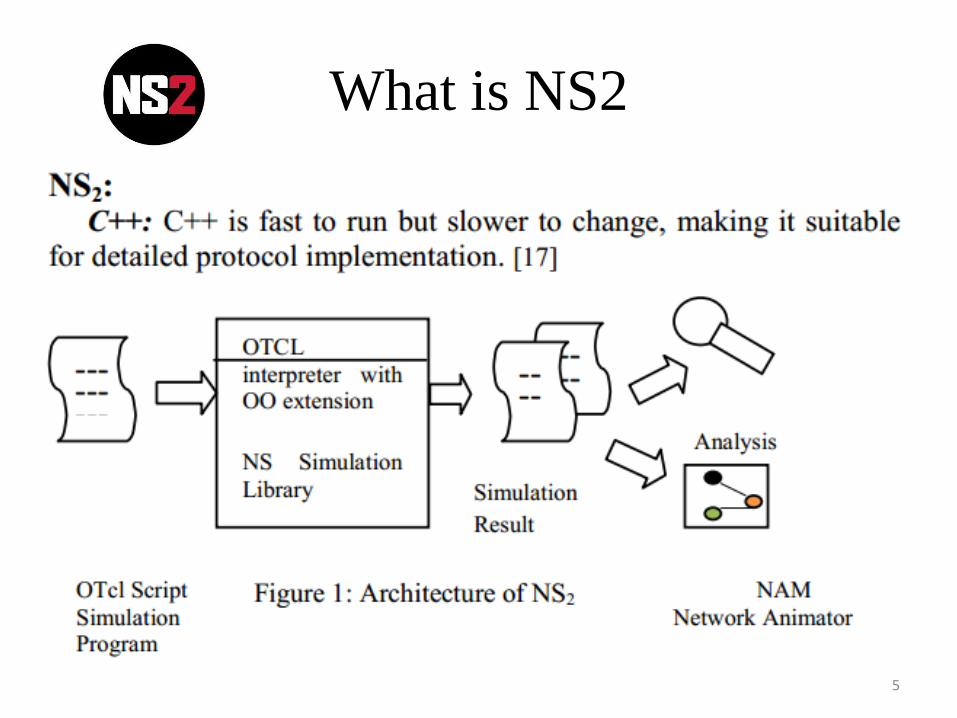
What is NS2
5
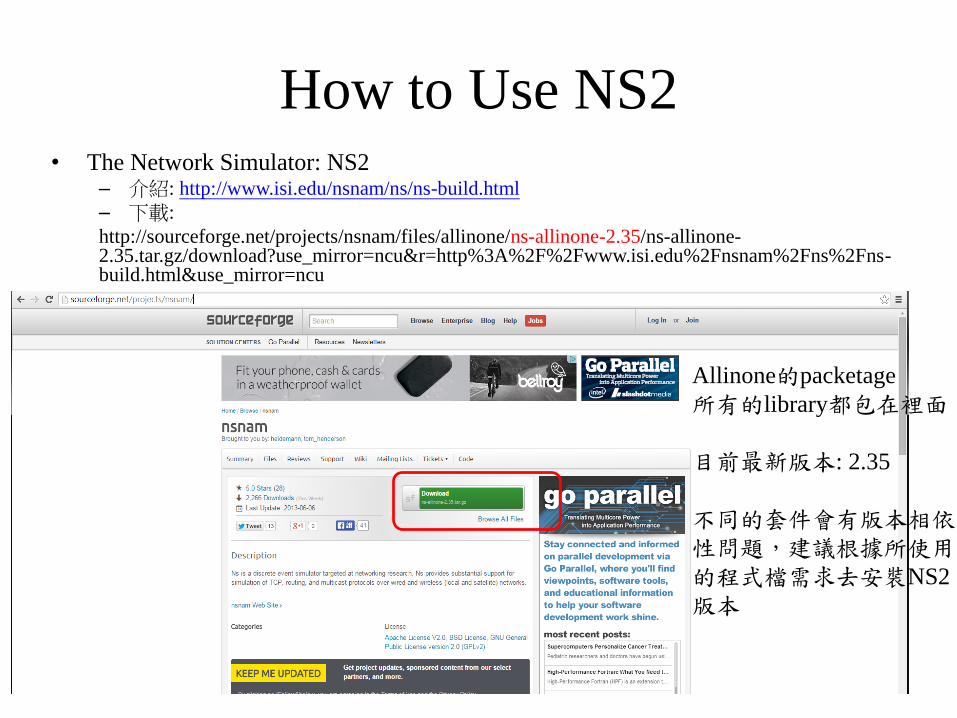
How to Use NS2• The Network Simulator: NS2
– 介紹: http://www.isi.edu/nsnam/ns/ns-build.html
– 下載:
http://sourceforge.net/projects/nsnam/files/allinone/ns-allinone-2.35/ns-allinone-2.35.tar.gz/download?use_mirror=ncu&r=http%3A%2F%2Fwww.isi.edu%2Fnsnam%2Fns%2Fns-build.html&use_mirror=ncu
Allinone的packetage
所有的library都包在裡面
目前最新版本: 2.35
不同的套件會有版本相依性問題,建議根據所使用的程式檔需求去安裝NS2
版本
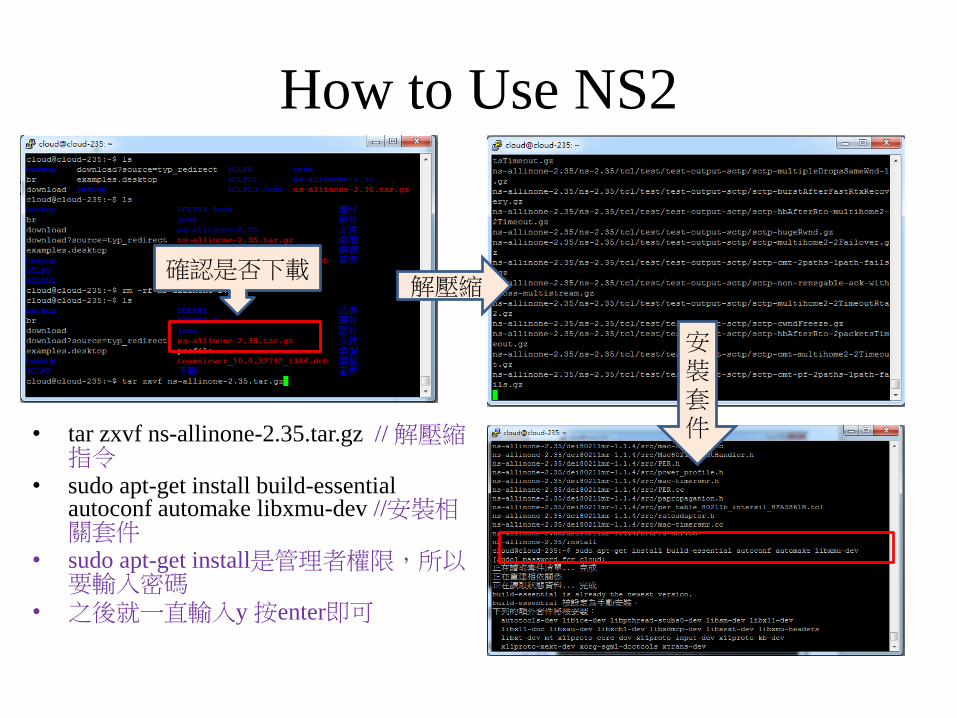
How to Use NS2
• tar zxvf ns-allinone-2.35.tar.gz // 解壓縮指令
• sudo apt-get install build-essential autoconf automake libxmu-dev //安裝相關套件
• sudo apt-get install是管理者權限,所以要輸入密碼
• 之後就一直輸入y 按enter即可
解壓縮確認是否下載
安裝套件
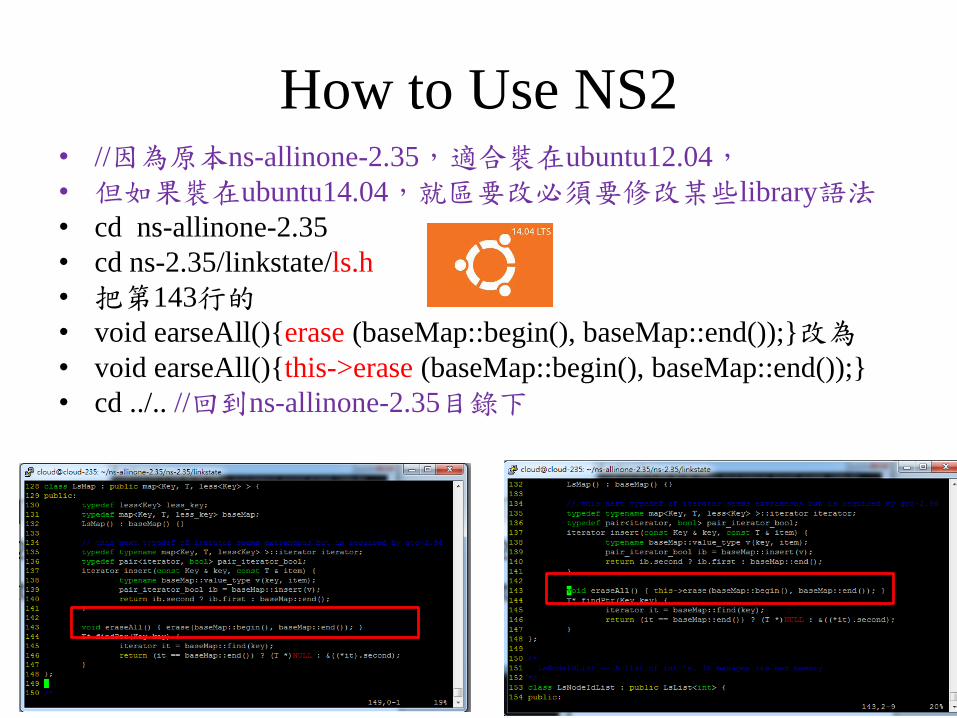
How to Use NS2• //因為原本ns-allinone-2.35,適合裝在ubuntu12.04,• 但如果裝在ubuntu14.04,就區要改必須要修改某些library語法• cd ns-allinone-2.35
• cd ns-2.35/linkstate/ls.h
• 把第143行的• void earseAll(){erase (baseMap::begin(), baseMap::end());}改為• void earseAll(){this->erase (baseMap::begin(), baseMap::end());}
• cd ../.. //回到ns-allinone-2.35目錄下
How to Use NS2
• 在ns-allinone-2.35目錄下• 執行 ./install
• 執行完後,打開/home/使用者/.bashrc,在檔案末端增加環境變數。
• export PATH="$PATH:/home/使用者/ns-allinone-2.35/bin:/home/使用者/ns-allinone-2.35/tcl8.5.1 0/unix:/home/使用者/ns-allinone-2.35/tk8.5.10/unix"
• export LD_LIBRARY_PATH="$LD_LIBRARY_PATH:/home/使用者/ns-allinone-2.35/otcl-1.14, /home/newliv ing/ns-allinone-2.35/lib"
• export TCL_LIBRARY="$TCL_LIBRARY:home/使用者/ns-allinone-2.35/tcl8.5.10/library “
• 修改完後,執行source .bashrc,使其立即生效。
How to Use NS2
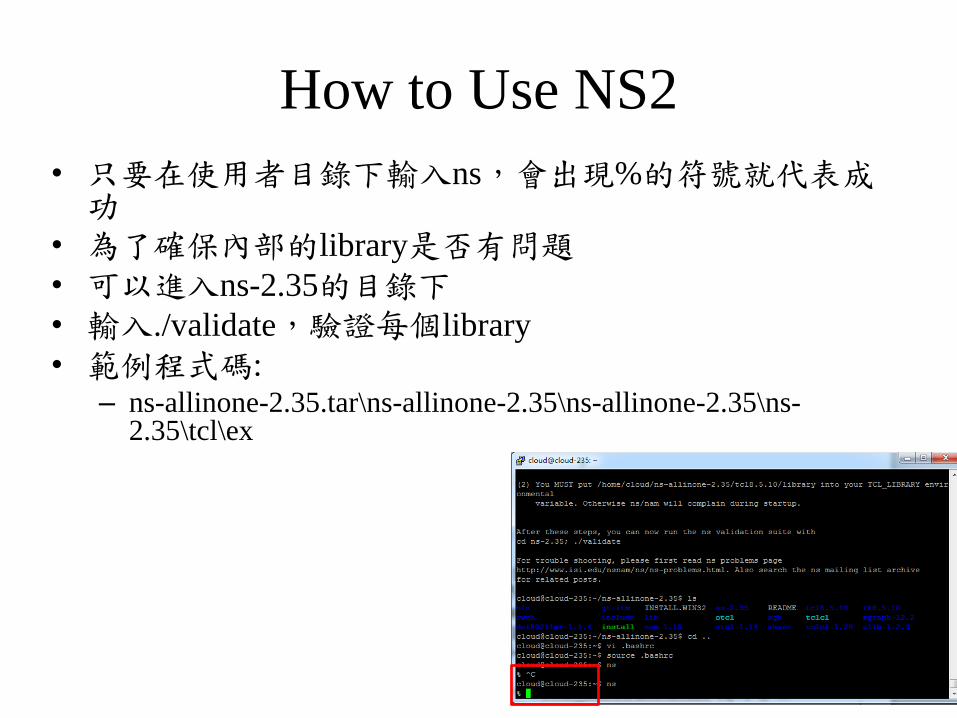
• 只要在使用者目錄下輸入ns,會出現%的符號就代表成功
• 為了確保內部的library是否有問題• 可以進入ns-2.35的目錄下• 輸入./validate,驗證每個library
• 範例程式碼:– ns-allinone-2.35.tar\ns-allinone-2.35\ns-allinone-2.35\ns-
2.35\tcl\ex
How to Use NS2
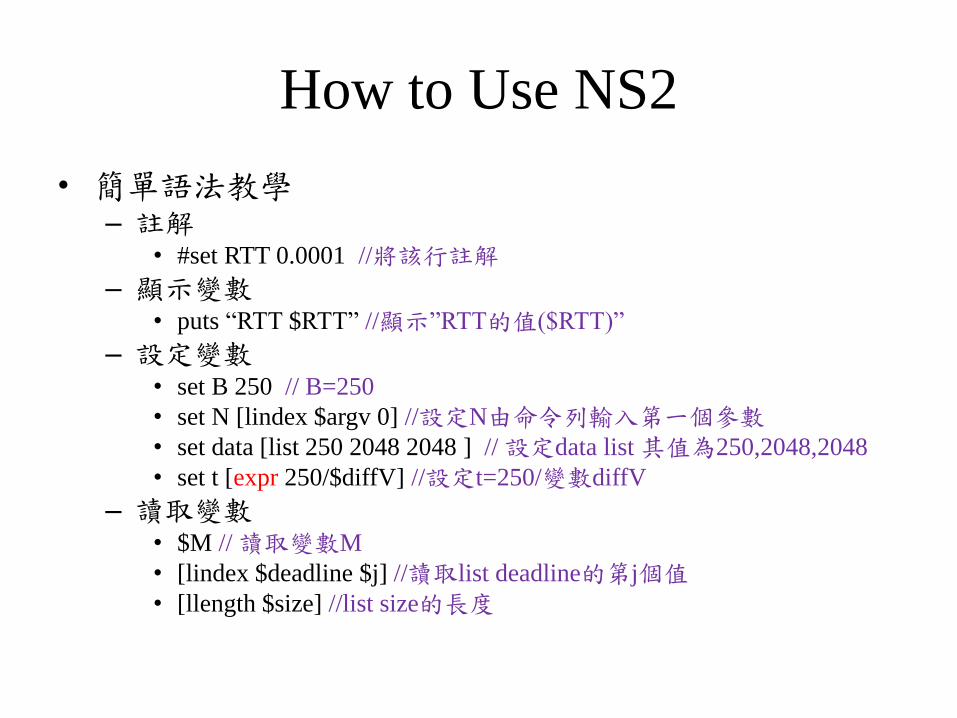
• 簡單語法教學– 註解
• #set RTT 0.0001 //將該行註解
– 顯示變數• puts “RTT $RTT” //顯示”RTT的值($RTT)”
– 設定變數• set B 250 // B=250
• set N [lindex $argv 0] //設定N由命令列輸入第一個參數• set data [list 250 2048 2048 ] // 設定data list 其值為250,2048,2048
• set t [expr 250/$diffV] //設定t=250/變數diffV
– 讀取變數• $M // 讀取變數M
• [lindex $deadline $j] //讀取list deadline的第j個值• [llength $size] //list size的長度
How to Use NS2
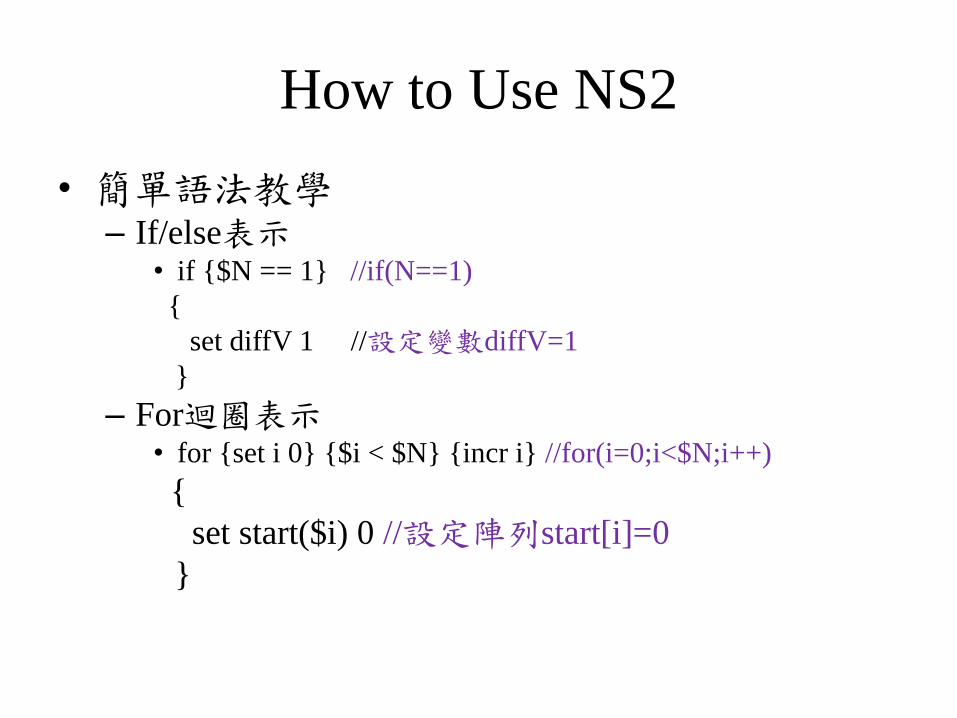
• 簡單語法教學– If/else表示
• if {$N == 1} //if(N==1)
{
set diffV 1 //設定變數diffV=1
}
– For迴圈表示• for {set i 0} {$i < $N} {incr i} //for(i=0;i<$N;i++)
{
set start($i) 0 //設定陣列start[i]=0
}
How to Use NS2
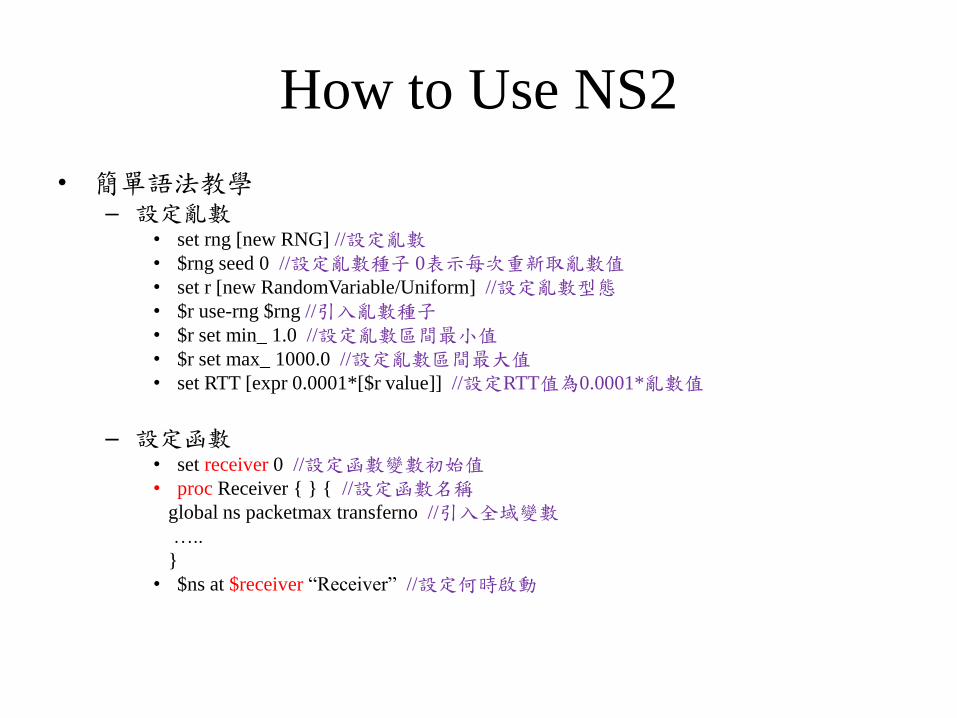
• 簡單語法教學– 設定亂數
• set rng [new RNG] //設定亂數• $rng seed 0 //設定亂數種子 0表示每次重新取亂數值• set r [new RandomVariable/Uniform] //設定亂數型態• $r use-rng $rng //引入亂數種子• $r set min_ 1.0 //設定亂數區間最小值• $r set max_ 1000.0 //設定亂數區間最大值• set RTT [expr 0.0001*[$r value]] //設定RTT值為0.0001*亂數值
– 設定函數• set receiver 0 //設定函數變數初始值• proc Receiver { } { //設定函數名稱
global ns packetmax transferno //引入全域變數…..
}
• $ns at $receiver “Receiver” //設定何時啟動
How to Use NS2
• 簡單語法教學
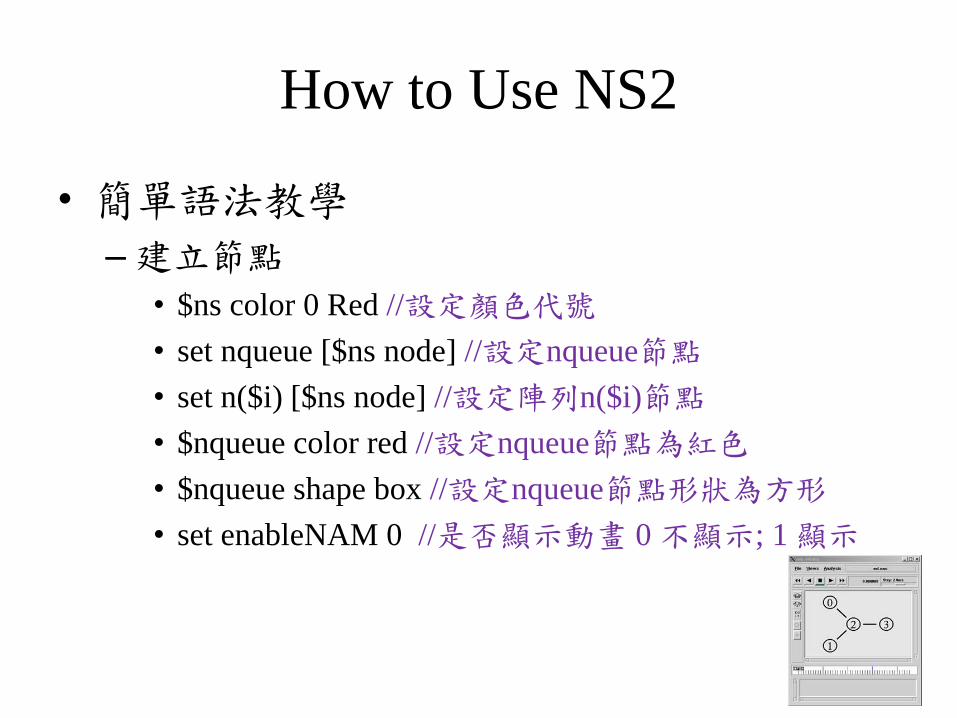
–建立節點
• $ns color 0 Red //設定顏色代號
• set nqueue [$ns node] //設定nqueue節點
• set n($i) [$ns node] //設定陣列n($i)節點
• $nqueue color red //設定nqueue節點為紅色
• $nqueue shape box //設定nqueue節點形狀為方形
• set enableNAM 0 //是否顯示動畫 0 不顯示; 1 顯示

How to Use NS2
• 簡單語法教學– 建立鏈結
• $ns duplex-link $n($i) $nqueue $inputLineRate [expr $RTT/4] DropTail //設定Link為雙向,由$n($i)接到$nqueue,而且速率為RTT/4 ,且封包會存在Queue中,滿了才Drop
• $ns simplex-link $nqueue $nclient $lineRate [expr $RTT/4] $switchAlg //設定Link為單向,由$nqueue接到$nclient,而且速率為RTT/4 ,交換器是$switchAlg型態
• $ns queue-limit $nqueue $nclient $B //設定從nqueue到nclient的Queue大小為B
• set qfile [$ns monitor-queue $nqueue $nclient [open queue.tr w] $traceSamplingInterval] //將Queue的狀態寫入檔案
How to Use NS2
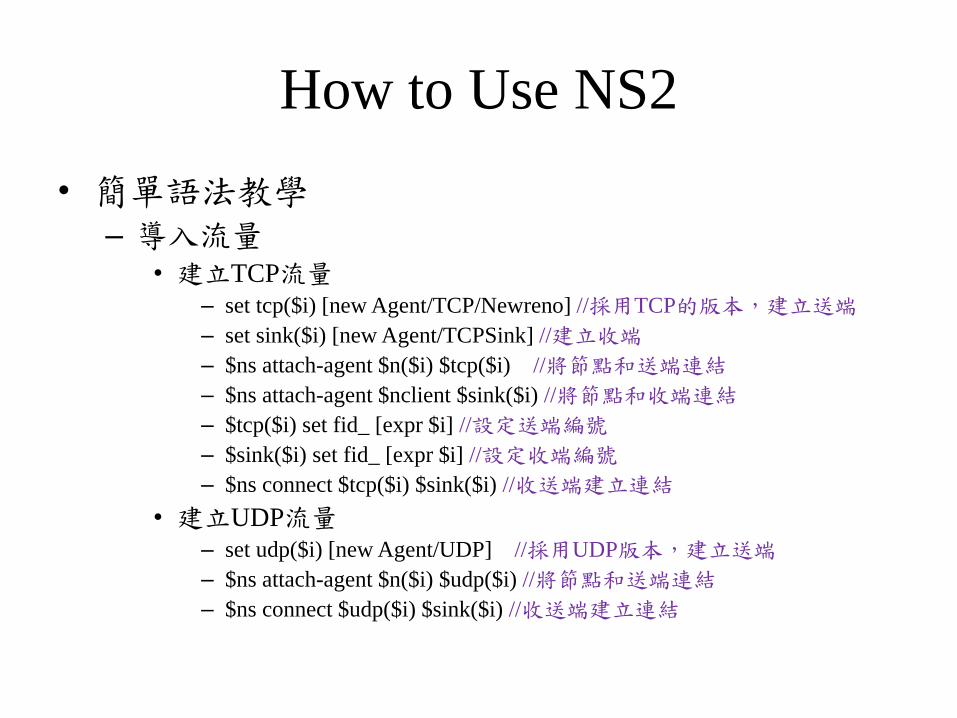
• 簡單語法教學– 導入流量
• 建立TCP流量– set tcp($i) [new Agent/TCP/Newreno] //採用TCP的版本,建立送端
– set sink($i) [new Agent/TCPSink] //建立收端
– $ns attach-agent $n($i) $tcp($i) //將節點和送端連結
– $ns attach-agent $nclient $sink($i) //將節點和收端連結
– $tcp($i) set fid_ [expr $i] //設定送端編號
– $sink($i) set fid_ [expr $i] //設定收端編號
– $ns connect $tcp($i) $sink($i) //收送端建立連結
• 建立UDP流量– set udp($i) [new Agent/UDP] //採用UDP版本,建立送端
– $ns attach-agent $n($i) $udp($i) //將節點和送端連結
– $ns connect $udp($i) $sink($i) //收送端建立連結
How to Use NS2
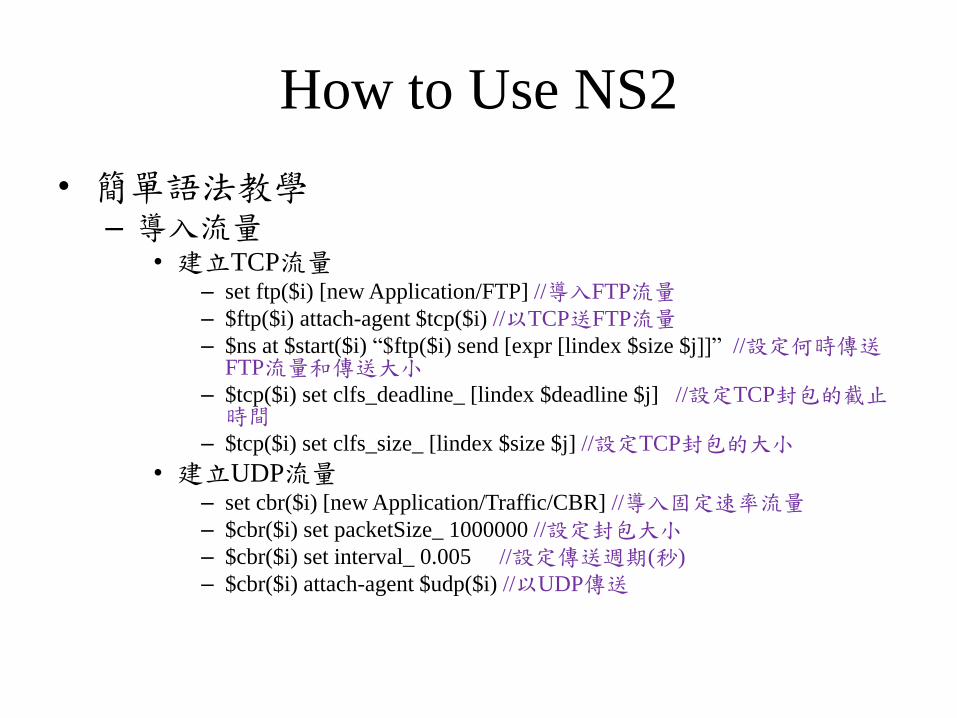
• 簡單語法教學– 導入流量
• 建立TCP流量– set ftp($i) [new Application/FTP] //導入FTP流量– $ftp($i) attach-agent $tcp($i) //以TCP送FTP流量– $ns at $start($i) “$ftp($i) send [expr [lindex $size $j]]” //設定何時傳送
FTP流量和傳送大小– $tcp($i) set clfs_deadline_ [lindex $deadline $j] //設定TCP封包的截止時間
– $tcp($i) set clfs_size_ [lindex $size $j] //設定TCP封包的大小
• 建立UDP流量– set cbr($i) [new Application/Traffic/CBR] //導入固定速率流量– $cbr($i) set packetSize_ 1000000 //設定封包大小– $cbr($i) set interval_ 0.005 //設定傳送週期(秒)
– $cbr($i) attach-agent $udp($i) //以UDP傳送
How to Use NS2
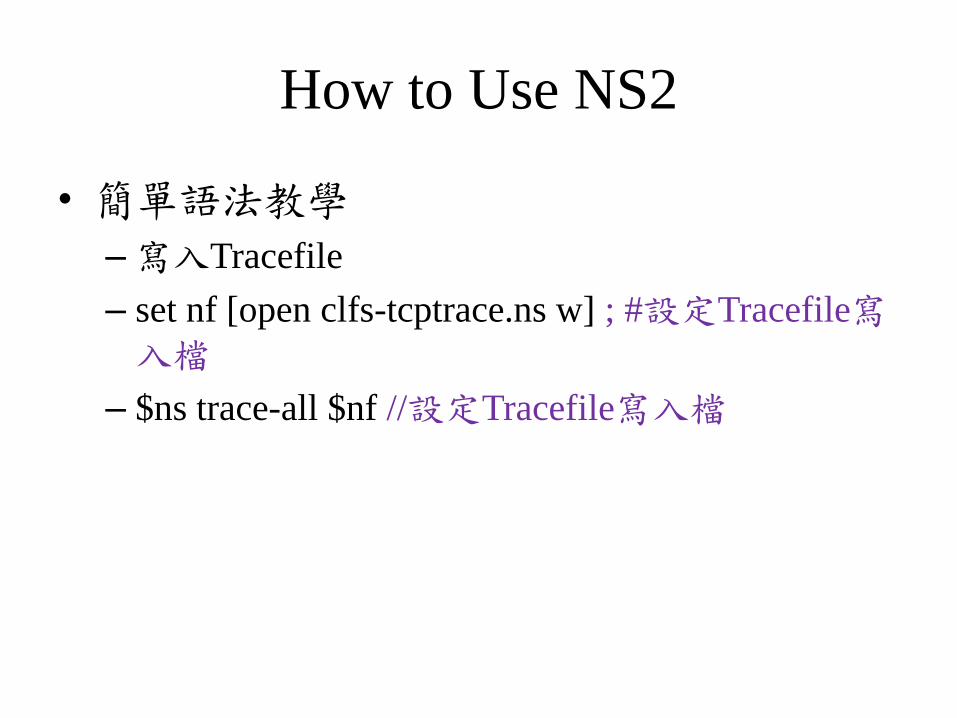
• 簡單語法教學
–寫入Tracefile
– set nf [open clfs-tcptrace.ns w] ; #設定Tracefile寫入檔
– $ns trace-all $nf //設定Tracefile寫入檔
How to Use NS2
• 簡單語法教學
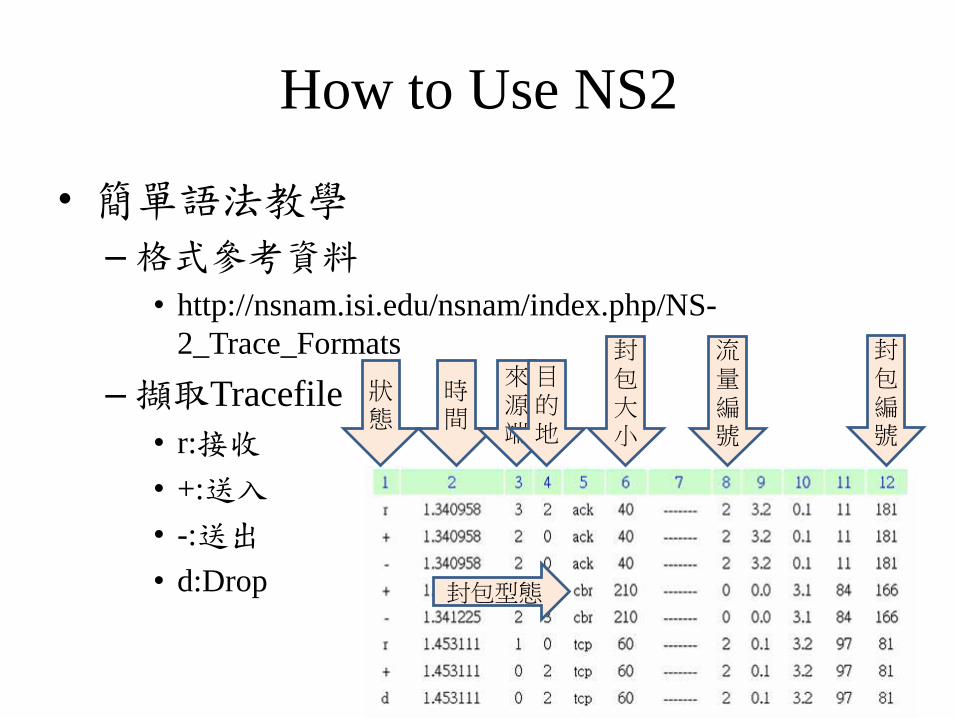
–格式參考資料
• http://nsnam.isi.edu/nsnam/index.php/NS-
2_Trace_Formats
–擷取Tracefile
• r:接收
• +:送入
• -:送出
• d:Drop
時間
狀態
來源端
目的地
封包大小
流量編號
封包編號
封包型態
How to Use NS2
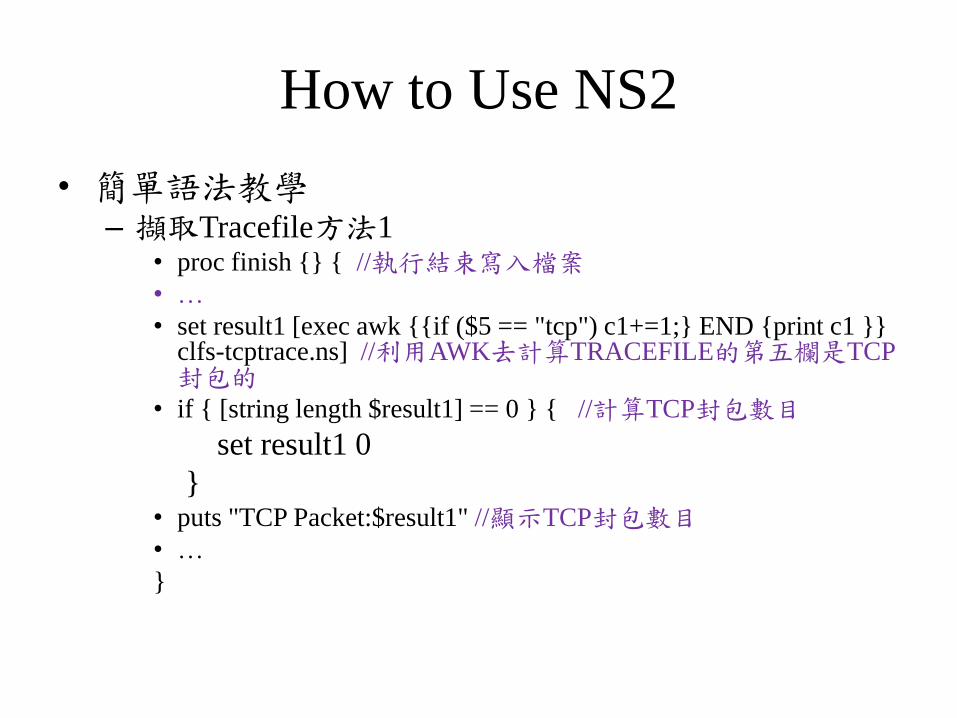
• 簡單語法教學– 擷取Tracefile方法1
• proc finish {} { //執行結束寫入檔案• …
• set result1 [exec awk {{if ($5 == "tcp") c1+=1;} END {print c1 }} clfs-tcptrace.ns] //利用AWK去計算TRACEFILE的第五欄是TCP封包的
• if { [string length $result1] == 0 } { //計算TCP封包數目
set result1 0
} • puts "TCP Packet:$result1" //顯示TCP封包數目• …
}
How to Use NS2
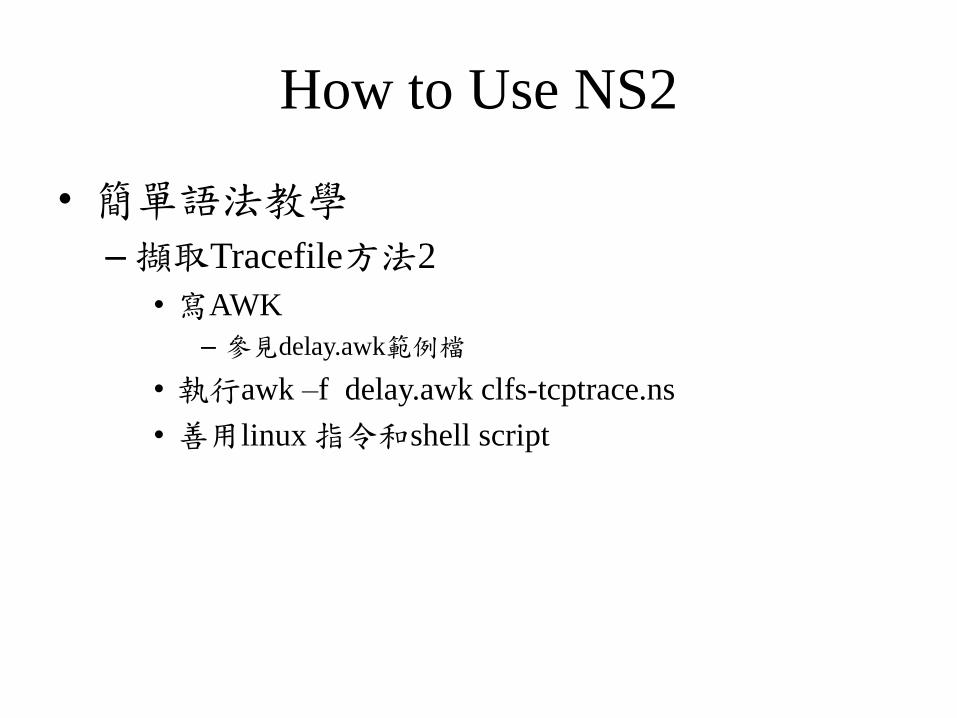
• 簡單語法教學
–擷取Tracefile方法2
• 寫AWK
– 參見delay.awk範例檔
• 執行awk –f delay.awk clfs-tcptrace.ns
• 善用linux指令和shell script

How to Do a Final Project
• 和期中報告主題相符
• 只要一個簡單的IDEA即可
• 要秀出欲呈現的效果與效能
–動畫/圖表
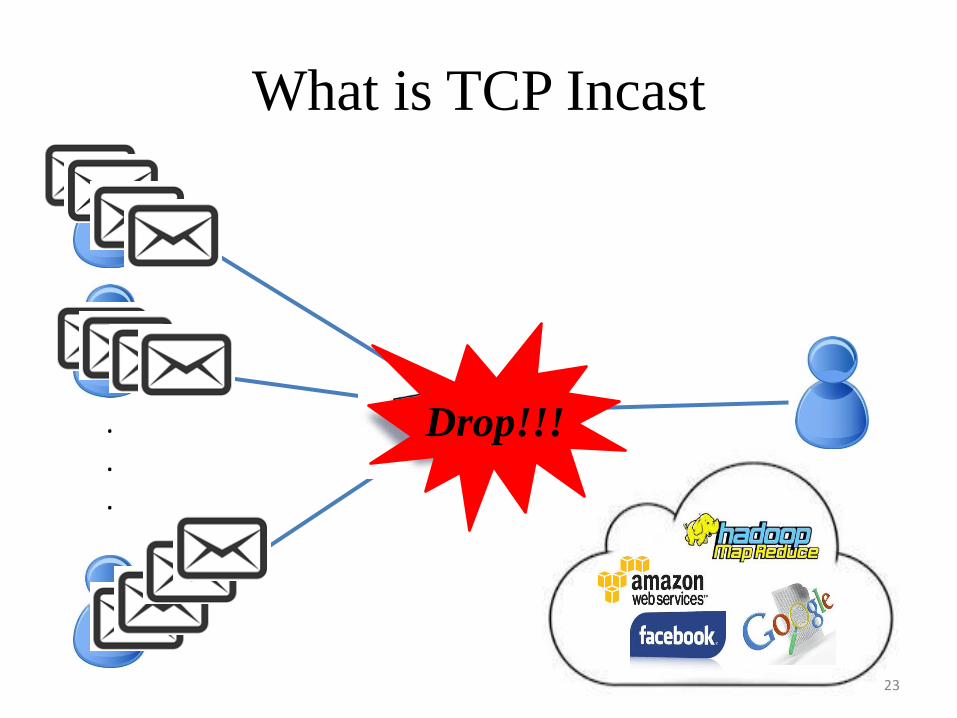
What is TCP Incast
.
.
.
Drop!!!
23
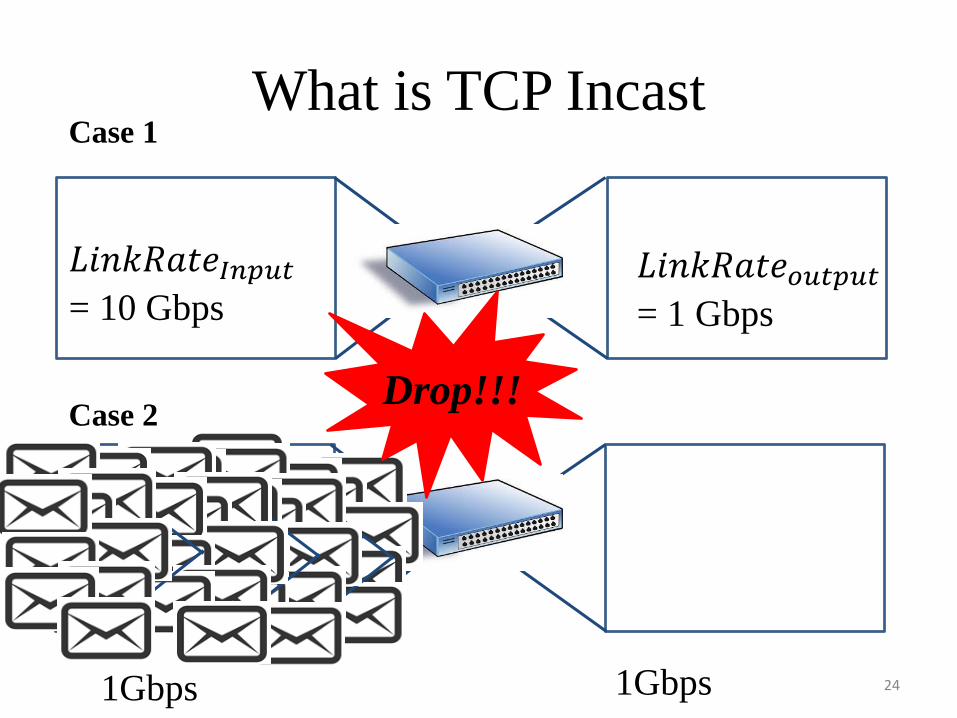
What is TCP Incast
24
𝐿𝑖𝑛𝑘𝑅𝑎𝑡𝑒𝐼𝑛𝑝𝑢𝑡= 10 Gbps
𝐿𝑖𝑛𝑘𝑅𝑎𝑡𝑒𝑜𝑢𝑡𝑝𝑢𝑡= 1 Gbps
Case 1
Case 2
1Gbps 1Gbps
Drop!!!
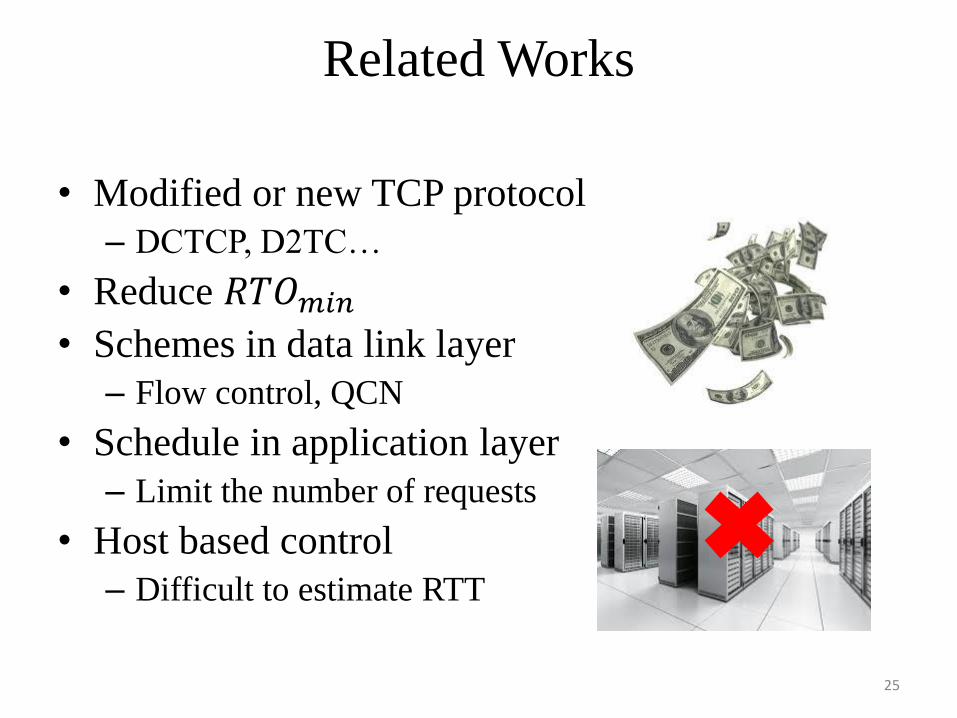
Related Works
• Modified or new TCP protocol
– DCTCP, D2TC…
• Reduce 𝑅𝑇𝑂𝑚𝑖𝑛
• Schemes in data link layer
– Flow control, QCN
• Schedule in application layer
– Limit the number of requests
• Host based control
– Difficult to estimate RTT
25
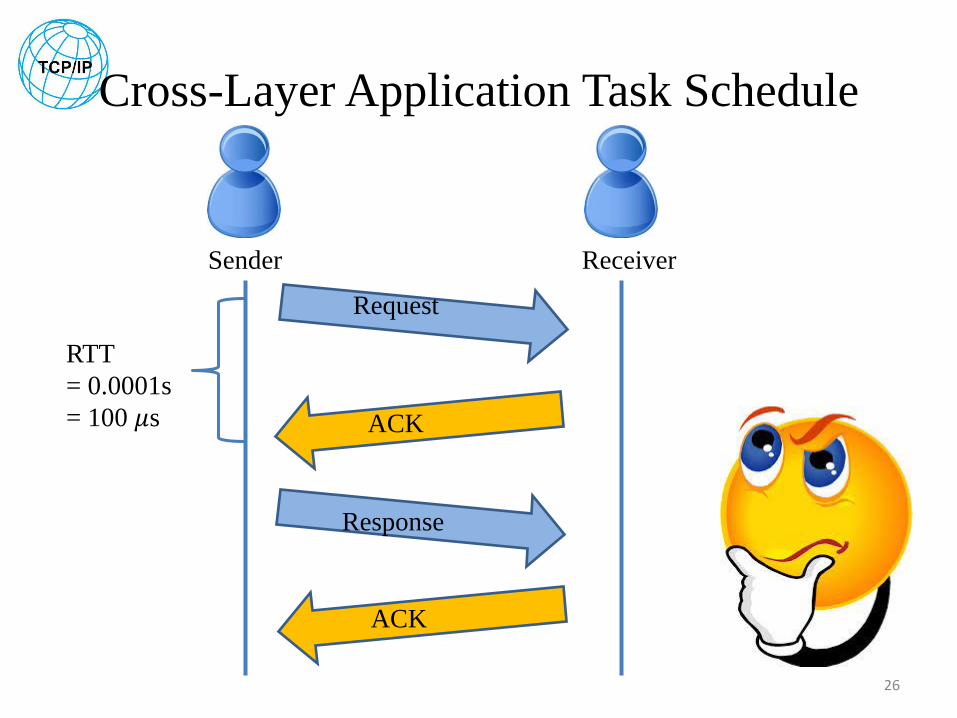
Cross-Layer Application Task Schedule
26
Sender Receiver
RTT
= 0.0001s
= 100 𝜇s
Request
ACK
Response
ACK
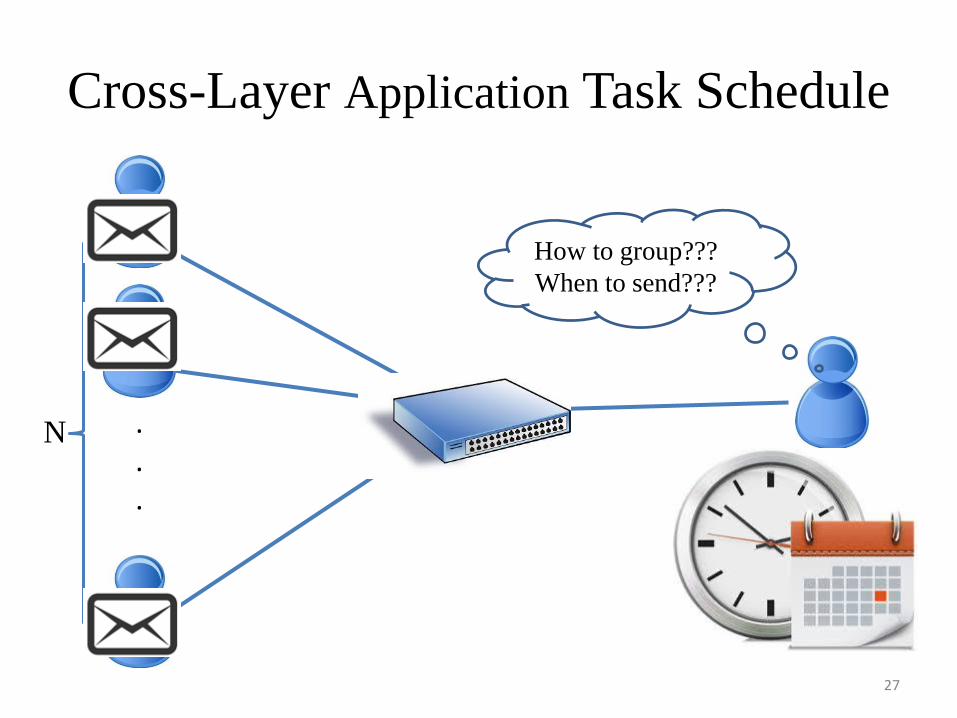
Cross-Layer Application Task Schedule
.
.
.
27
How to group???
When to send???
N

Show Your Code
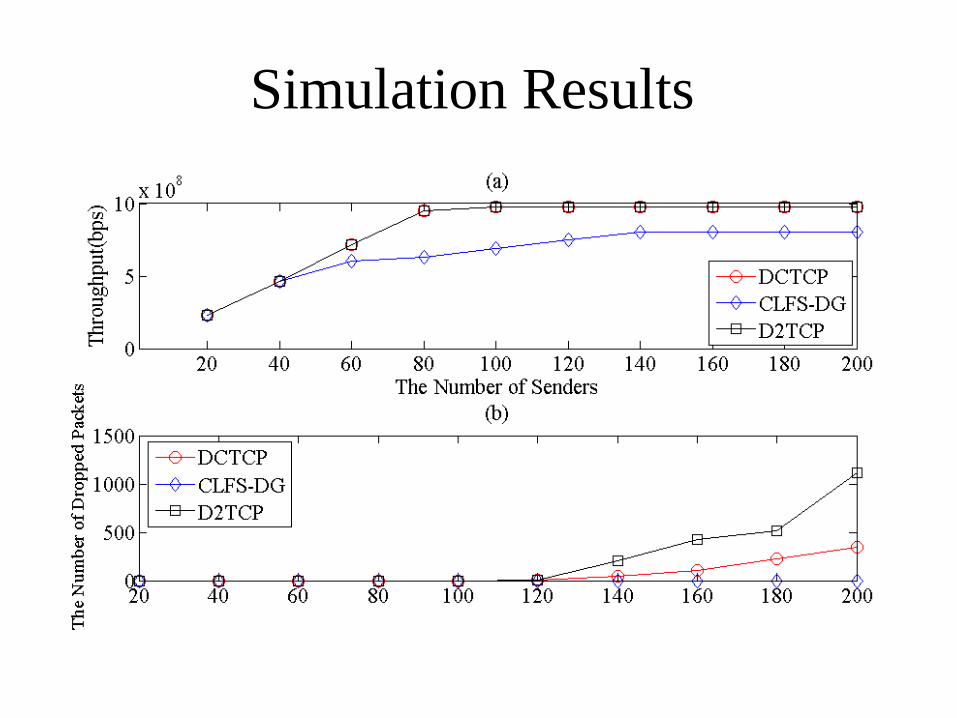
Simulation Results

Simulation Results